Introduction
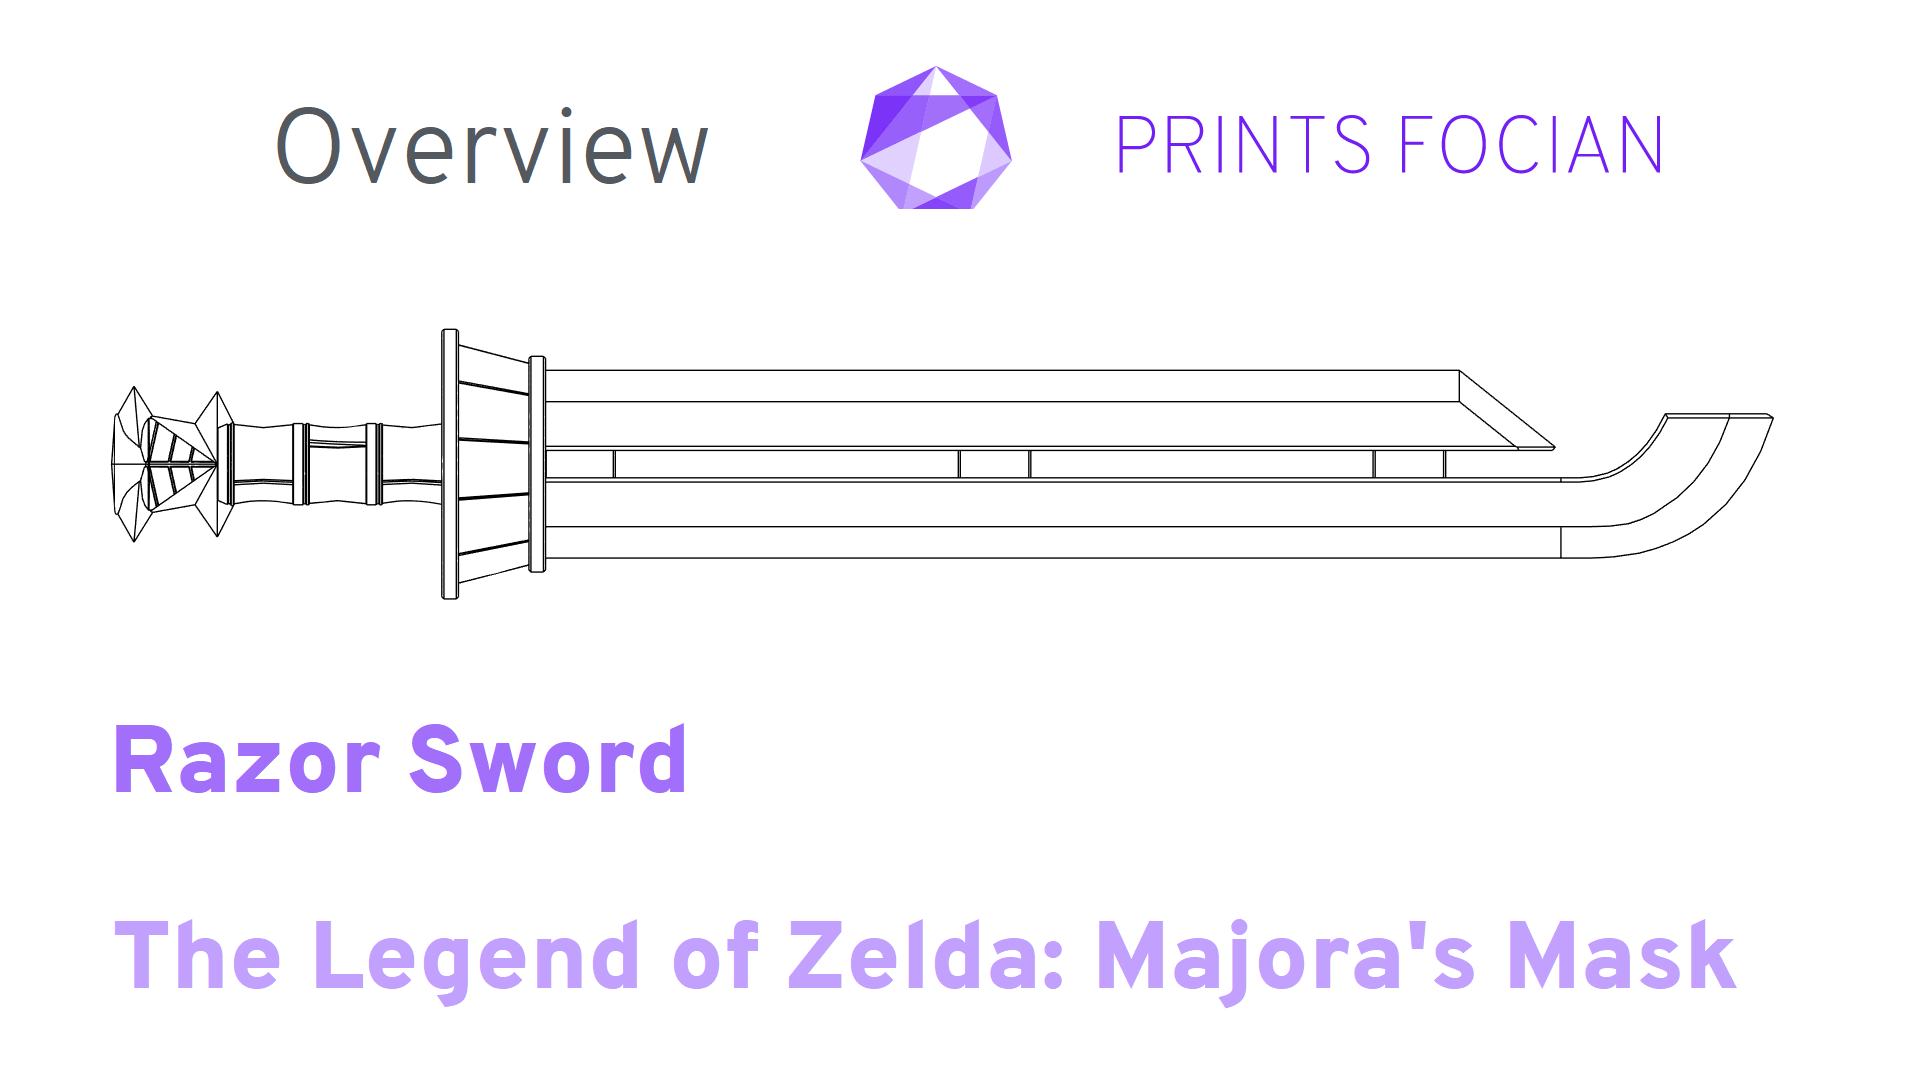
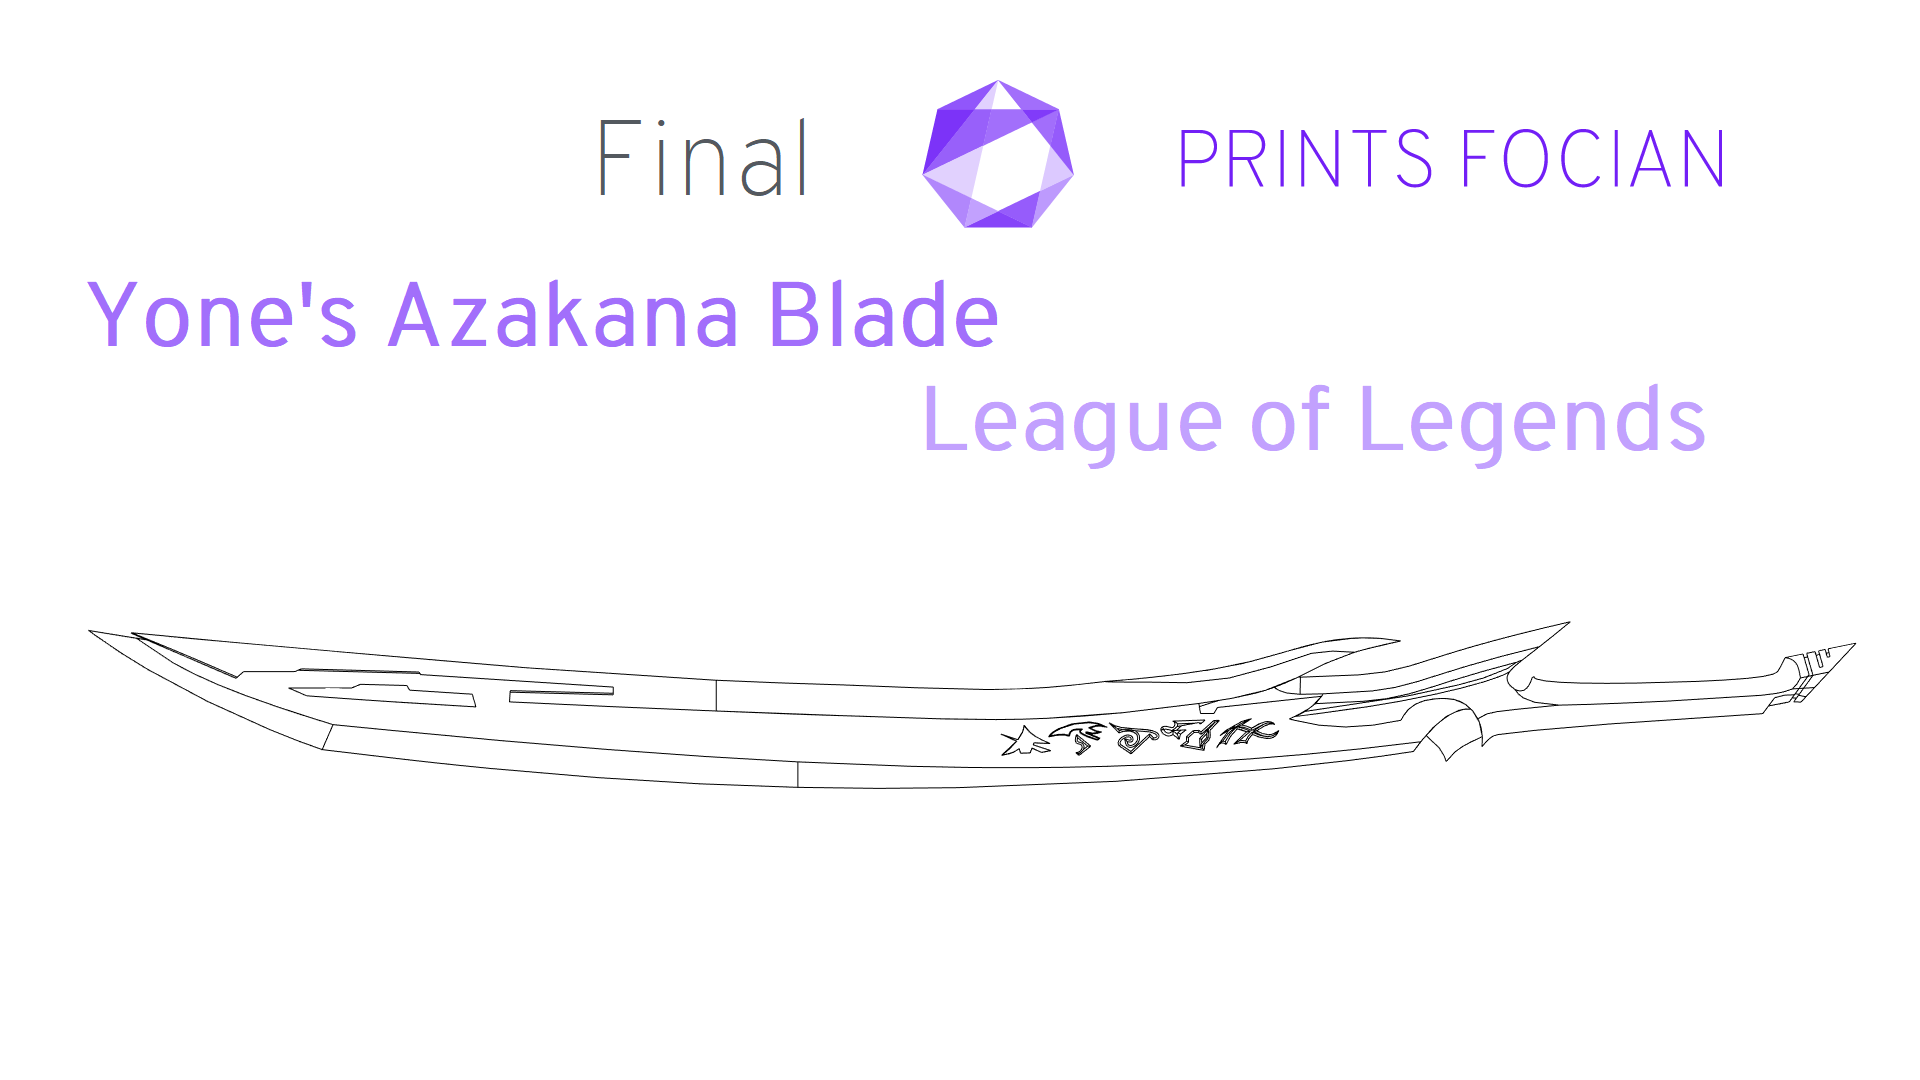
Welcome! In this build guide I’ll be walking you through the process I took in making a sword inspired by Yone’s Azakana Blade, one of two from League of Legends.
This will be an intensive look at the Final version of this project from start to finish. It doesn’t matter if you’re looking for guidance with a Build Kit, thinking to Print It Yourself or just curious to see the project: You’re in the right place!
While this unlicenced replica is intended for decorative purposes or for use as a cosplay prop, the main reason I’m building it is that a friend who does website design wants one, so I’m doing a Dothraki Trade!
Check out the link at the bottom of the page for the Overview if you want to see more!
Design
There are three main issues that forced a change to the design: the small size, the poor tolerances, and the thinness of the material at the end of the spine. On top of those problems, the support rod and groove between the handle and spine wouldn’t work in its current form. I had a couple of other small quality of life changes I also wanted to make.

The size was the easiest problem to resolve. First I deleted all the support rod recesses, as they’d soon be the wrong sizes. I then simply scaled all the parts up about 8%, job done! The length of the item was about what I wanted, and it still looked perfect on the height and width!
The thinness of the material was simply a matter of putting a chamfer on the inside of the groove for the blade, again, no real drama, I took it a little bit further though, and made a couple of changes to the tip of both the spine and the blade. I’m hoping the alterations should allow the end to seat a bit better while not sacrificing the strength of any one part too much.

Well, the first two went easily, so how hard could the third be? It’s only a case of every part that may touch another part needing a high-focused check to ensure it’s close, but not too close – easy right?! Tedium incarnate, actually. Unlike past designs, the spine and blade need to be completed simultaneously, then incorporated into one and other (and the handle!) during final assembly.
There is a monumental amount more surface area contact than the first Prototype made me aware of, so I started scaling back what I could, tweaking where I needed to. After endless checking, finally, I was happy with the new limits I had set. They should allow me to assemble the majority of the prop almost straight off of the printer.
There was also one more issue looming on the horizon that I was trying to ignore: that of the straight rod and how well it would thread itself through the multiple parts of the curved sword. This is something I would have loved to have learned from the first Prototype, but at this point it is far more efficient to alter, reprint and cross that bridge when I get to it. It *should* work! I know it works in theory…
Build
The build begins! I had been using white PLA+ for a while, but this model will be printed with black PLA+. I started with the tip of the spine:

Looking good next to your predecessor!

And now, let’s print the most problematic part – the handle:

Ooooooh, this redesign, although small, is looking hugely worth it! But… not gonna lie, I’m not looking forward to removing that support material. Oh well!

Okay, the first moment of truth. How easily do the tip of the spine and blade fit together straight away?

Yes!! Looking good!
The horizontal lines running across the previous model were a problem. It took a few prints to sort out, but I was certain I’d resolved it (or at least minimized it to a workable level). The first part of the spine and blade I printed went to be lightly primed straight away, then sanded to quickly test if this was the case.

I was very happy with the reduction in the Z Lines and now I needed to assemble all the blade, and separately, all the spine. I use a mix of one large rod for weight and strength, and multiple smaller ones for alignment. This now got tricky as I needed to use the largest rod to unify parts, but I can’t risk it being stuck in the glue and becoming lodged.

This all went well until…
****!
I snapped the tip of the spine tip! It’s okay, I can fix it! Hell, after the first Prototype of the FFX Longsword, snapping the tip of the spine is child’s play to repair! I drilled two 2mm holes and used some tiny support rods to hold them, then secured it all with epoxy resin. I then went back to the design and moved the end of the body of the spine tip to prevent this in future (while also clearing out space inside the blade for the newly added material).

Then I gave the runes a little go-over with a fine detail file.

The parts were left overnight and under pressure, and were solid by the morning. I gave both parts a light spray of primer filler and began using an epoxy putty on the seams. As it was drying, I remembered how well the 3D Printing Pen worked for hiding the seams earlier, and how I could almost instantly work on the material. The hours to pass for that putty to cure seemed far more protracted than usual…

Seams sanded, time for a proper prime!

The handle itself is a little rougher due to the unique curves, but coming along nicely! It will need a lot more time than either the blade or spine though.

Let’s take a quick stock and make sure the parts are fitting together well. And they look great! The parts slide together easily, but not too easily. This marks progress past the previous prototype and the end of the Build Section!

Finish
I use grey primer once I’m satisfied with the finish. After that, a light wet final sand and then the fun part begins!!

The spine gets its first coat of matt black, and for some unknown reason I also thought it’d be smart to wave the primed blade around while taking the picture. I honestly can’t think of a single good reason to have done that…
This is the first time I’ve used a matt finish on an item, but I am not anticipating any issues in that regard. For the black parts, I’ve elected to use Halfords Matt Black spray paint.

I did the same to the handle once that was ready. Primed grey, then spray painted matt black.

As well as the matt black, the varnish I’ll be using is for a matt finish. This is from Vallejo’s Mech Series: Matt Varnish [69:702]

Once that had been applied to the spine and handle, they could be left to the side, finished and awaiting the assembly stage. But for now, onwards!
This is the part I love and fear so much. It is a beautiful feeling to get to this stage on a project, but also the level of risk with any mistake is increased dramatically! Careful careful!
I’m going to add a little more detail and colour variance later by airbrush, but the undercoat is Halfords Ford Radiant Red applied by spray paint.

At this point, this project now generates its own enthusiasm. No more mundane tasks like sanding, every job now is both engaging to do, and joyous to see the progression on! The red went perfectly, and I couldn’t help but adore the way the runes dance in the light!

Time to add some life onto that which deals death!
I used the following to try and get a good look on the finish, all Vallejo, from left to right:
- Mecha Red [69:008]
- Turn Signal Metallic Red [71:070]
- Red [71:102]
- Red [71:269]

You can see the start of the fusion of reds coming together. I knew I wanted the parts closest to the edge to be the lightest shade, but I also wasn’t too sure exactly how I’d style that edge fully.

The bottom face touching the table will eventually be hidden behind the spine, so I’ve got a few more options with how I handle this unvarnished and ongoing part.
I opted to try creating a somewhat wavelike look going down the edge of the blade. As it was drying, I was worried I’d ruined it and would need to take a few steps back… But oh gods I loved the look of it when it had dried!

After the paint went on beautifully, it was varnished and left to dry. As much as I had looked forward to painting the blade, the runes were definitely the task I looked forward to the most!

The resin I use for applications such as this is Gede Clear Cast. It has a great finish and is easy to use.
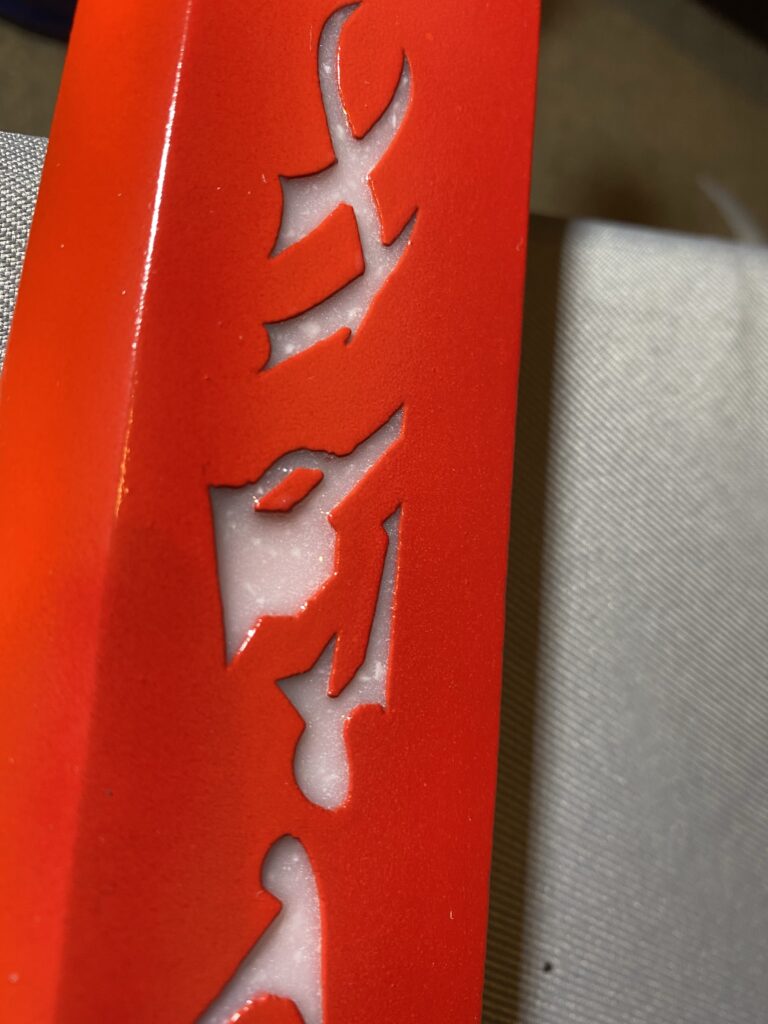
I’m also using a couple of drops of white resin ink and a small dab of pearlescent dye. Not too much though, as I want to keep some transparency to create depth in the runes.

Crafting syringes and blunt needles are used to feed the resin into the receiving areas.

I love this I love this I loooooooove this! That transparency! The sheen of shine and twinkling lights dancing below an opal sea, so freaking beautiful!!
And that’s the last step! Right? There’s something missing here, I feel. I love it, but… hmmm.

Bugger! I got so focused on the fun bits, I forgot the decals! Right, sand! Prime, sand, prime grey, spray matt black, varnish and DONE!! NOW DONE! Actually done this time? Yup! Completed!
Result
The finished piece ended up far better than expected!
The runes look exquisite and the wavy effect down the blade has come out far superior to how I thought it’d look! I’m so happy with this finished piece, as was the recipient.

Thanks for reading!
If you enjoyed this, you might like some of the related articles from the Overview, or perhaps a different Project altogether?
Love what you saw? Got a project in mind? Feel free to reach out and let me know!