Introduction
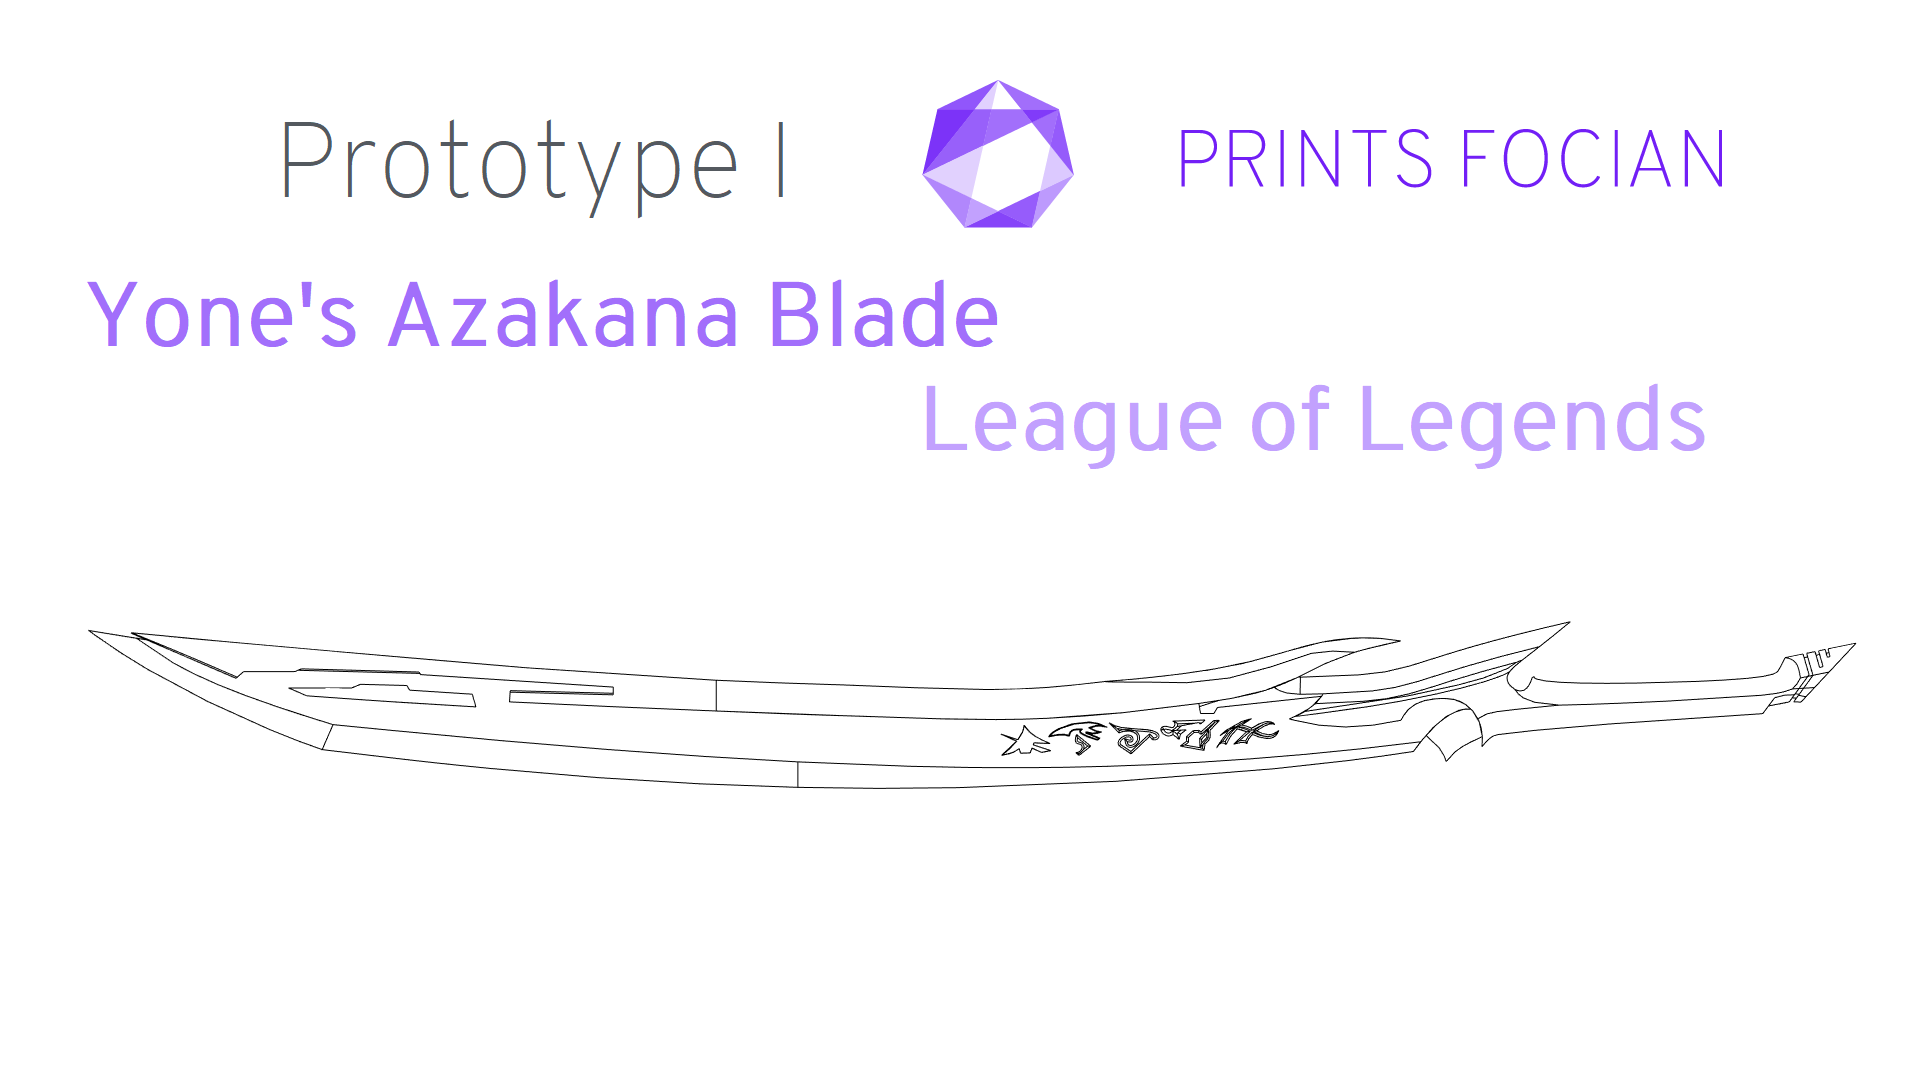
Welcome! In this build guide, I’ll be walking you through the process I took in making a sword inspired by the Yone’s Azakana Blade from League of Legends (LoL).
This will be an intensive look at the Prototype I version of this project from start to finish. It doesn’t matter if you’re looking for guidance with a Build Kit, thinking to Print It Yourself or just curious to see the project: You’re in the right place!
While this unlicensed replica is intended for decorative purposes or for use as a cosplay prop, the main reason I’m building it is that a friend who does website design wants one, so I’m doing a Dothraki Trade!
Check out the link at the bottom of the page for the Overview if you want to see more!
Design
This design was done in a slightly different manner. Usually, most modelling is done over a month or so, a little here and a little there. On this project however, I was hit with a wave of enthusiasm and managed to knock the entire first Prototype design in two eight-hour sessions! While I always intend to broadcast, sometimes I get carried away in the moment and just start churning through the work.
As much as I try and record all of the modelling work I do, I’m not always able to.
Build
And aaaaway we go! The individual parts that I’m printing are the handle, two parts of the blade, and two parts of the spine.

For the most part, it all went rather well, except for maybe one bit…

And maybe another bit – I had my printer printing a little bit too fast and if I was a little more patient, I would have seen the impending failure much earlier on…

Looking at everything that’s coming out, I know that it’s gonna be tough to remove the support material from:

Don’t worry little handle dude, I’ll free you!!

I have never had support so obtuse to remove! It took more than an hour and I stabbed and cut my hands into oblivion.

None of the early parts proved too problematic, but they didn’t immediately fit together as nicely as I’d hoped.

A little tweaking to the sections that rub wasn’t enough… This wasn’t going together without a protracted fight. This was my second doubt about the design – not enough tolerance offered, thus massively increasing work time.

I gave some earlier printed bits a light prime and sand. Nothing major, but I wanted to look at how deep those horizontal sections of print lines are. All parts (excluding the decals) printed! Time to assemble.

Blade went together nicely! I’m not gluing the larger of the two rods yet – I need to weave that between the spine and blade later – but it works for alignment while unglued. This means I’ll need to assemble, process, and finish the spine, blade, and handle separately before joining the three finished pieces together. This is new, but not too daunting. I’m using a quick-drying epoxy resin for hold here.

With the right rods glued in place, I thought I’d try using a 3D Printing Pen across the seams.

Ugh. Even after a little gentle persuasion with a metal file, this did *not* want to sit nicely. And considering I need to thread the large support rod through the two, having it seated perfectly is so important.

Even with all the tweaks, these fundamental design flaws are too much, and I know this Prototype will not be taken to the end. It’s too small, tolerances too problematic, and the joint between the handle and the spine was clearly designed by a fool!

As well as the other issues, the tip of the spine is a little too thin. I could use some epoxy putty to fix it, but honestly, this Prototype could end now and I’d be happy with what it had shown me. I’ll leisurely continue to see what other problems it may be able to reveal, but I doubt this will get further than the Assembly stage.

Time for a preliminary prime! I’m not striving for perfection here, just a basic dry run.

Those lines are continuing to be a bit of a worry, even showing through after a quick experiment with priming. I also need to clear the excess material around the seam. I can afford to be a little brutal here!

Whoops! The walls between a support rod and the thinnest point of the rune were too thin. I drilled through a little too eagerly and damaged a section. Not too big of an issue, adding resin later will cover that imperfection, should I get that far.

Finish
My plan is for the black to be a matte finish, a couple of different reds for the blade, and a pearlescent white resin inlay for the symbols. While printing the bottom section of the blade I got really lucky and had a failed print, woo! Using this, I was able to play around with the intended reds and resin.

Using the scrap, I briefly sanded one side and played around with the different reds and the matte black I had.

Time to play around with the resin. I’m going to need to make sure I use more pigment, so a drop of white ink and a drop of pearlescent is the current plan!

Result
Perfect finished item? Haha, absolutely not! Not even close! Perfect Prototype? Definitely! While I would have obviously loved the first Prototype to be the Final model, that has not happened yet with a project.
I can take my victories in half-finished models as long as they serve a purpose and improve the quality or process of the next version, which is exactly the case here!

Thanks for reading!
If you enjoyed this, you might like some of the related articles from the Overview, or perhaps a different Project altogether?
Love what you saw? Got a project in mind? Feel free to reach out and let me know!