Introduction
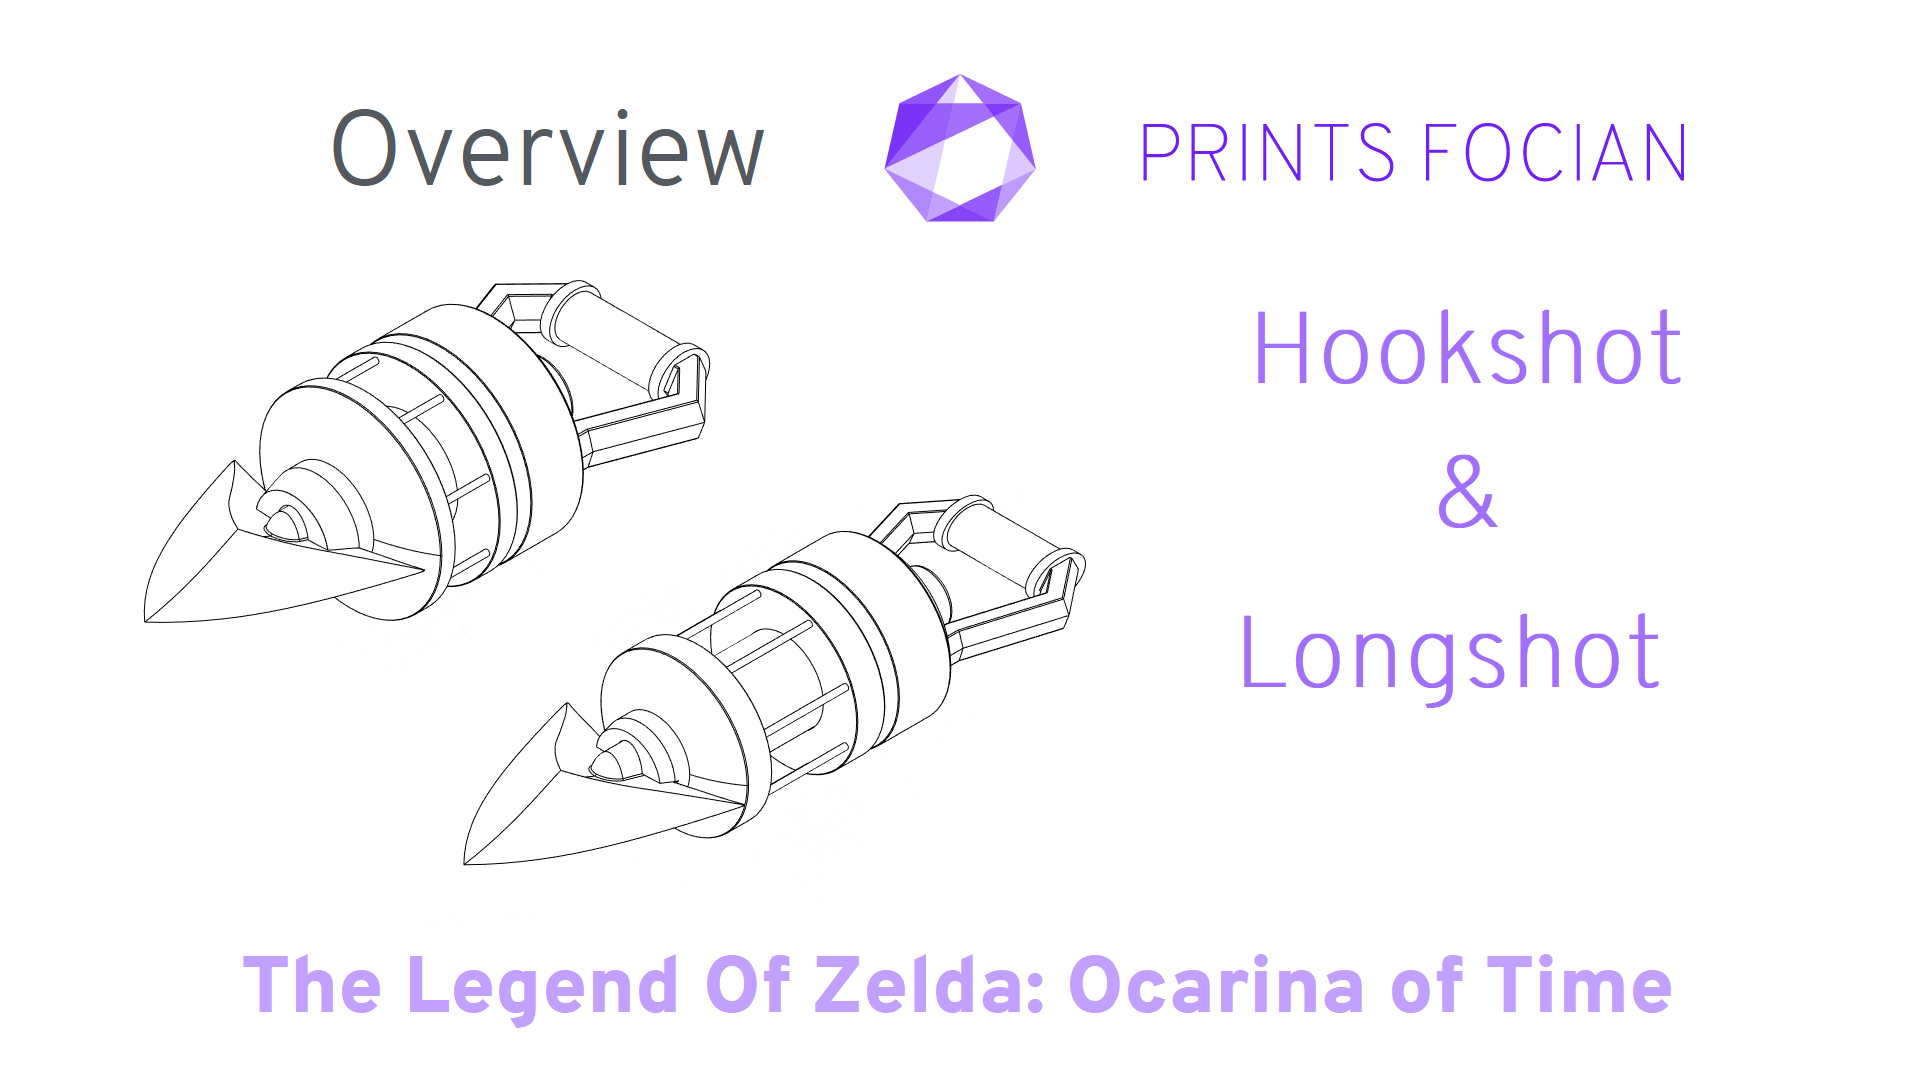
Welcome to the Overview for a project to make both a Hookshot & Longshot from The Legend of Zelda: Ocarina of Time.
While this unlicenced replica can be used for decorative purposes or as a cosplay prop, the main reason for building it is because it’s such an iconic bit of kit and I want one!
Like many others, Zelda is one of my favourite series in gaming, and I can’t help but feel the Hookshot will be the first of many builds from its world!
Post publishing update: The Final version of the Hookshot started as Prototype I, and I was going to make the Longshot the “Final” version. Ultimately, it wasn’t the format for how I use the Prototype/Final versions as the Hookshot ‘Prototype’ was great and needed no further revisions. I have undone that choice in most places except the URL of the Hookshot article.
Link
After spanning generations of consoles and decades of releases, Link has persisted throughout the years as one of gaming’s most stalwart guardians. There are few characters that have managed a better long-term track record of incredible games than our silent hero.
The Legend of Zelda series offers a dazzling array of memorable weapons, shields, armours and gadgets. Link’s arsenal has grown over time, and so much of it is as iconic as it is desirable to build!
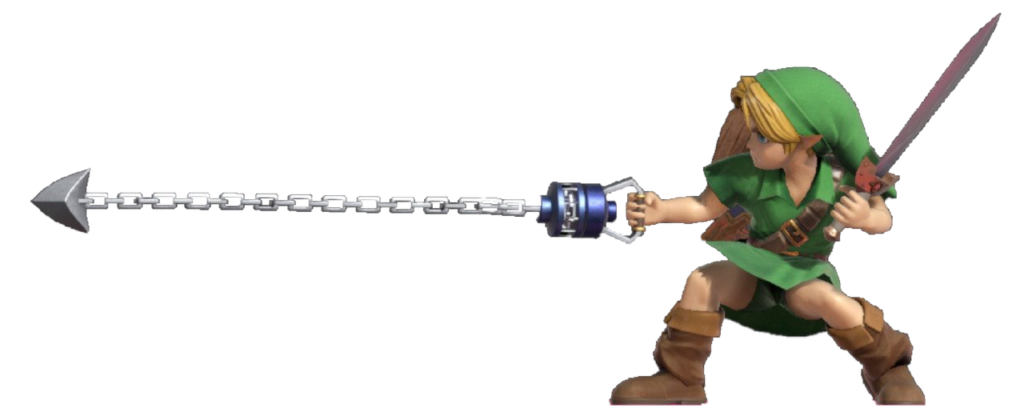
Hookshot & Longshot
The Hookshot is the coolest gadget in Ocarina of Time, and arguably the entire series!
The design is simple enough: a handle, multiple strong body sections, an arrowhead, some chains, and lastly a variety of metal rods, both for support and aesthetics.
Essentially a low tech teleporter, the chain rig fires an arrow head to lodge itself into wood or soft material and drag the user towards where it has attached.
In Ocarina of Time, you get the original Hookshot as your first gadget after moving forward through time to adulthood. A twisting, turning maze of the damned awaits you under the Kakariko Village graveyard, and the prized Hookshot is the reward for beating the ghostly gravedigger Dampe in a race. Another twisting, turning maze of the damned awaits you under Lake Hylia, as you battle hydrophobia, claustrophobia, and the darker shades of yourself in the legendary Water Temple for the Hookshot’s upgrade: The Longshot. While it may not give the same instant high as picking up its predecessor, it does open a lot of new locations to traverse, and they did make it purple. All round upgrade!
The sheer joy! You’ve now got the power to zip through the air and access areas that were out of reach previously. This item offers a huge boost in freedom and makes a consistent appearance throughout the series (although it’s notably absent in Breath of the Wild; a game that embodies freedom and soaring through the air). As well as the incredible leaps in gameplay this device offers, it can also offer a hidden punch as a stun weapon, making it great to fire off the hip with a cheeky Z-Target!
The Process
Ocarina of Time wasn’t the Hookshot’s first appearance in the series, having already established itself as an essential tool in past games, but the aforementioned freedom this gadget offers is taken to another dimension with the addition of, well… another dimension. The Hookshot is an entirely different beast in the first 3D Zelda, and this is why the Ocarina of Time design will be the one I’m going for.
I’m sure the following image will clearly show why I’m electing for the 3DS remake for the reference images over the original N64 release:
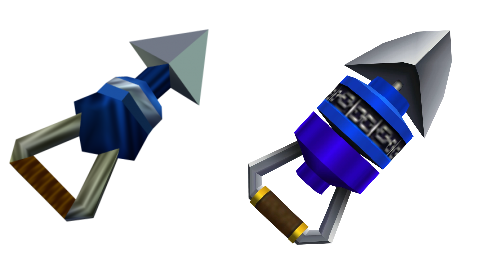
Across the two models, there are more similarities than differences, but there are still a few changes of note. The longshot is a little thinner and taller, and they share similar colours, but not identical.
Although I’m not settled on a size just yet, I do want both versions to be quite large, and I also need to consider weight distribution with both the support rods and that non-central handle. The metal, gold and leather handle will likely need to be a single unit with a relatively high infill to support the weight. I’m probably going to use some kind of brown faux leather tape on the handle.
The area that houses the chain on the Longshot is about double the length (as is the chain itself) and the purple body sections are slightly thinner, but a little deeper.

There is a lot of potential for this item, most certainly! The construction of the body and support doesn’t look too daunting, but there is definitely room for improvements later down the line.
While I am trying to quell my desire to add a CO2 canister to propel the arrow head (honestly, I’d do something stupid and lose the deposit on my rented flat…) it seems quite obvious that a motor to spin the chain section could be a realistic option. But that’s a dream for spring, the first step of making the model is the only essential part for now.
To begin with, I’ll be planning to make this prop in the same manner as any of my previous projects (sanding…), however, the colouring itself is being as simple as it is offers me the chance to try something new – buying a material colour for each specific part. I’ve seen a few very nice silk PLA filaments that could do the job perfectly!
The arrowhead being detachable is obviously also essential! I’ll need to put some clips on the inside of the head and the barrel so a (light!) chain can be attached for images. The chains on the inside of the device will also be real chains, assuming the weight allows.
The Result
Read the full build process in the link below, or the Assembly Guide if you’re tempted with building one yourself!
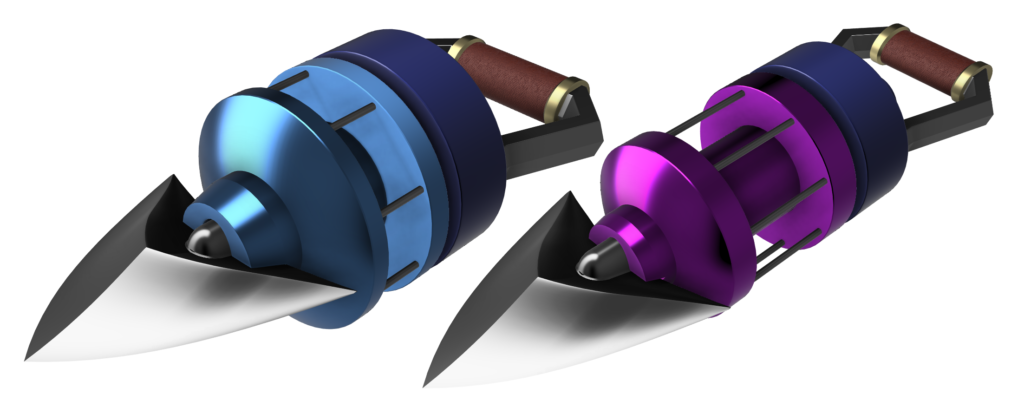
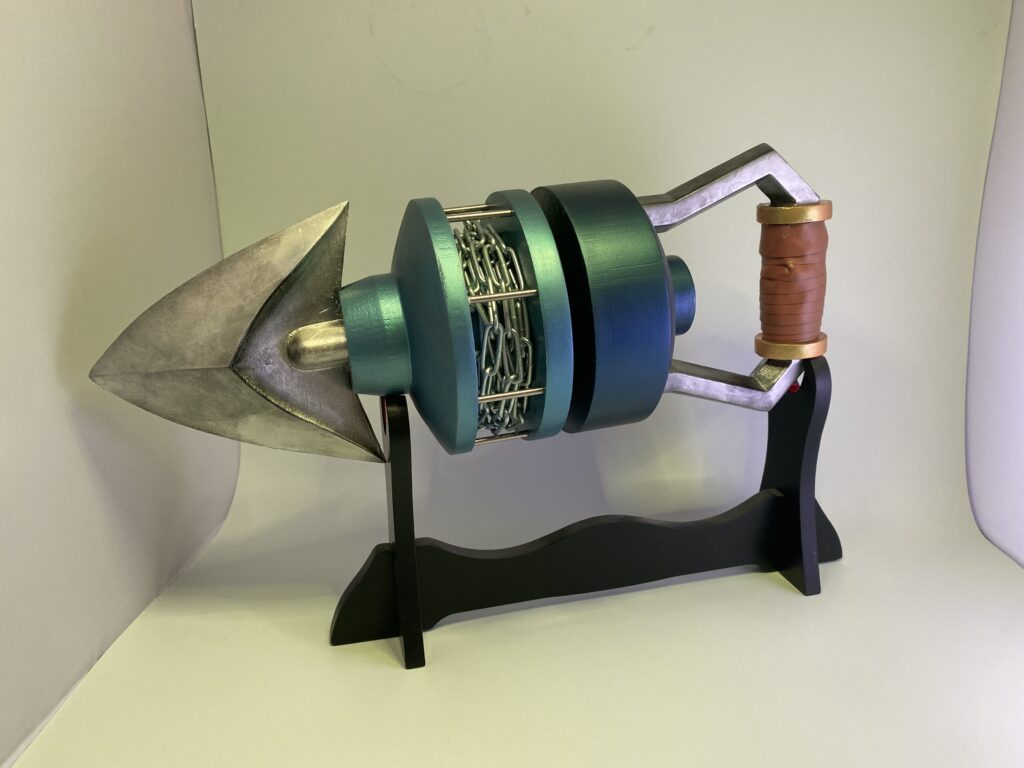
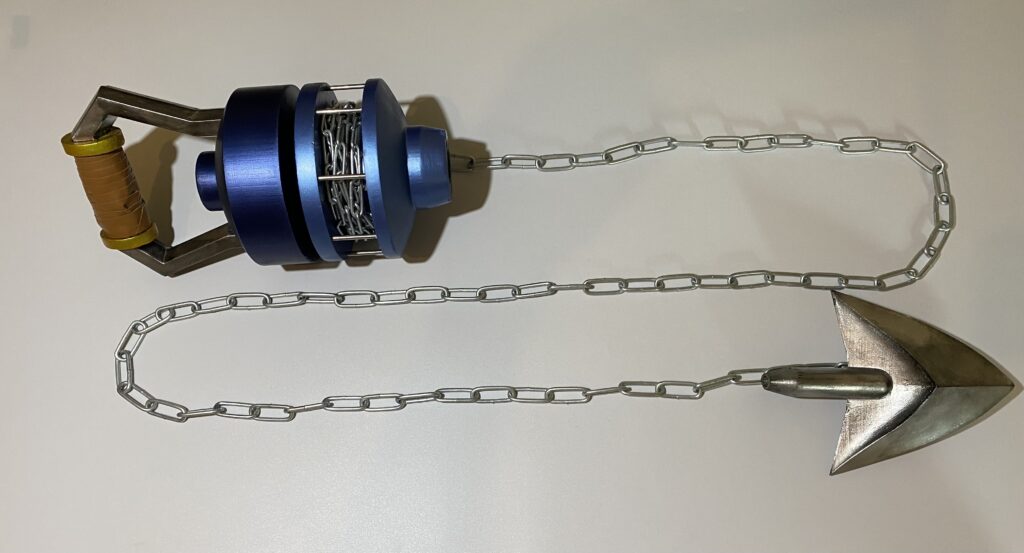
Hookshot Final:
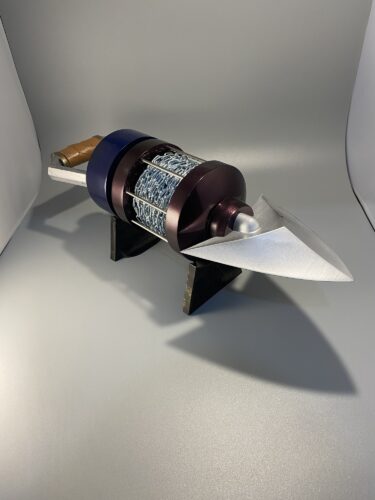
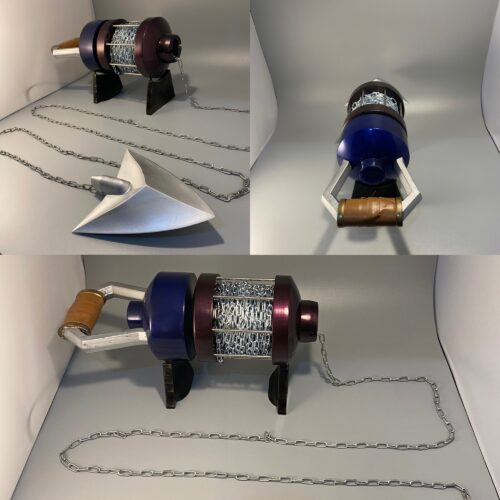
Thanks for reading!
If you enjoyed this perhaps you would also like a different Project?
Love what you saw? Got a project in mind? Feel free to reach out and let me know!


