Introduction
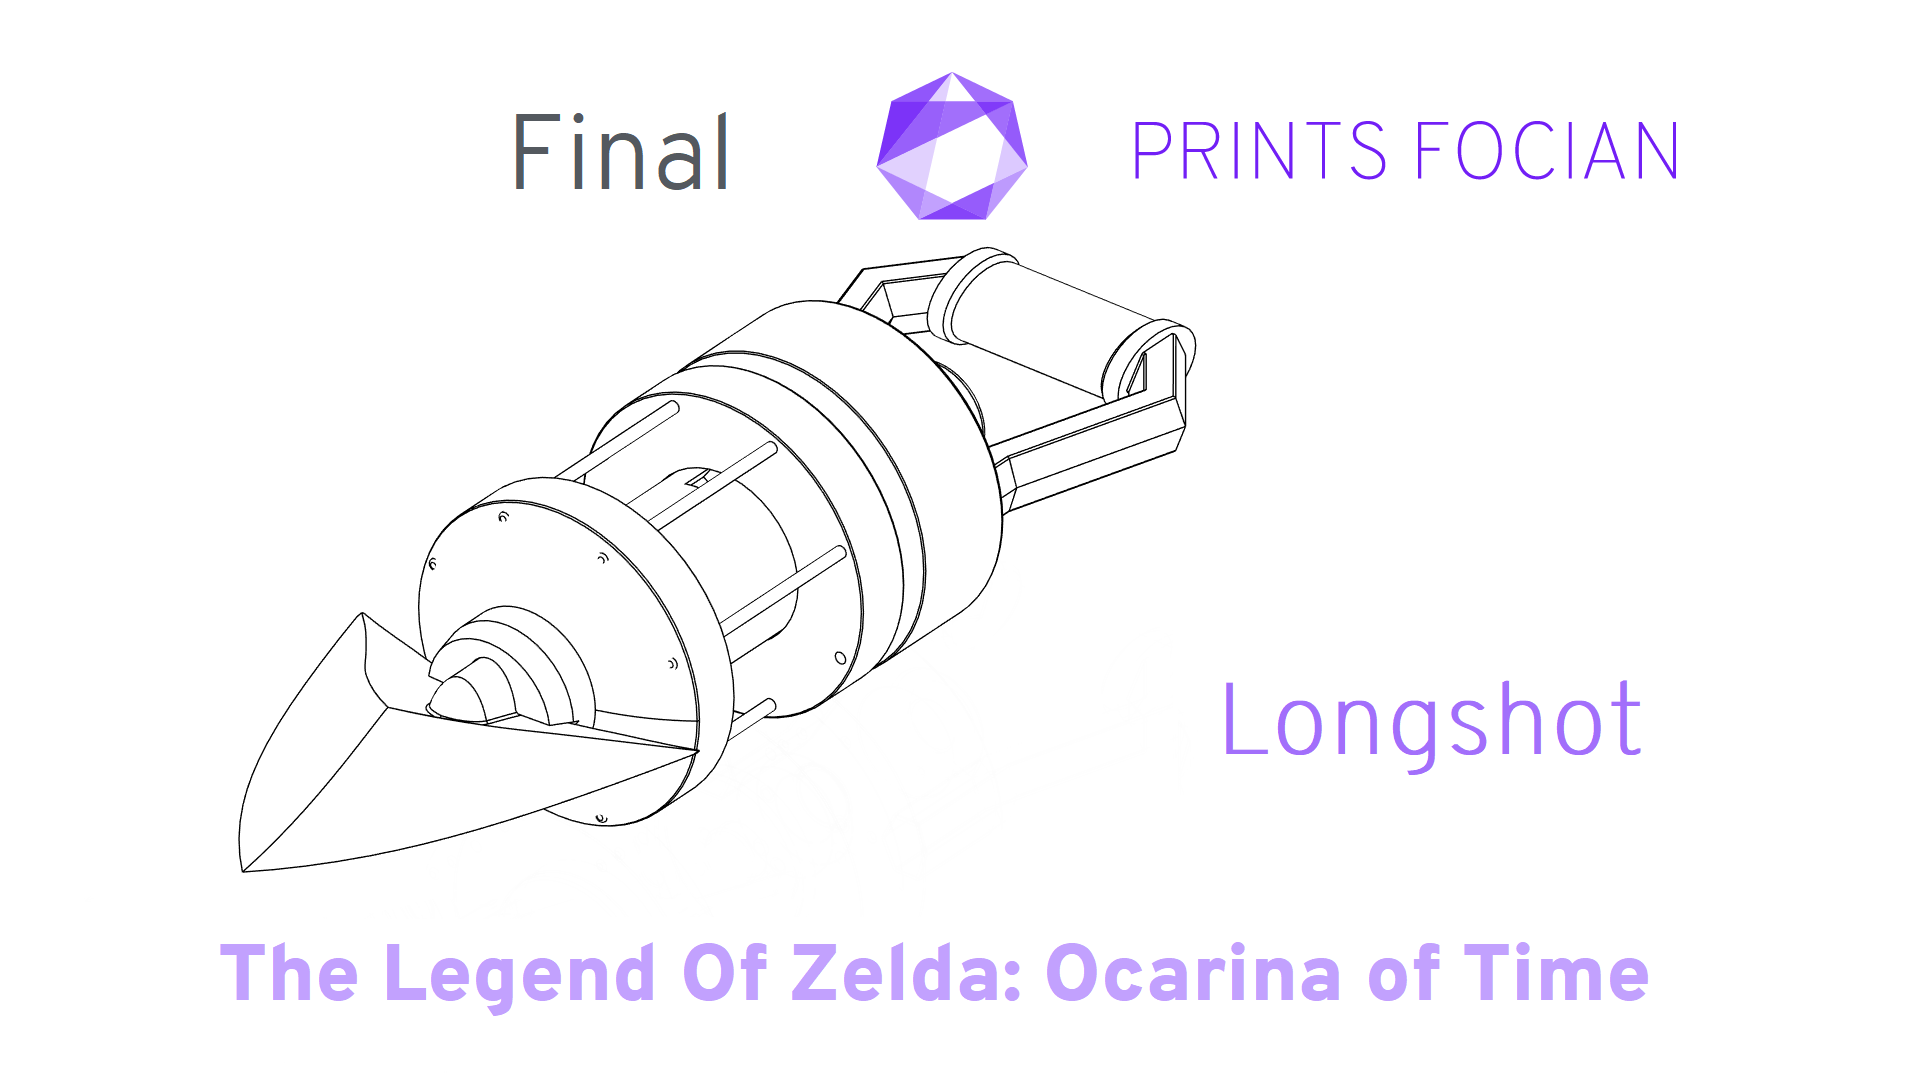
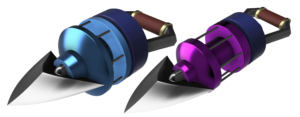
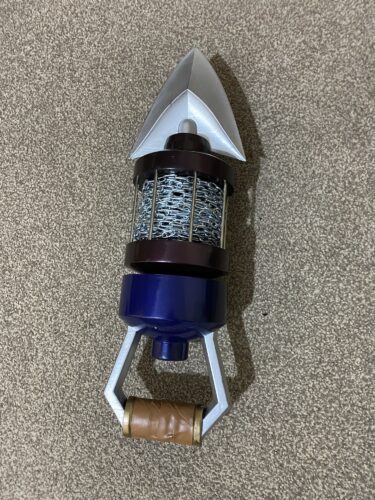
Welcome! This is the Final version of my fanmade, unlicensed build of the Longshot, found in the Water Temple in Zelda: Ocarina of Time. Whether you’re a cosplayer, a maker or just someone who appreciates a good Zelda gadget, I hope you enjoy this build!
This Final version marks the finish line: tested, functional and ready to be shared. It’s the version available as STL files.
If you spot the phrase ‘Zelda OOT longshot prop’ suspiciously squeezed into a sentence here or there, that’s just me doing my best to serve the Google Greater Good (…greater good) while juggling all the design, building and documentation solo. I don’t really know what I’m doing with SEO, and I don’t have the wherewithal to learn, but let’s just say “organic placement” now includes in this intro and a few other slightly obtuse locations.
If you prefer your builds in video format, I’ve uploaded the build to both TikTok and YouTube.
Keep scrolling to dive into the full text and image build of a Zelda OOT longshot prop.
Build
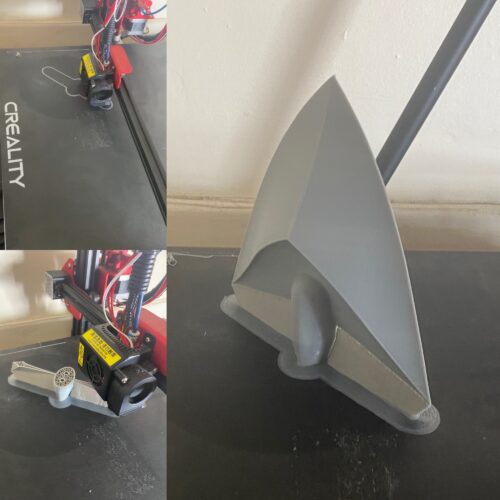
All parts of this are being printed in standard grey PLA. This was one of my last projects using my Creality “Charizard” CR10 Max before a major problem with it required a new printer.
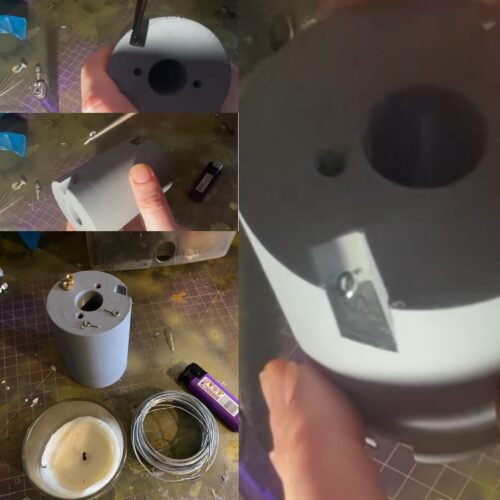
As I needed to play around with a few chain sizes, I wanted to get the barrel of the body equipped with something to fasten them in place. While the original plan was to use brass inserts, pressed in with a soldering iron, I changed my mind and went with small metal hooks. The hooks were held over a flame for a few seconds before being gently screwed into the recesses in the design. Once cooled, the hooks were solid and capable of holding the small amount of weight I needed them to.
I tried a few different chains and loosely assembled the Zelda OOT longshot prop to make sure everything fits nicely. It wouldn’t be possible to directly copy the chains I used with the Hookshot previously. Due to the varying look and size, I would need to use a little experimentation.
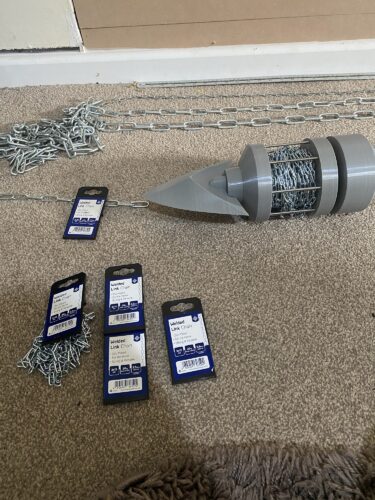
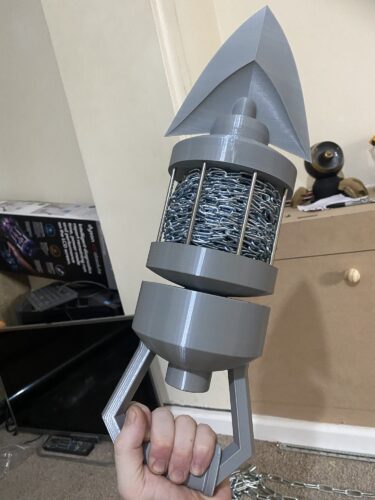
After a few different legnths and thicknesses, I found it! This is the look! 2mm * 12mm links, 10 metres of chain total. The weight is much higher with a thinner, longer chain when compared to the normal hookshot. Couple that with the model itself also being longer, and the handle is taking a lot more stress!
But that is the exact look I was hoping for, and it all fits together beautifully! Oh hey, look at the Symmetra Turret in the background, that’s conveniently placed for an internal site link!
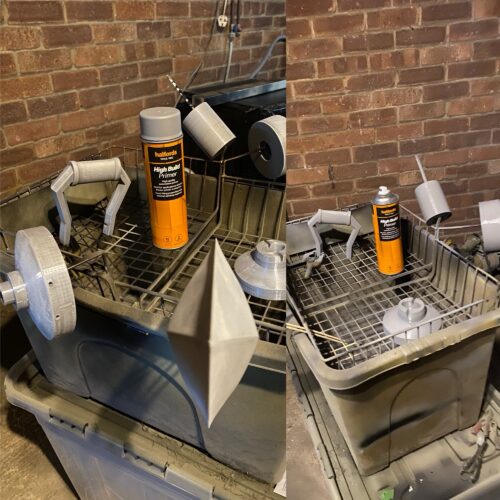
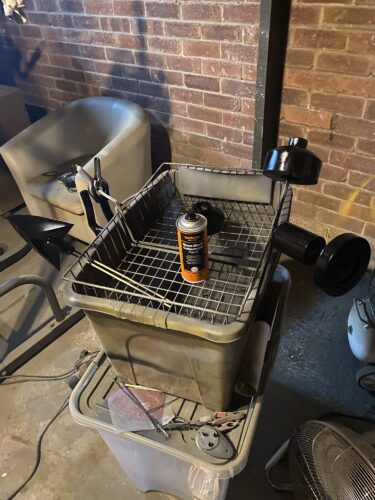
Boo, now time to sand it. No fun words of joy, only doom, doom and sanding! Sanding and doom, and of the two I prefer the doom.

Back and forth, layer and prime, add and remove, forever!

High Build Grey Primer going on top of Grey PLA does not exactly make for the most dynamic of images… I miss my default yellow filler primer! But this is the last step before moving onto the Finish!
Finish
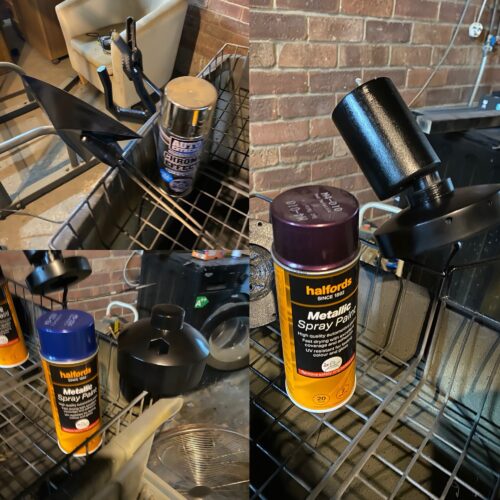
Without exception, every part of this build needs a solid undercoat of Gloss Black. Whether it’ll ultimately be blue, purple, silver or gold, it’ll all need this step first!
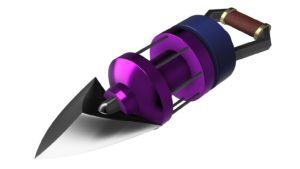
Metallic Purple for the body, Metallic Blue for the base and and unfortunately, chrome for the metal work. The original plan was to use the Alclad airbrush series of metallic chrome, but hardware failures later prevented that…
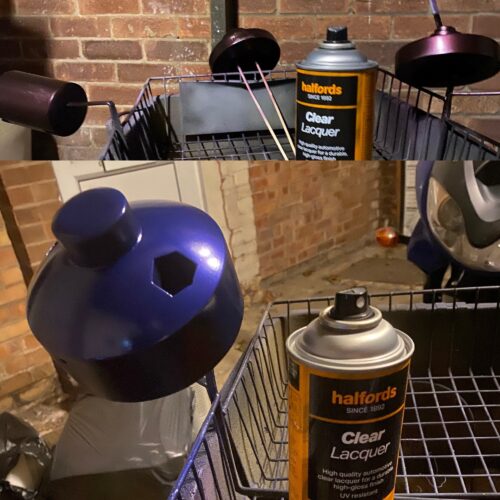
Once coloured, the blue and purple sections both received a layer of Clear Laquer for protection and durability. Using the holes for the support rods means the parts can be easily painted and varnished by using 4mm wood dowel.
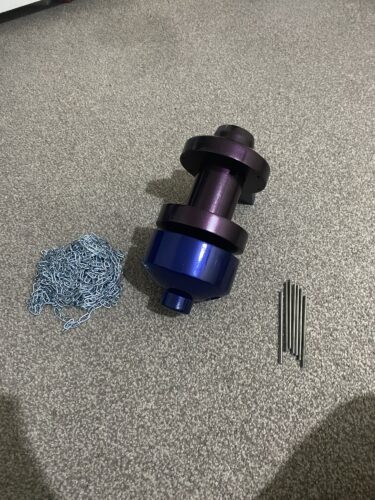
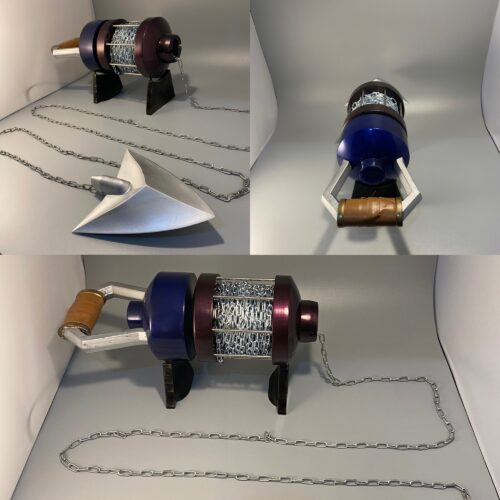
These two parts look incredible! Now that these parts are protected, we can do the most impactful tasks! Next up, it’s time to add the chain! First thing was to take the four 2.5 metre chains and create a 10 metre chain. I used a bit of wire to thread between two links a few times and create one long chain; the joints were largely invisible.
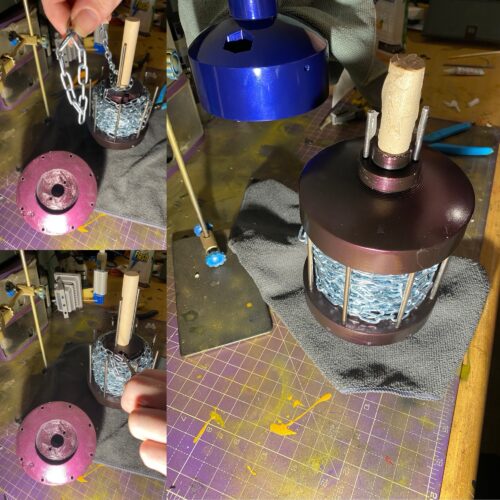
Epoxy Resin is the glue of choice here as it has a decent enough work time for what I need it for. I started painting it in the holes, ready for the metal poles. Once one side had all the poles in, I put the other side on (without epoxy) and let it cure in that position for correct alignment.
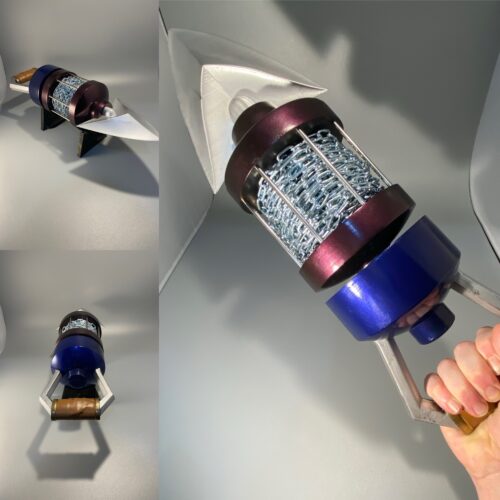
The next day, I threaded a small piece of wire between the first chain link and the small hook I installed on the barrel early on. A grip then a twist of some pliers, and the joint between the barrel and chain was solid. The chain was spun between the barrel and the metal poles, giving the Zelda OOT longshot prop its signature look.
Once in place, I repeated the epoxying of the top half of the recesses for the metal poles, and did the same for the larger support rods throughout the body. Everything fit together nicely, and was left to cure overnight and marked as completed! Just the handle and arrowhead remaining!
The plan for the handle is to use Vallejo [77.015] [Gold Yellow – Burnt Orange] for the gold part, after masking off the chrome areas. The leather work will be strips, attached via double-sided tape. I thought the glue gun approach I tried with the Hookshot didn’t look too great, and didn’t want to repeat that.
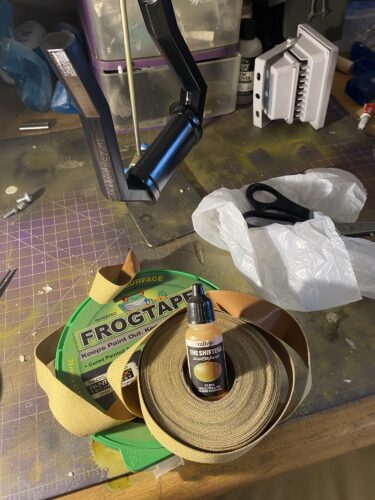
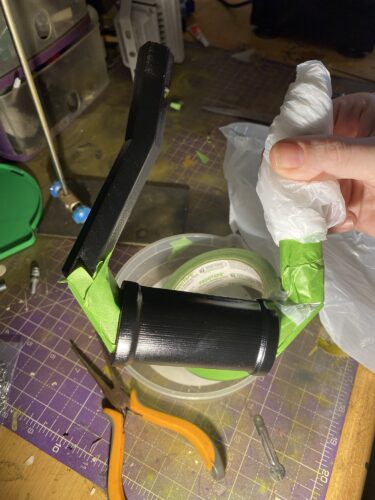
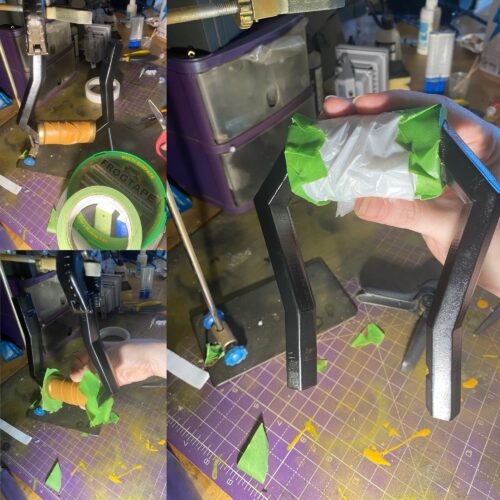
I used the tape near the joint, but for the rest just stuck a carrier bag to protect it. Good old Frog Tape! Never lets me down and always holds an incredible edge! Never lets me down!
Disaster! My airbrush broke! This changes my later (earlier) plan about how I will do (did do) the rest of the metal work! Chronology should not always be respected in my articles or videos, just in case there was any doubt!
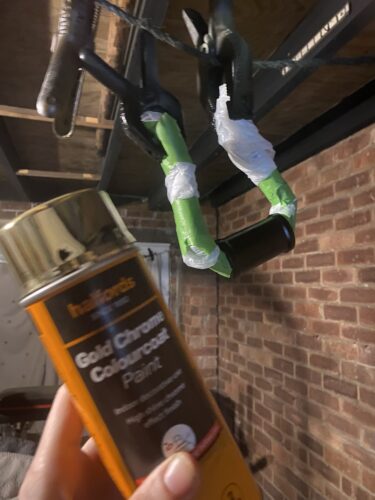
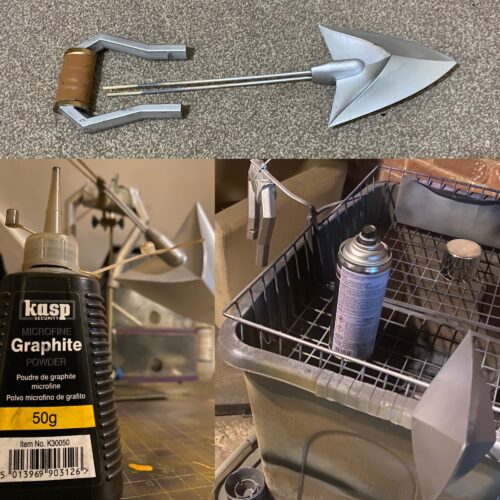
My airbrush breaking is a short-term disaster, but I can still ride the wave of enthusiasm as I have a couple of workarounds! I have a chrome effect spray paint for the handle and arrowhead. The gold can use the same great stuff from the Symmetra Turret. Onwards!

Always nice having a large range of available paints is definitely a winner! The handle has been sufficiently masked, and getting the gold blasting first! This paint is self-sealing and tougher than normal paints, but still nowhere near as durable as actual varnish. Alas, varnish ruins this shiny type of finish…
Once the gold was applied, it was time to add the leather strips on top of the double-sided tape.
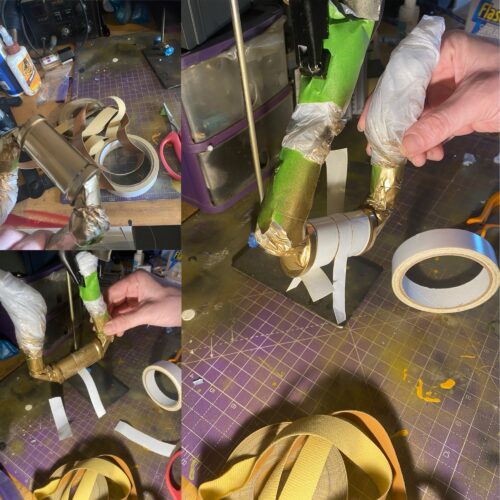
The end look was very clean and consistent. When I tried using the same leather previously, the look was very wrinkled and ill-fitting, but the few strips and tape seemed to be the answer!

The gold and leather were finished! Time to remove that tape, and protect the finished parts with new tape as I start to work on the chrome metal.
Once the chrome paint was applied to the handle and the arrowhead, both parts had an ample amount of brushed graphite rubbed into them to give them a dull lustre.
The rest of the model is complete, so this is pretty much the last stage before assembly, but with a couple of cavaets.
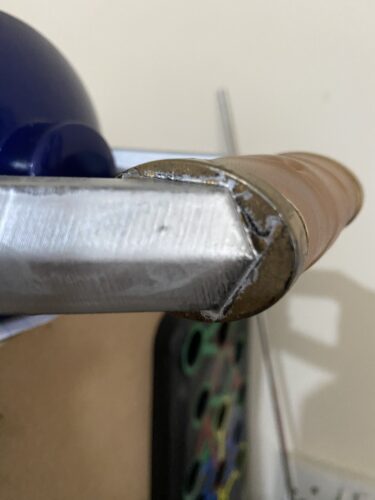
The Frog Tape failed me… or maybe I failed the Frog Tape? Either way, the colour bled through, and up close, the side of the handle doesn’t look great. In fact, most of the metal work itself looks a little bit cheap and rushed…
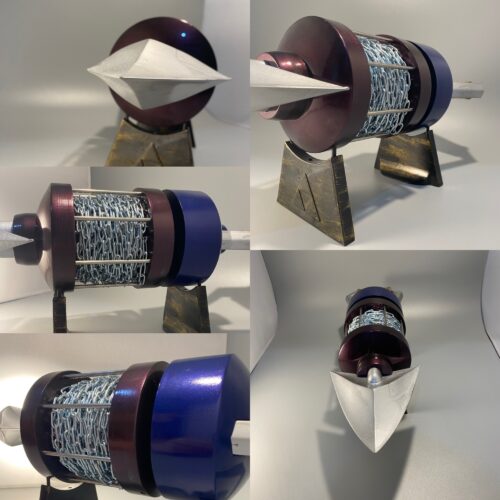
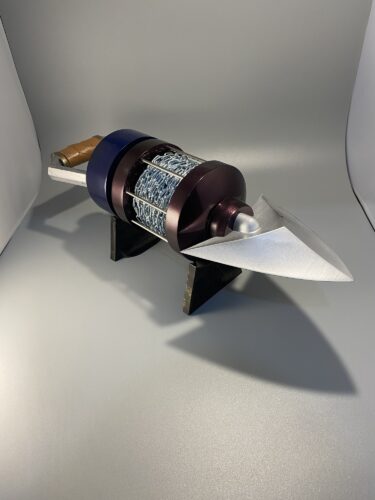
The Hookshot didn’t fit nicely on the sword stands I generally use, so I thought it’d be prudent to make a little stand for display purposes. Nothing special, but it definitely gives it a cool look!
Result
Very happy with this project! Other than a couple of paint issues, I think the finished product looks striking in the images and feels solid and durable! As a Zelda fan, this has been a great project, and definitely not my last Zelda project!
Thanks for reading!
If you enjoyed this, you might like some of the related articles from the Overview, or perhaps a different Project altogether?
Love what you saw? Got a project in mind? Feel free to reach out and let me know!