Introduction
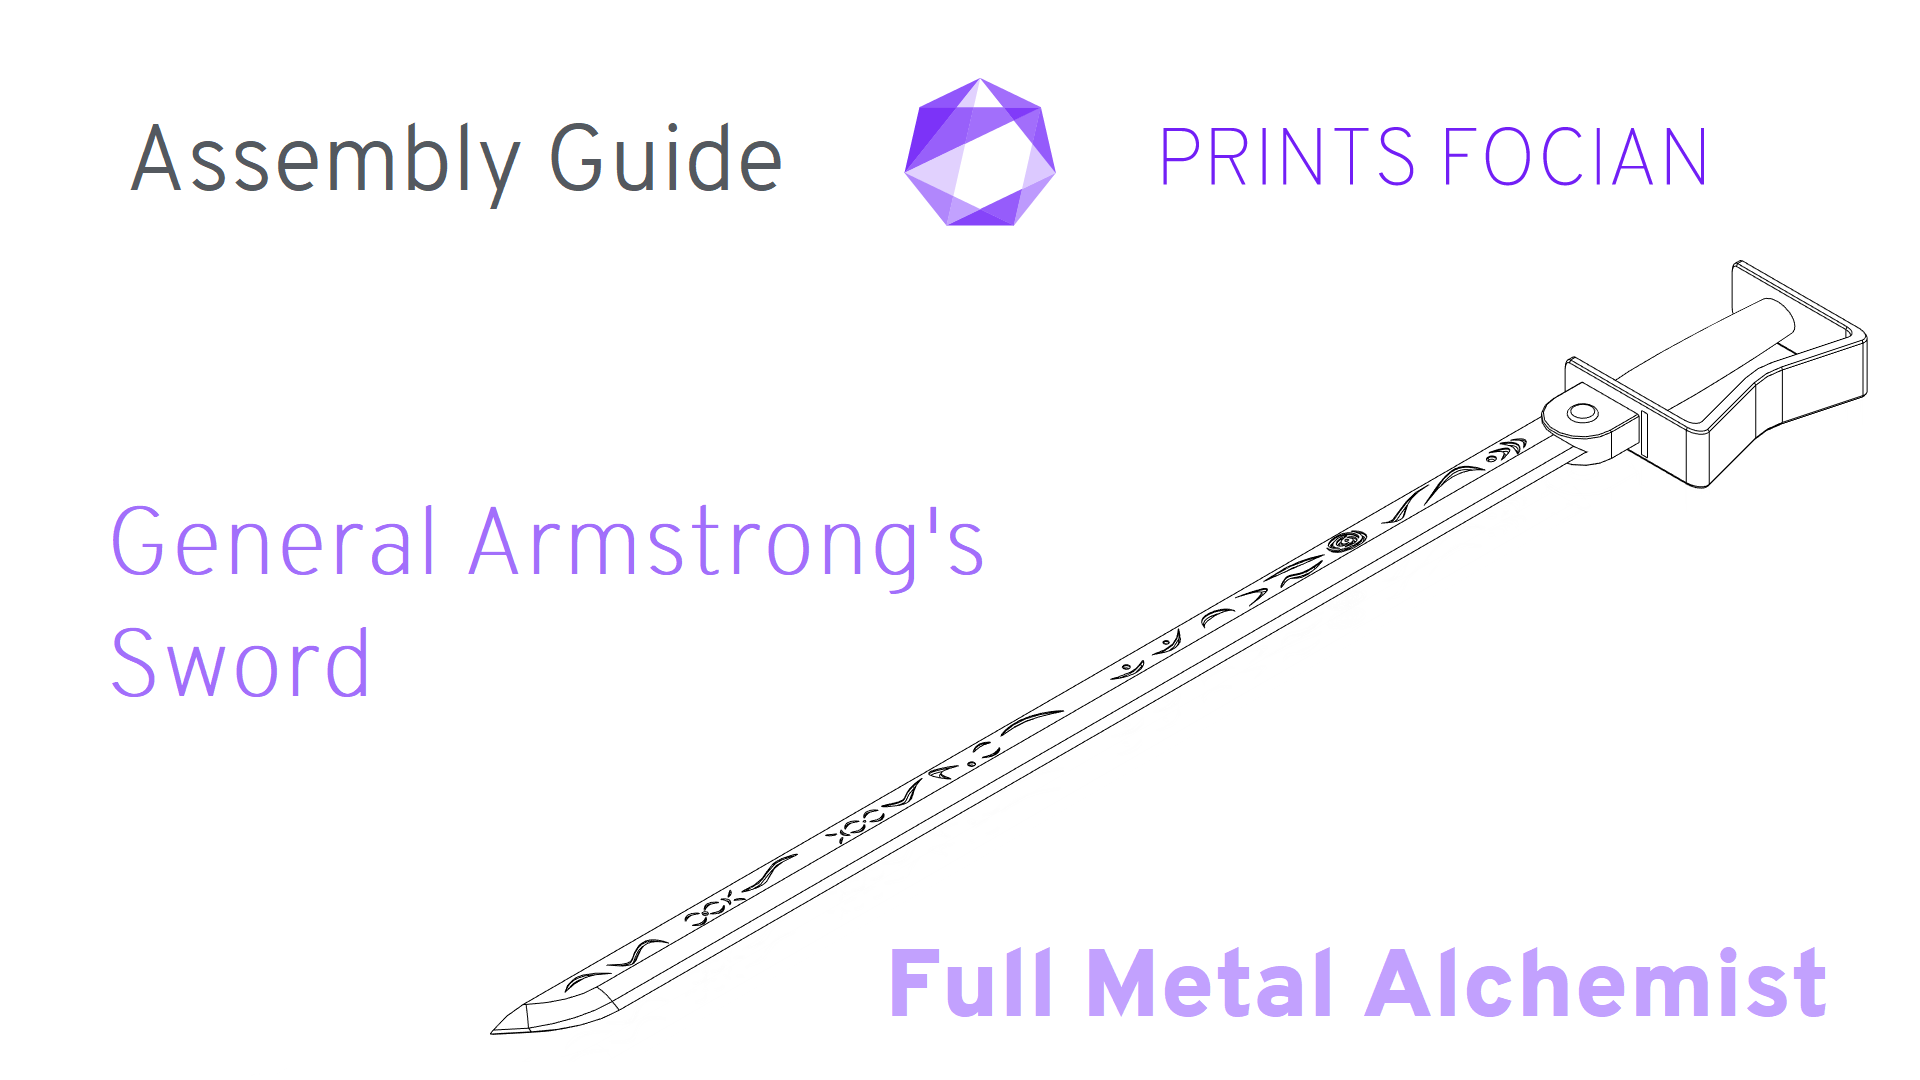
Welcome! This is the Assembly Guide for the Final version of two of my fanmade, unlicensed swords from Full Metal Alchemist. One belonging to General Armstrong and the other to King Bradley. The dimensions of the swords are basically identical, so information will often prioritise General Armstrong’s because obviously.
Whether you’re assembling a Raw Build Kit or printing it yourself, this article should help you get the best from the parts or files. This guide doesn’t cover every step in detail, but is designed as a support document for your own build.
If you spot FMA cosplay sword build tucked awkwardly into the text, that’s just me trying to work with SEO I barely understand, serving the Google Algorithm Gods while juggling the actual building and making.
Introduction
-
Links to Build
-
Links to Buy
- Difficulty rating
Raw Build Information
-
Raw Build contents
-
Raw Build support rods information
Print It Yourself Information
-
Print It Yourself STL file list
-
Print It Yourself support rod details
-
Licence information
Build and Assembly Information
-
Unique build notes
-
Assembly tips and breakdowns

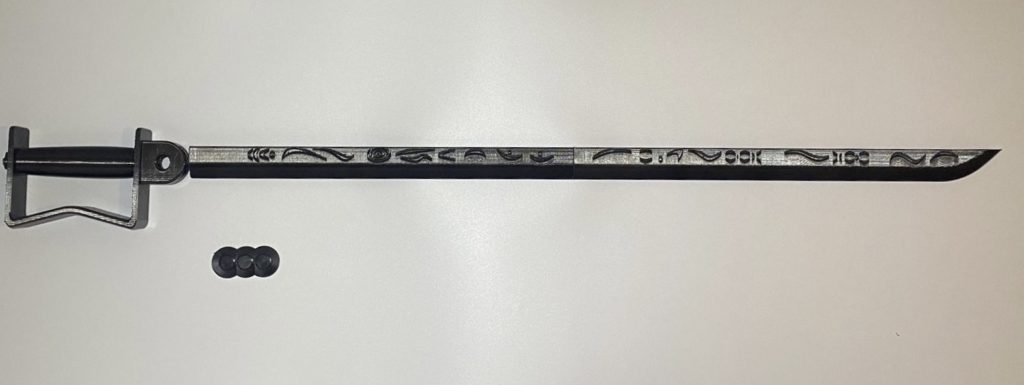
Links to Builds:
All other articles in relation to this build are listed and linked below when complete and published.
General Armstrong:
- Overview – An introduction to the project
- Prototype – A full text and image build of the first attempt
- Final – A full text and image build of the Final version
King Bradley:
- Overview – An introduction to the project
- Prototype – A full text and image build of the first attempt
- Final – A full text and image build of the Final version
Links to Buy:
General Armstrong:
Print It Yourself:
General Armstrong’s Sword Raw Build kit:
King Bradley:
Print It Yourself:
King Bradley’s Sword Raw Build kit:
- Etsy (Coming Soon)
Difficulty
- Easy – An exceptionally easy project, most or all of the parts assemble in a very obvious manner. You’ll have difficulty going wrong on this project. Accessible to all build enthusiasts!
- Normal – This will mostly be a straightforward project. Some of the finer details may need to be checked against this Assembly Guide, but most build enthusiasts should have no issue creating a great-looking finished model.
- Heroic – This will have a fair few tricky moments. It will need more care and attention to get the best out of it when compared to easier models. I would not recommend this for a first project as the difficulty could be frustrating.
- Legendary – I do not recommend purchasing a piece of work that I have deemed as Legendary Difficulty unless you are an experienced builder or maker. Projects of this nature will need a lot of work, time and patience to complete. Technical knowledge about the material used will help, as will a versatile toolkit.


Raw Build Information
Raw Build Contents:
All components are printed in PLA on an FDM Printer
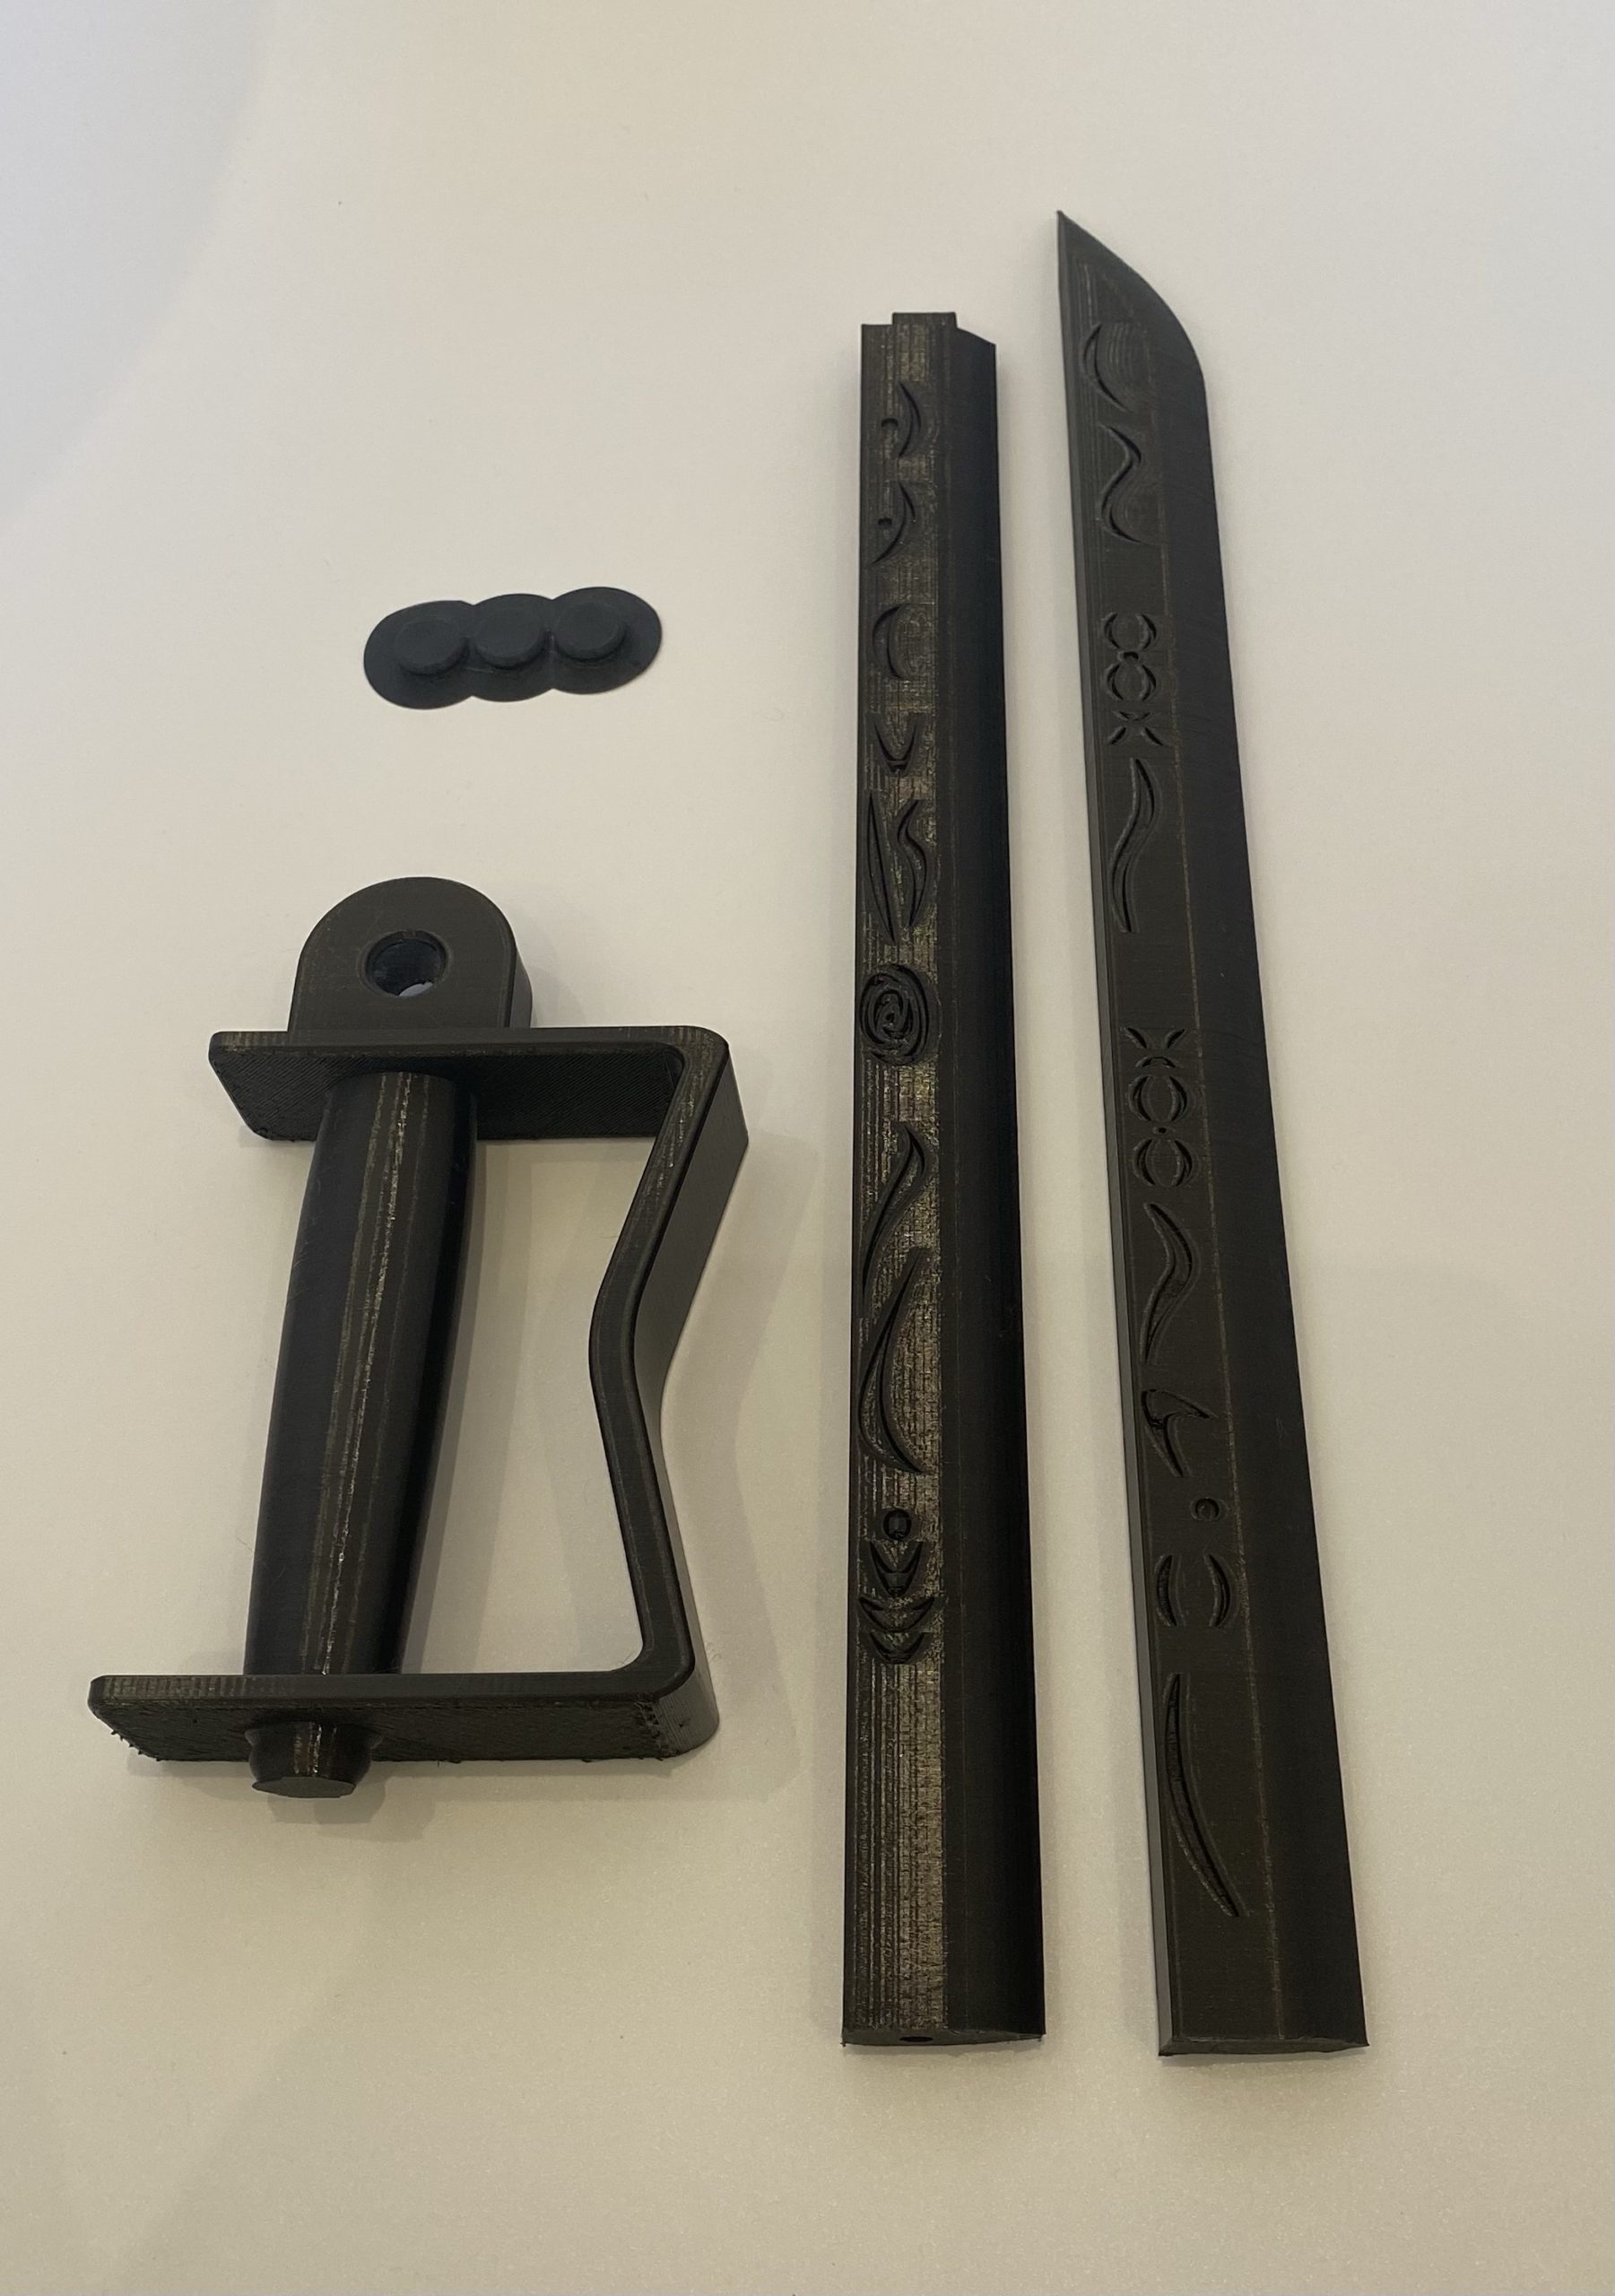
Each component included in the Raw Build Kit:
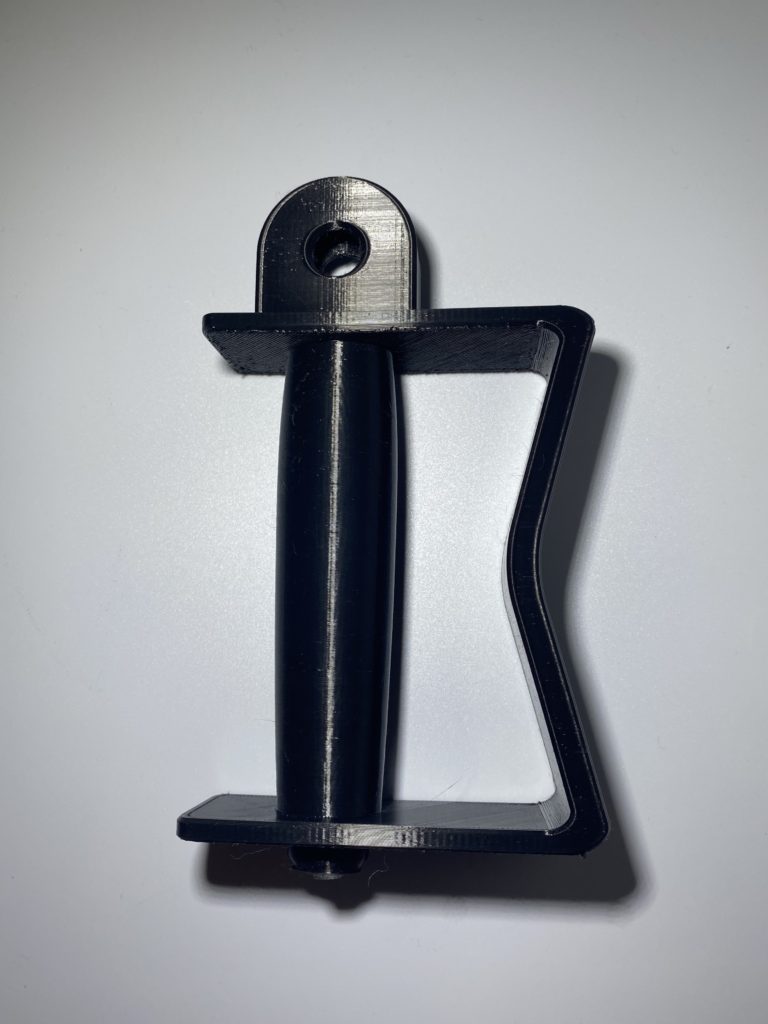
- Handle
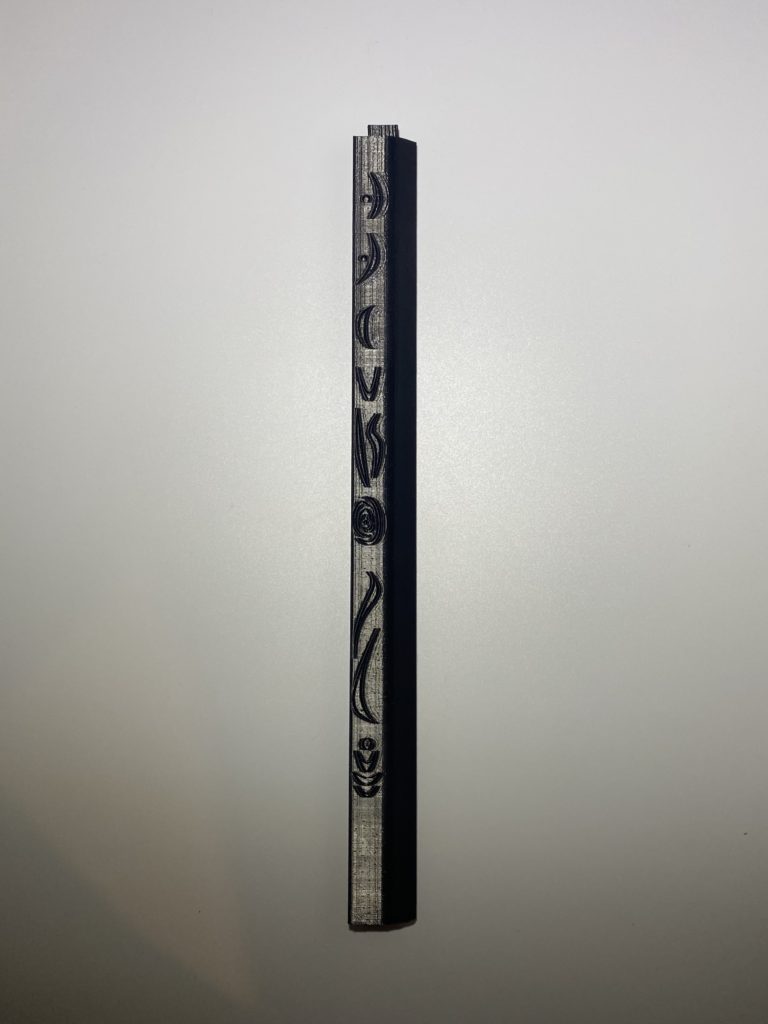
- Blade Base
- Blade Tip
- Studs * 3
- 2 Small Suppport Rods (4mm * 100mm)
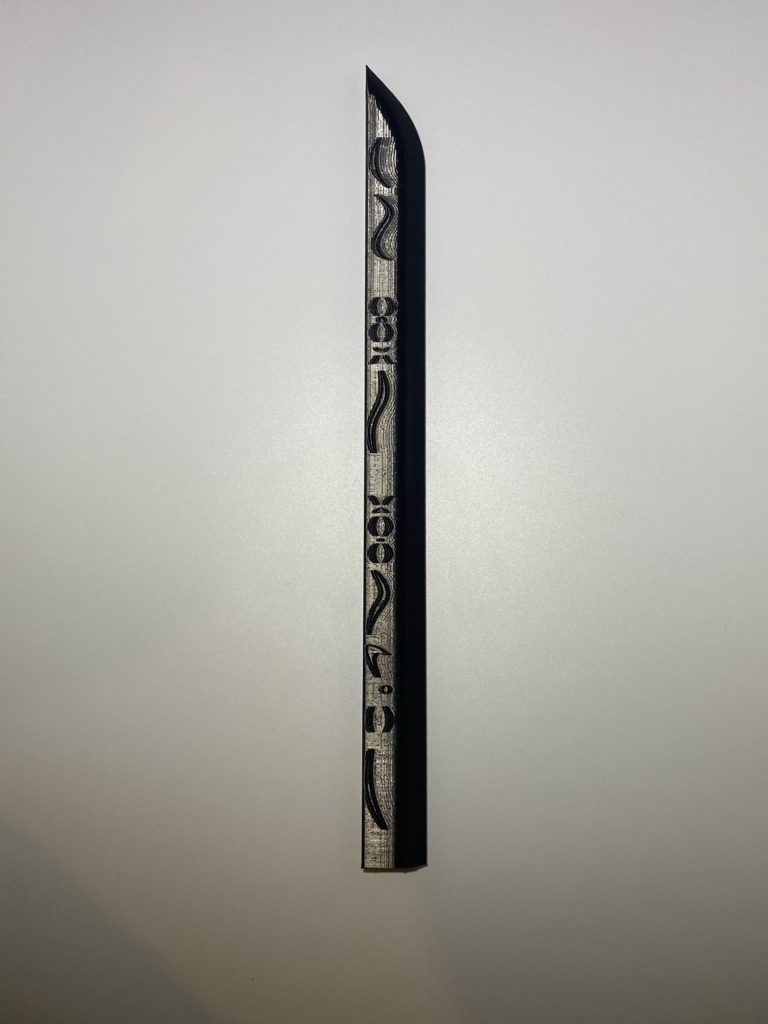
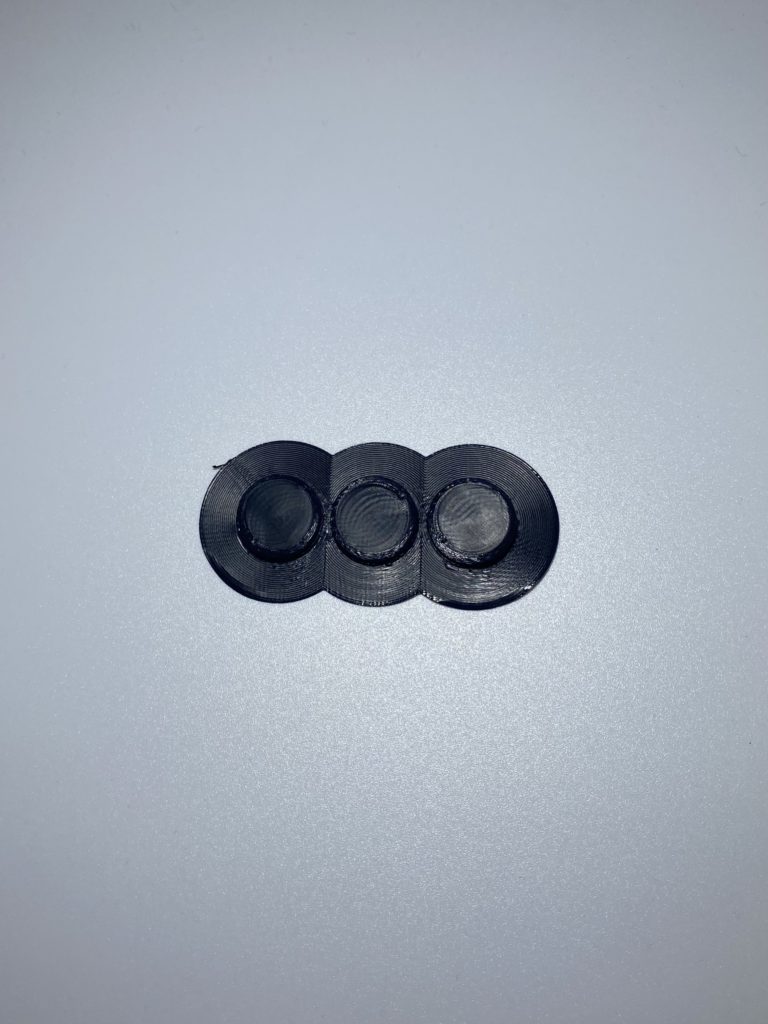
Raw Build Support Rods
Primary support rods (in this case, the long purple one below) are not included in most Raw Build Kits, as their length limits postage; these are best sourced locally. The smaller support rods are included, outlined in yellow below.
The support rods recommended for the Raw Build versions are:
- One Purple: 6mm * 800mm
- Two Yellow: 4mm * 100mm

Print It Yourself Information

A single purchase of the Print It Yourself version of General Armstrong’s or King Bradley’s sword will grant you files to print the design, and you’ll also receive a BY-NC-ND 4.0 license for the files.
Print It Yourself STL File List:
The following components with their respective [FILE_NAME] will be instantly available for download upon purchase:
- Handle [AS_PIY_HANDLE]
- Stud [AS_PIY_STUD]
- First Blade Section [AS_PIY_BLADE_1]
- Second Blade Section [AS_PIY_BLADE_2]
- Third Blade Section [AS_PIY_BLADE_3]
- Final Blade Section [AS_PIY_BLADE_4]
- Complete sword as one piece [AS_MASTER]
- BY-NC-ND- 4.0 Licence [AS_PIY_BY-NC-ND 4.0]
Print It Yourself Support Rods
The support rods recommended for the Print It Yourself version are:
- One Purple: 6mm * 900mm
- Four Green: 3mm * 100mm

Licence Type:
With my 3D files for this FMA cosplay sword build, you will also receive a non-transferable Creative Commons Licence. As standard, this will be the CC BY-NC-ND 4.0 license, although other types are available upon request.
The “human-readable” version of the license type can be found here.
I would like to highlight the NonCommercial part. “NonCommercial means not primarily intended for or directed towards commercial advantage or monetary compensation.” If you are using any designs of mine as part of your work (such as a cosplayer) then this is absolutely fine, and actively encouraged! Or perhaps you made an item a while back and now want to sell it on? You didn’t buy the item for the primary purpose of selling it on, again this is absolutely fine!
However, if you are purchasing the STL files with a view in mind to sell the output, raw or finished? This will require a commercial license.
Build and Assembly Information
Unique Build Information:
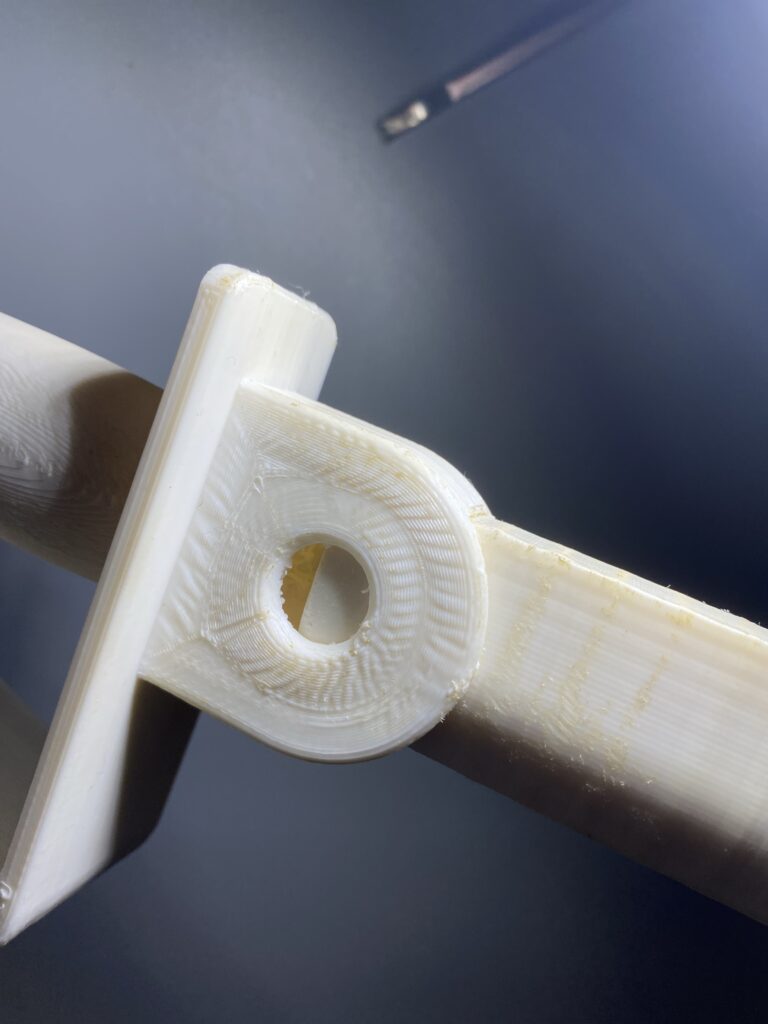
As I fit together every model to ensure there are no surprises, some areas will have been lightly sanded. First, the bottom of the blade is likely to have been worked on to check the fit together with the rods.
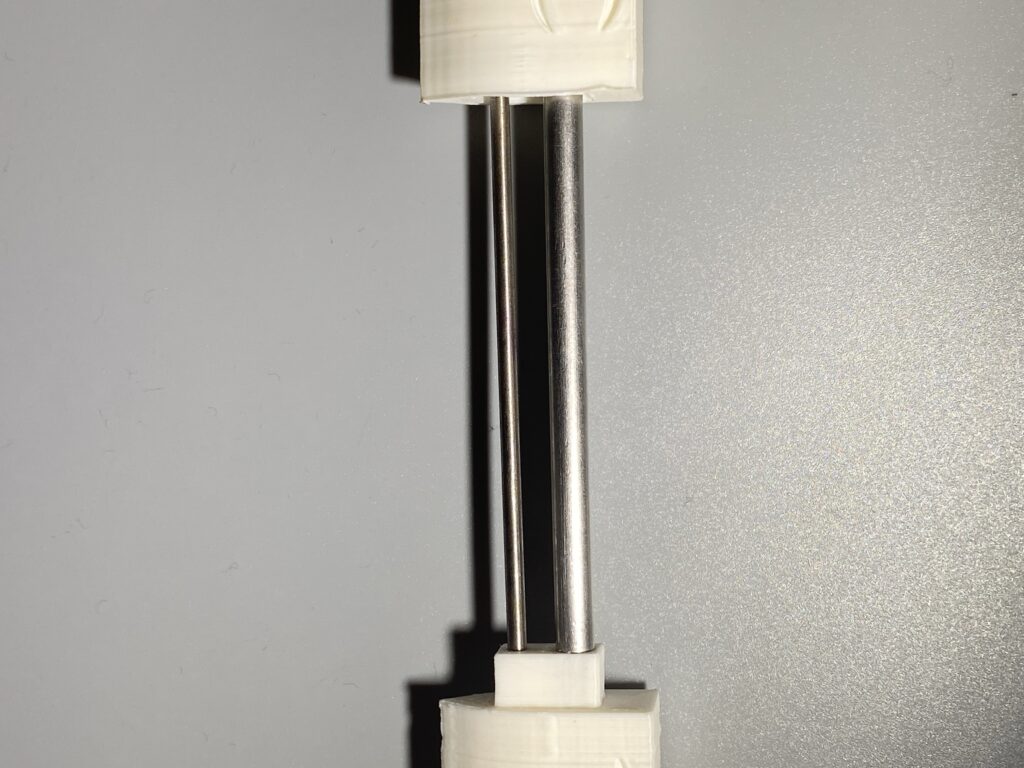
Secondly, the notches on this FMA cosplay sword build will show signs of being worked on. The small areas I sand should be invisible on the final model.
General Assembly Tips and Information:
- Small hand tools are used in the support removal for this FMA cosplay sword build and some small marks may be present on Raw Build kits
- Primary support rods are not included in most Raw Build Kits, as their length limits postage; these are best sourced locally
- Ensure you wear eye protection when removing support material, as it takes just the smallest amount of force to ding a shred of plastic into an eye
- Material colour is subject to change
- I remove the majority of support material to check the part has printed properly and looks good.
- While I do remove the bulk of the support, I do not remove clean the areas where the support was attached, and this will need attention
- Take more care when sanding any resin products, both in terms of waste material and the ease of accidentally ruining the finish
- I make all the holes for the support rod with an additional 0.5mm tolerance on the diameter, and 2mm on the length
- If the metal rods you have are quite shiny, I’d recommend a gentle sanding with low-grit sandpaper to help glue adhesion
- All support rod holes on Raw Build Kits are drilled and checked with the correctly sized rod to ensure a good fit
- Consider lighter support materials, such as tubing or wooden dowel, if weight is a consideration. On a shelf? No issue. After eight hours of carrying it around? Every gram makes a difference
- For the Print It Yourself versions, I try and ensure that no single part is longer than 250mm, sometimes creative angling on the print bed may be required
- If you have a larger printer and would rather the files used in the Raw Build, feel free to message me before or after purchase
Thanks for reading!
If you enjoyed this, perhaps you would like to see another Project?
Love what you saw? Got a project in mind? Feel free to reach out and let me know!


