Introduction
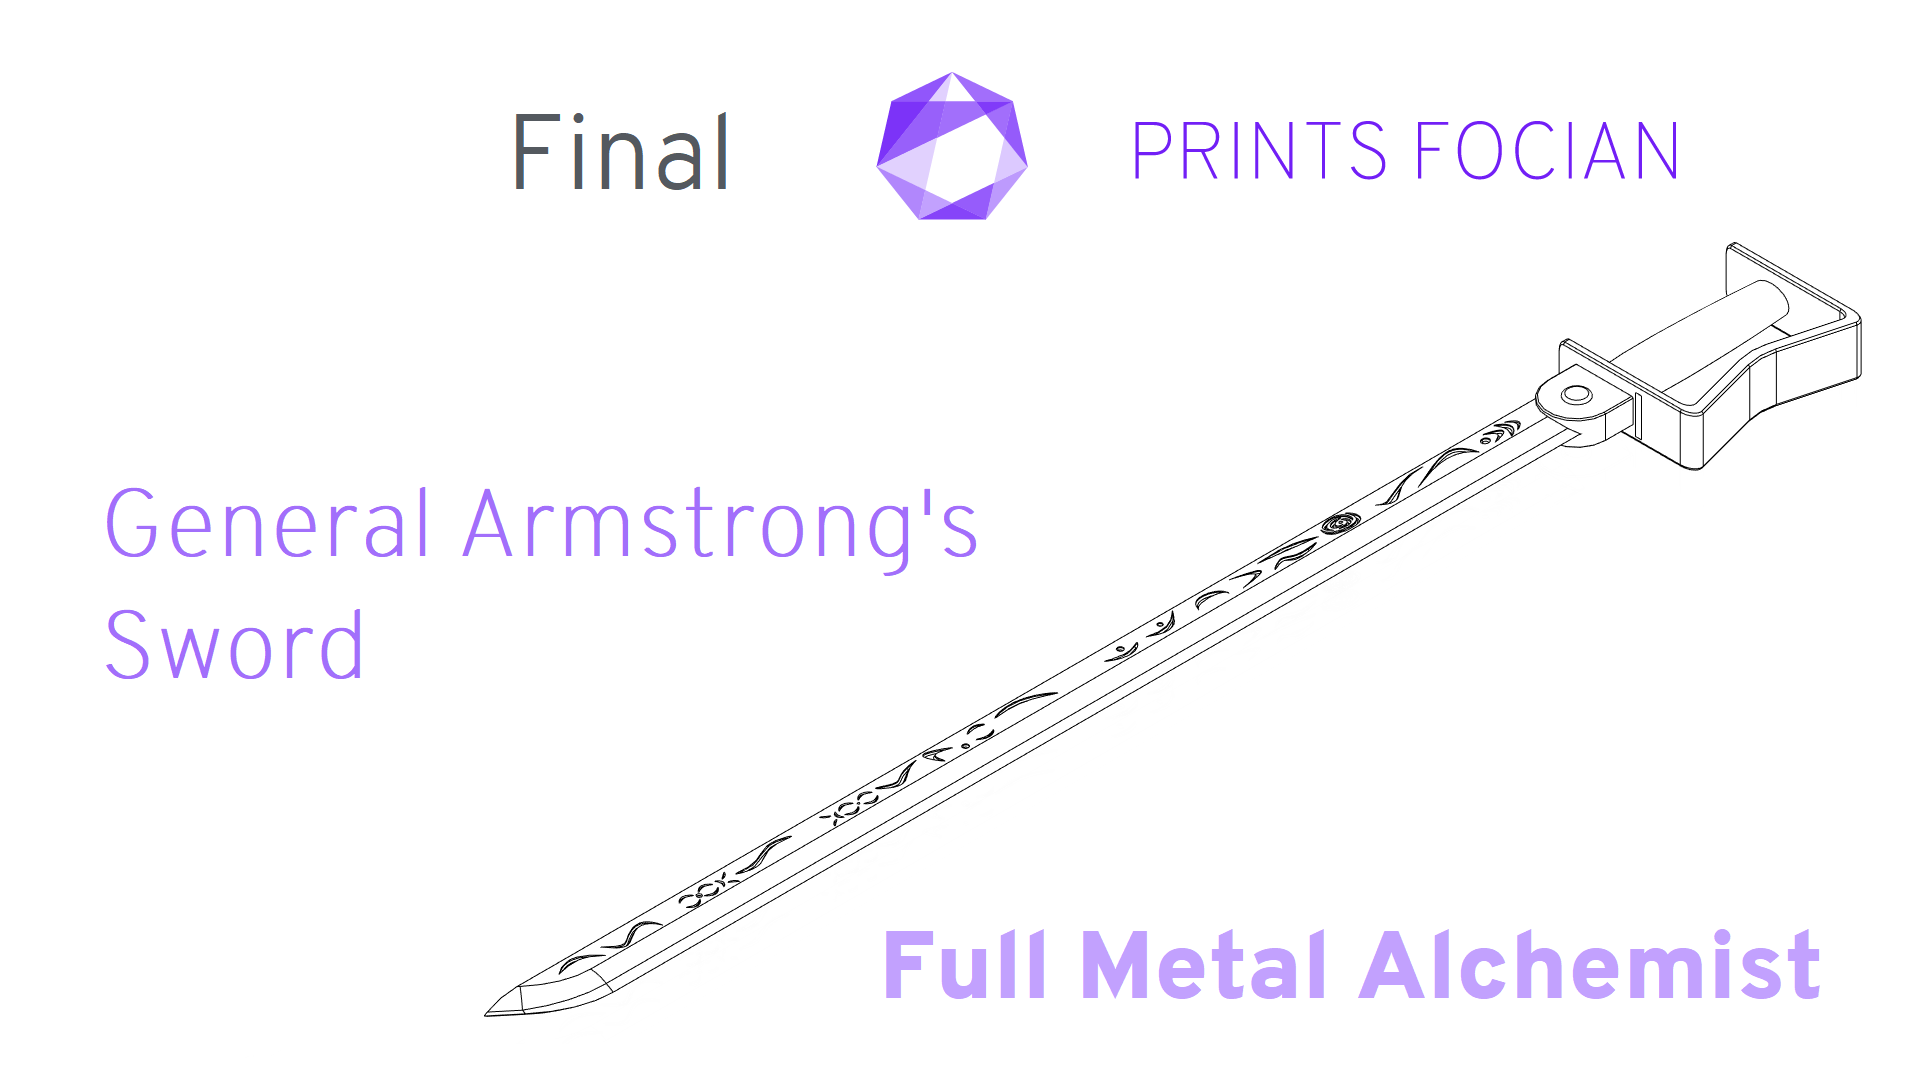
Welcome! In this build guide I’ll be walking you through the process I took in making General Olivier Armstrong’s sword from FMAB.
This will be an intensive look at the Final version of this project from start to finish. It doesn’t matter if you’re looking for guidance with a Build Kit, thinking to Print It Yourself or just curious to see the project: You’re in the right place!
While this unlicenced replica is intended for decorative purposes or for use as a cosplay prop, the main reason for building it is because I got hooked on Full Metal Alchemist and wanted to make something from that world!
I had made some excellent progress with the first prototype of General Olivier Armstrong’s sword from FMAB, but I’d hit a number of snags that made beginning a second sword, and guide along with it, worth the effort. An overall redesign wasn’t in order but a few of the needed tweaks were essential for the quality of life of the sabre.
2025 update, please excuse the brazen shoehorn of certain terms here, and a few more times in the upcoming article: FMA sword replica
Check out the link at the bottom of the page for the Overview if you want to see more!
Design
The first issue I had was with the single bar running through the blade and handle. It would allow torque to be transferred and allows for less-than-perfect alignment of the blades. This one came together nicely in that respect, but there is no need for me to have to line it up when I could have software do that for me perfectly. Instead of one 900mm*6mm rod, I bought two thinner rods: 900mm*4mm & 800mm4mm.
The next issue was the handle. I’d cut it down to pieces trying to make it easier to process, and it was still proving a bit of an issue. Also stretching your wrists out in any direction makes the edge of the handle touch the wrists. Not too much of an issue, but not as ideal as I would have liked (and could lead to injury if swinging it around recklessly… which you shouldn’t do, but I get it, and I’ll tweak the design for safety).
I have an SLA printer and I thought I’d see if I could use the precision of that to alleviate some of the more troublesome aspects of the handle. After messing around with the design again and bringing it within the boundaries of my printer, I moved the handle further from the knuckle guard. The first one I printed was an absolute disaster. I’m new to SLA printing and had a mass between the raft and the first layer. It could potentially be salvageable with the right power tools, but all this waste of resin offered me was the insight that I’d printed the handle too large.
Design tweaked again, more thorough precautions taken when printing, and great success! Using the resin printer for the handle made life a lot easier, at the cost of the more expensive materials being used for the FMA sword replica.

As well as the handle being tweaked, I brought the size of the blade down a little as well. The overall item is only slightly smaller because the Z-axis of the handle was marginally increased when I changed it earlier. Another small quality of life change.
I wasn’t one hundred percent happy with the engravings down the side, either. The design was fine, but many of the layer lines were still visible. I really felt they could benefit from more intensive work than layers of acetone. To do this on Prototype I would have held up the design, so I landed it as another point in the favour of starting the second build.
A majority of the issues were not enough of a problem on their own to stop the project, but they all contributed in their own way to make the second build worth starting now. Where I didn’t need to cannibalize the first build for the second, it allowed me to carry on working while still planning and preparing for the next one!
Build
You can see the failed SLA printed handle in the middle and the refined version to the right; the picture alone justifies the change in the design. It was a large monstrosity that I might have tried to use if the print hadn’t splodgified. Great success in the mini failure, I just wish it hadn’t cost a bottle of resin to learn…
You can also see that the current model has two smaller rods going through it to aid with the strength and stability of the build.

The next challenge was the engravings on this FMA sword replica. I had some measured success spending a few days painting the engravings on Prototype I by using acetone to smooth down the visible layer lines, but I still wasn’t happy with the result.
The plan was to try a three-prong attack:
Step one: aggressively file the edges of the engravings:

Step two: clean out the dust and begin acetone smoothing with a paintbrush.

Step three: Paint some viscous UV resin into the filed and smoothed engravings and leave it under a blacklight for a short while. Unfortunately, I used a little too much in one area and flooded out part of the detail. The technique worked well, but I’ll need to be careful about how much I apply.

Mmmmmmmm, pretty light. The blade of the FMA sword replica is curing under blacklight.

The handle as one piece from the resin printer needed much less work beyond a thorough clean with isopropyl alcohol and a light sand & prime.

The engravings needed very little extra work, and the next step was sanding and priming the blade a few times. Same steps (and possibly the same pictures) as Prototype I at this point. With the handle and blade ready to go, the studs would be a small job; the build phase is completed!

Finish
Looking good after a few layers of Vallejo Metallic Black [77.660] on the handle.

Then finish it off with a few layers of Vallejo’s Gloss Varnish [70.510].

Now, all that awaits the handle is the studs. Printed off nicely on the SLA, and curing under a UV blacklight.

I used a grey primer base coat and finished it with Vallejo Metallic Bright Brass [71.067] and Vallejo Gloss Varnish [70.510].

Back to the FMA sword replica blade! I’ve given it a quick coat of Vallejo Black Surface Primer [77.660], looks good next to the first model.

I changed my mind, decided to go with a grey primer, sanded through the range to 2,000. Effort, but worth it!

One of my favourite prop makers, The Cosplay Bunny, was kind enough to offer some technical advice on how to achieve a great metallic finish. Some of the finishes on her work are without equal, and I strongly recommend you check out some of her props and other content! Although I am detailing each and every step, the process here (and one step at the end) is not mine to share.

I absolutely love this finish, so smooth!

With all the components completed, it was time to assemble and glue everything, and I’m done!!

Result:
The tweaks I made to this FMA sword replica and the extra effort being put into the engravings all paid off on the finished piece. I’ll need to take a little more time working with UV resin, especially playing around with different temperatures to see the different results.
The changes to the handle and hilt make the sword more comfortable to wield with one hand, definitely a good change! As well as that, it is easier to process and slightly cheaper to print.
There will be at least one minor tweak to the design, as I change an engraving that looks like a spider, into a rose.
Excluding that final tweak, this is Final! I’m delighted with the end result, even with a couple of minor imperfections.

The only imperfection is similar to the first: Visible seams between the two parts in the right light. The next sword I join is likely going to have the way I process the joints revaluated because this just isn’t working. It still looks great, but I want no imperfections on future models!!

So freaking happy with this! I’ll be honest, I’m not too fussed if this doesn’t sell, it looks great on my wall!

I *love* how the engravings look when they catch the light!

And lastly, the finished Prototype and Final Sword together!

Thanks for reading!
If you enjoyed this, you might like some of the related articles from the Overview, or perhaps a different Project altogether?
Love what you saw? Got a project in mind? Feel free to reach out and let me know!