Introduction
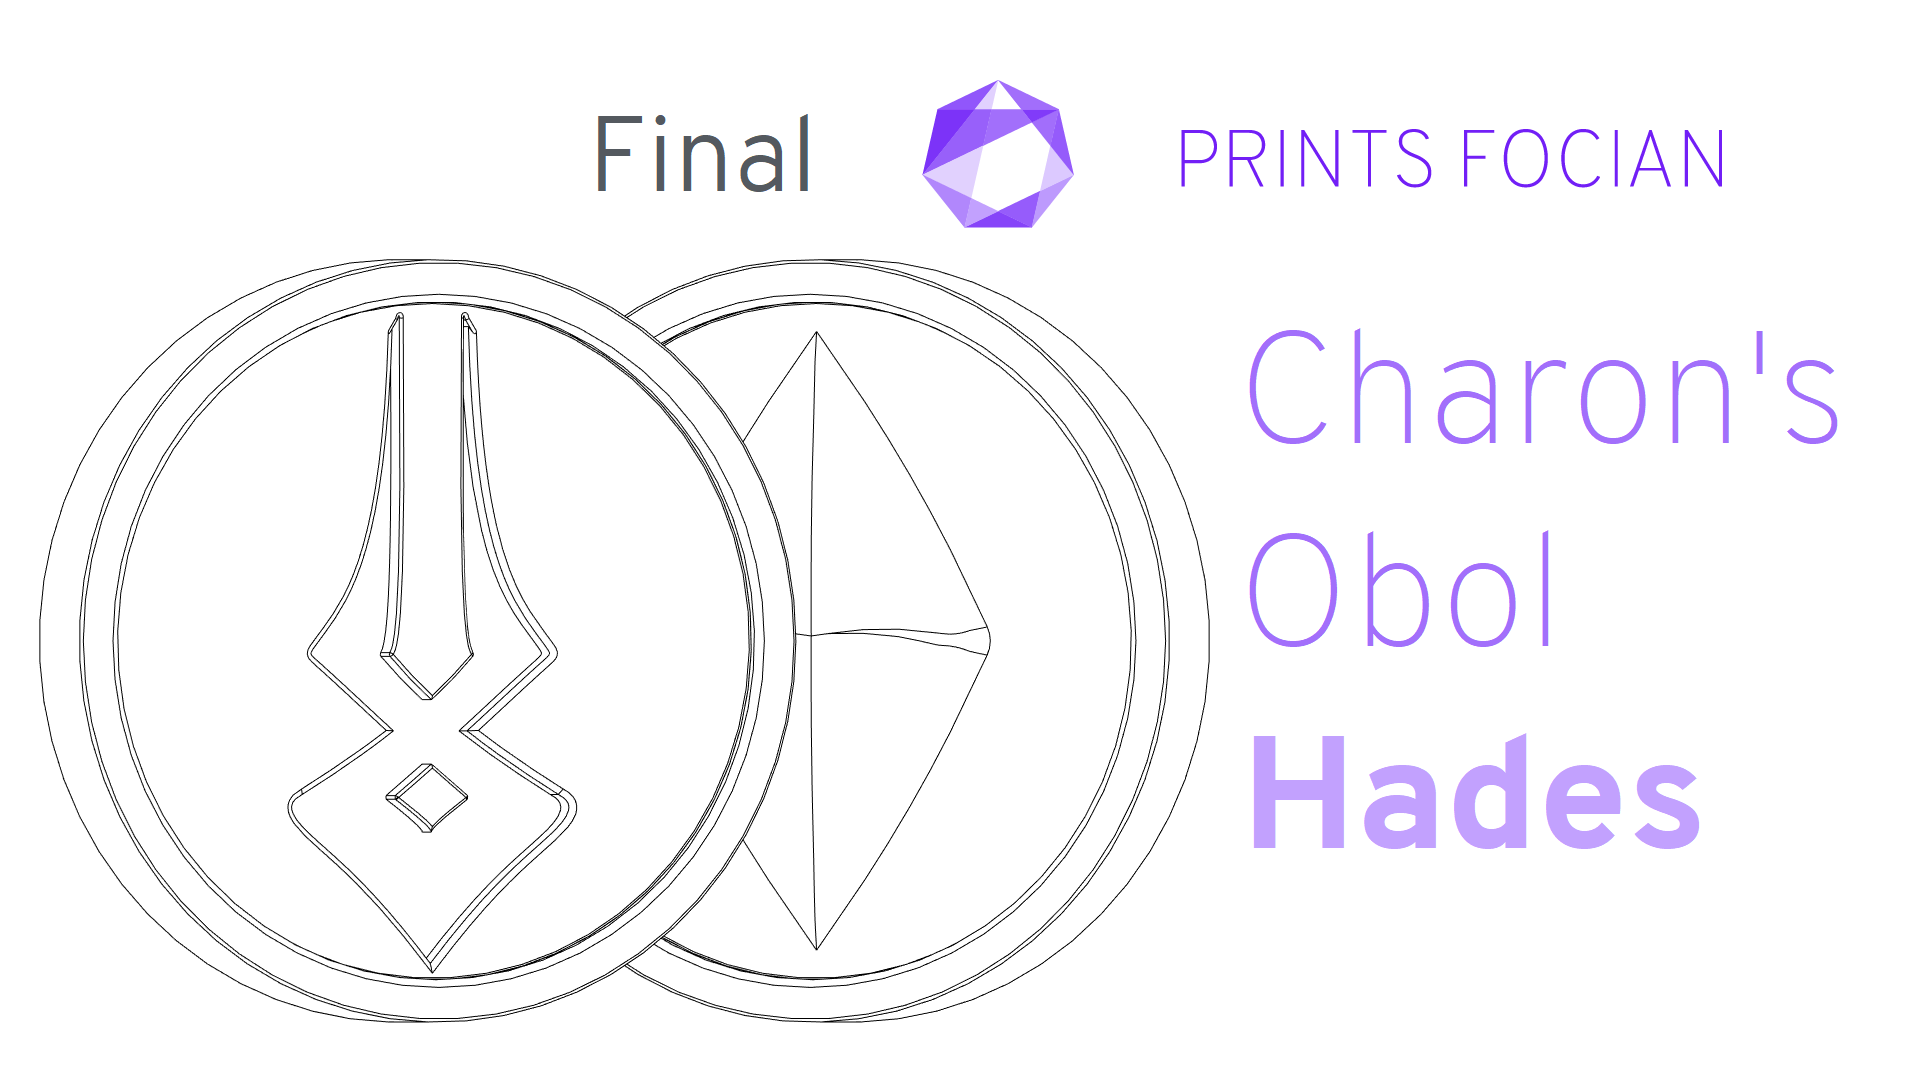
Welcome! In this build guide I’ll be walking you through the process I took in making a finished coin inspired by Charon’s Obol from Supergiant Games Hades.
This will be an intensive look at the Final version of this project from start to finish. It doesn’t matter if you’re looking for guidance with a Build Kit, thinking to Print It Yourself or just curious to see the project: You’re in the right place!
While this unlicenced replica is intended for decorative purposes or for use as a cosplay prop, the reason for building it is because it’s quite unlike my past work and I can’t stop playing Hades at the moment!
Check out the link at the bottom of the page for the Overview if you want to see more!
Design
Much like Prototype III, no alterations on the design were made, and the size was set for 60mm. The video below is when I was working on Prototype I and II.
Build
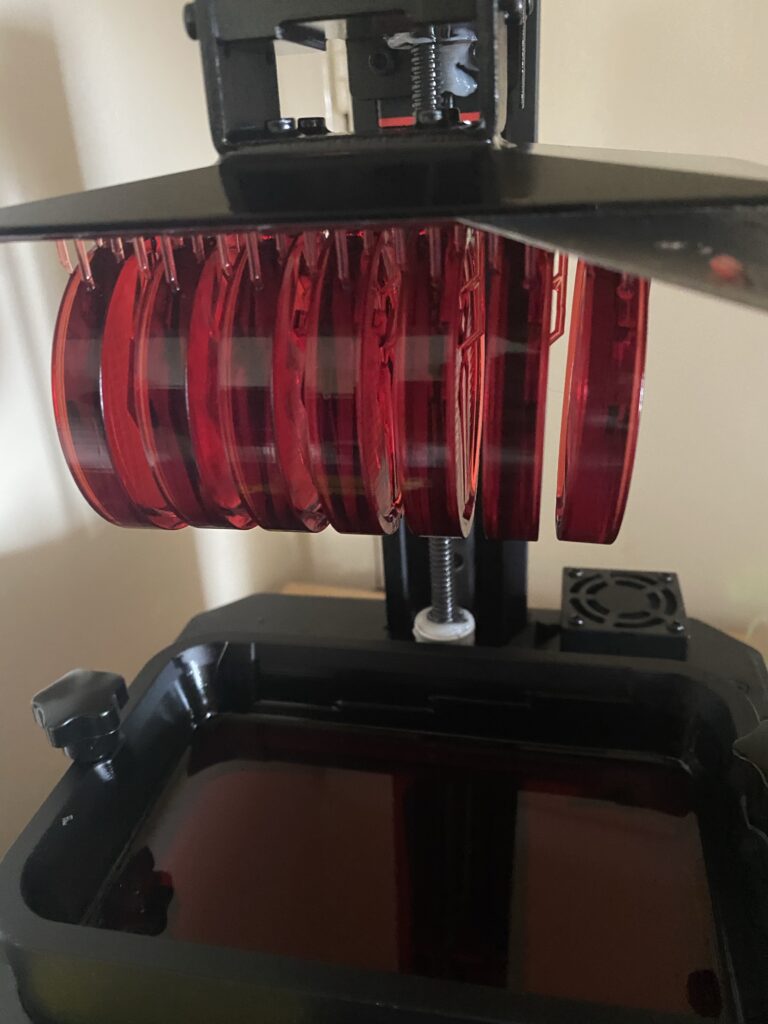
With the design locked, I set out to start printing. I’m printing seven at once despite still not having one final finished piece because I am still yet to learn my lesson.
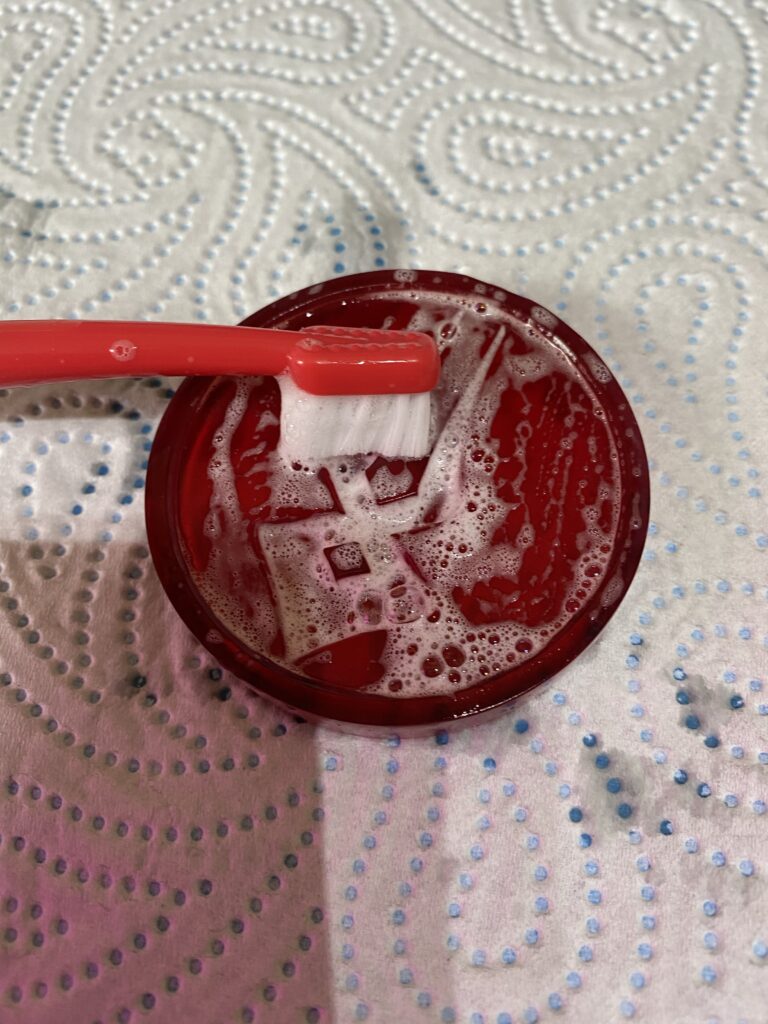
A little scrub with a soft dental brush and washing up liquid to clear any excess resin.
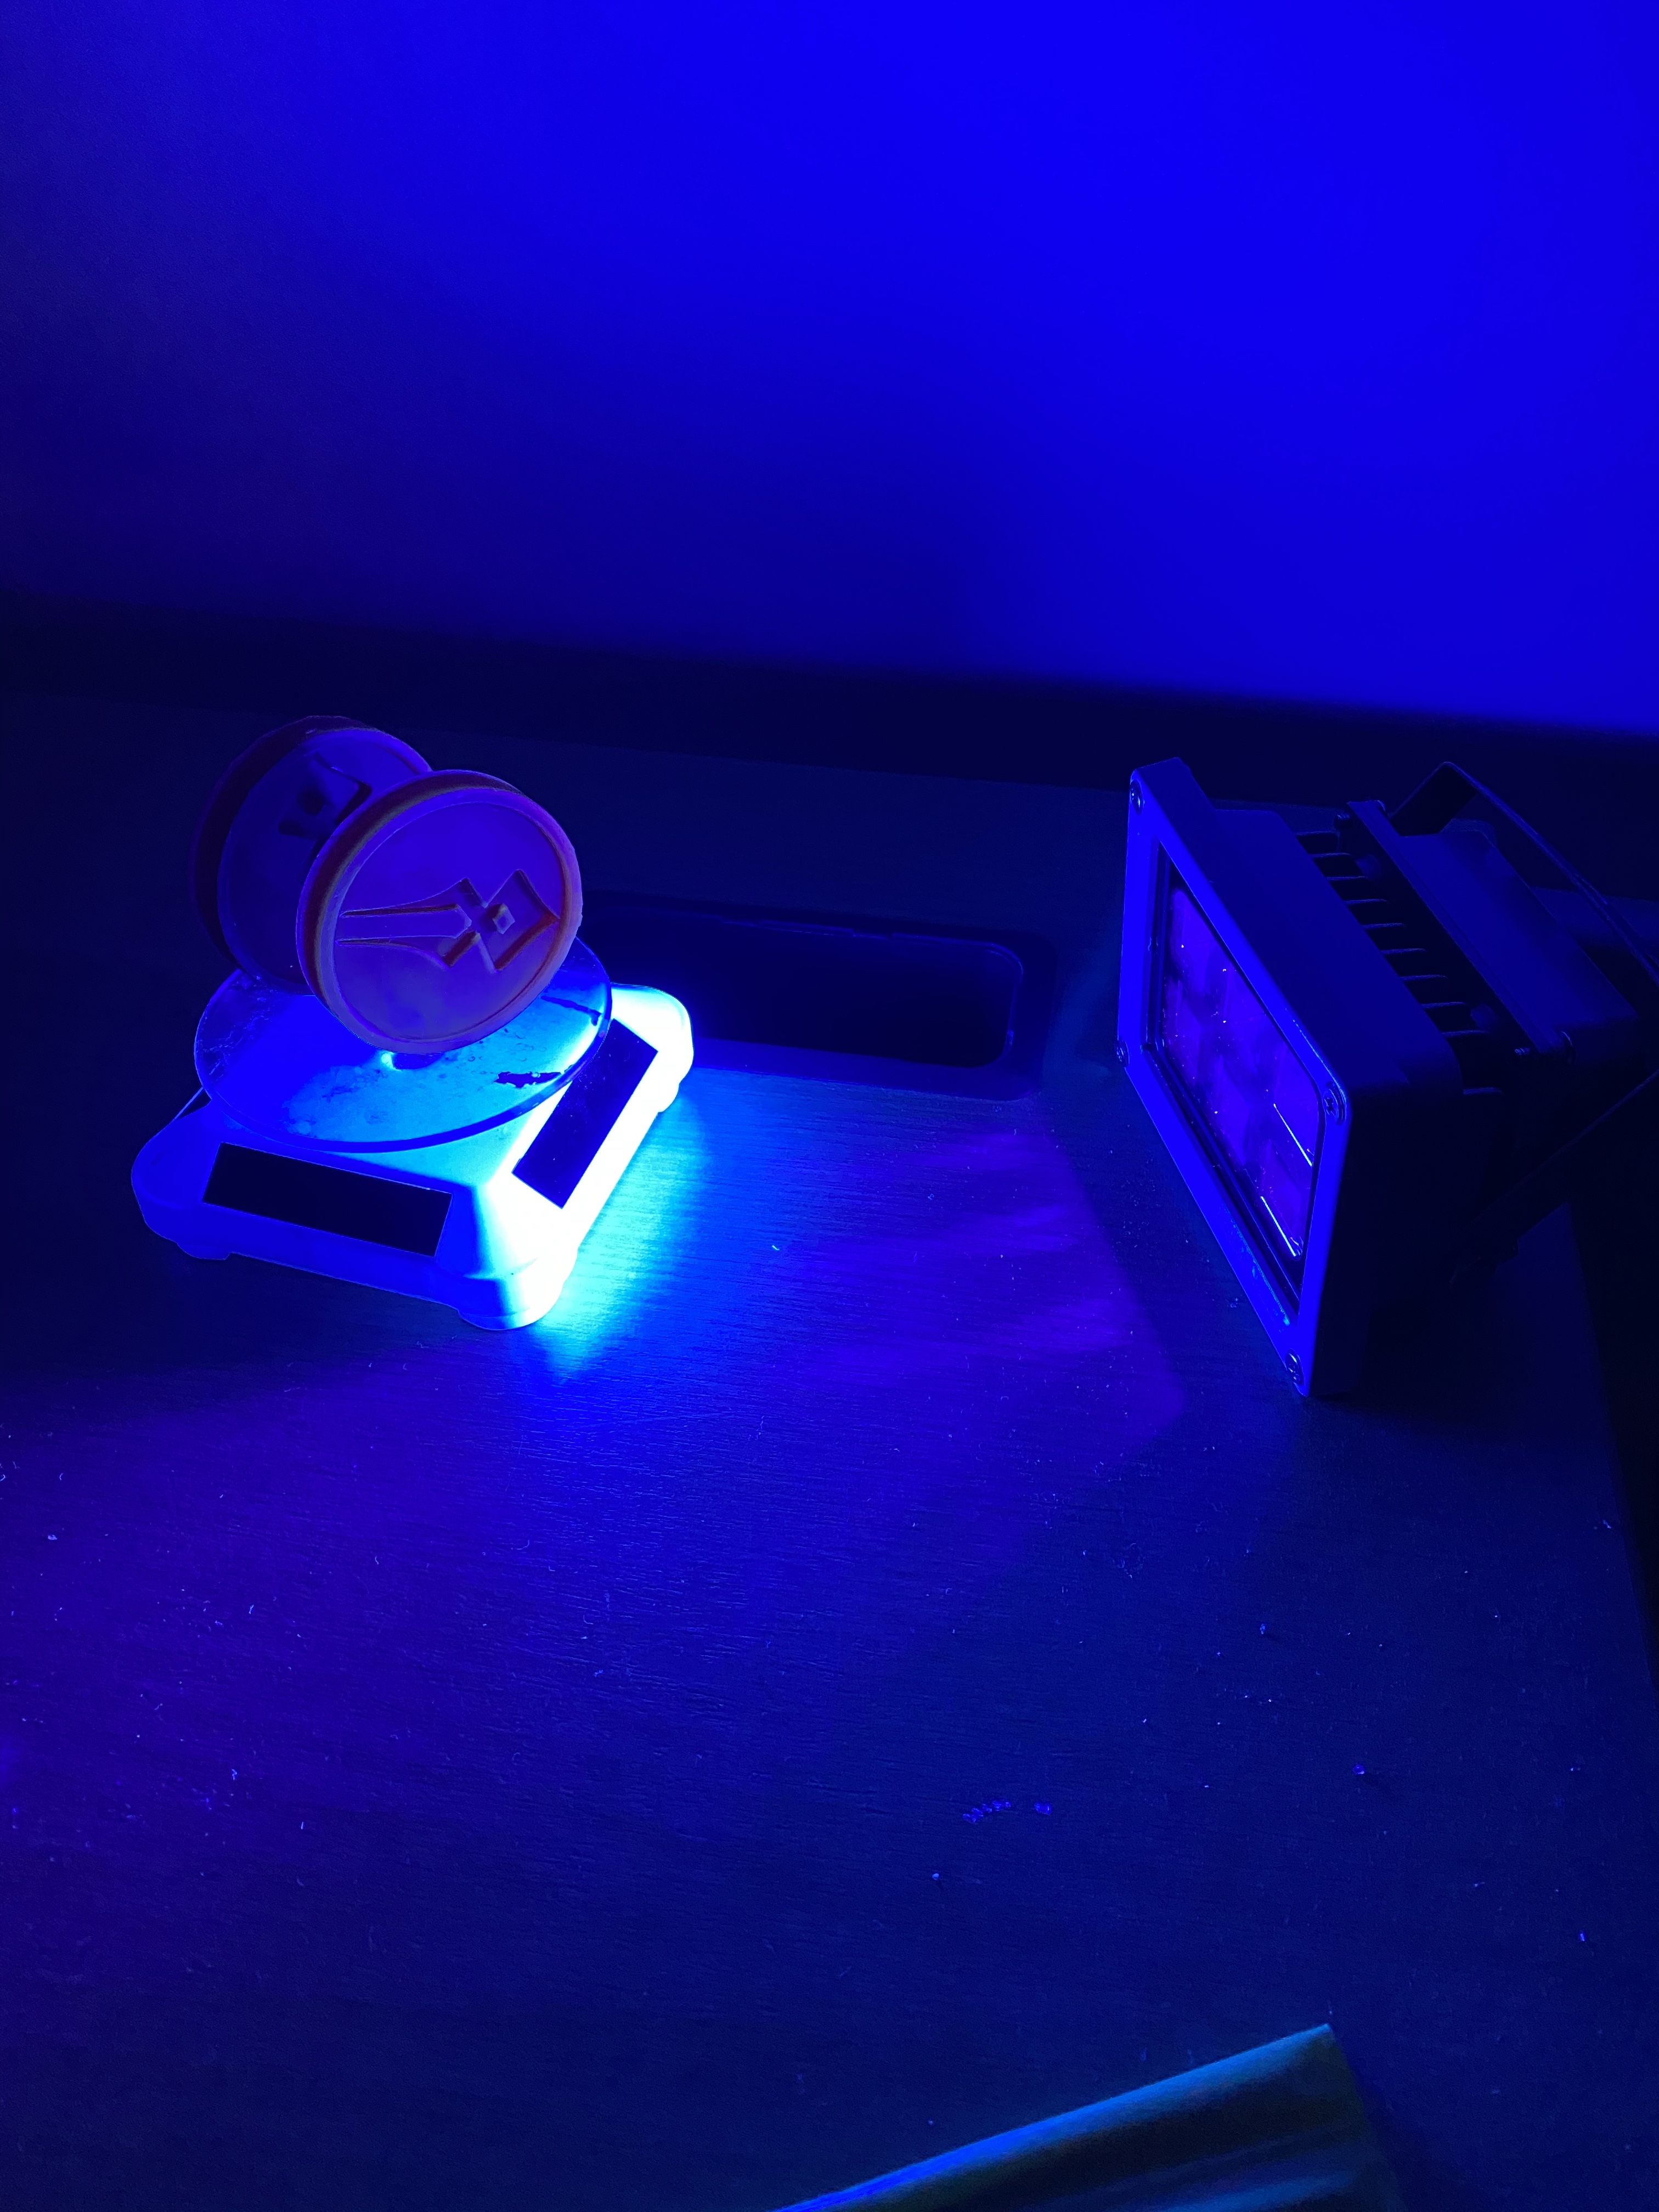
I’m using a basic UV light and turntable to allow the coin to cure evenly.
If you have purchased one of these coins in a raw state then all of the above have been carried out. The remainder of the actions I document here can be followed along as a guide.
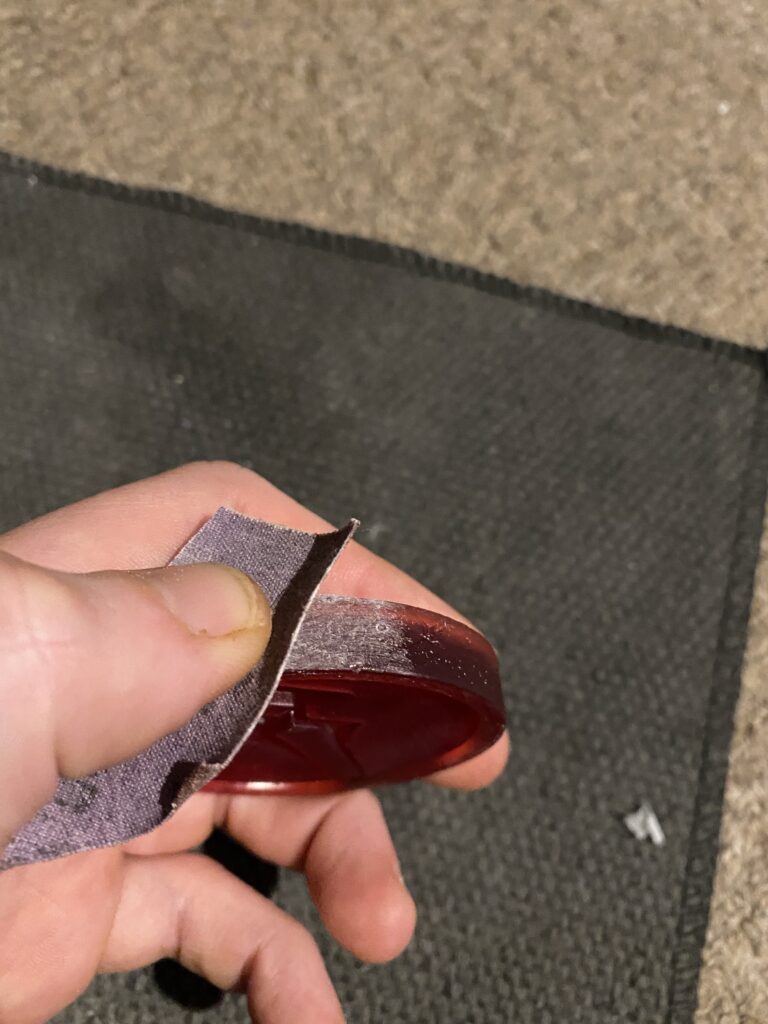
I remove the support marks from the rim with a light sanding.
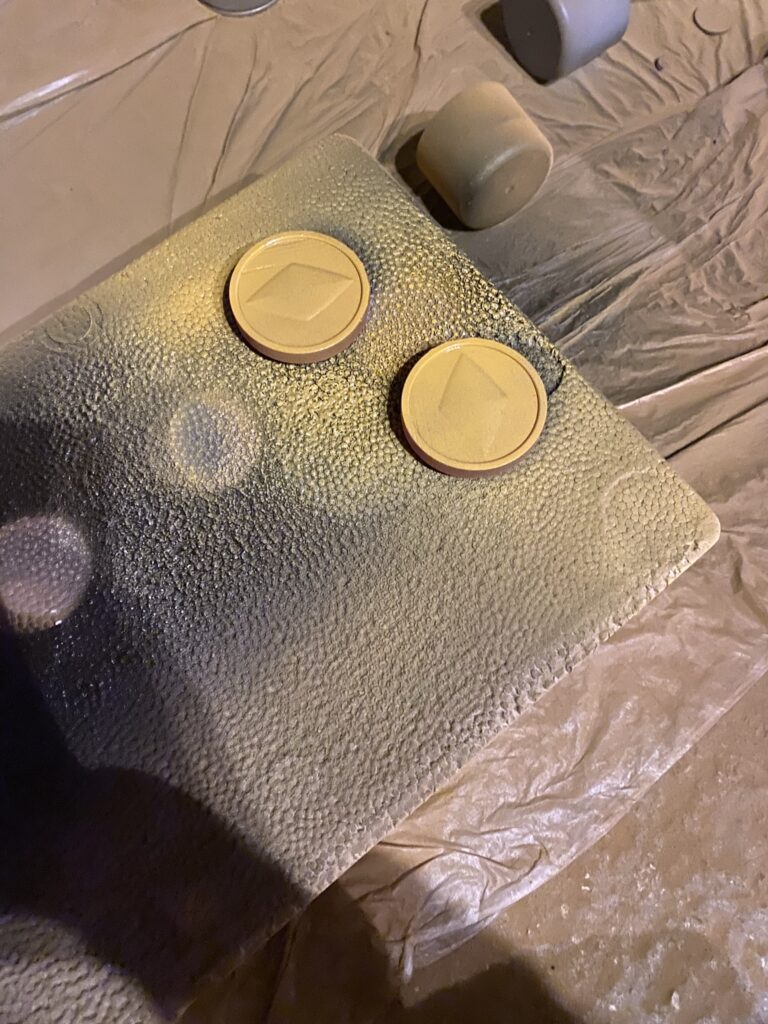
And the last stage of the build phase is a spray of Primer Filler.
Finish
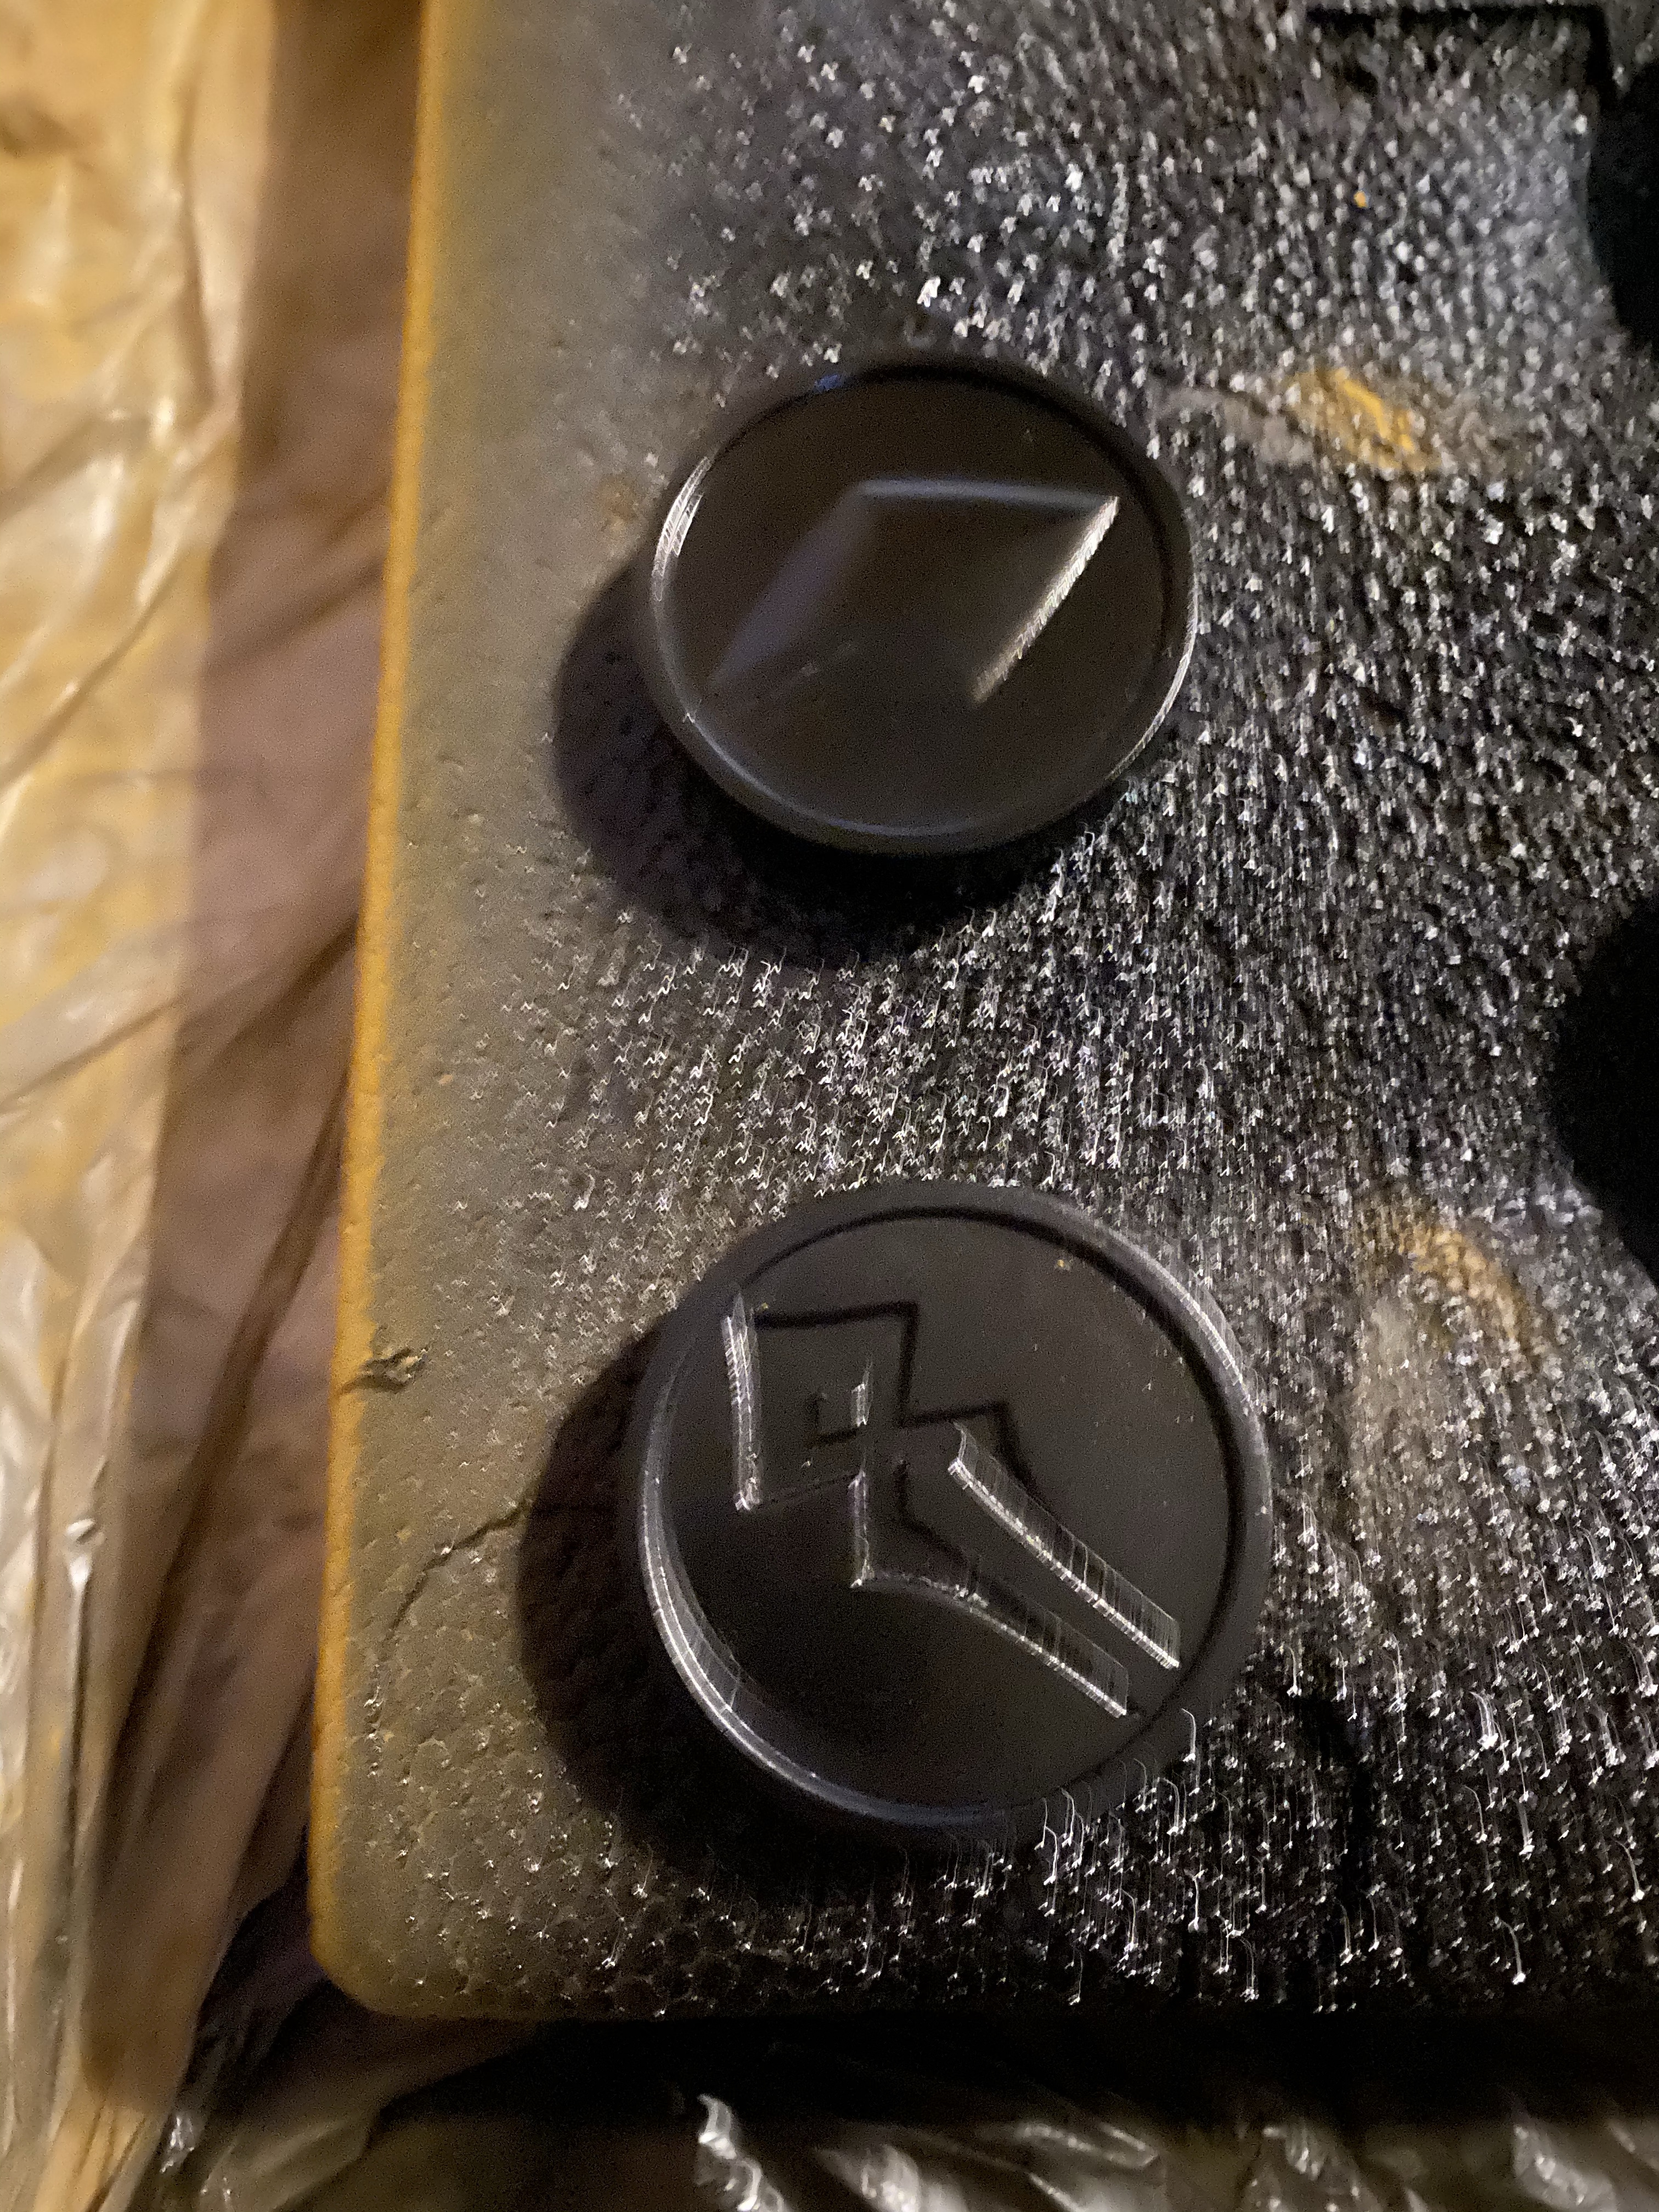
Yellow Primer Filler, then a layer of Gloss Black.
And now for the metallic gold finish. Which gold am I going for on the final piece? Maybe the standard Vallejo Gold? Or the Bright Brass? Nope, neither. I’m delighted to report I found a place selling the amazing paint I had fallen in love with previously!!
I have stocked up, so I should have no issue ensuring that all coins I make will be finished in the beautiful Vallejo Colourshift Burnt Orange/Yellow Gold [77.015]!
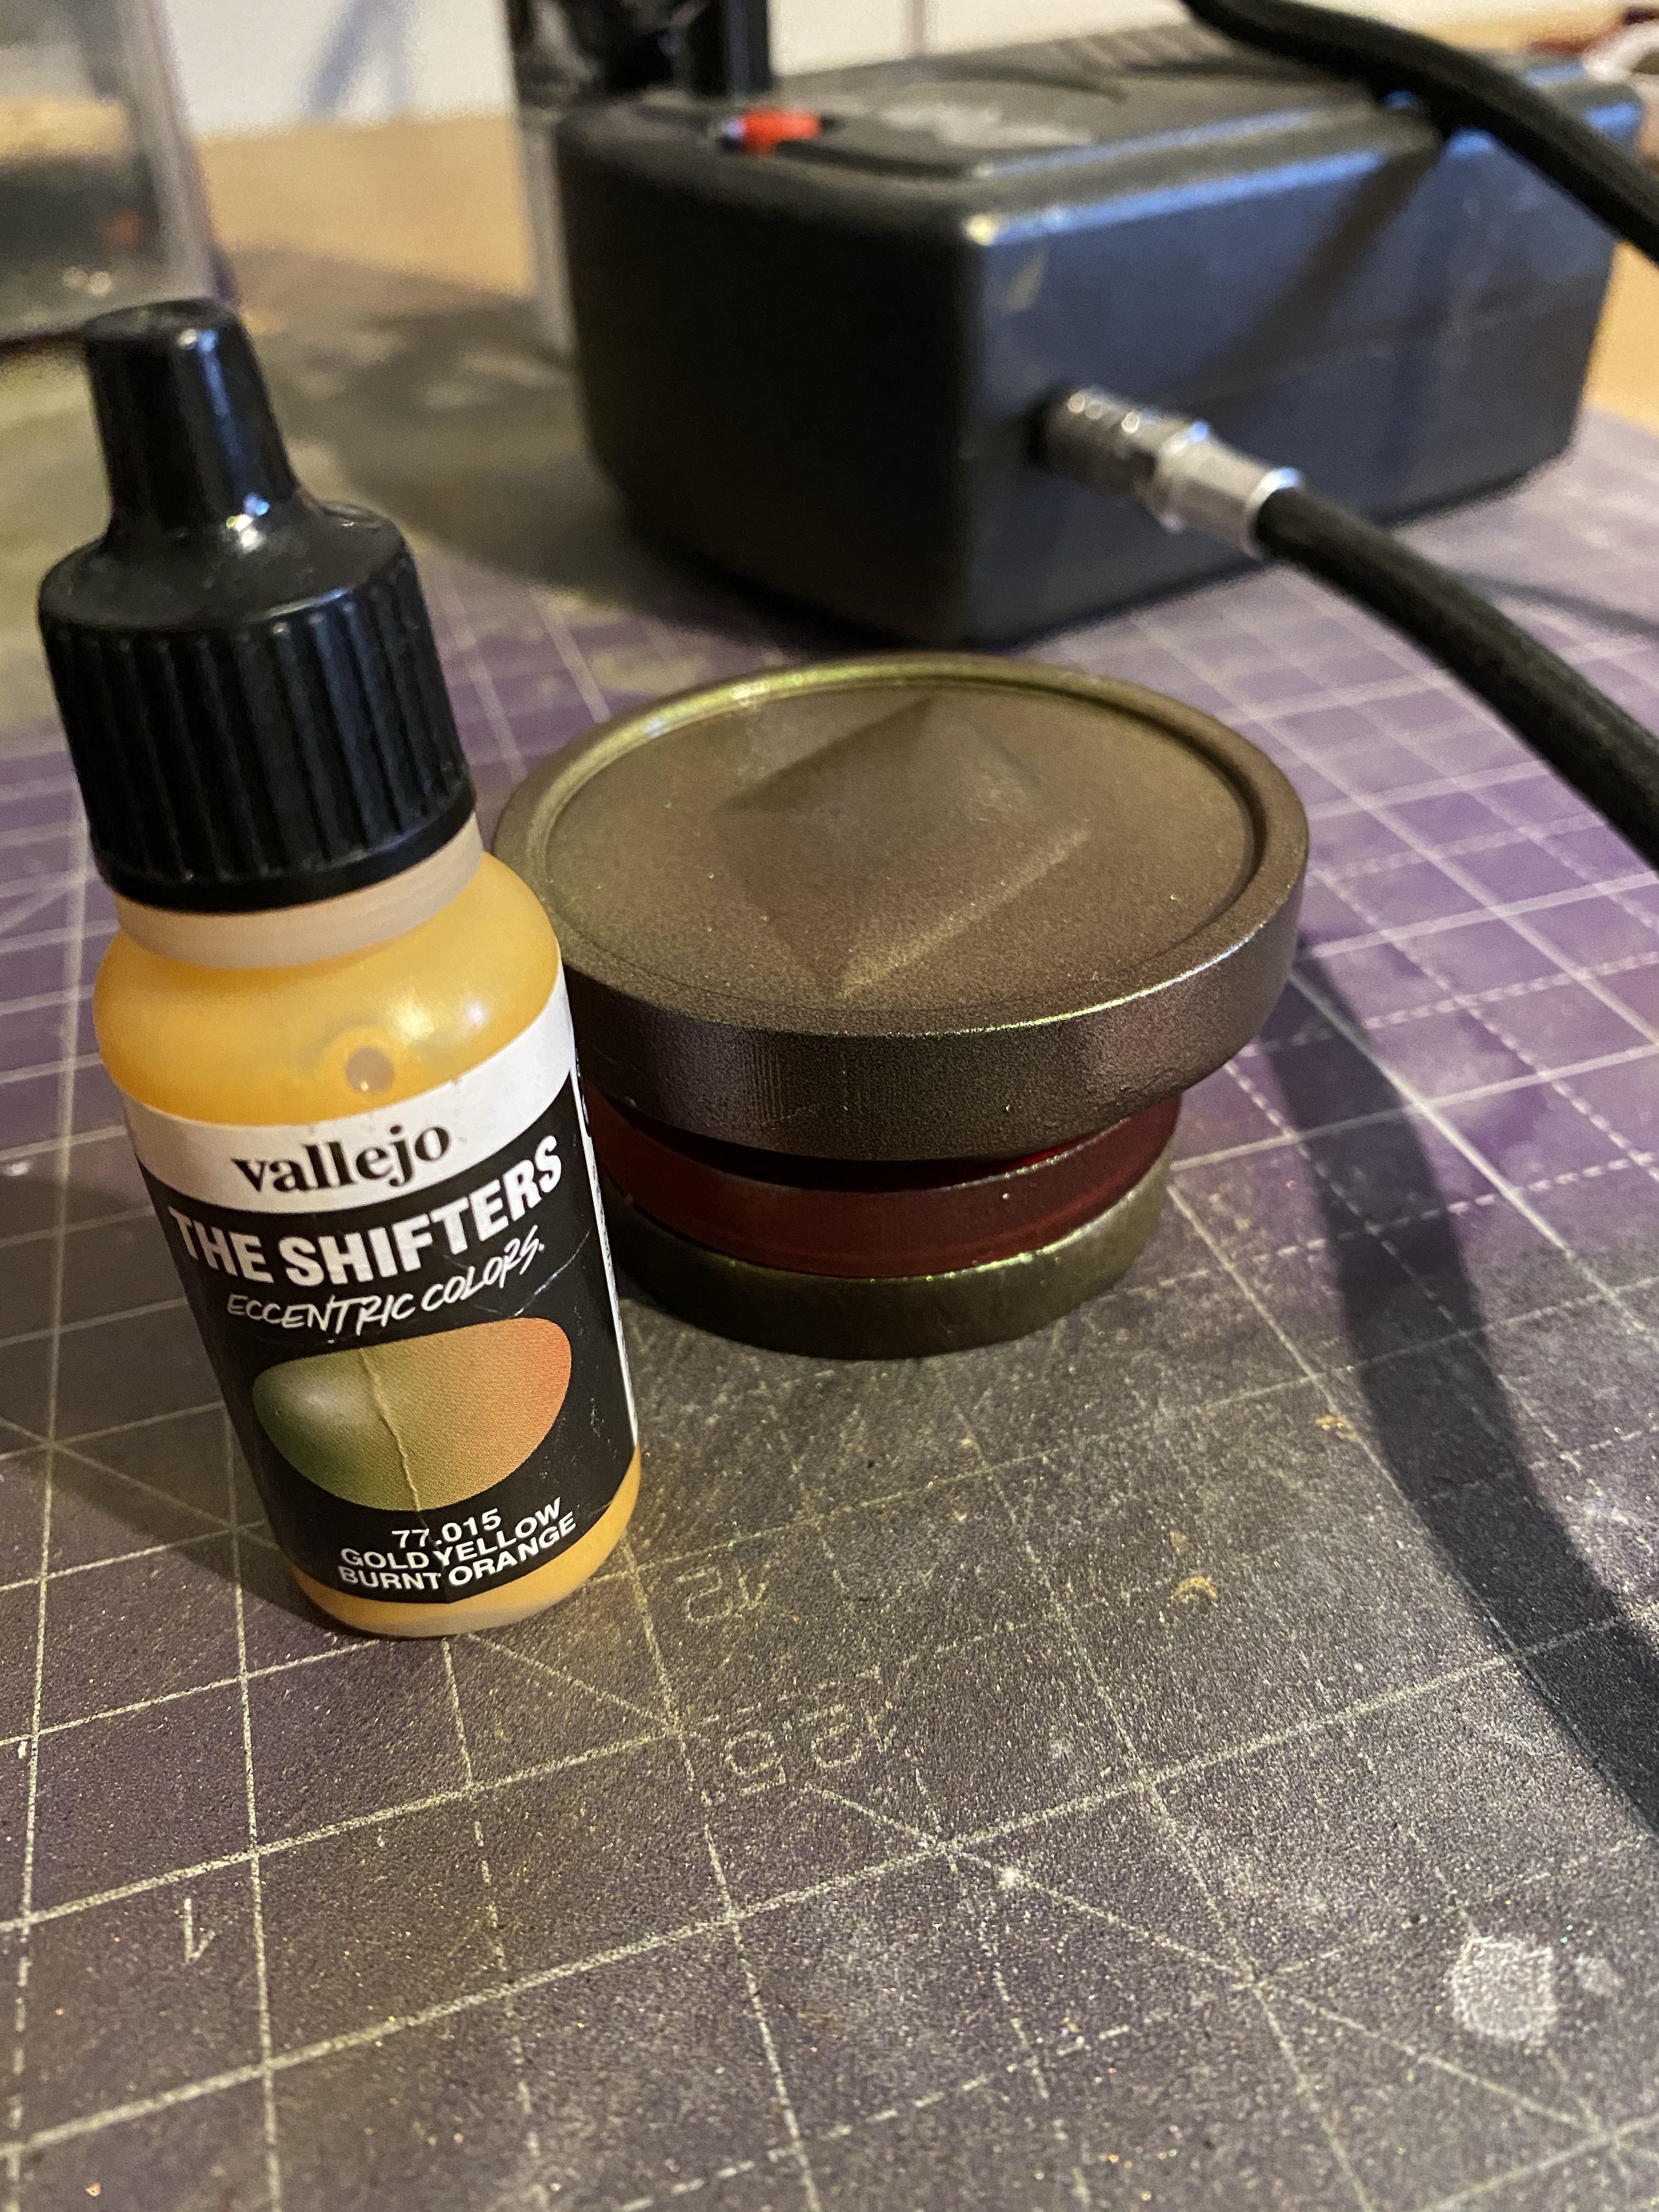
After a few layers, it’s looking perfect!
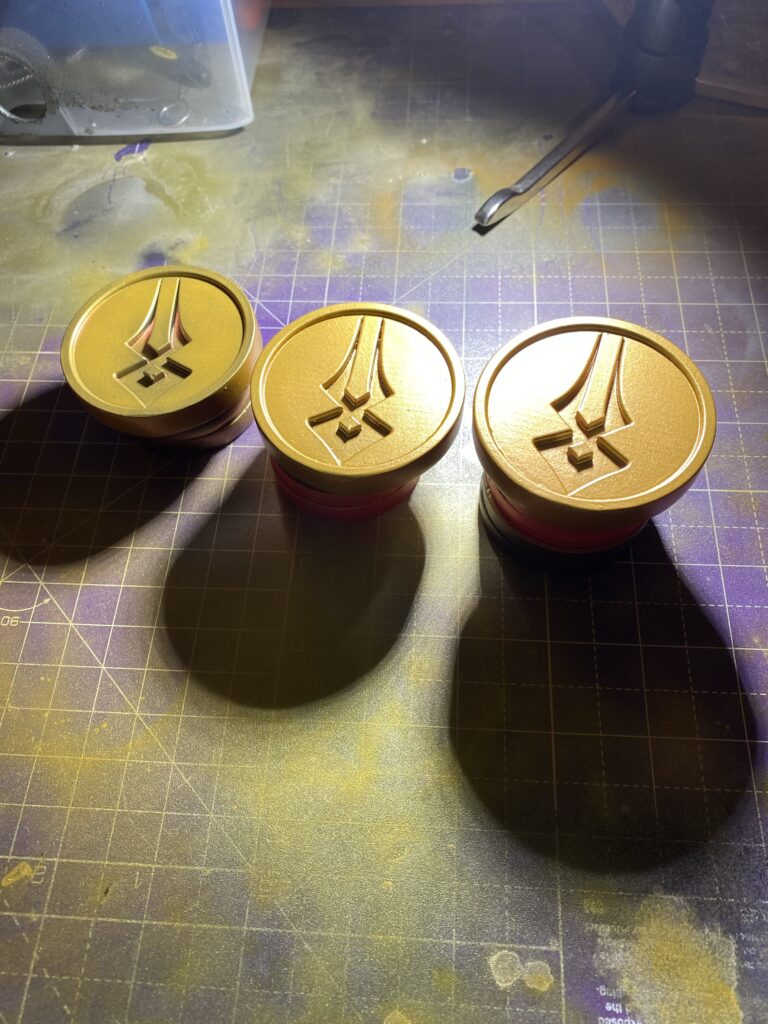
Now onto the symbol! What I’ll use is still slightly vexing me, but I think the answer is going to be epoxy resin and dyes. I purchased a few bis of equipment to play around with:
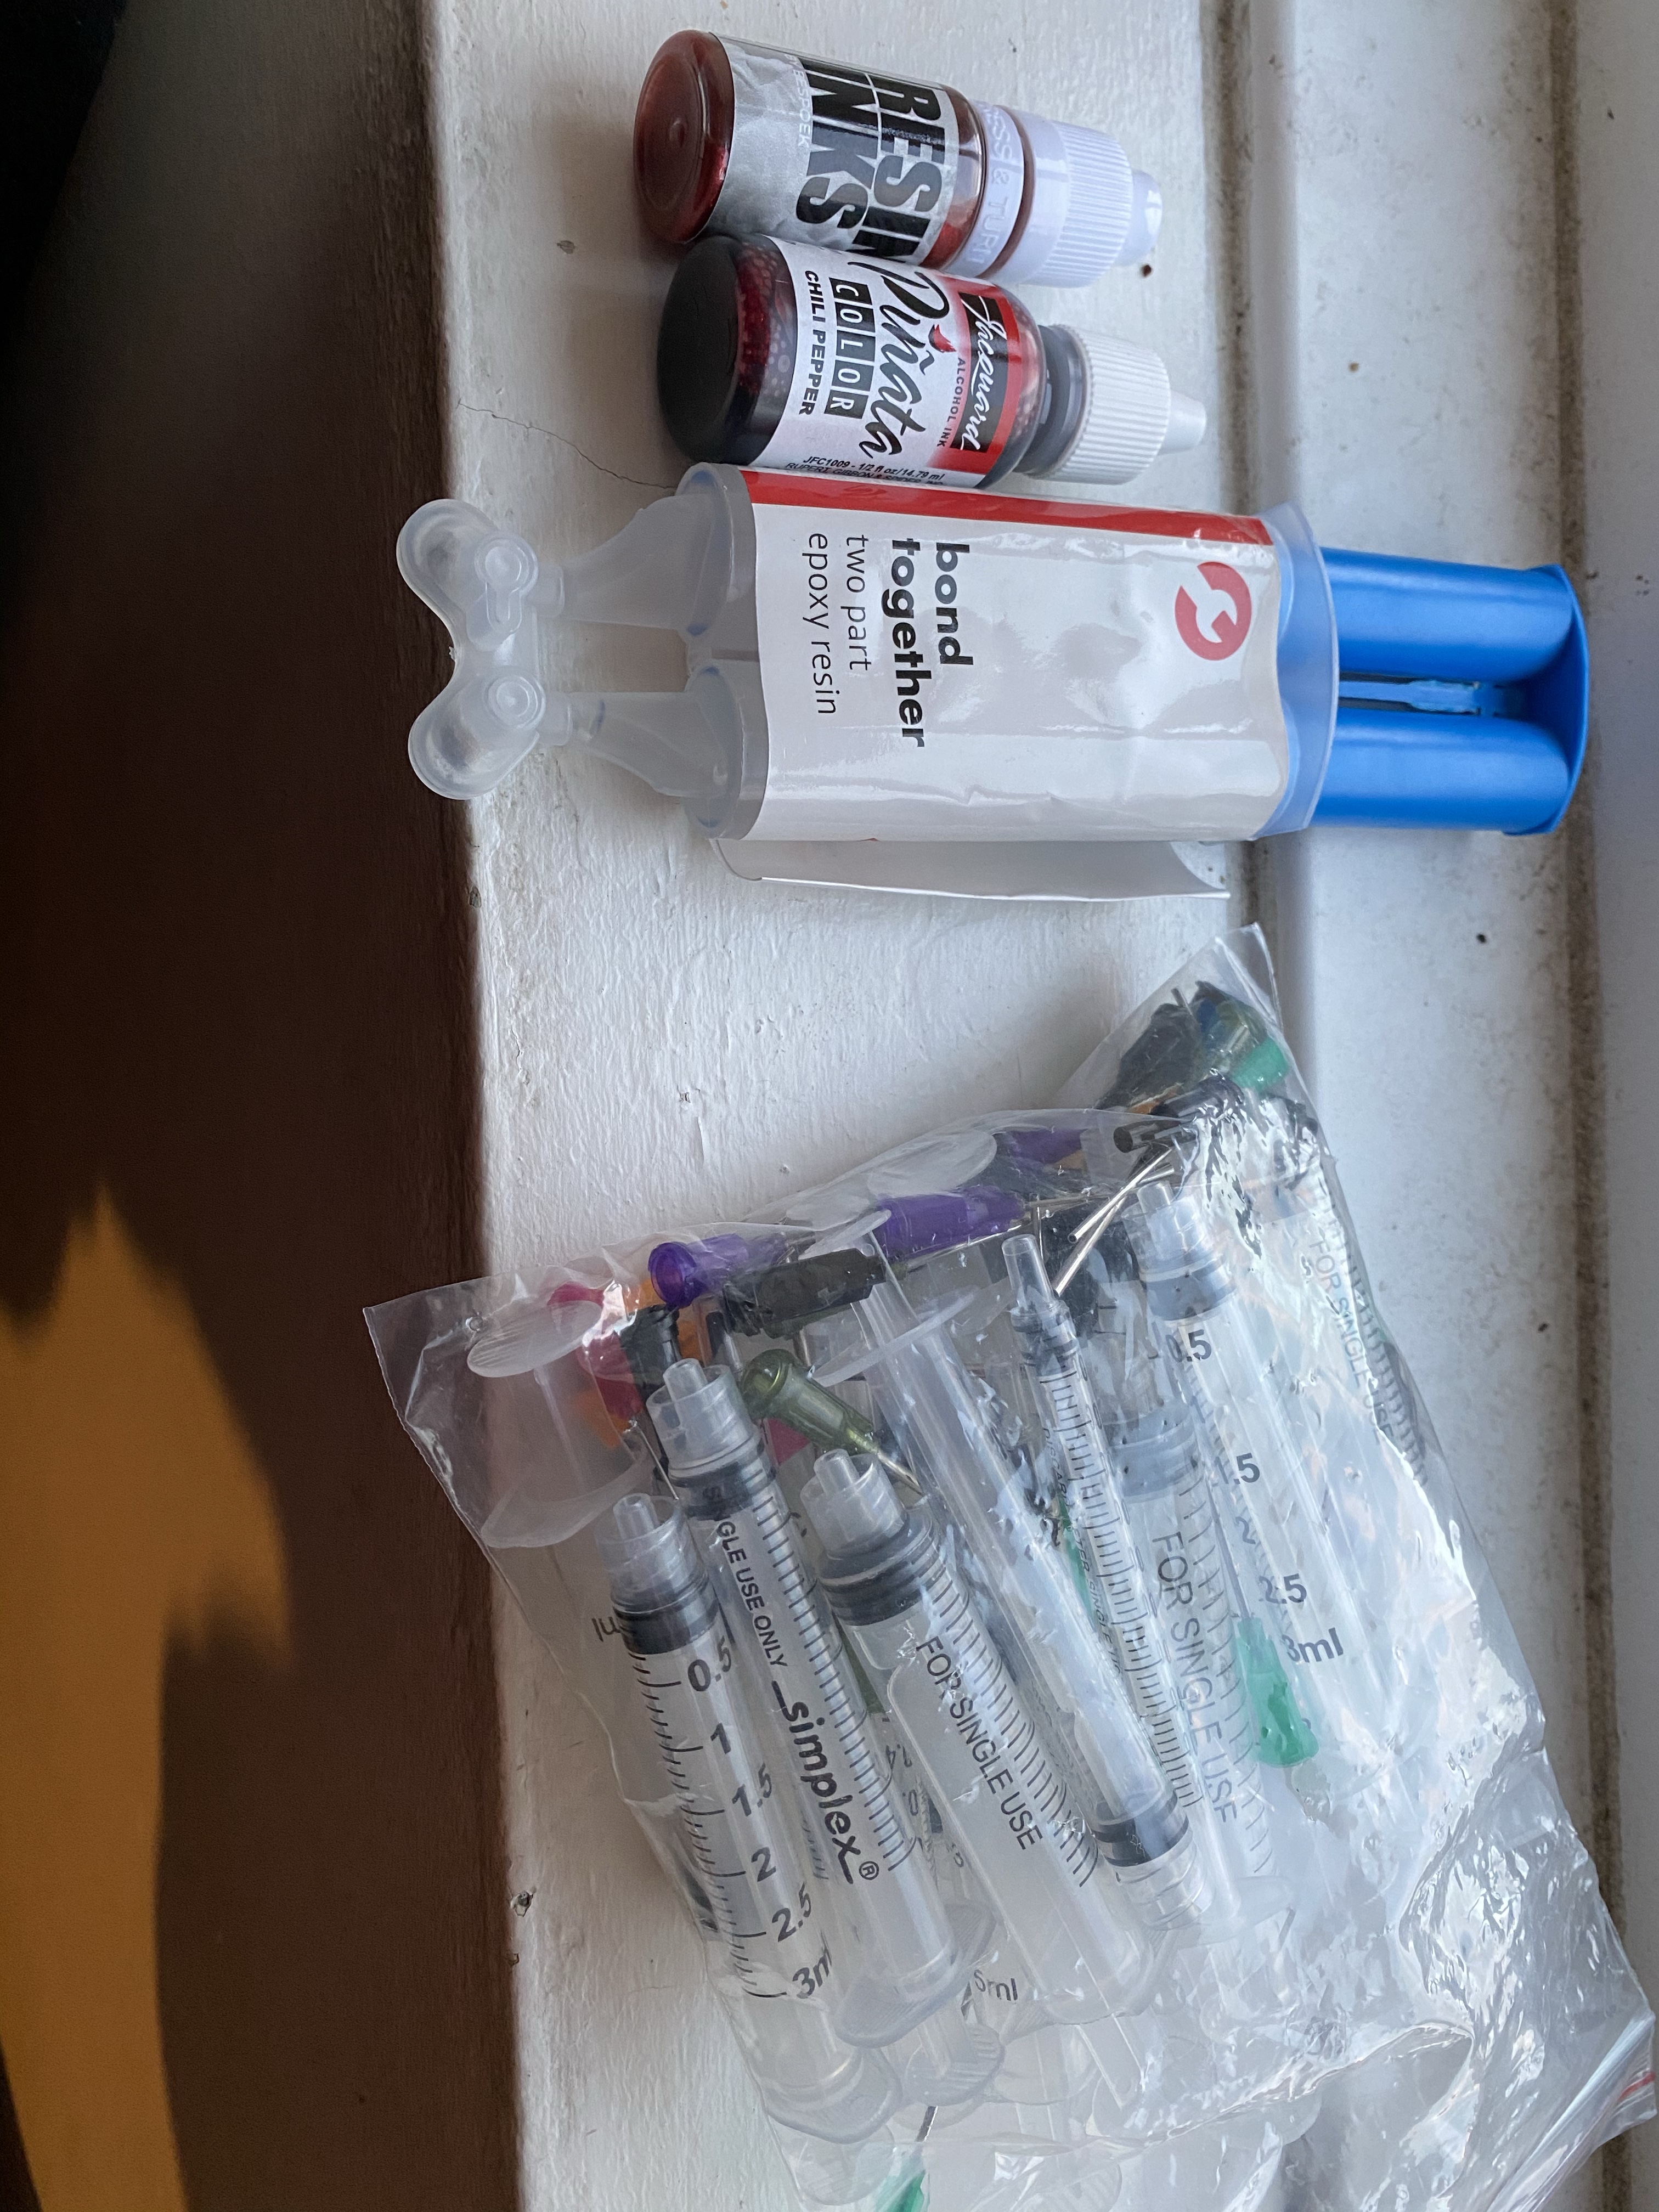
I have a few things I want to try with the symbol: an epoxy glue and UV resin. Both can be mixed with a little dye to bring out the colour. While I tried UV resin previously, I’m hoping that a different way of applying it (syringe vs paintbrush) will have a far smoother outcome. Using previously made coins, I’m just going to try a bunch of different things and see what I like best.
First off, I tried the UV Resin again. Easy to work with; straight out of a bottle and I always have it to hand! But nope, the look isn’t great. There’s a tool for every task, and this is not it…
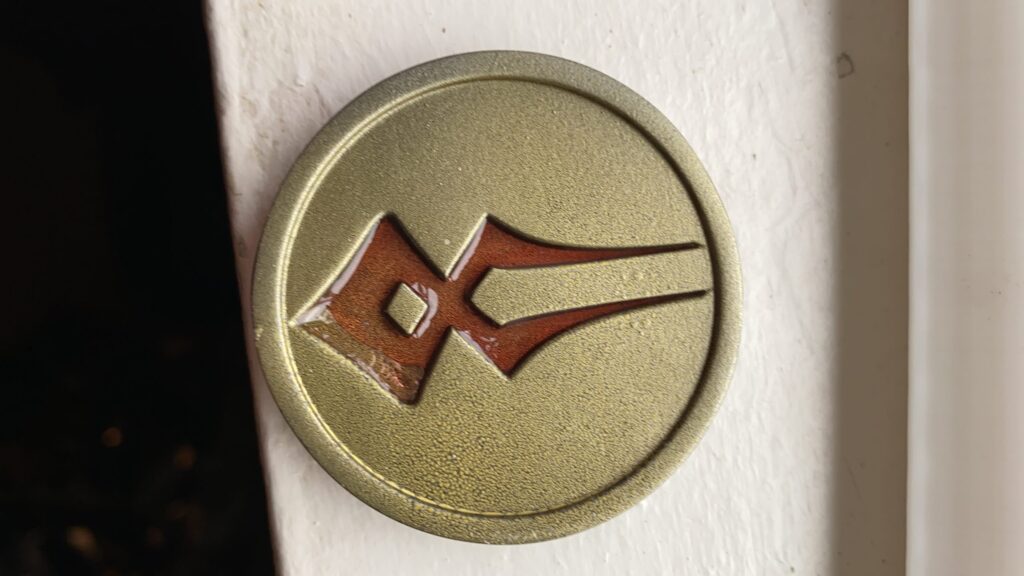
The epoxy resin is designed to cure quickly. The working time on it was a nightmare, but I loved the impact of the two dyes! The downside of building too many prototypes is the waste, but I love always having scrap bits to try things out on!
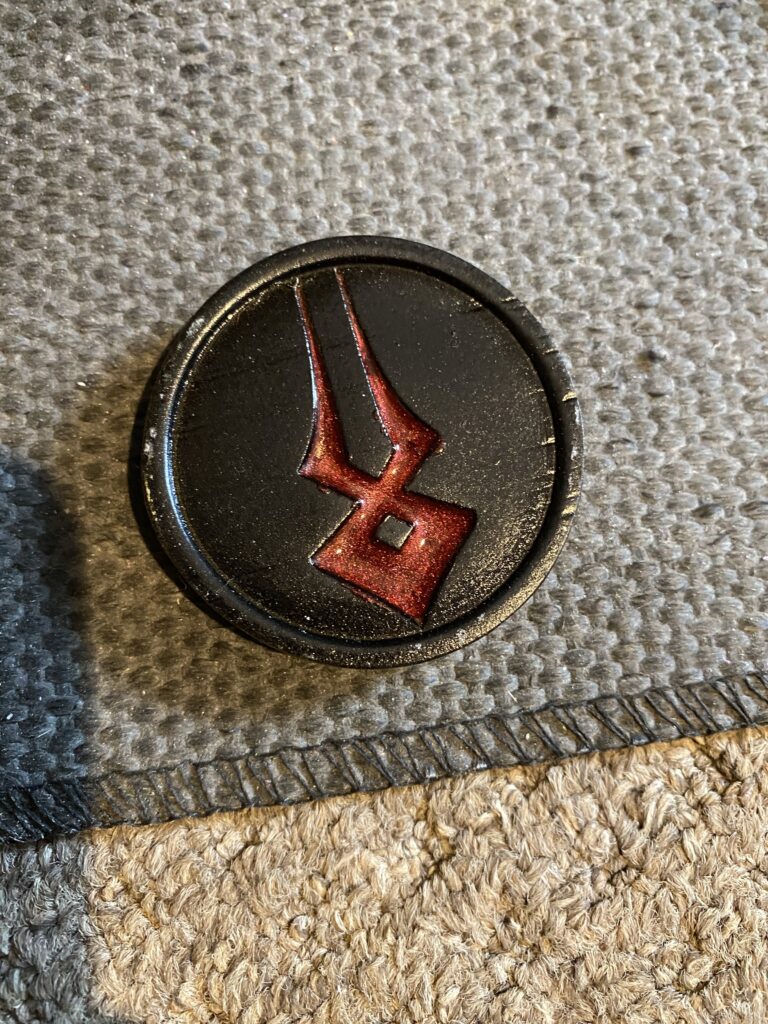
For the depth and the shine, the resin dyes are 100% the way forward. I was hoping I could use the glue for a similar look, but there is no way around it, I’ll have to buy some proper resin. I know this is the way, so rather than being smart and trying it on more scrap coins… I’m jumping straight in and applying them to the progressed models! Wish me luck!!
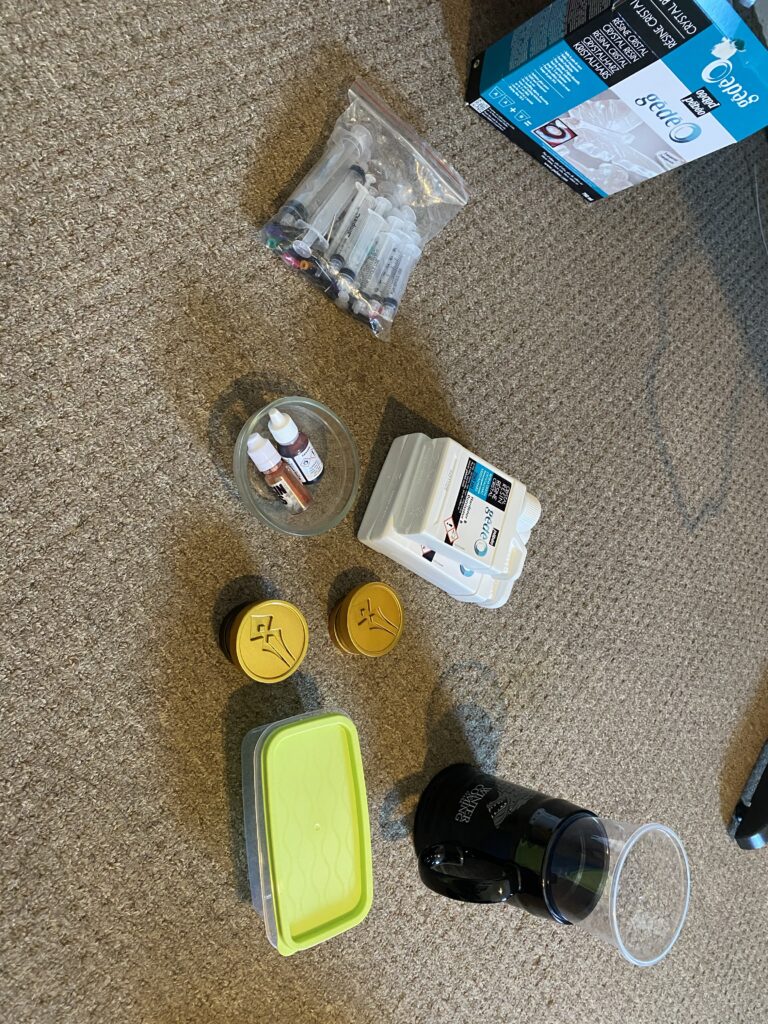
I heat it gently while mixing it and adding the dyes. Heating isn’t required, but it lowers the viscosity of the resin, and I prefer working with it like that. Gods, this part is satisfying!!
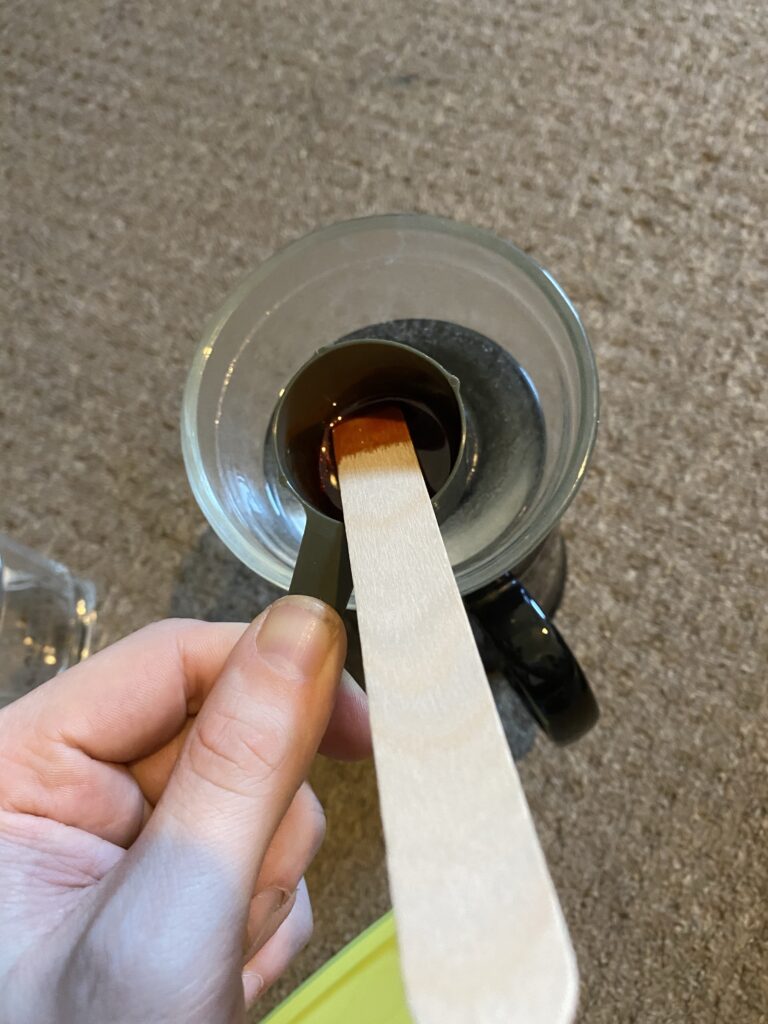
I can’t understate how perfectly it all just dripped into place! On first glance, they look exactly as I’d hoped! I’ll try not to get too carried away yet, let’s see how they dry!
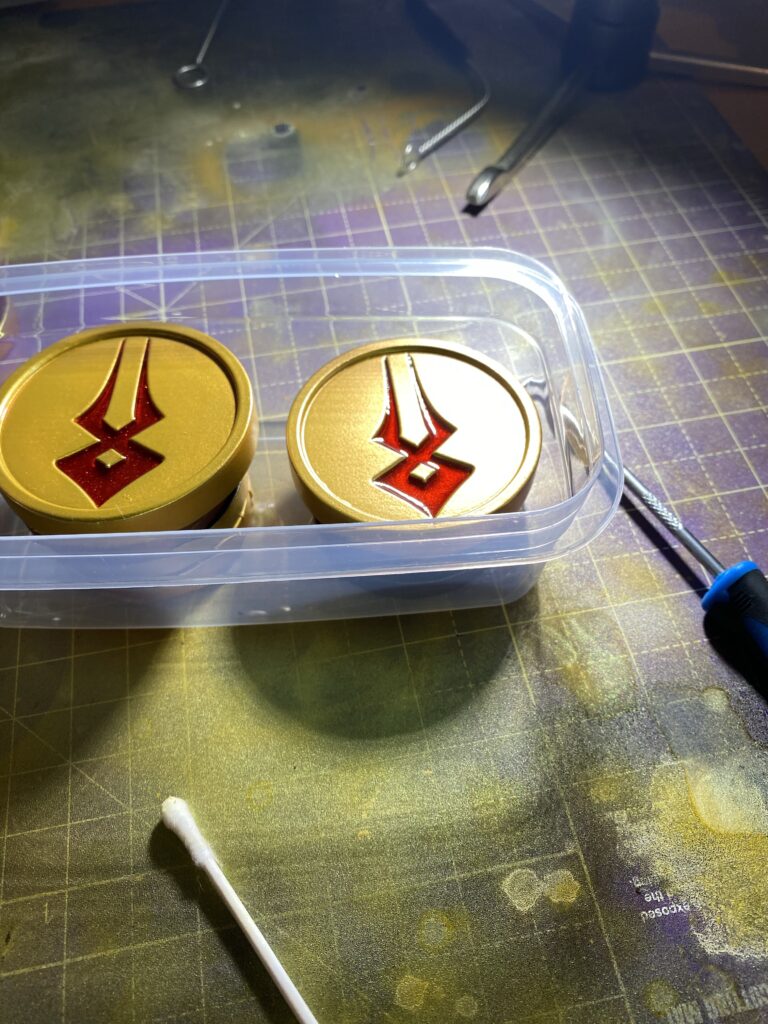
Lastly, a little varnish to keep the finish safe… aaaand…
Done?
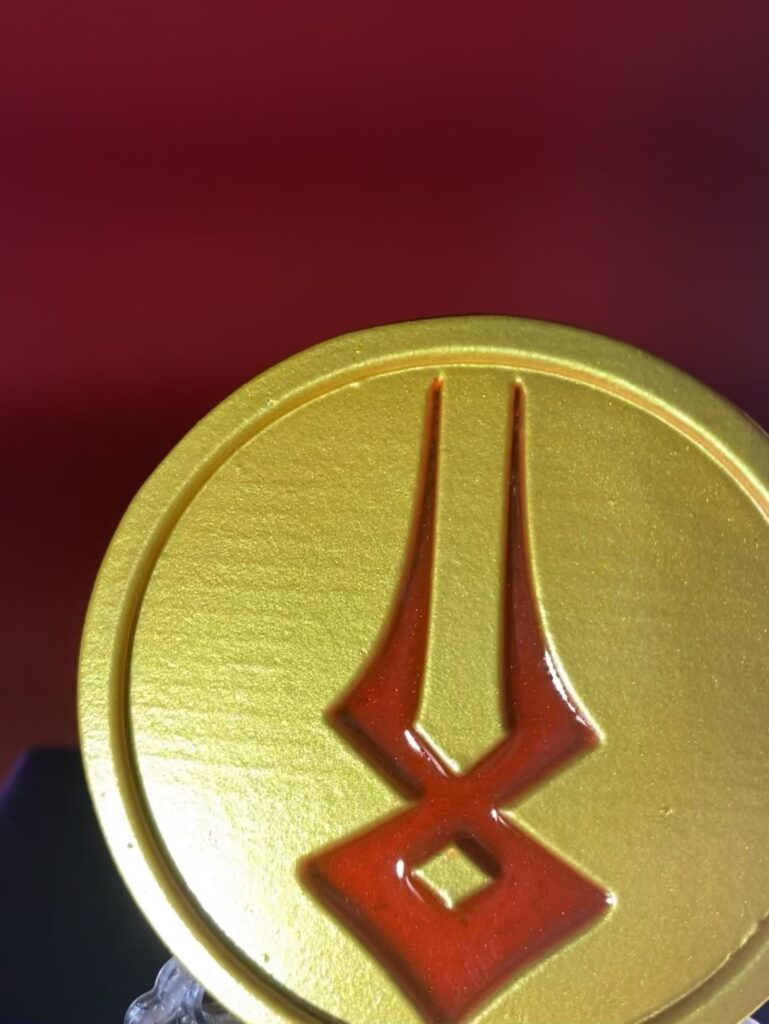
Complete!
Result
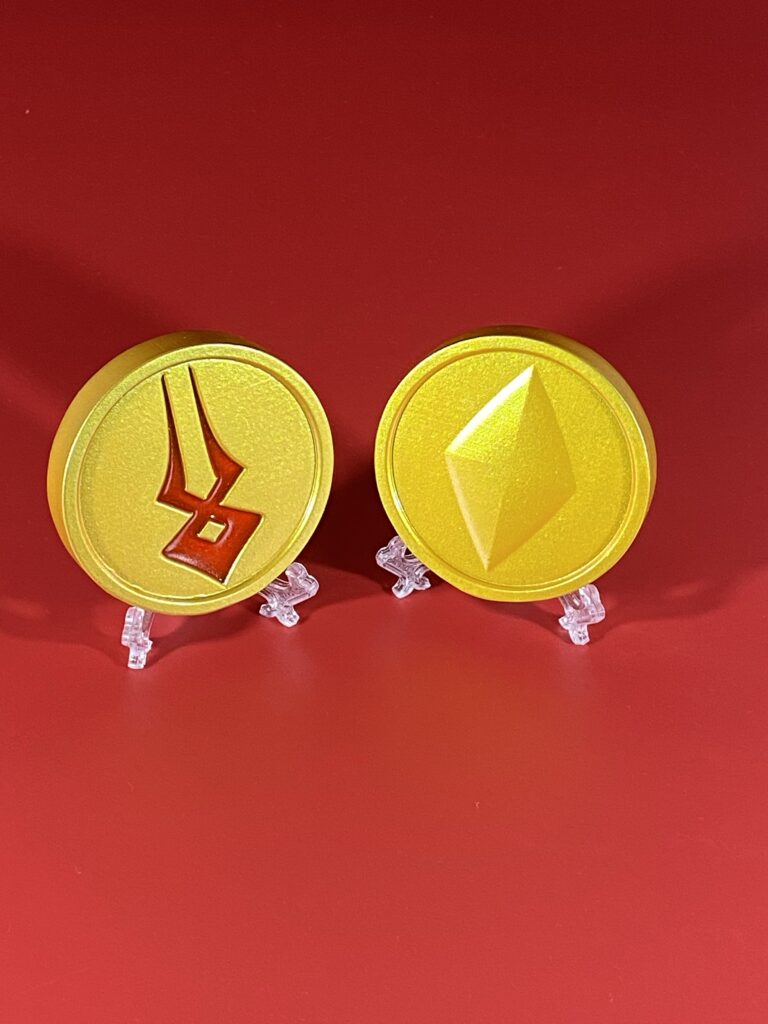
Wow. Woooow! This took a few attempts to get here. Paint supply issues, problems with materials and mistakes with the design, but the finish line is here!
One finished piece and I am so happy with the way it has turned out! A mix of two dyes, one fine red shimmering glitter, the other a deep ruby red, creates a look beyond what I was expecting! The red shimmering shine in the symbol and the colour shift paint are an absolute dream combination!
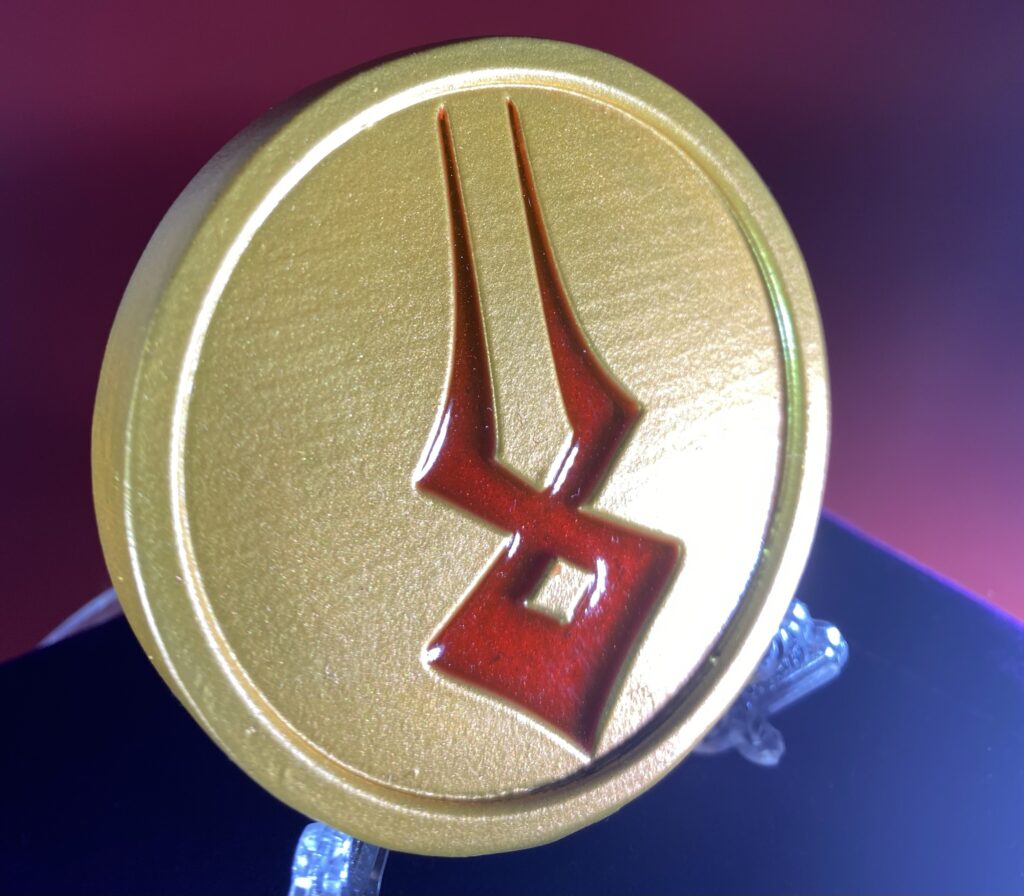
It does take some time to go from start to finish but I hope to get faster as I make more! I have no future revisions planned for this model anytime soon. For now? Time to bask in the glory of a completed project!
Thanks for reading!
If you enjoyed this, you might like some of the related articles from the Overview, or perhaps a different Project altogether?
Love what you saw? Got a project in mind? Feel free to reach out and let me know!

