Introduction
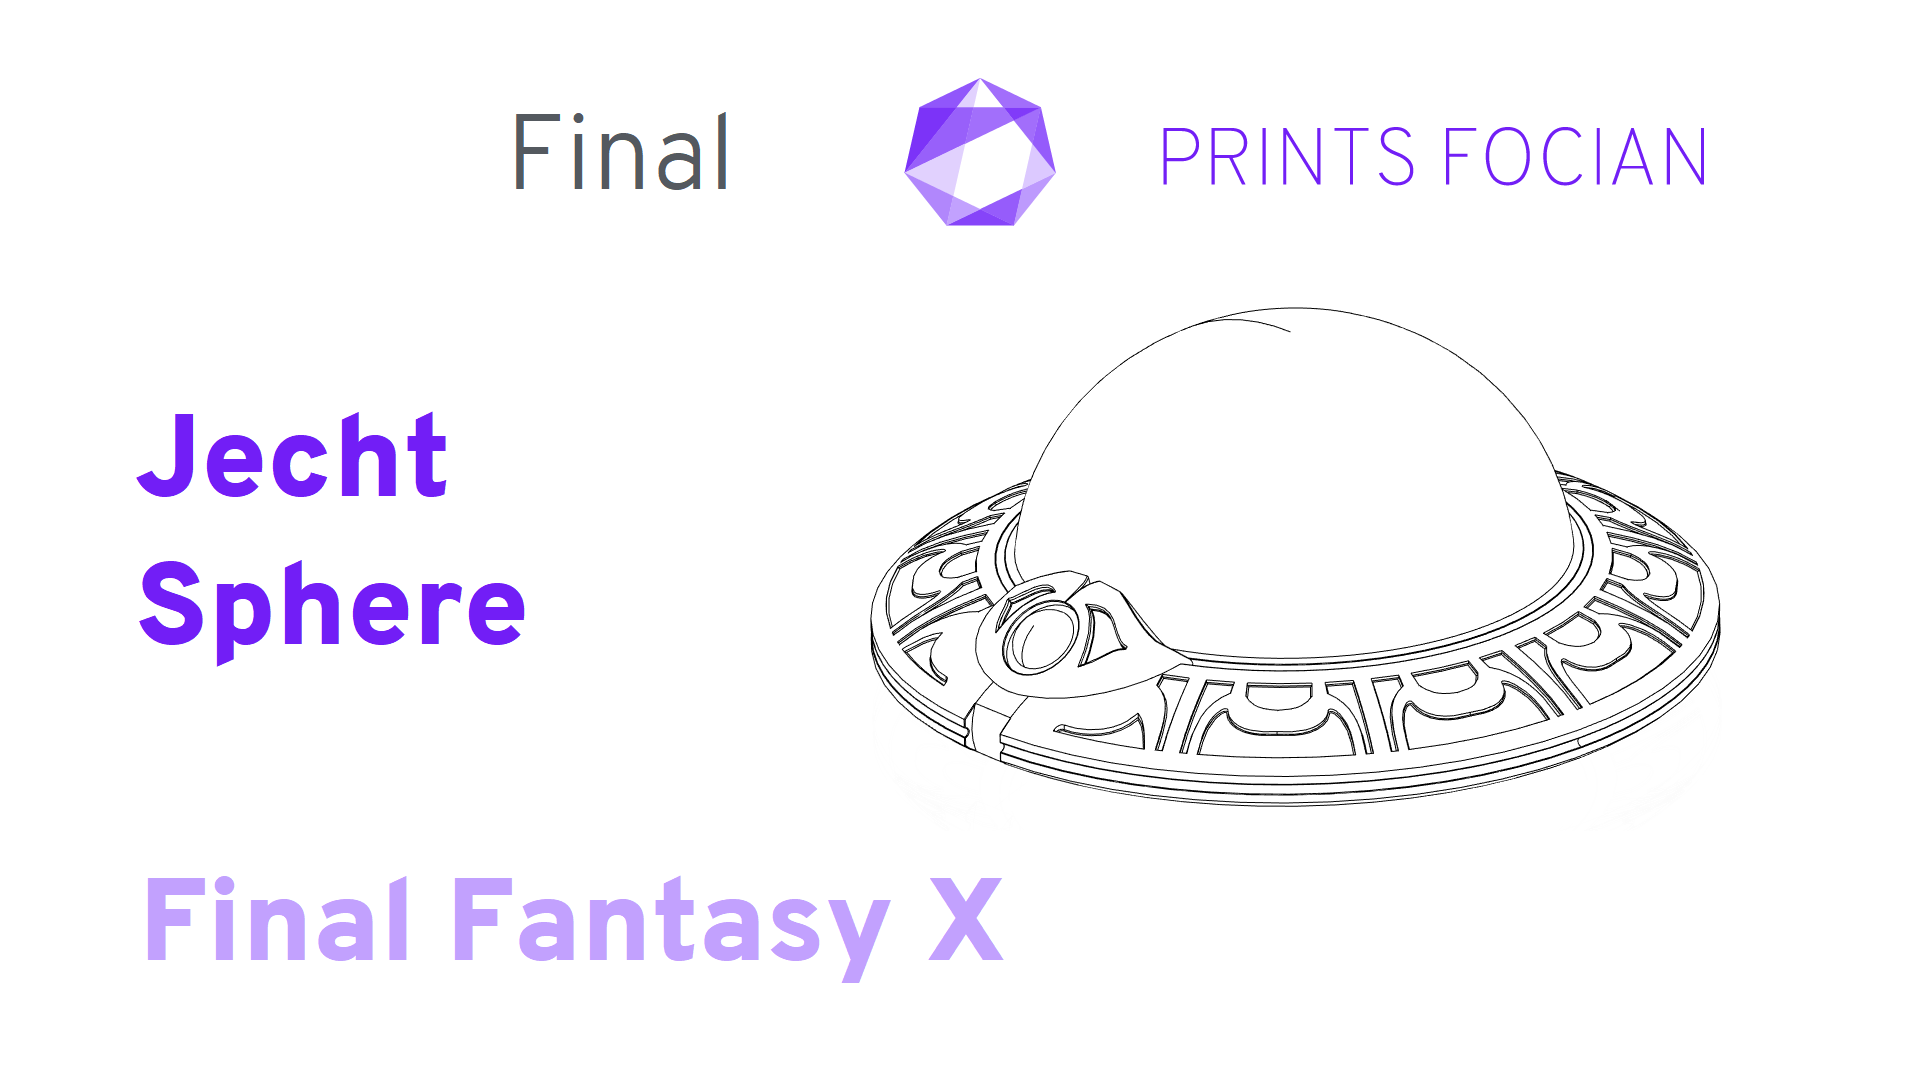
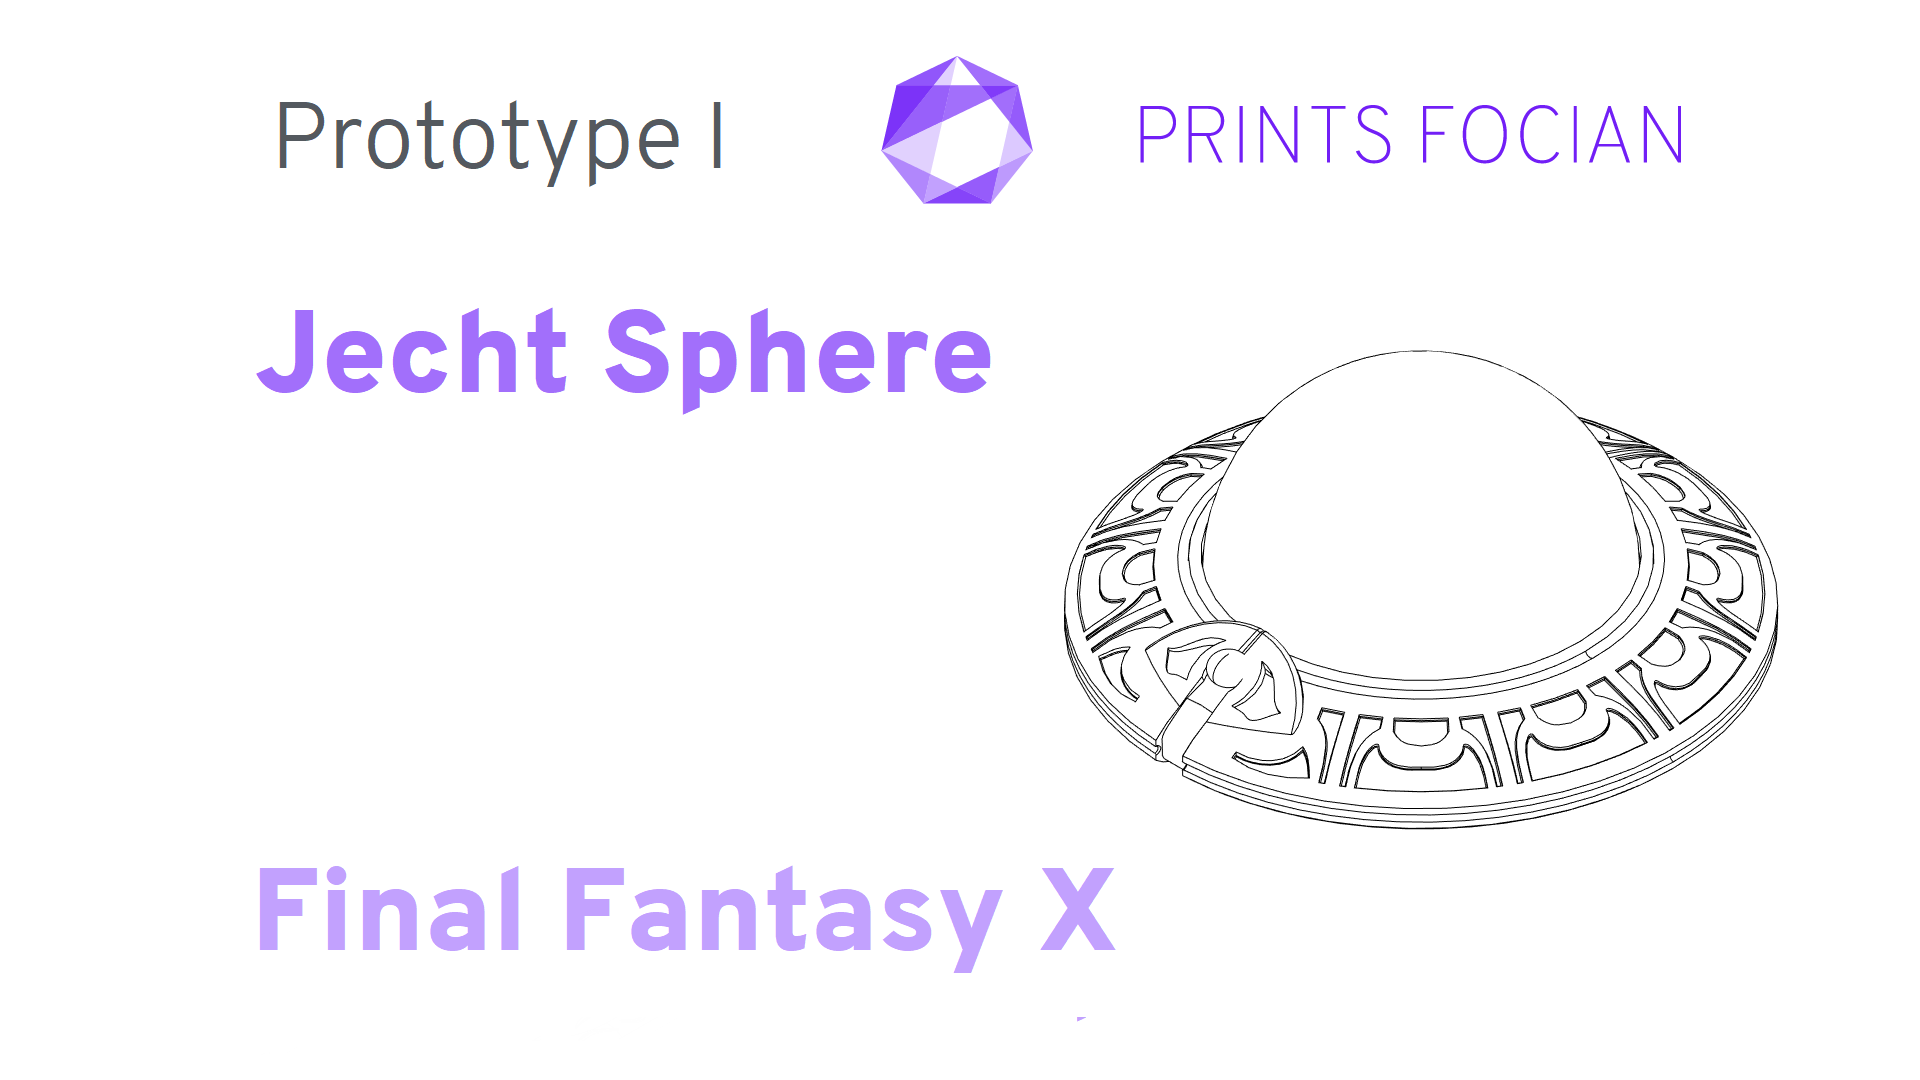
Welcome! In this build guide, I’ll be walking you through the process I took in making a Jecht Sphere from Final Fantasy X.
This will be an intensive look at the Prototype I version of this project from start to finish. It doesn’t matter if you’re looking for guidance with a Build Kit, thinking to Print It Yourself or just curious to see the project: You’re in the right place!
While this unlicensed replica is intended for decorative purposes or for use as a cosplay prop, the main reason for building it is that I just really love FFX! I can’t have enough projects on the go from that game.
Check out the link at the bottom of the page for the Overview if you want to see more, or if you prefer video, this build has a TikTok and YouTube playlist!
Design
As with many of my designs, I fully intended to record and upload the modelling part, but then get caught up in a flurry of inspiration and neglected that aspect. Just picture someone screaming in despair at a monitor until the first finished prototype pops up completed on the screen. Easy!

The plan was for a small handheld item, incorporating a single LED, battery, switch and resistor; very simple electronics!
There were a fair few little mistakes along the way. Near the end of the design, I noticed an entire indentation was missing and was back tweaking the design far more than usual.

Eventually I was happy with the design… mostly. There were a couple of minor issues that I thought would come out in the wash once I had put some time into the physical model. Given my constant desire to “get the hell on with it” I loaded up my files and started the print!

Build
From the ground up, this was designed to be printed on an SLA Printer, in this case my Creality LD002-R (Mew). The size of the item is perfect for the printer, and using resin will give me a much easier time with the sanding later.

First model began as a three part design: The dome, ring and base to hold the electronic components. I had to try a few different bases till I had one that could support the dome and hold the battery and switch (the plan for the LED was to go straight into the dome).

Looks scratched as hell, but that’s not a drama at this juncture.

After a quick wet sand with 800 grit sandpaper, I started the priming process. First a few coats of standard grey, then the Gloss Black goes on.

Finish
From Black, it was time to turn the ring gold!

Good old Vallejo Colour Shifter series, I’ll be going with Gold Yellow/Burnt Orange [77.015]

Several coats in, and the gold covering is uniform and smooth.

And that is me in-no-way completed with this, and yet no more will be done on this specific Prototype, so figuratively this one is kinda completed!
Result
So, okay… Technically I can kinda call this a finished piece. It looks… well, a bit crap really, doesn’t it? Before I start tearing it apart with all the details I dislike, first the things I like about this!

I love the vibrant gold colouring, that Vallejo colour shift paint is just straight up beautiful and looks great with the gem! The use of translucent blue resin is also great at catching the light (though not as great at catching it as the scratches!).

And now the bad, where to start?
That flat protrusion on the front looks nothing like the detail on the actual item in-game. In-game this part is not flat, but rather comes out with slightly more of a curve relative to the ring itself. I also clearly mismeasured the hole for the gem, so it just kinda rests there haphazardly rather than seating nicely.
The actual design also just feels wrong in a number of ways, hard to articulate but impossible to ignore: the ring is too large, too tall and too chunky… While the design itself is sound, the ratios need tweaking because at the moment, although kinda cool, this is not quite a Jecht Sphere yet.
Next up, the dome. The plan was for the work on the ‘glass’ dome to begin once the ring was completed, the intention being to sand then polish and buff until shiny. This would have been time-consuming, and taken a loooooooot of sanding. With the problems looming over me with this prototype, I didn’t have the desire to complete the dome to the degree I originally wanted to. This was happily left in a scratched state, which I may lament later down the line when I could be in need of the experience doing it now would offer…
And the last thing is the simple electronics I planned to implement. I had achieved a much more complicated build using a load of LEDs and a microcontroller in the two earliest Symmetra Turrets I made. But recently I refined that project: instead of 16 LEDs soldered into place then wired up to an Arduino Nano, I swapped it out with a simple LED ring light, remote control, and USB power source.
While it may have cost me ten times as much as the compiling of the components, the ease of use and incredible finish were just too alluring not to use. Before even getting to the electronics, I elected to abandon them in the first Prototype in favour of including a ring light in the subsequent ones. This should make life a little easier and aid in a finish with a far better product!

Honestly, despite not being happy with the end result at the moment, it has done the same fantastic job as so many other first Prototypes: it highlighted problems to fix (and more than most…). I know this project has a lot of potential, and I’ll be moving onto the next Prototype straight away!
Thanks for reading!
If you enjoyed this, you might like some of the related articles from the Overview, or perhaps a different Project altogether?
Love what you saw? Got a project in mind? Feel free to reach out and let me know!