Introduction
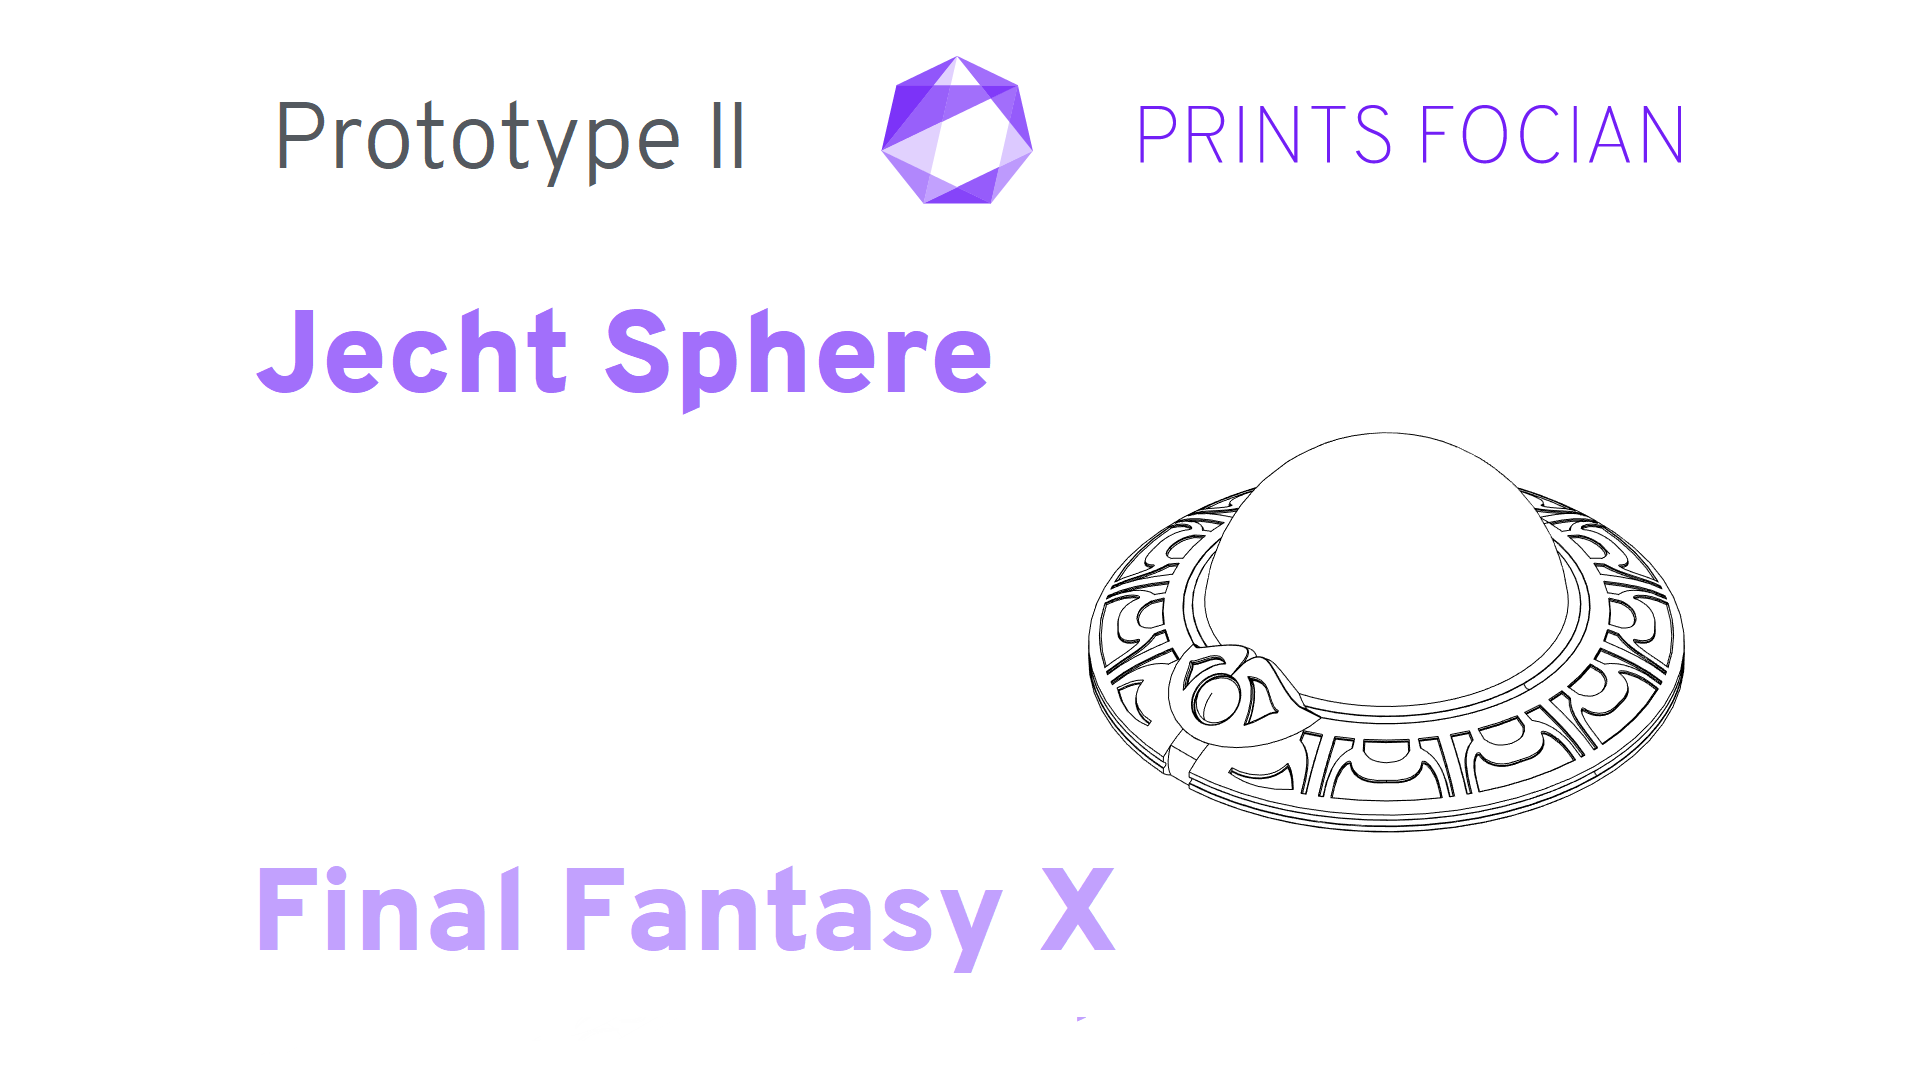
Welcome! In this build guide, I’ll be walking you through the process I took in making a Jecht Sphere or Memory Sphere from FFX.
This will be an intensive look at the Prototype II version of this project from start to finish. It doesn’t matter if you’re looking for guidance with a Build Kit, thinking to Print It Yourself or just curious to see the project: You’re in the right place!
While this unlicensed replica is intended for decorative purposes or for use as a cosplay prop, the main reason for building it is that I just really love FFX! I can’t have enough projects on the go from that game and a Memory Sphere would be cool!
Check out the link at the bottom of the page for the Overview if you want to see more, or if you prefer video, this build has a TikTok and YouTube playlist!
Design
The first Prototype was great, but it highlighted a few problems, enough to take it back to the modelling stage.
My key issues that prompted a redesign were:
- Remodel the raised gem platform
- Use an LED ring light
- Redesign the base
- Reduce the height
Gem Holder
The section at the front of the ring that houses the gem has never sat right with me. It’s too flat and doesn’t quite take the gem properly.
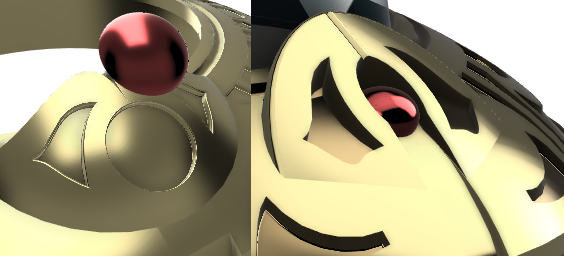
The new holder for the gem has a more natural curve now, and the plane it rests at is relative to the recess, not the ring. The new diameter is about 11mm for a 10mm self adhesive gem.
LED Ring Light
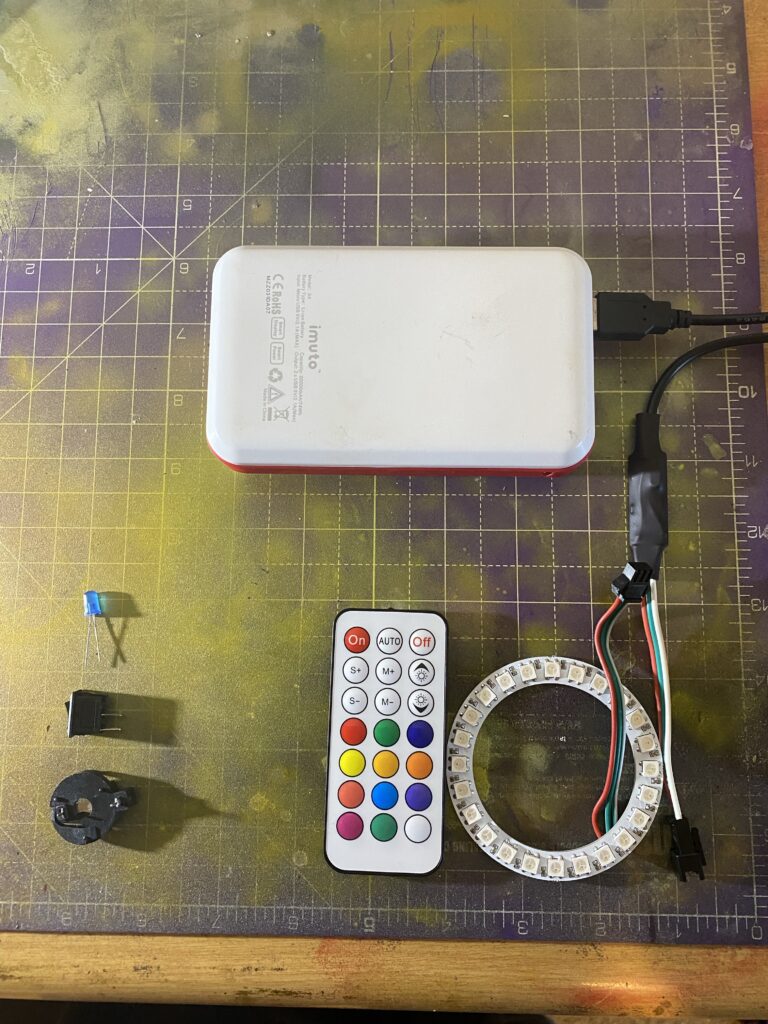
I’ve had great success with incorporating LED ring lights into projects recently, notably the Symmetra Turret. This seems like too good of an opportunity to pass up including!
While one blue LED would be sufficient for the build, I think it’d be worth the price to have an array of spinning colours and patterns built in. On top of that, a remote control will give a lot more options; seems stupid not to!
It will mean an increased cost, but the time and hassle saved are worth it, not to mention how freaking amazing it’ll look when compared to a boring single blue LED!
Change the base
I didn’t quite settle on a base design I was content with in the first prototype. Trying to have a holder for the battery, switch and LED, while still trying to keep everything secure, ugh, just didn’t quite get it right! Simpler is better, and that’ll be the new plan here!
To help visualise the build, I made a digital representation of the ring light (sans wiring) and modelled around that. Altogether the work was so much easier than trying to house individual parts.
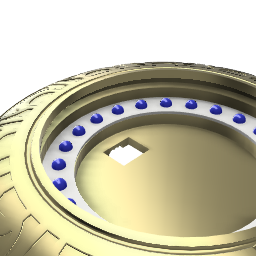
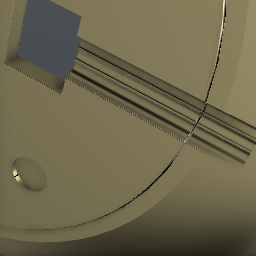
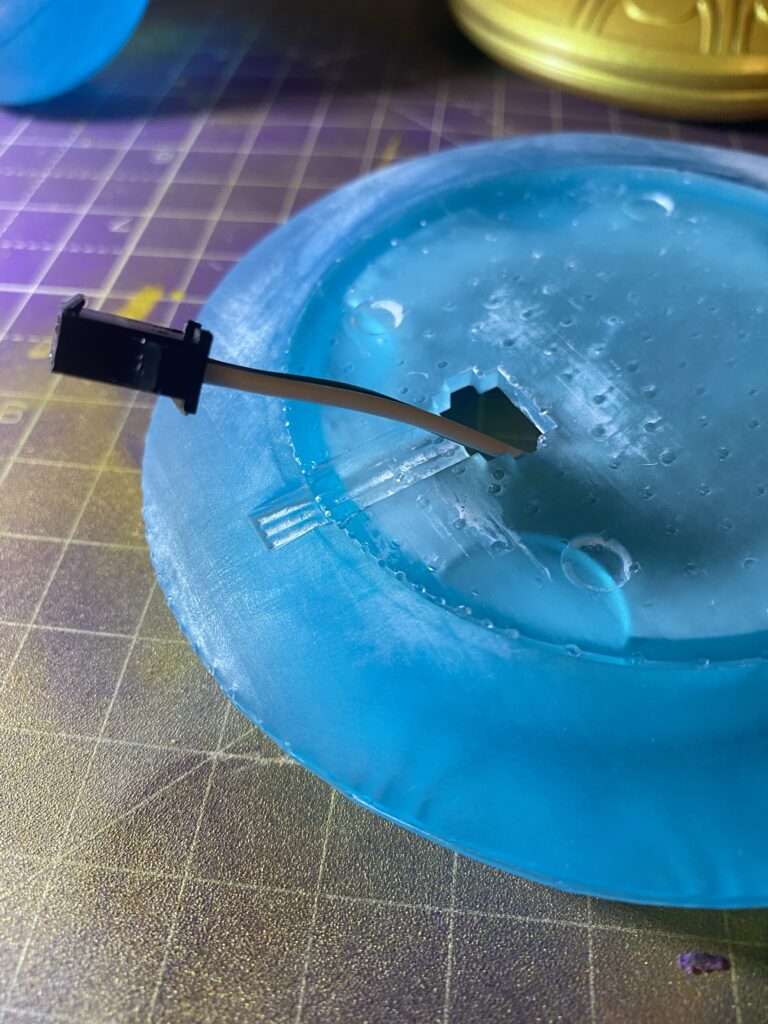
The underside of new base has a groove for the wiring to rest in, as well as four recesses for some small furniture protectors. The new base is sturdy and simple, a testament to the ease of using the ring light more than anything else.
Flatten the Height
The design itself is rather chunky and I need to flatten the design down the height!
I’m currently unsure if I’ll reduce the height of the dome yet, but the ring component most certainly needs to come down a little bit! It looked good on the screen, but not so much when printed in the first Prototype..
The new model is much flatter now! Looks great, but so too did the previous one… We’ll see how it feels once built!
Remodel done! Changes made! Prototype II is ready to build!
Build
Time to go!
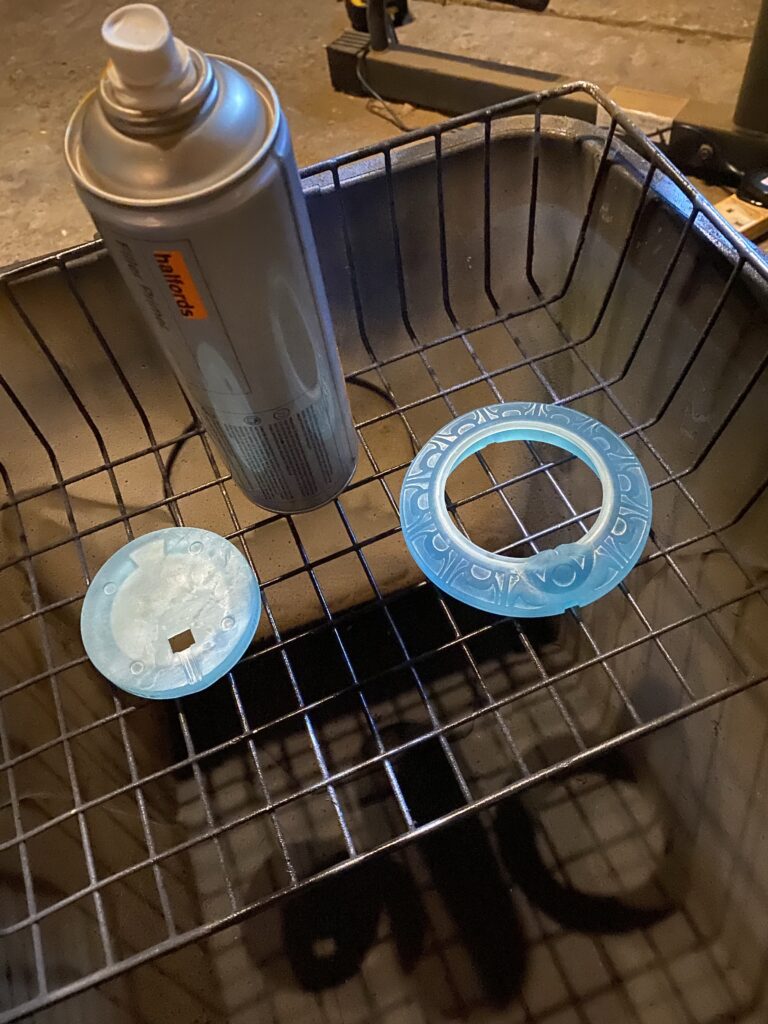
This can be printed on many 3D Printers, but it was originally made with an SLA printer in mind. I’ll be printing this with my Creality LD-002R, using Clear Blue Water Washable Elegoo UV Resin.
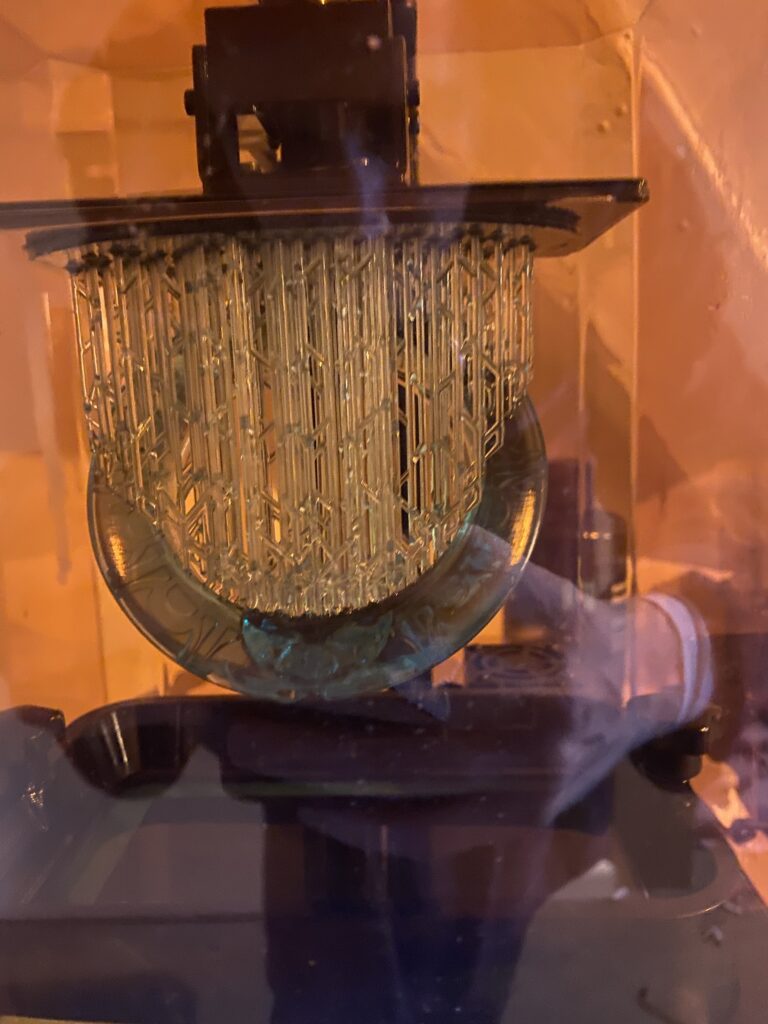
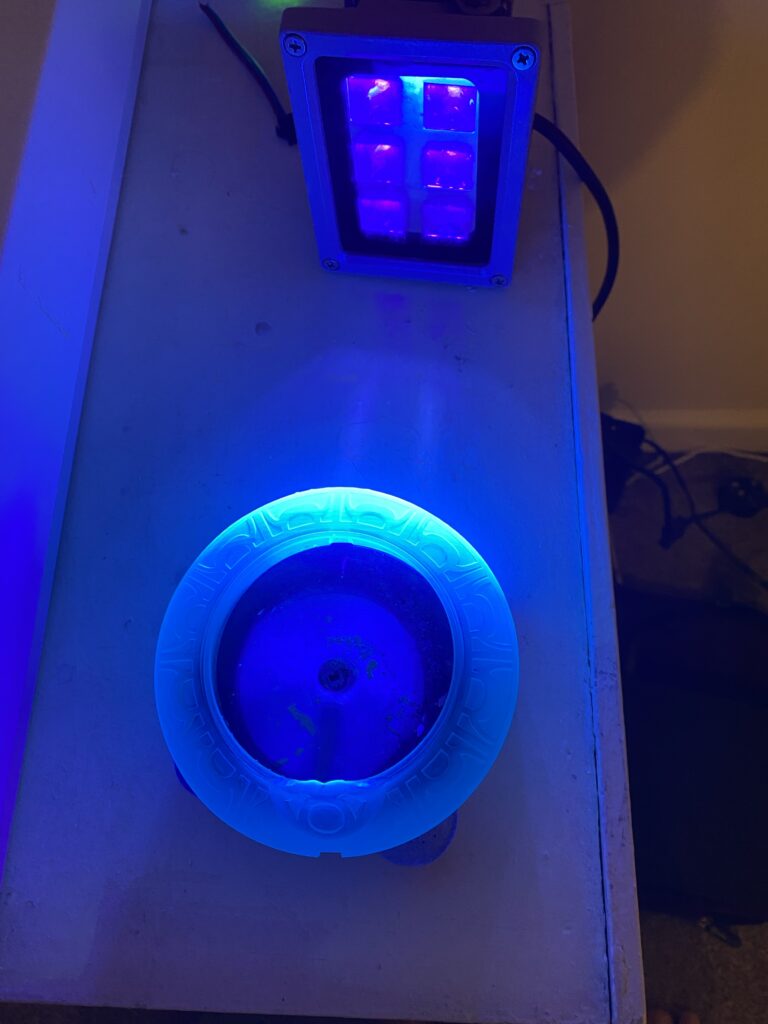
A little cleaning and they’re ready for the UV light. I use a small turntable to provide even consistent curing on resin parts.
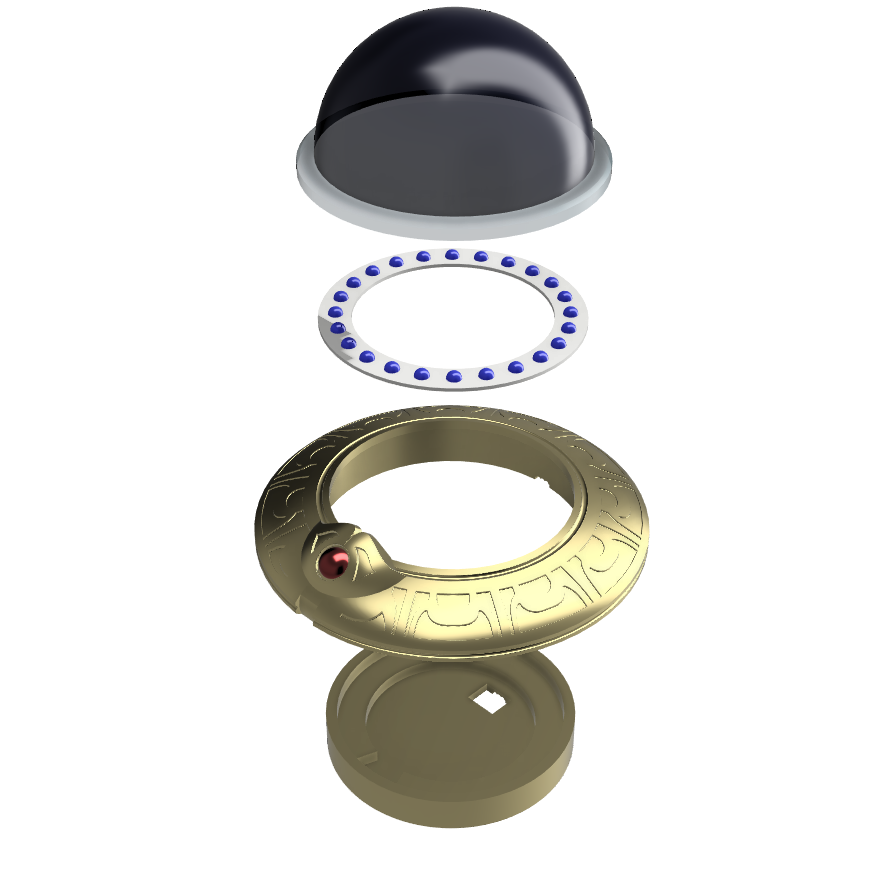
A quick loose fit to check the sizes I’ve used are correct, and all good!
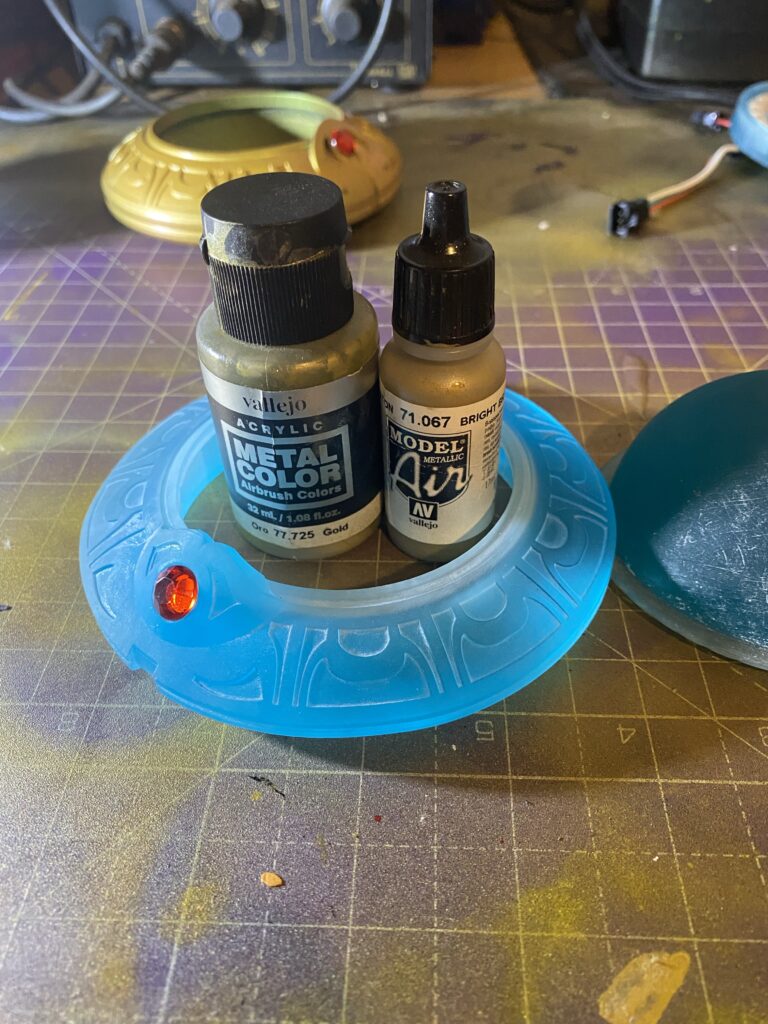
I absolutely adore the two tone gold colour I used previously, but this is a good chance to try one of the many other golden hues I have. I’ve played around with the colours below on both the General Armstrong Sword I made, and Charon’s Obol from Hades. For this build I’ll be trying to use one of them; not too sure which yet though.
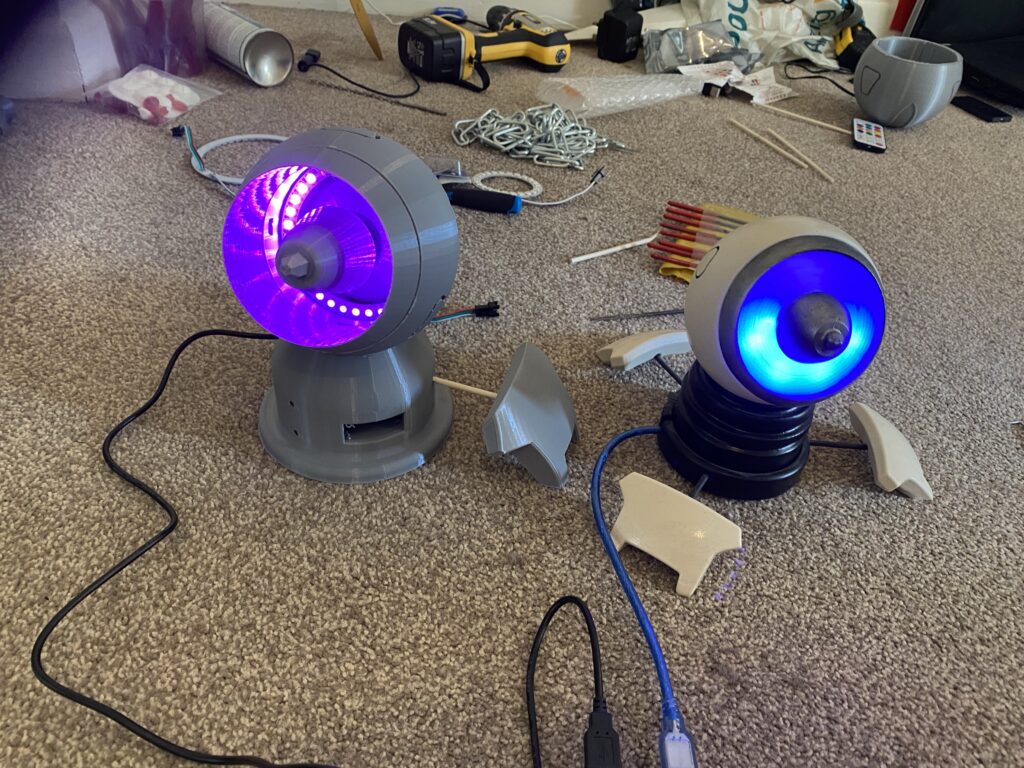
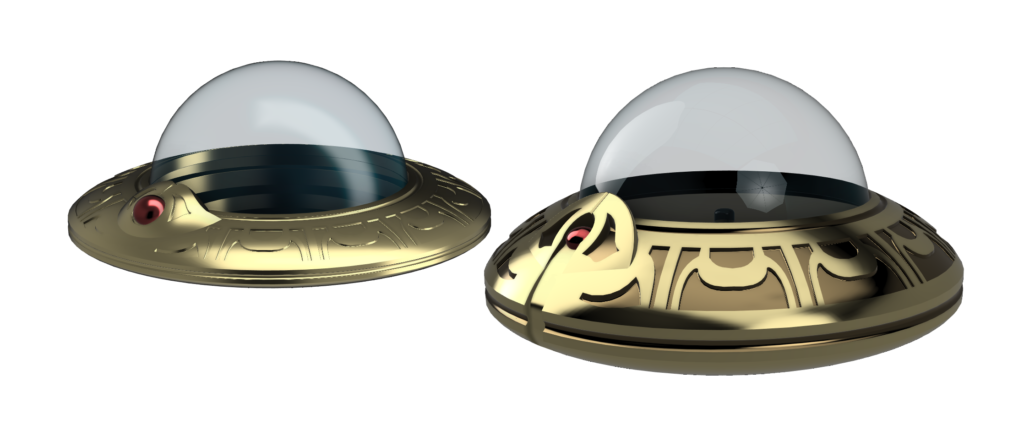
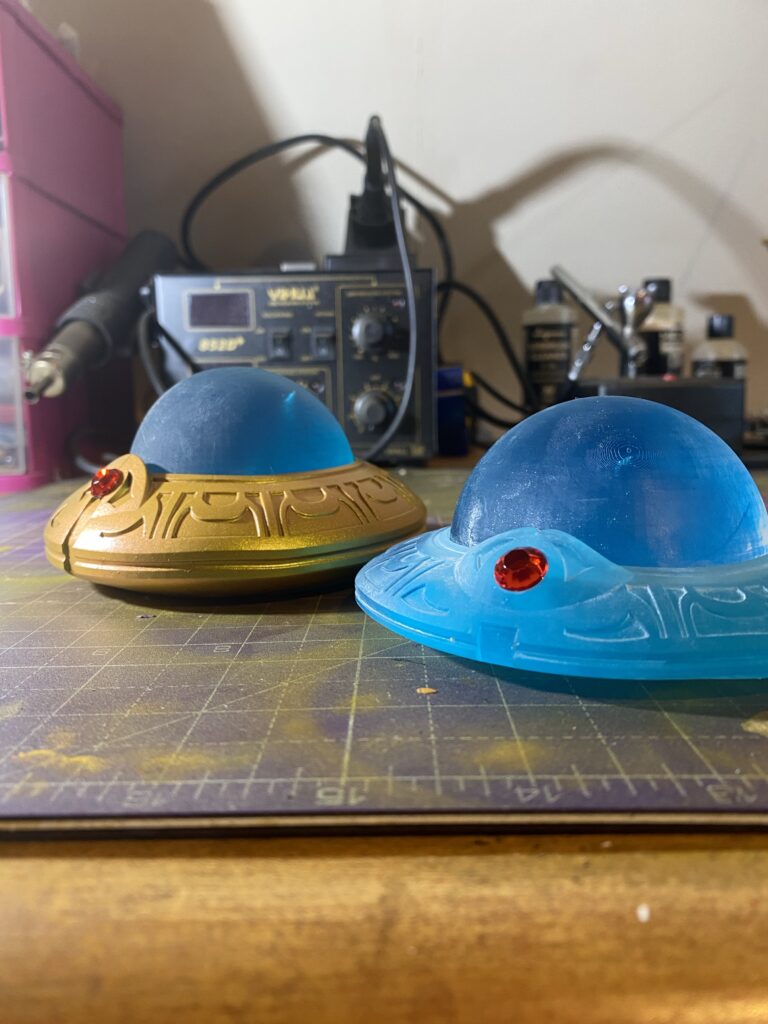
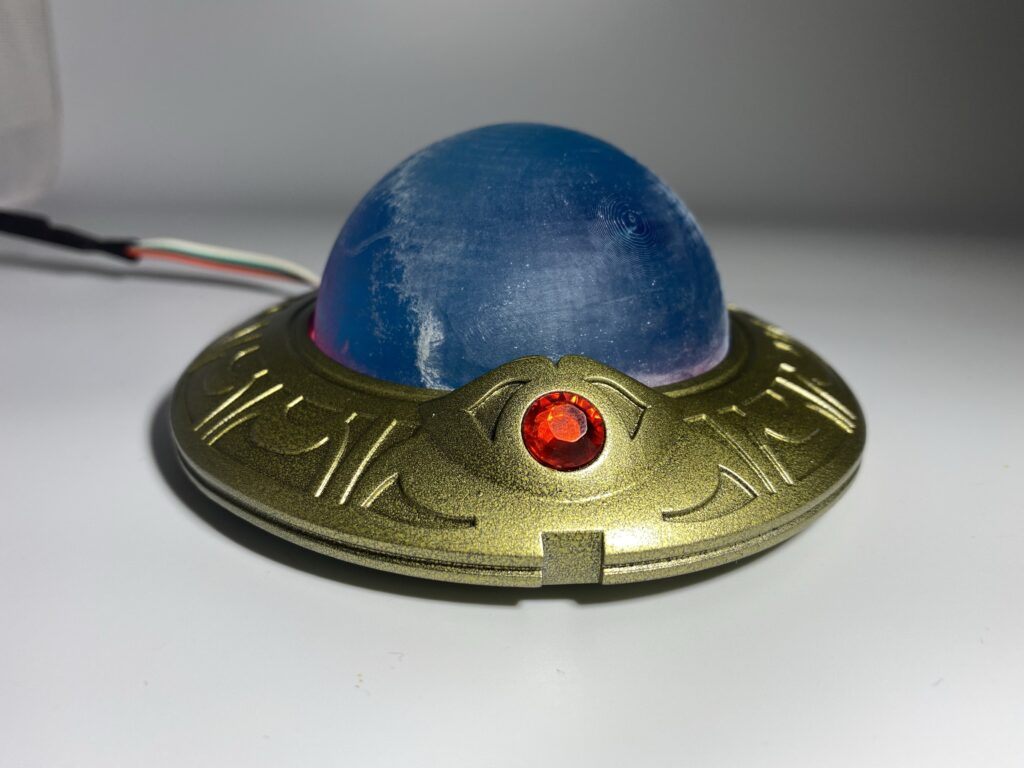
The improvements to the design are very noticeable when next to its predecessor (which looks oddly reminiscent of PuPu’s spaceship). However, while I’m happy with the changes made, I’m not completely happy with the new design overall…
When I reduced the Z axis on the ring and tweaked it around a bit, I elected to leave the dome section with the same height. Once again, this looked fine while modelling, but not so great when printed.
I will mostly see this model through to the end, but if everything else is fine, a small but major change will still be needed: The dome will need to be slightly flatter, and also the diameter looks like it should be slightly wider (more dome and less ring overall).
Since I need to tweak the dome, it’s unlikely I’ll take that part to a full finish in this Prototype. Much like the last, I can check the dimensions and make sure everything is good, but the dome will likely remain as-is.
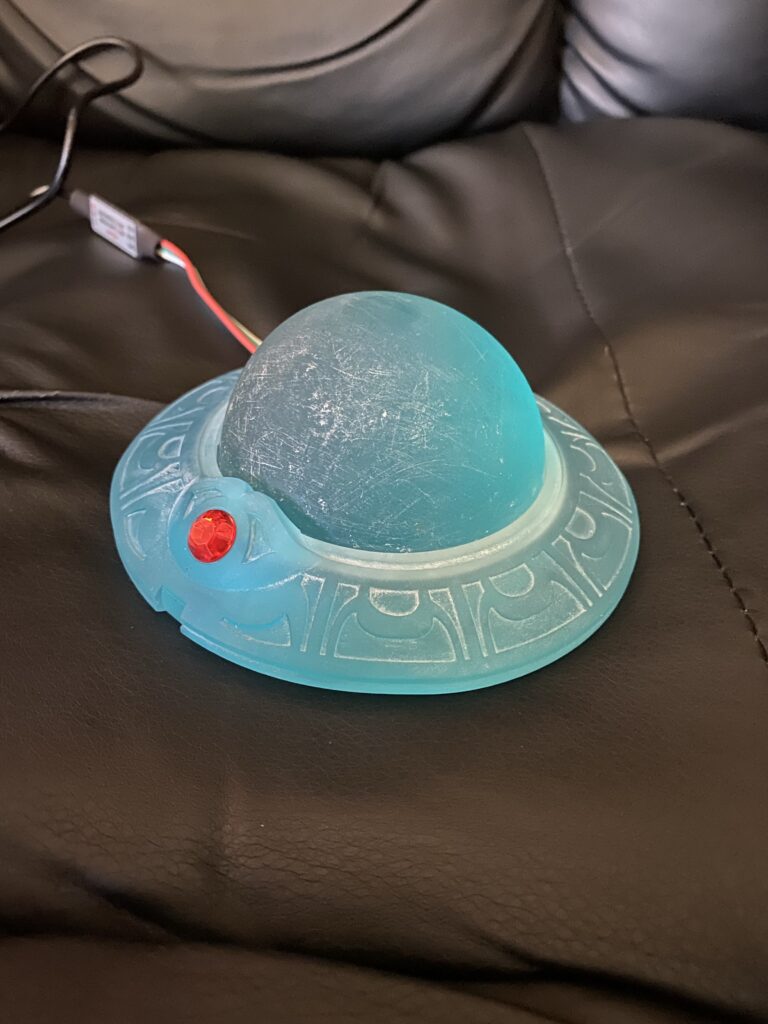
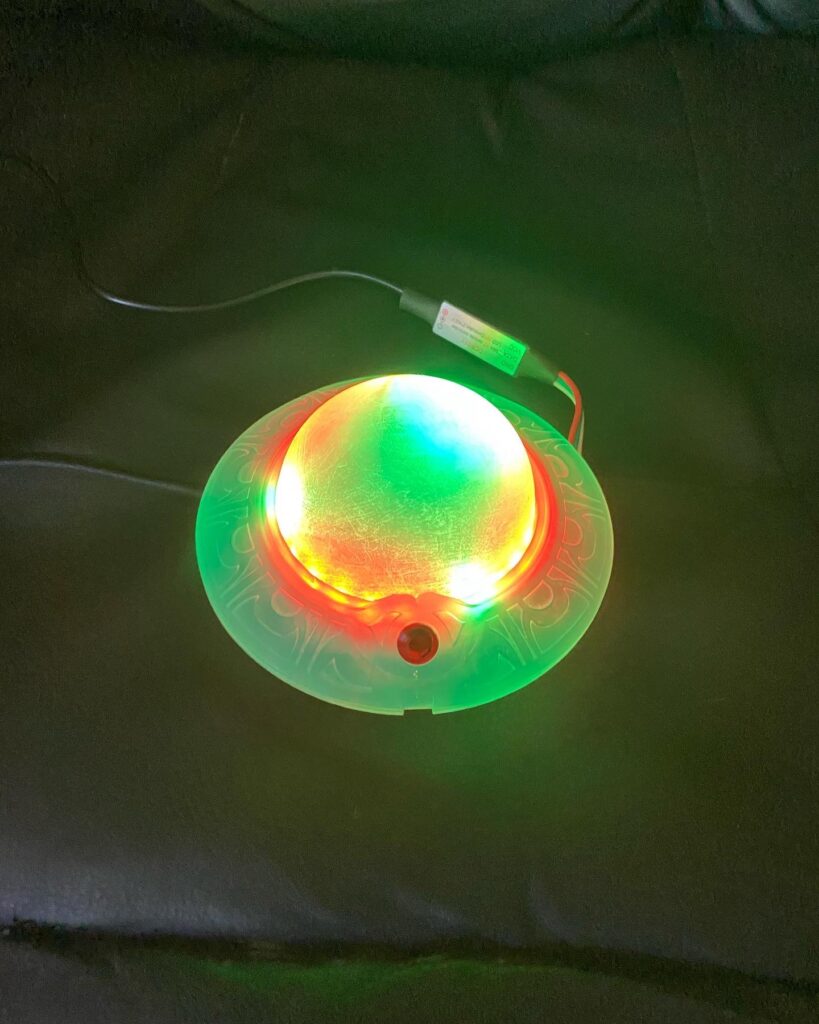
But while we’re here and all the parts are assembled, let’s take a quick look at- PRETTY!
RGB fun over till the end, boo! Sanding time, yay…
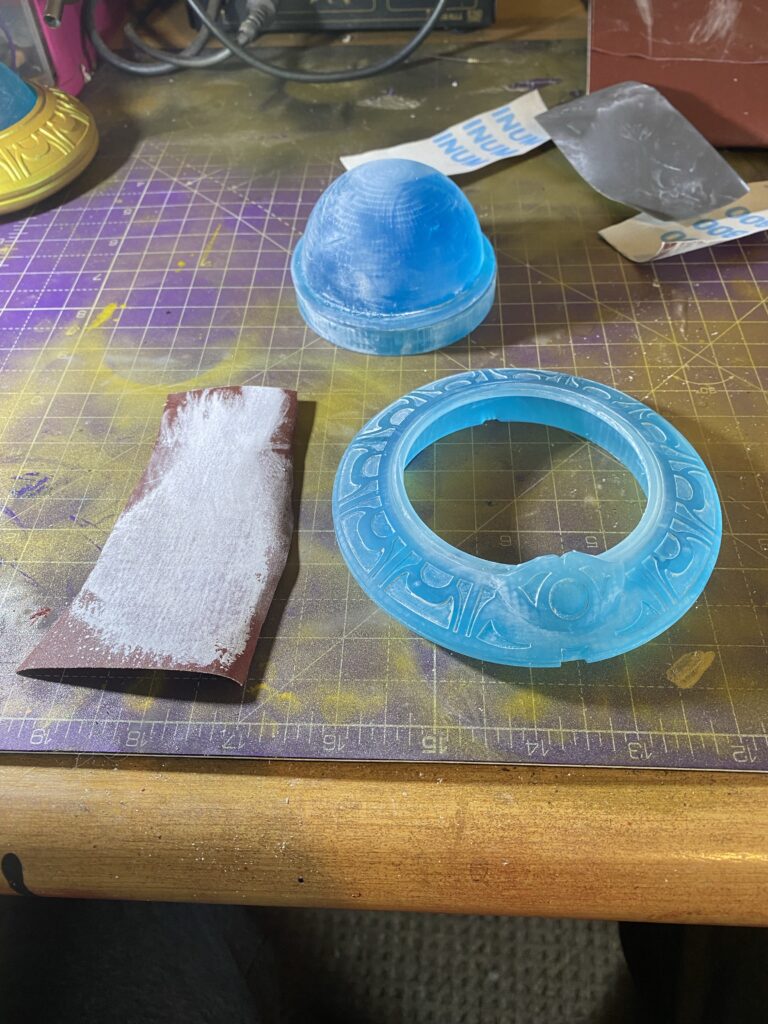
As with most resin prints, not much sanding is required, but that doesn’t make it any less mundane. As I know I’ll be making (at least) one more of these after this one, I can rush the sanding a little bit. 800 grit to 1500.
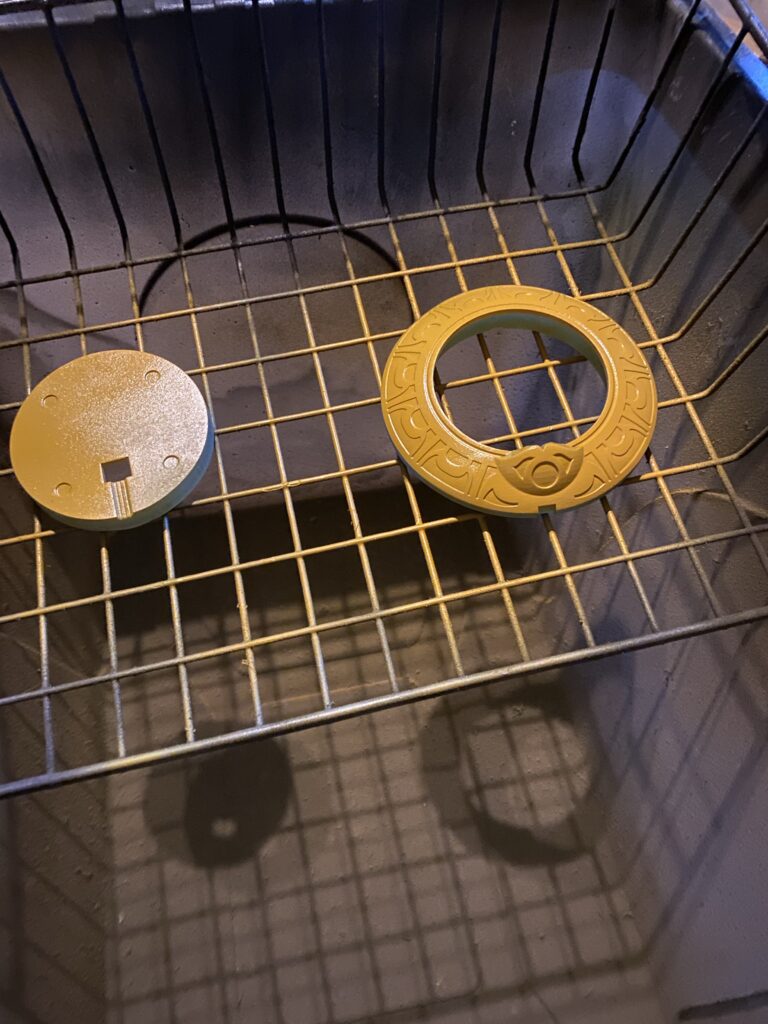
Generic automotive filler primer spray, cornerstone product in every way!
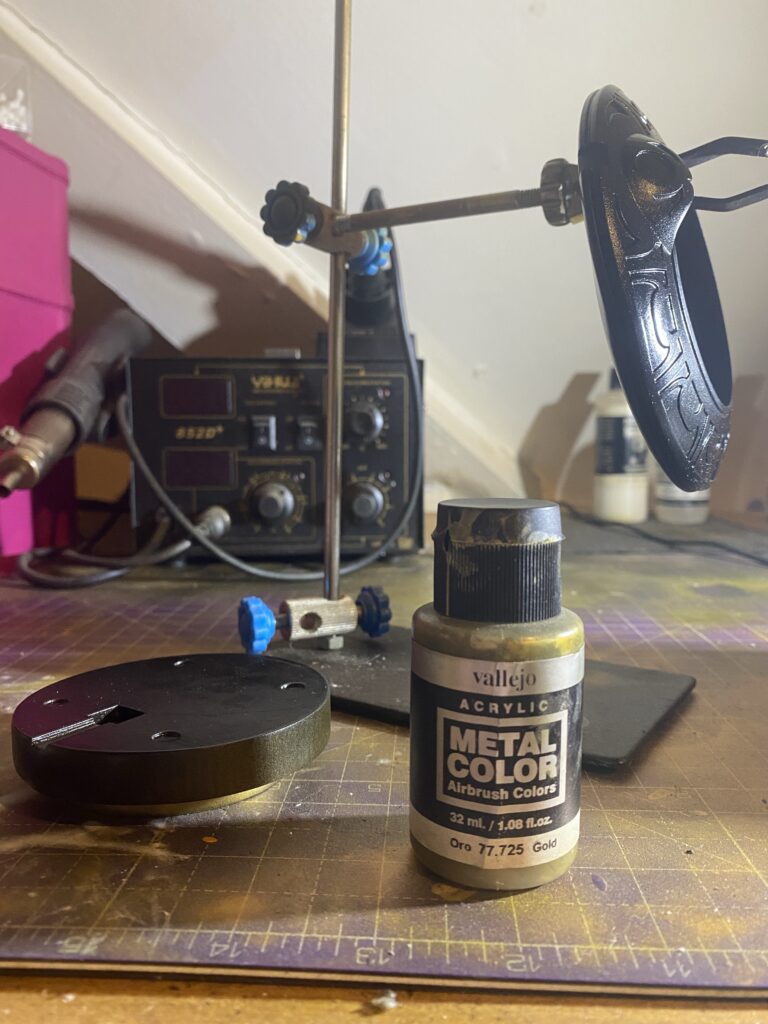
Once dry, a 2000 grit sand of the primer, then the ring and base are both ready for their first coat of Gloss Black!
Finish
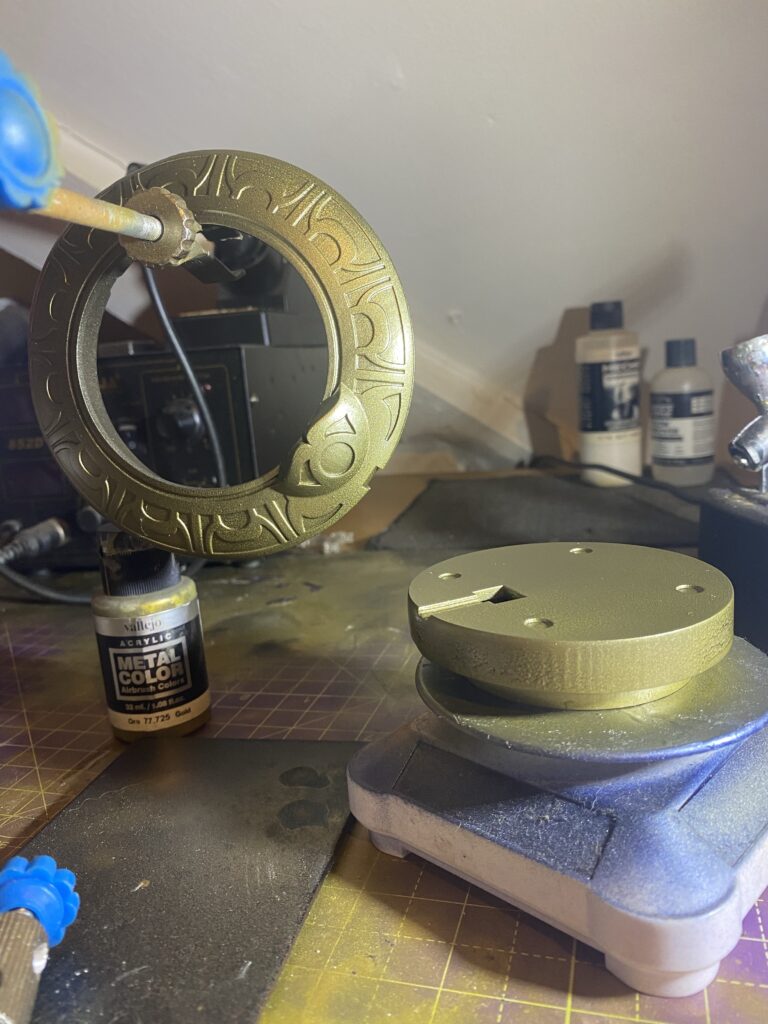
The Ring and Base now each have a healthy coating of Gloss Black paint, and are ready for their first layer of colour! I choose to go with a simple Vallejo Gold [77.775].
I hung the ring from a stand and raised the base up with a few Charon’s Obols to keep surface contact at a minumum.
This colouring matches a lot of the official artwork, while the previous Gold I used was more akin to what is in the game. A few layers in and it’s looking mostly good! Some of my rushing on the surface earlier is starting to show though.
But that’s fine, this is still a prototype, and we’re on the home stretch now!
A little bit of varnish to protect the gold, simple clear lacquer here.
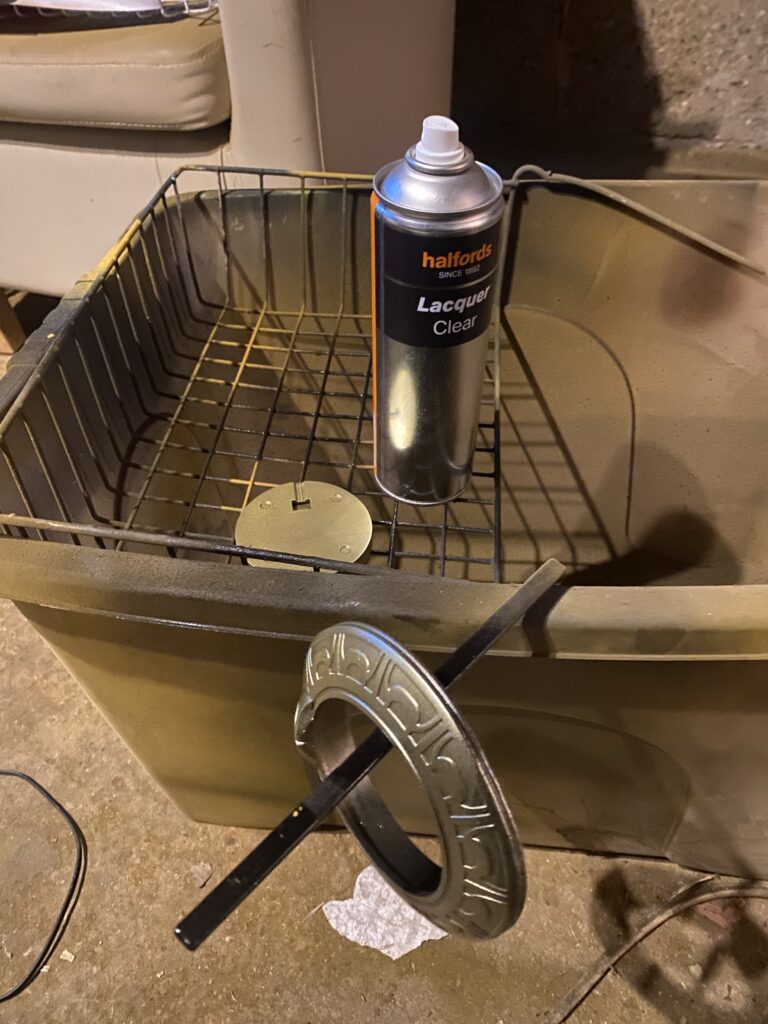
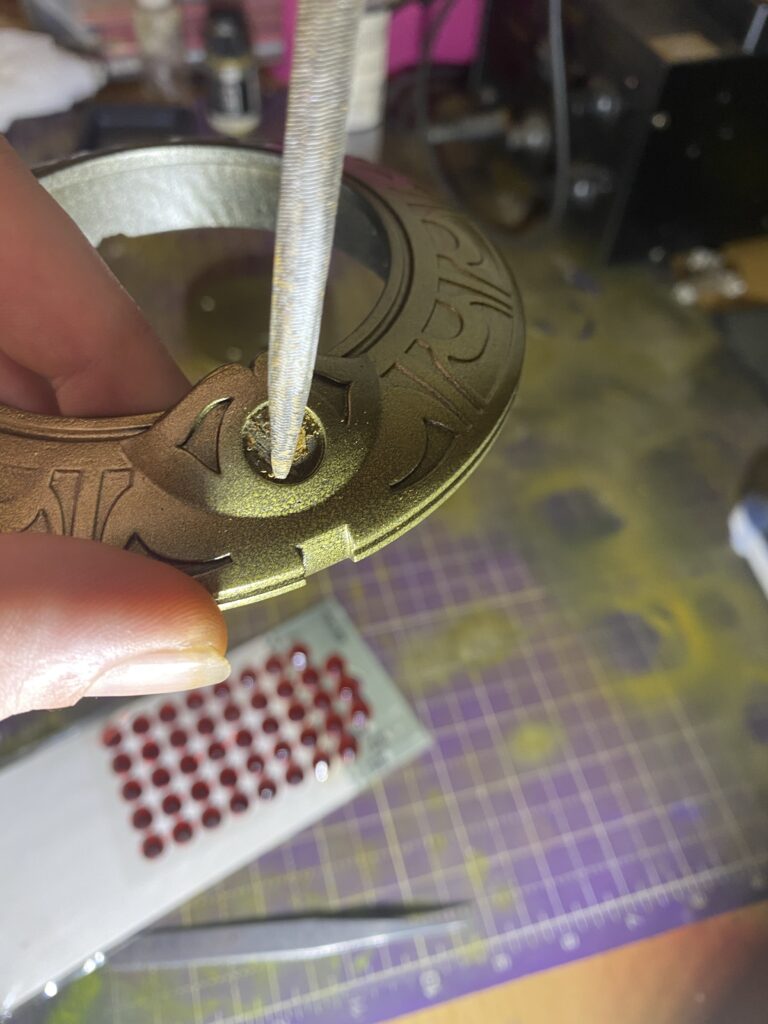
And now we put the crowing jewel in place! At least, we would if I’d remembered to put a little blob of Blu Tack in the inset for the gem…
When I varnished over it, I left a surface that was hard to stick the gem to, so I had to go back and roughen the surface a little.
And done! A quick assembly behind the curtains, and Tah-Dah! FFX Memory Sphere, Prototype II complete! On to the result!
Result
I’m so happy with this build, and I’ll let the better images talk for themselves shortly, but first, the bad stuff.
There were a few bits I’d rushed, including the surface finish. There are two parts where the paint isn’t just ‘not great’, but actively bad.
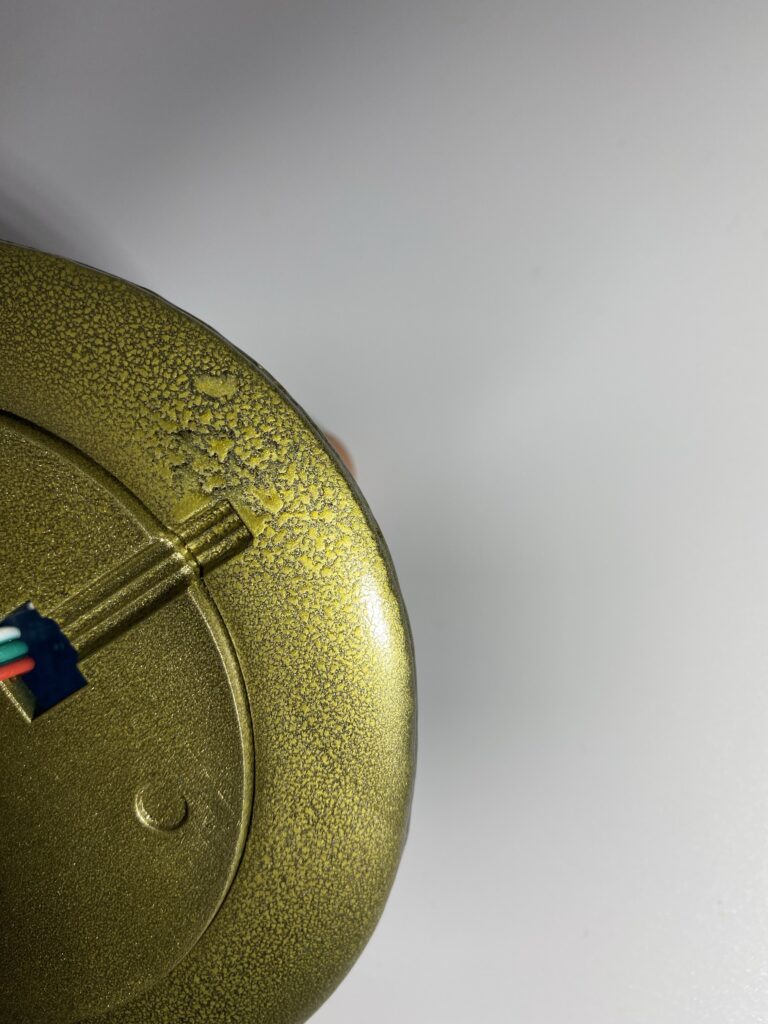
Bad prep work and hurrying to the finish line have both left a couple of eyesores, but honestly, I got quite lucky with their locations! Both the back and underside of the ring aren’t visible when viewed from the front.
This can quite happily live on my shelf without those imperfections being an issue!
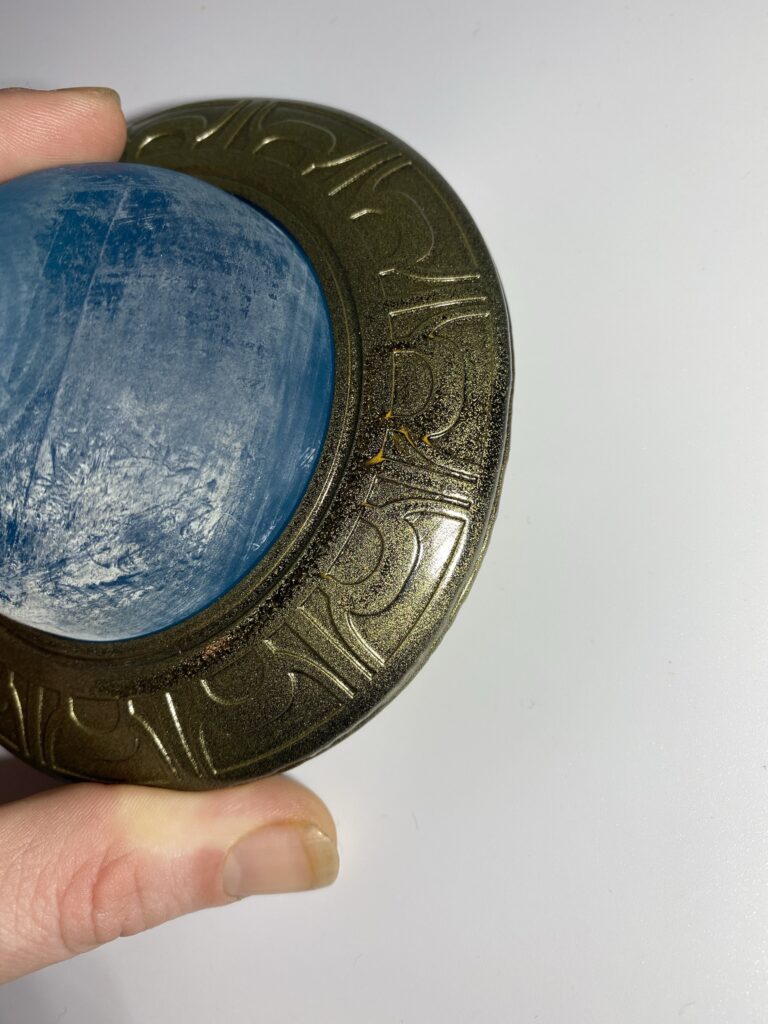
And lastly the dome. It shouldn’t have been a perfect hemisphere, that’ll be changed with the Final version. Beyond printing and sanding the underside, I did nothing with it. As a prototype, this impact nothing except the images in this article, and yet… It wouldn’t have taken much, I should’ve just done it.
With two finished prototypes with unfinished domes, this will be the major improvement for the Final version. While the blue resin is a fantastic stop-gap, my plan next is to make a silicone mold and use dyed resin to create the dome. It’ll mean a lot more work, but if it comes together like I hope it will, this could be the best looking product I’ve made yet!
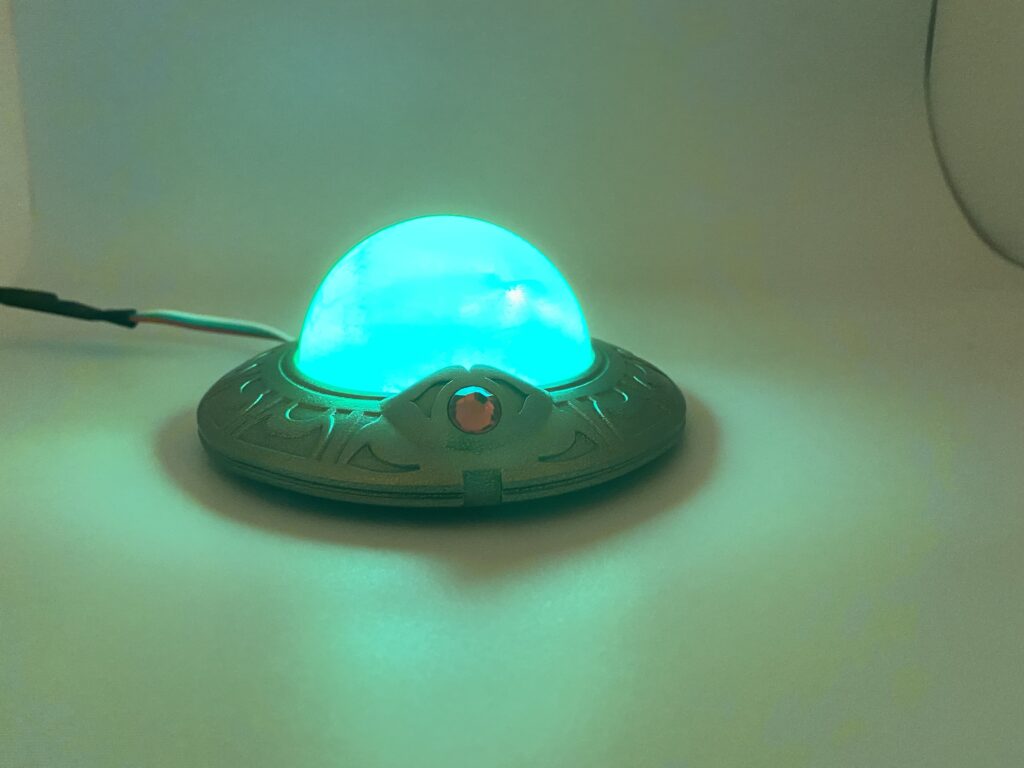
Enough negative, look at this!!
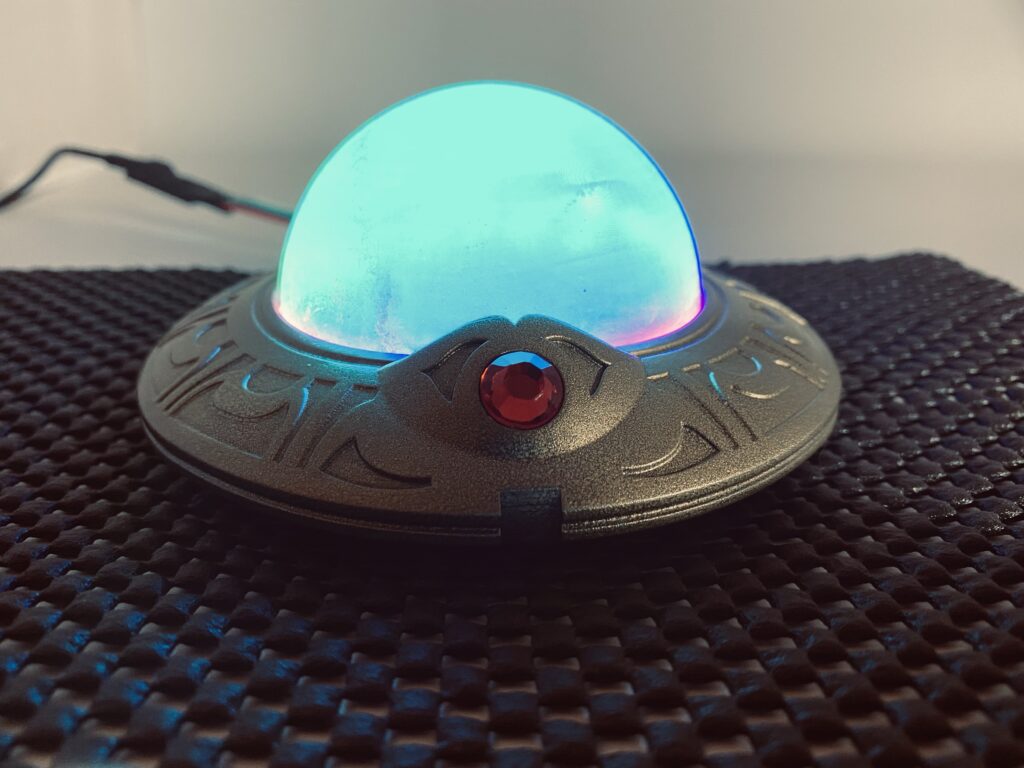
No words, only shiny.
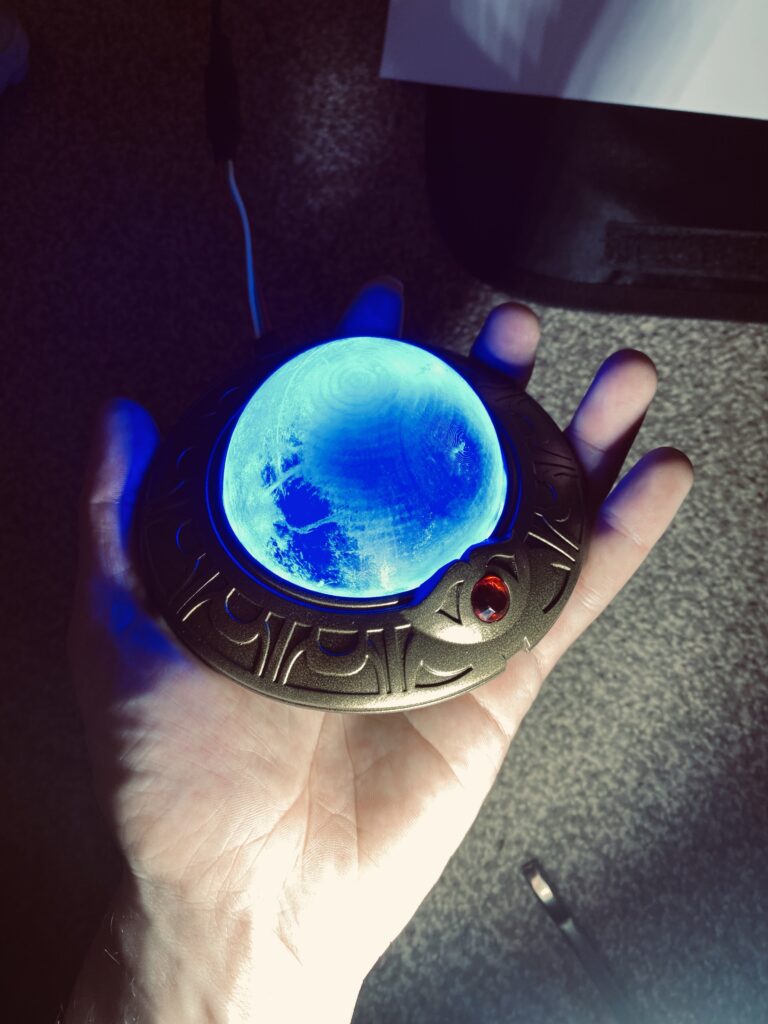
Not something I foresaw: the imperfections on the dome come to life in the light!
Thanks for reading!
If you enjoyed this, you might like some of the related articles from the Overview, or perhaps a different Project altogether?
Love what you saw? Got a project in mind? Feel free to reach out and let me know!