Introduction
Welcome!
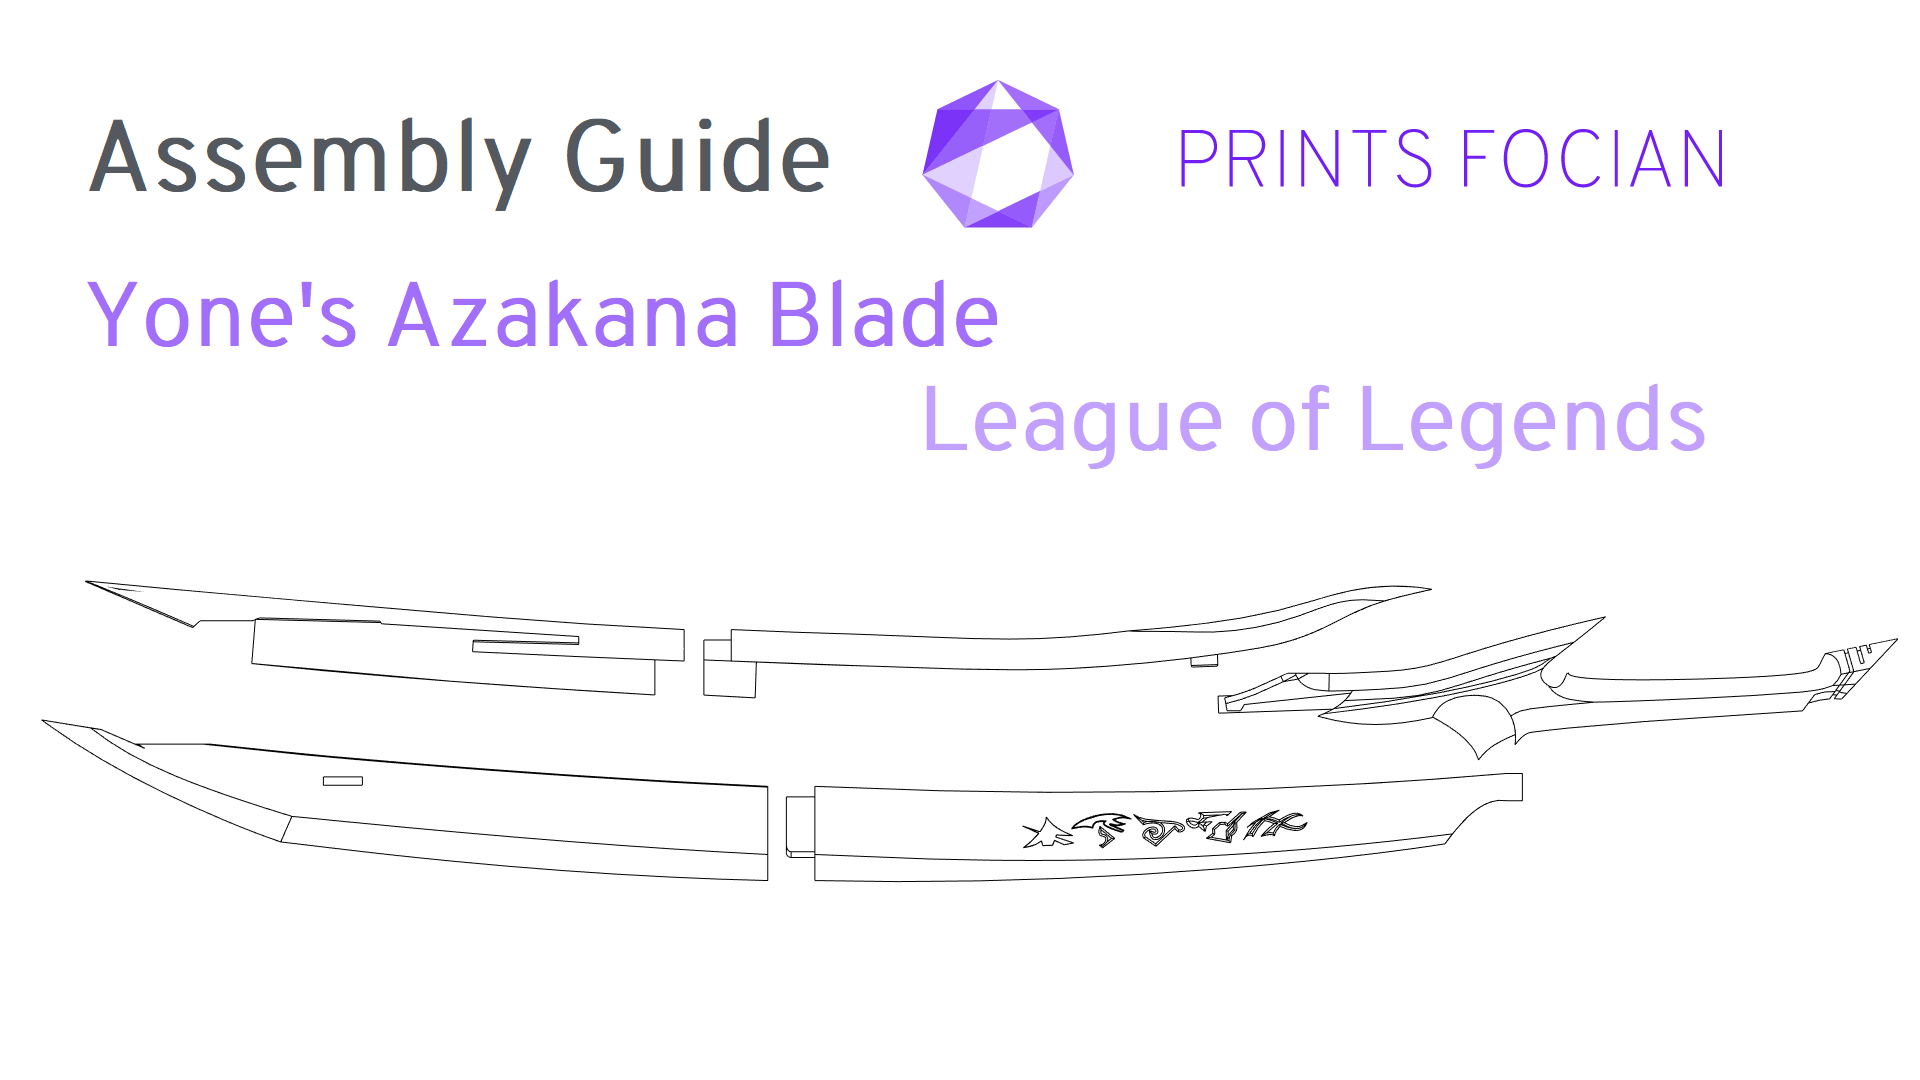
In this Assembly Guide I’ll be offering help and advice to get the most out of your purchased STL file or physical build kit for the Final version of Yone’s Azakana Blade from League of Legends.
Whether you’re assembling a Raw Build Kit or planning to Print It Yourself, this article should help you get the best from the parts or files. This guide supports your build but doesn’t cover every step in detail.
Introduction
-
Links to Articles
-
Links to Buy
- Difficulty rating
Raw Build Information
-
Raw Build contents
-
Raw Build support rods information
Print It Yourself Information
-
Print It Yourself STL file list
-
Print It Yourself support rod details
-
Licence information
Build and Assembly Information
-
Unique build notes
-
Assembly tips and breakdowns

Links to Articles:
- Overview – An introduction to the project
- Prototype I – A full text and image build of the first attempt
- Final – A full text and image exhibition of the Final Build
Links to Buy:
Print It Yourself:
Raw Build:
Difficulty
- Easy – An exceptionally easy project, most or all of the parts assemble in a very obvious manner. You’ll have difficulty going wrong on this project. Accessible to all build enthusiasts!
- Normal – This will mostly be a straightforward project. Some of the finer details may need to be checked against this Assembly Guide, but most build enthusiasts should have no issue creating a great looking finished model.
- Heroic – This will have a fair few tricky moments. It will need more care and attention to get the best out of it when compared to easier models. I would not recommend this for a first project as the difficulty could be frustrating.
- Legendary – I do not recommend purchasing a piece of work that I have deemed as Legendary Difficulty unless you are an experienced builder or maker. Projects of this nature will need a lot of work, time and patience to complete. Technical knowledge about the material used will help, as will a versatile toolkit.


Package Contents
Raw Build Contents
All components are printed in PLA on an FDM Printer and, when fully assembled, the approximate specifications are as follows:
- Height: 1050mm
- Width: 45mm
- Depth: 85mm


Breakdown of each component:
- Handle
- Spine Base
- Spine Tip
- Blade Base
- Blade Tip
- Left Decal
- Right Decal
- Sanding Block


Raw Build Support Rods
The support rods recommended for the Raw Build versions are:
- One Purple: 8mm * 850mm
- Four Gold: 100mm * 3mm

Print It Yourself Contents

A single purchase of the PIY version of Yone’s Azakana Blade will grant you files to print the sword, and you’ll additionally receive a BY-NC-ND 4.0 license for the files.
The following components with their respective [FILE_NAME] will be instantly available for download upon purchase:
- First part of the handle [YAB_PIY_HANDLE_1]
- Second part of the handle [YAB_PIY_HANDLE_2]
- First part of the spine [YAB_PIY_SPINE_1]
- Second part of the spine [YAB_PIY_SPINE_2]
- Third part of the spine [YAB_PIY_SPINE_3]
- Fourth part of the spine [YAB_PIY_SPINE_4]
- First part of the blade [YAB_PIY_BLADE_1]
- Second part of the blade [YAB_PIY_BLADE_2]
- Third part of the blade [YAB_PIY_BLADE_3]
- Fourth part of the blade [YAB_PIY_BLADE_4]
- Left Decal [YAB_PIY_DECAL_L]
- Right Decal [YAB_PIY_DECAL_R]
- Sanding Block [YAB_PIY_SANDING_BLOCK]
Print It Yourself Support Rods
The support rods recommended for the Print It Yourself version are:
- One Purple: 8mm * 850mm
- Five Gold: 100mm * 3mm
- Three Green: 50mm * 2mm

License Type:
With my 3D files, you will also receive a non-transferable Creative Commons Licence. As standard, this will be the CC BY-NC-ND 4.0 license, although other types are available upon request.
The “human-readable” version of the license type can be found here.
I would like to highlight the non-commercial part. “Non-commercial means not primarily intended for or directed towards commercial advantage or monetary compensation.” If you are using any designs of mine as part of your work (such as a cosplayer), then this is absolutely fine, and actively encouraged! Alternatively, perhaps you made an item a while back and now want to sell it on – you didn’t buy the item for the primary purpose of selling it on, so again this is absolutely fine!
However, if you are purchasing the STL files with a view in mind to sell the output, raw or finished, then this will require a commercial license.
Assembly
Unique Build Information:
The main support rod is recommended at 850mm in length, however, I have previously used 800mm (as it was easier to source) and had no issue with the reduced length.
Owing to the way the main support bar holds the parts together, I suggest you assemble and complete each of the multi section parts separately. Once you have finished the blade and the spine (and the handle on the PIY version) to the varnish stage, you can then assemble all parts for the finished model.
I would also recommend making sure that all parts are continually assembled throughout the build, albeit temporarily, to ensure a good fit at the end-stage (specifically where the end of the main metal rod rests in the blade tip). Also, use something to mark what is visible on the rod when it is pushed all the way down the blade (so where the handle should be). This will help you confirm later that the rod is all the way seated.
Remember that the tolerances added by paint and varnish are minimal, but do take them into account. Ensure that the large support bar can be pushed through the holes with enough ease, but still holds fast. This is important for the handle most of all.
Once your three main pieces are ready, press the spine into the slot on the back of the blade. Tiny pushes of pressure are the way to go here if it wears at all, ideally applied with a towel to avoid any marks (if it has been sufficiently sanded, this will just slide in without friction). Push the main support rod into the first notch on the spine, and make sure that the hole is lined up with the receiving hole on the blade. Then gently twist and push, you should feel when it passes from one section to the other.
Once the rod is all the way in the recess, the handle barely pushes on the bottom of the rod. A gentle push down is needed at the “fins” at the bottom of the blade in order to get them over the handle.
I didn’t use any glue to keep this item assembled – the forces at play are holding it together sturdily enough for decorative purposes. However, if I planned to use it for cosplay or I was printing the multi-component PIY version, I would recommend gluing where appropriate.
Support Removal:
I remove the majority of the support material to check that the part has printed properly and looks good. While I do remove the bulk of the support, I do not remove every part; areas highlighted below will definitely need attending where the support was attached.
Handle

Underside of the handle, near the blade.
Blade Base

While the support will be removed from the runes, there will almost certainly be small parts remaining. I’d recommend a small set of angled wire clippers as the best tool I’ve found to clean this area up.
Spine Tip

Due to the smaller fins that come off of the spine’s tip, special considerations needed to be taken into account regarding how it is printed. If it is printed vertically, these fins snap far too easily, even at higher infill settings. It has to be printed horizontally for this reason, but if printed with the outermost surface facing up, the support material inside is a nightmare to resolve carefully.

When printed in the alignment I’ve elected above, there are a number of imperfections in the visible part, however they are easy to access and resolve. Still, be sure to ensure absolute care is taken around those fins! Even with the layers offering strength, they are still the weakest point on this model and will likely still have some support material remaining!
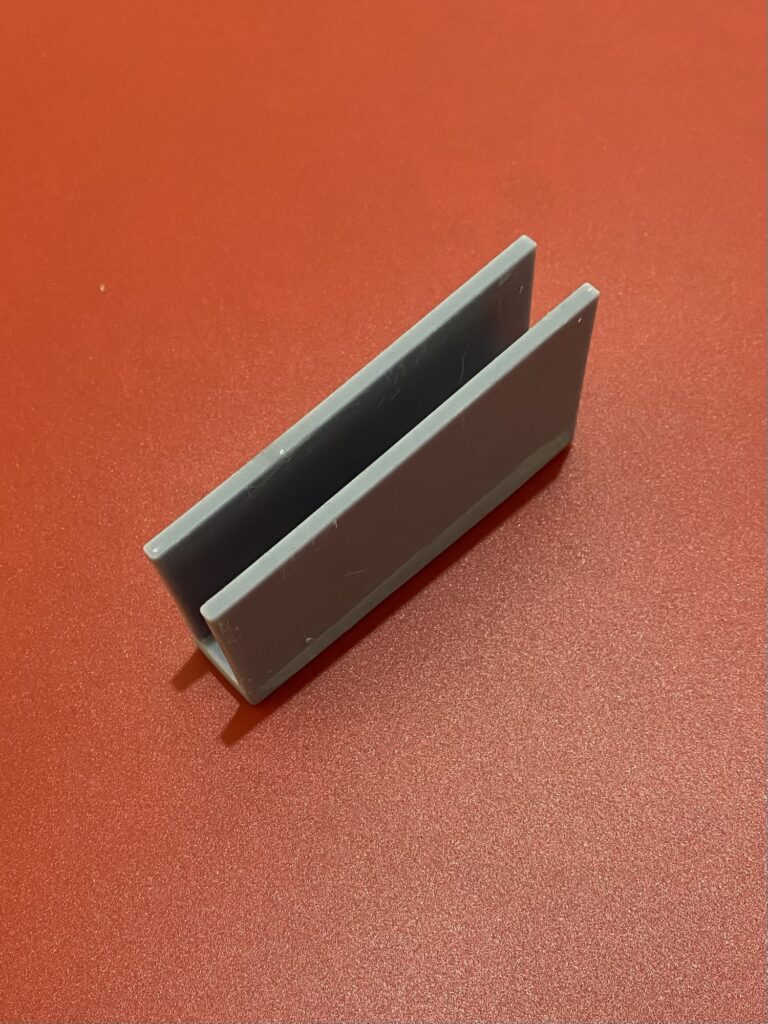
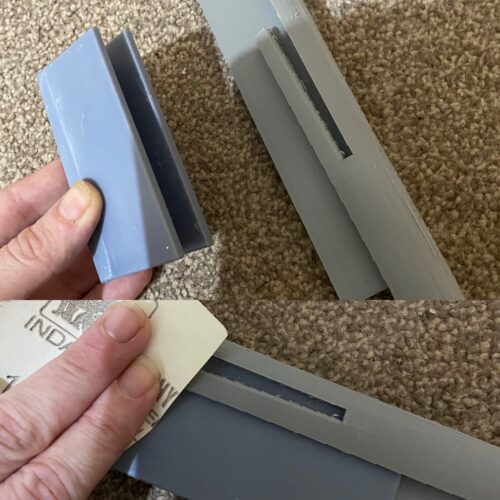
Sanding Block
The fins mentioned above caused problems for some makers (including myself!), so a new addition has been included on both the Raw Build and the Print It Yourself versions: There is now a sanding block included that can slide between the body of the spine and the flimsy fins. While some care will still be needed, the use of this will massively reduce the chance of them breaking.
General Information:
- Small hand tools are used in the support removal, and some small marks may be present
- Ensure you wear eye protection when removing support material, as it takes just the smallest amount of force to ding a shred of plastic into an eye
- Material colour is subject to change
- Take more care when sanding any resin products, both in terms of waste material and the ease of accidentally ruining the finish
- I make all the holes for the support rod with an additional 0.5mm tolerance on the diameter, and 2mm on the length
- If the metal rods you have are quite shiny, I’d recommend a gentle sanding with low grit sandpaper to help glue adhesion
- All support rod holes on Raw Build Kits are drilled and checked with the correctly sized rod to ensure a good fit
- All support rods displayed are not essential and only included if explicitly stated
- Consider lighter support materials, such as tubing or wooden dowel, if weight is a consideration. On a shelf? No issue. After eight hours carrying it around? Every gram makes a difference
- For the Print It Yourself versions, I try and ensure that no single part is longer than 250mm
- If you have a larger printer and would rather the files used in the Raw Build, feel free to message me before or after purchase
Thanks for reading!
If you enjoyed this, perhaps you would like to see another Project?
Love what you saw? Got a project in mind? Feel free to reach out and let me know!