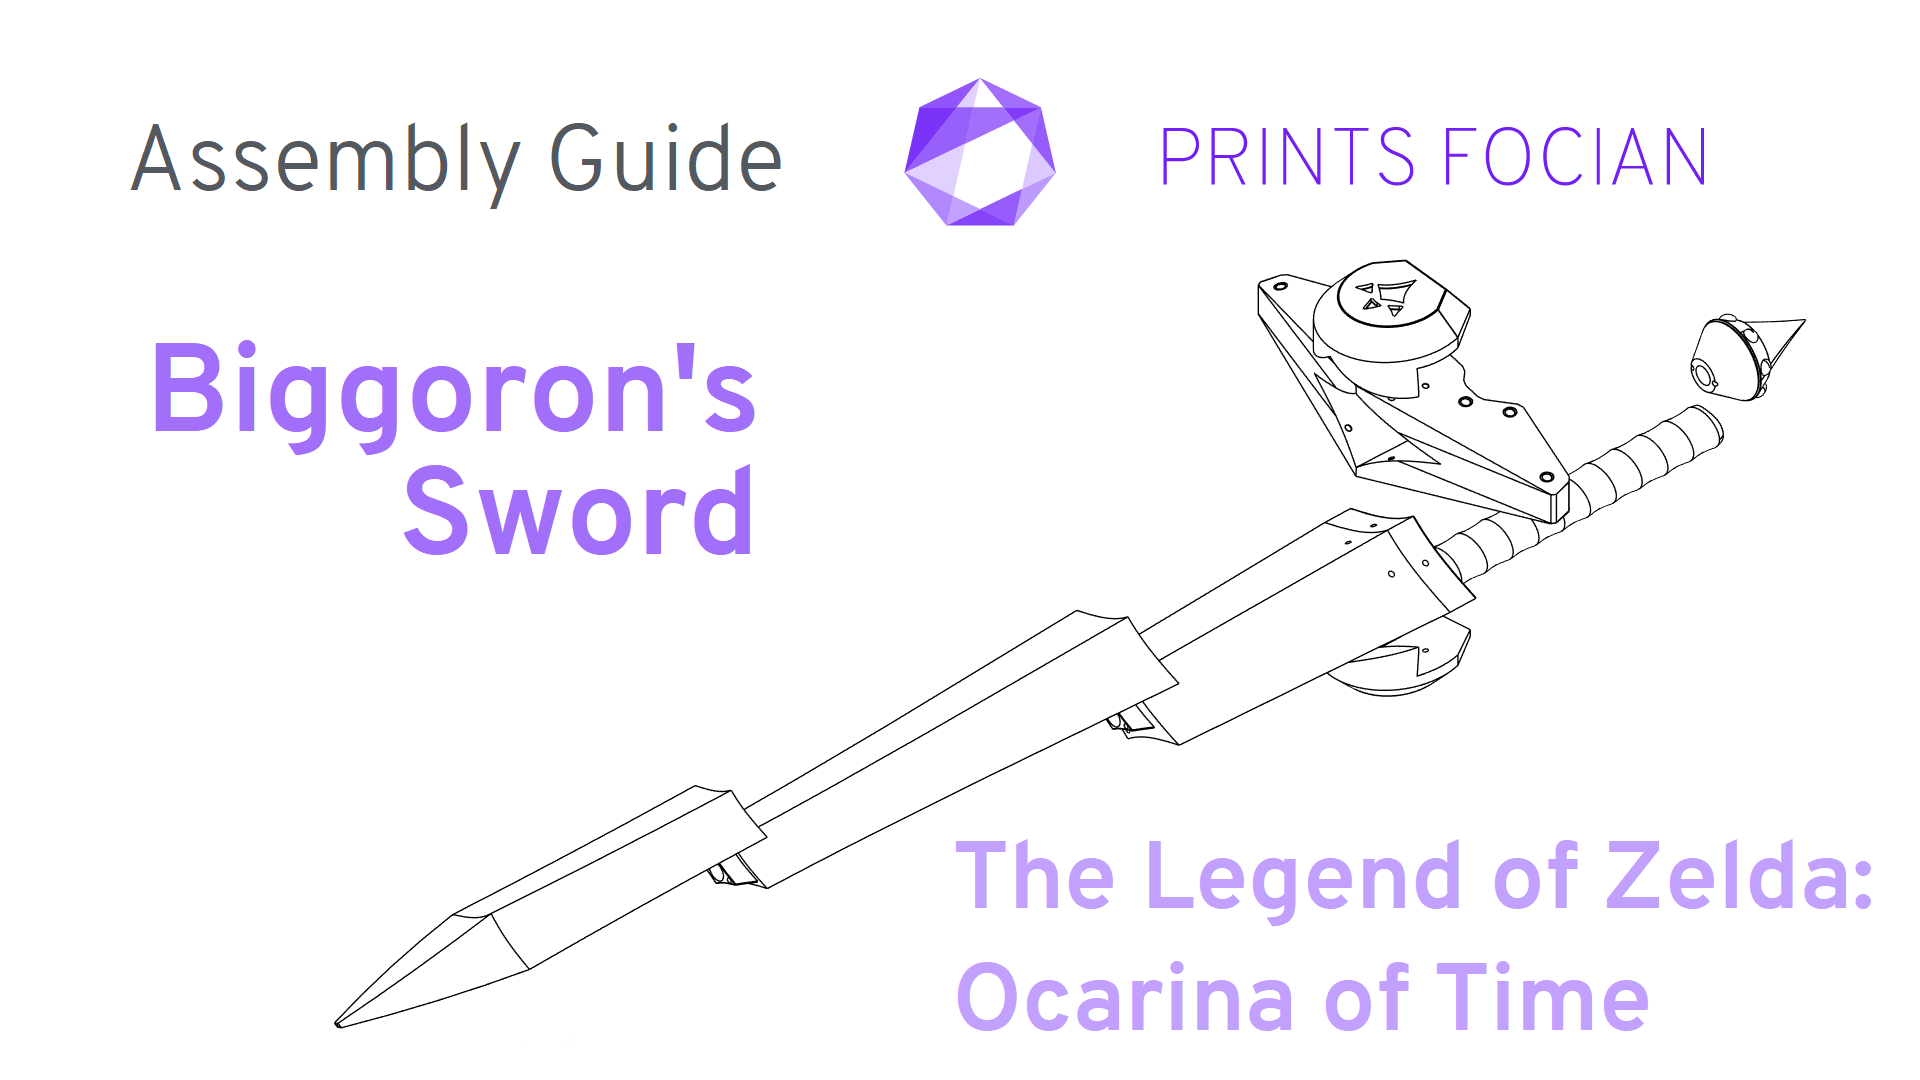
Introduction
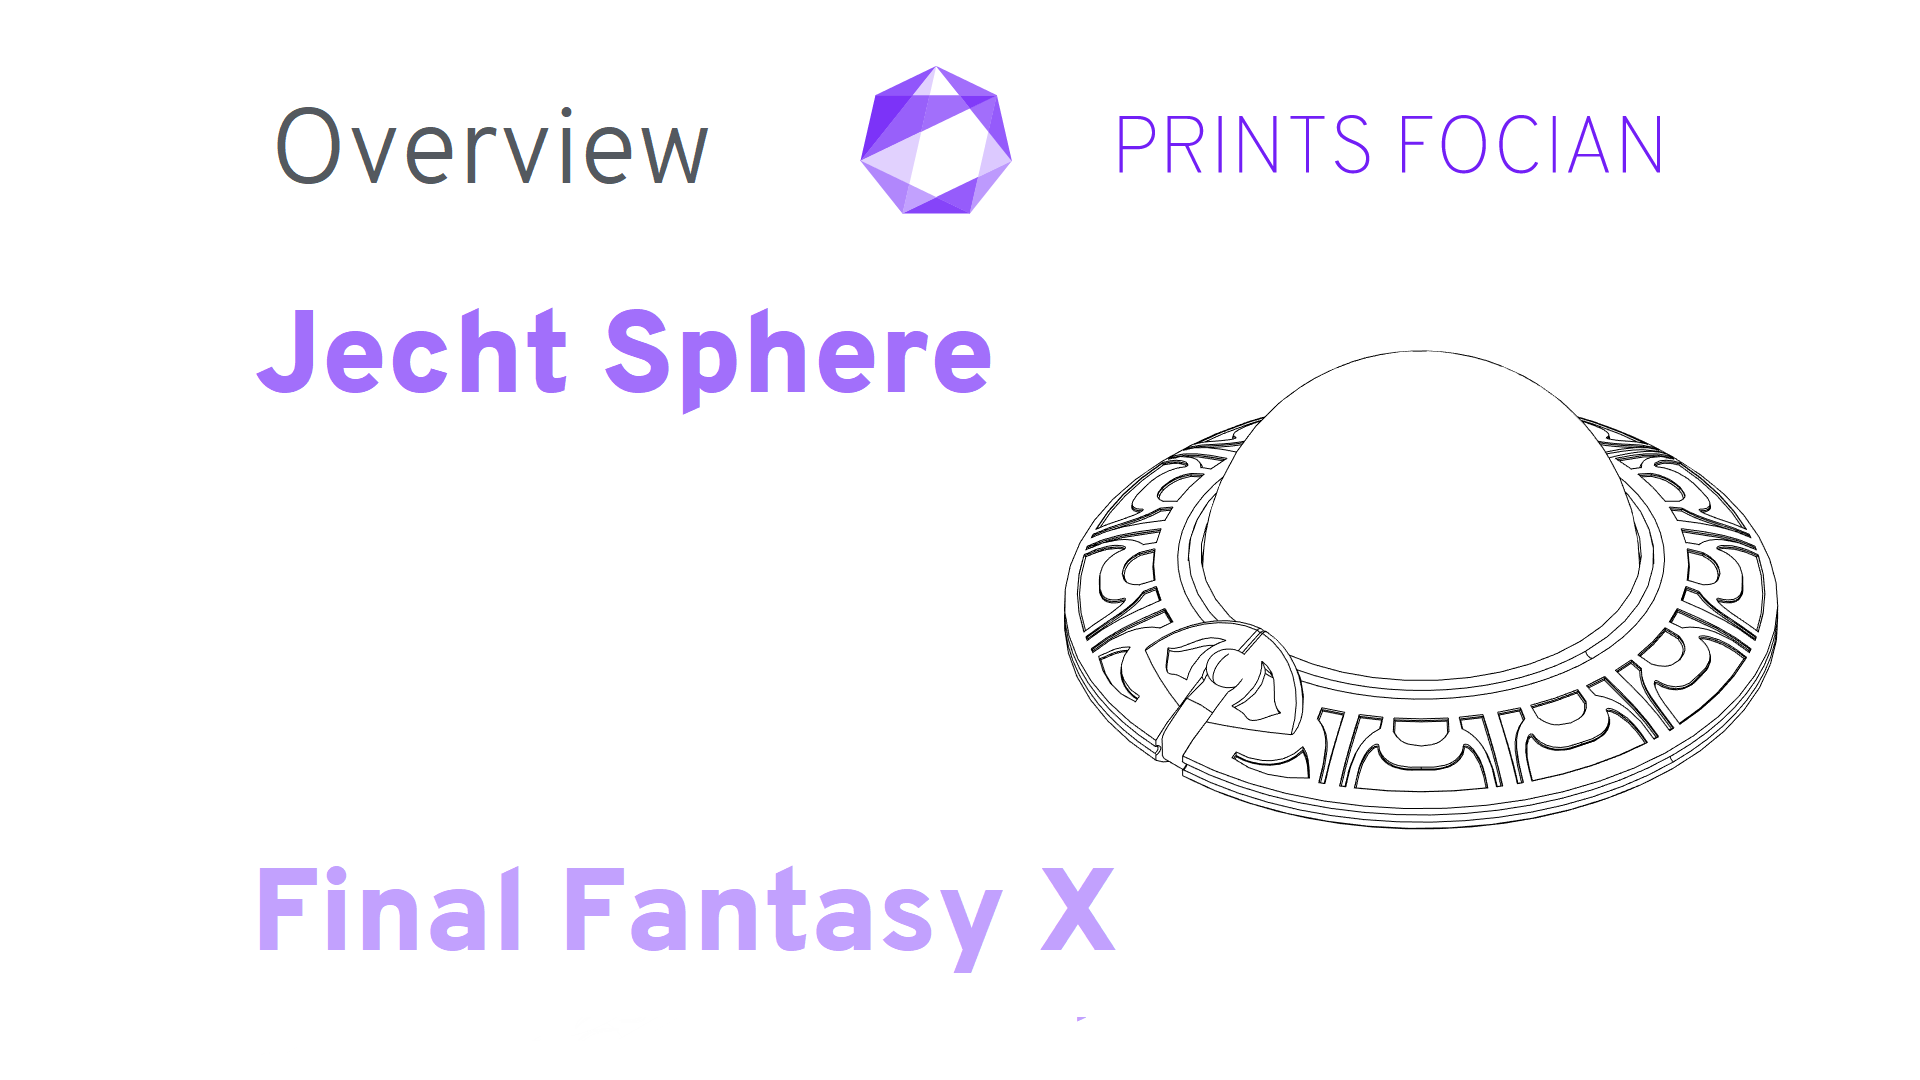
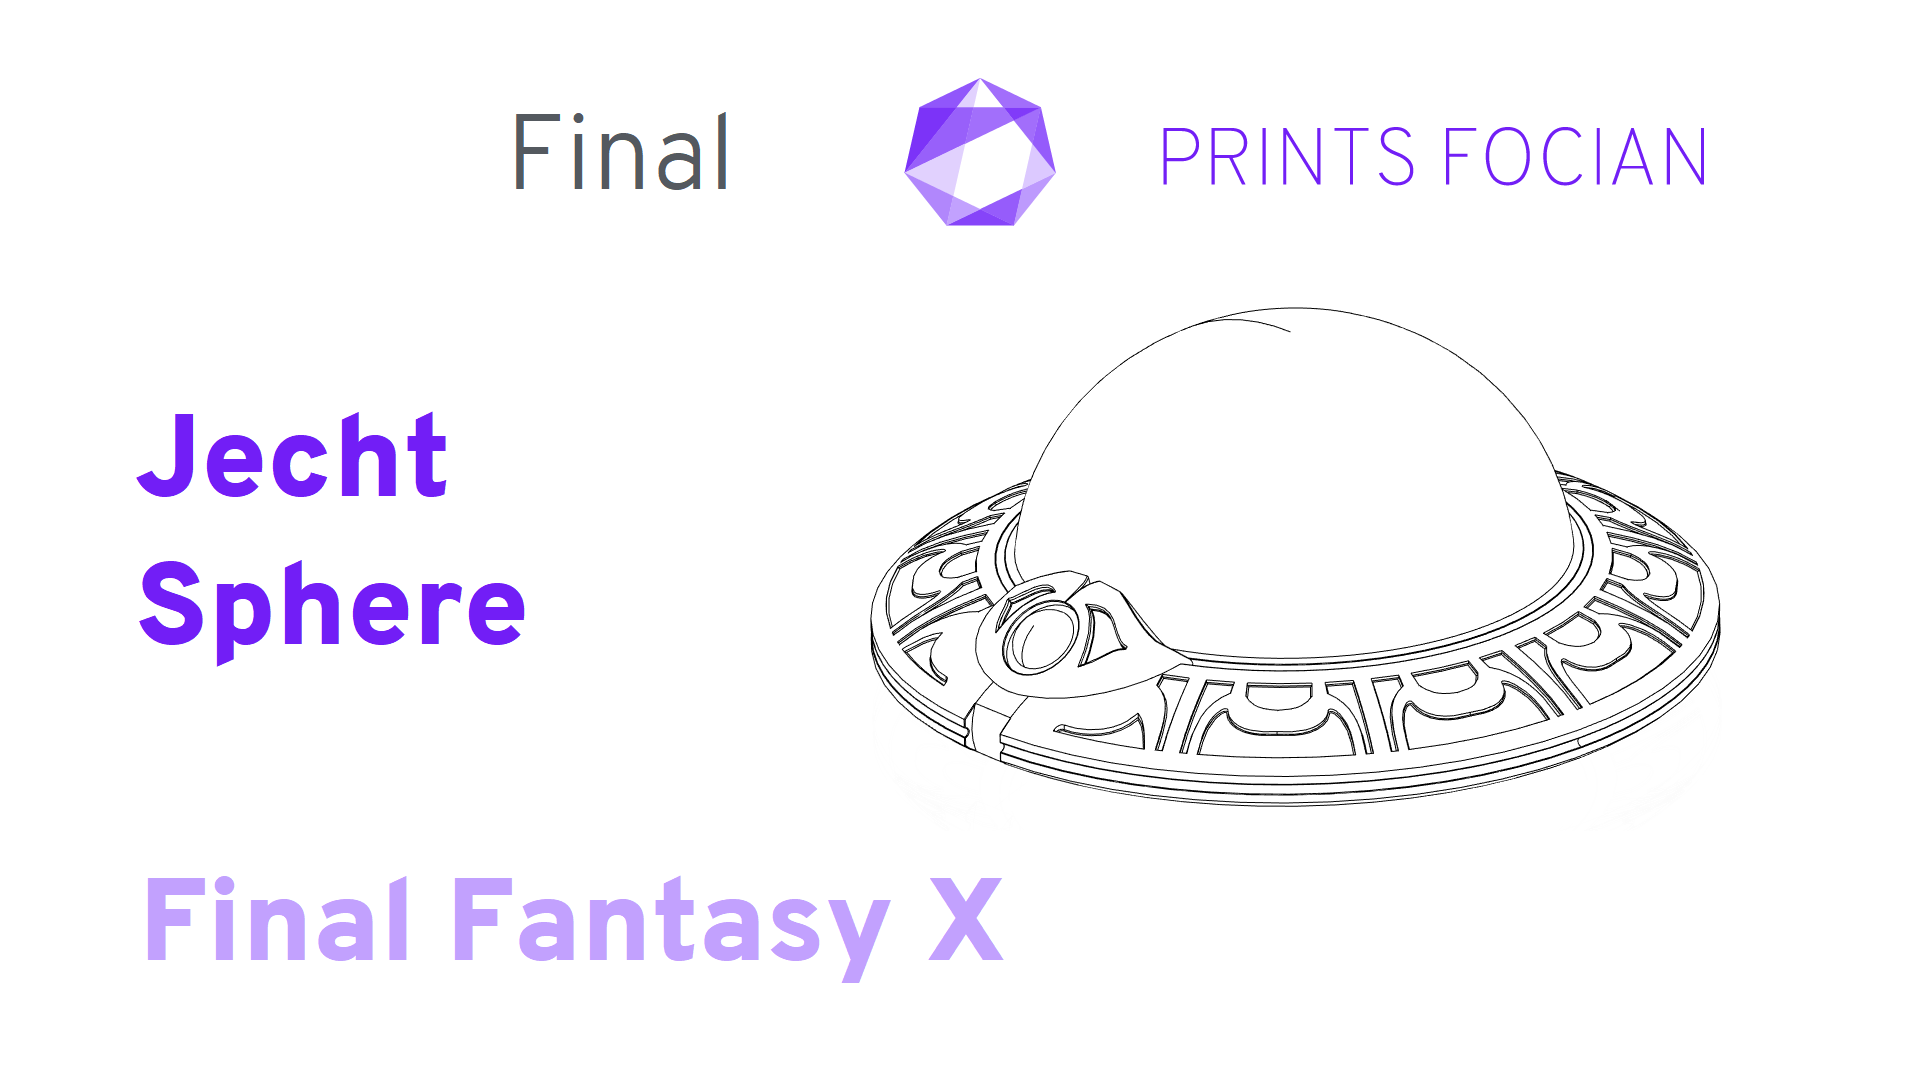
Welcome! In this build guide, I’ll be walking you through the process I took in making a Jecht Sphere from FFX.
This will be an intensive look at the Final version of this project from start to finish. It doesn’t matter if you’re looking for guidance with a Build Kit, thinking to Print It Yourself or just curious to see the project: You’re in the right place!
While this unlicensed replica is intended for decorative purposes or for use as a cosplay prop, the main reason for building it is that I just really love FFX! I can’t have enough projects on the go from that game and Jecht Sphere is a fun little project!
Check out the link at the bottom of the page for the Overview if you want to see more, or if you prefer video, this build has a TikTok and YouTube playlist!
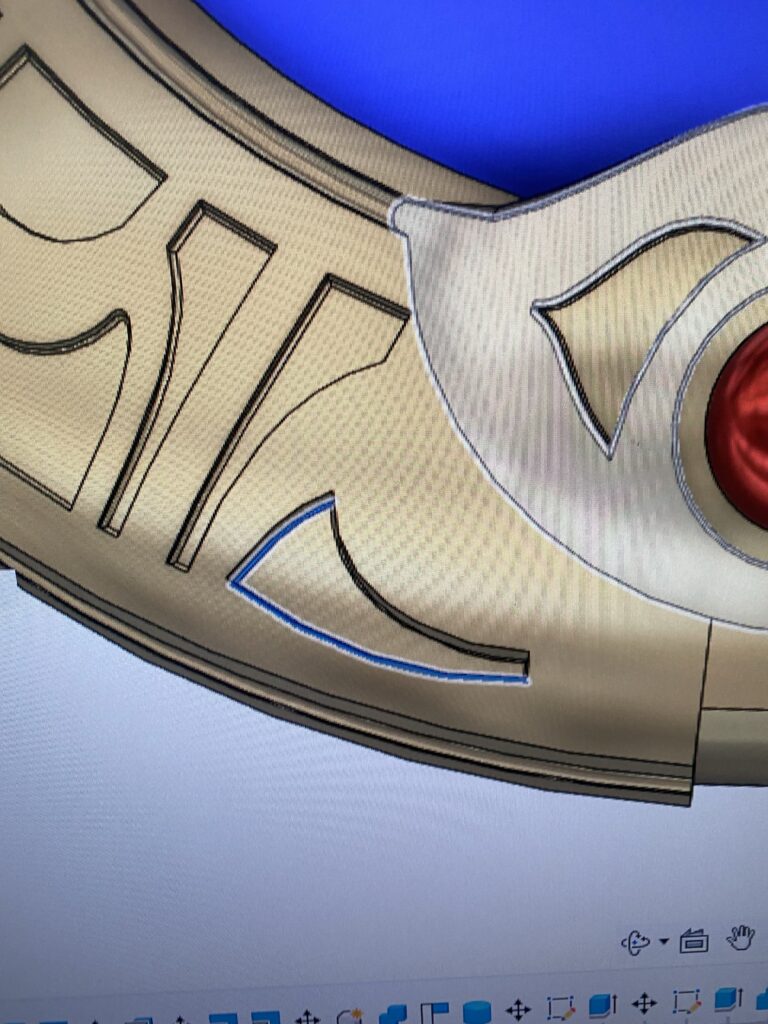
Design
The design is now completed, and you can check it out with the link here:
The height of the sphere part was brought down, and a couple of other tweaks here and there were made, but nothing groundbreaking. This had been refined more often than other models so very little was really needed.
Build
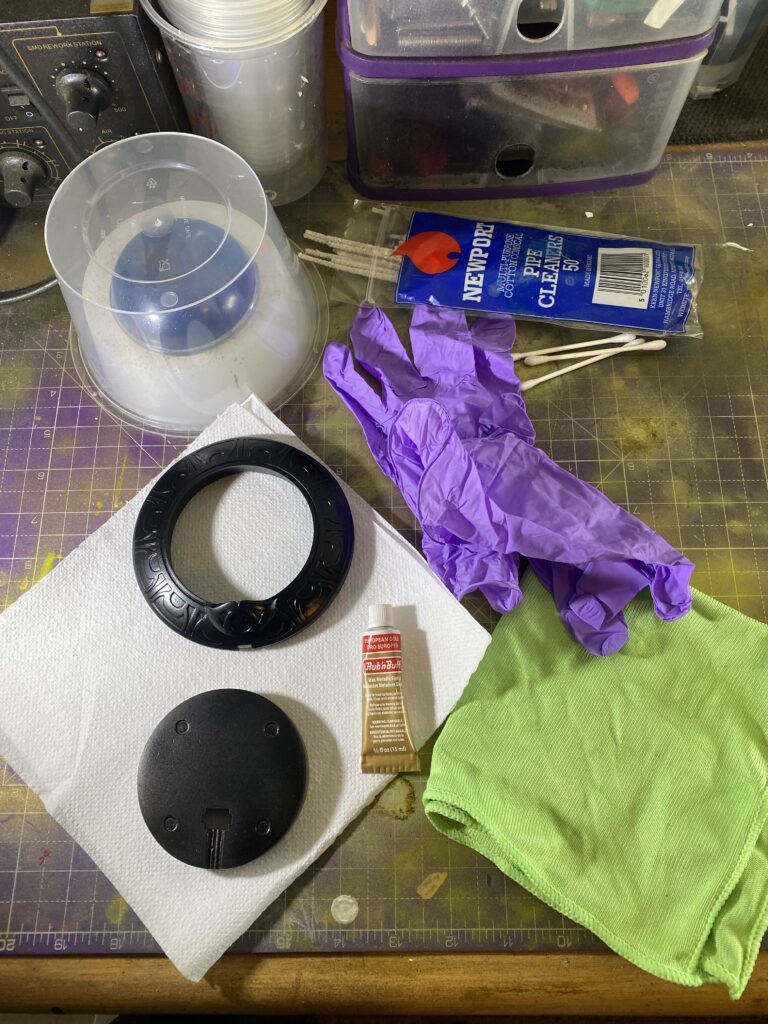
All parts of the FFX Jecht Sphere parts are sized so they can be printed on most SLA printers, making it much easier to work on later.
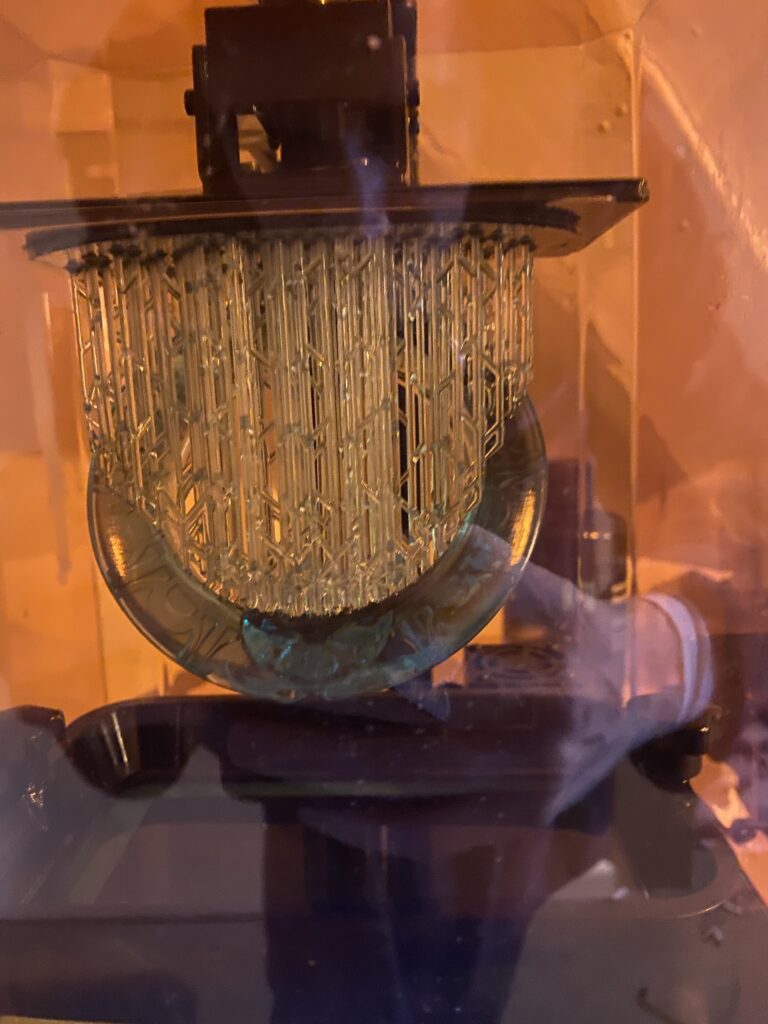
The ring and the base were the first to come out. All cured and ready to begin sanding (gem attached ‘just because’).
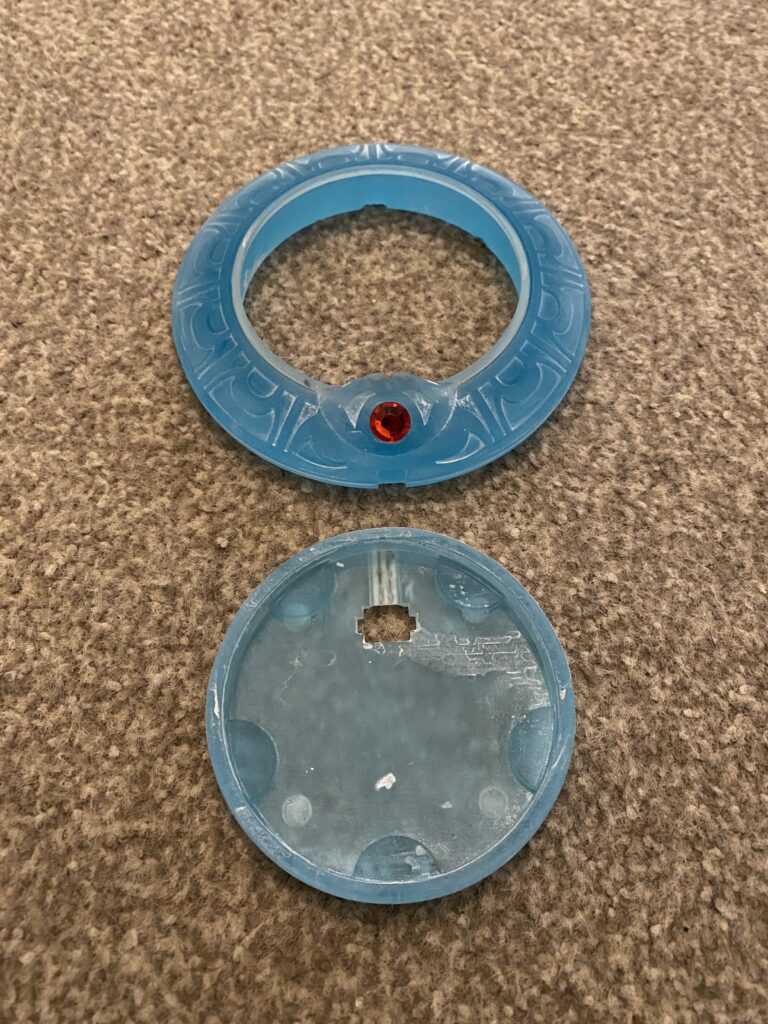
A few recesses in the bottom of the base allow some small rubber feet to be attached provided I widen them a little.
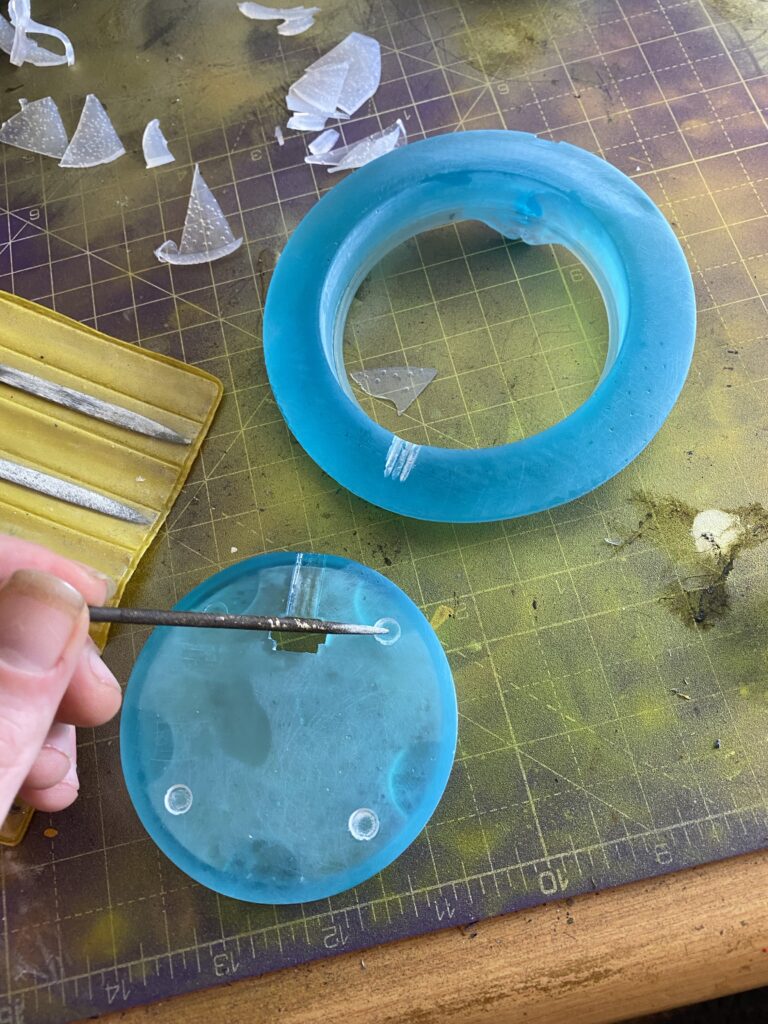
Not a lot of sanding is needed with resin prints, I started somewhat gently with 800 grit. For the metal work, this went up to 2000 grit wet sanding.

Dozens of divets pock the underside of the dome. These may catch the light beautifully, or they may make it look horrible. I’ll never find out as I have a far better plan for the dome this time!
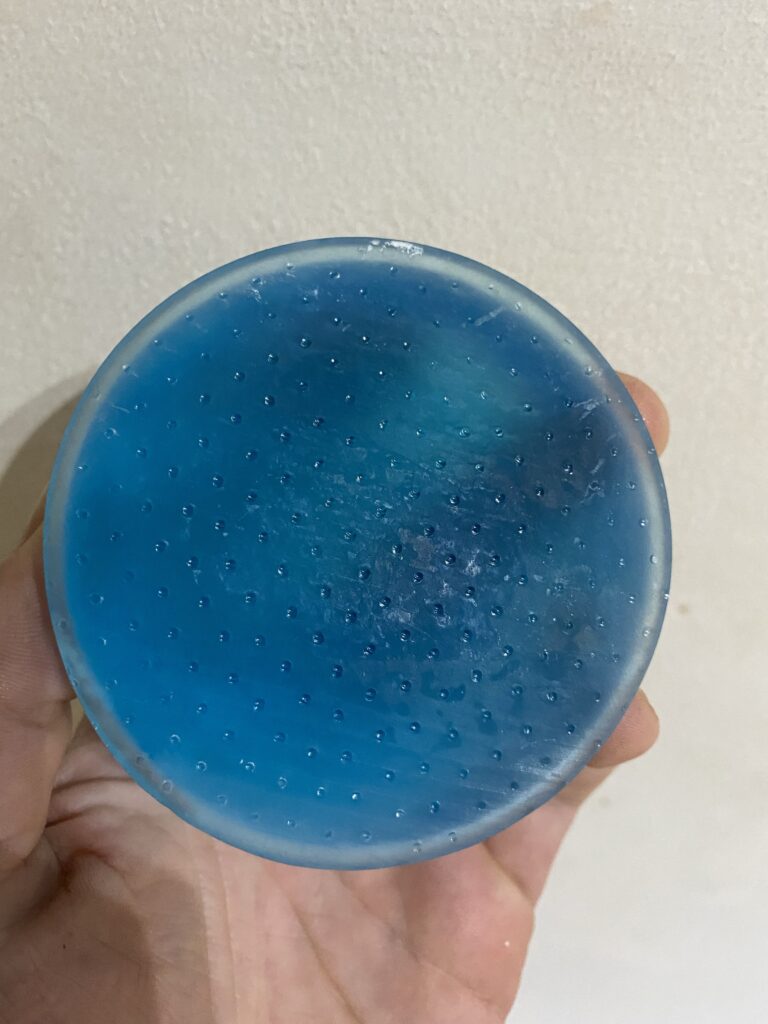
While the ring was sanded to 2000, the glass dome needed a few further passes up to 3000 grit wet sanding.
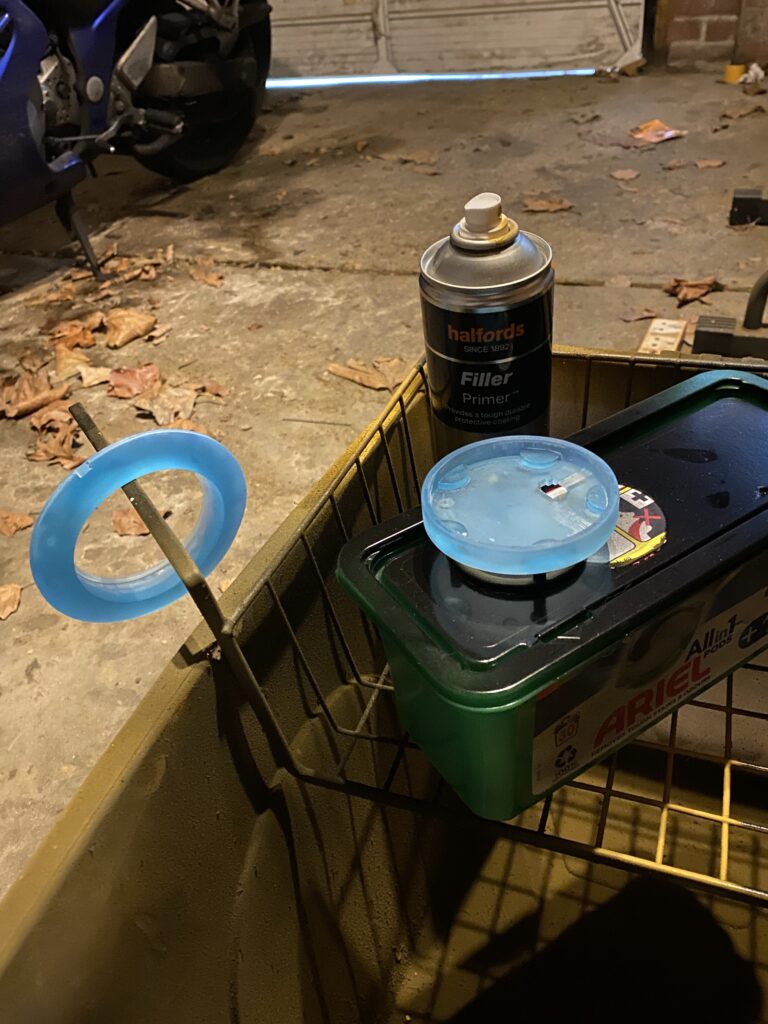
Most of the sanding completed (bar a quick once over with very fine grit once between the primer and colour)! Time to prime!
Past Prototypes have had the dome left as the raw print, this was because I had a plan for the dome but earlier models went back to the design phase before bringing the plan out to play. Now I can do it, and I’ll need to make sure it is properly sealed first.
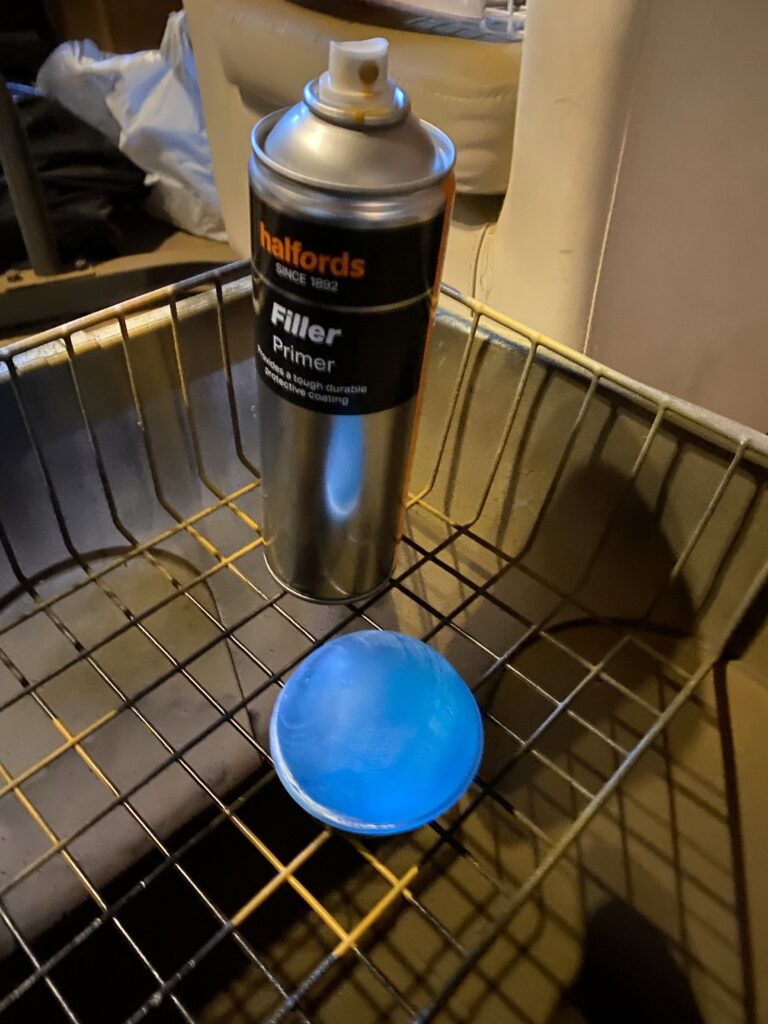
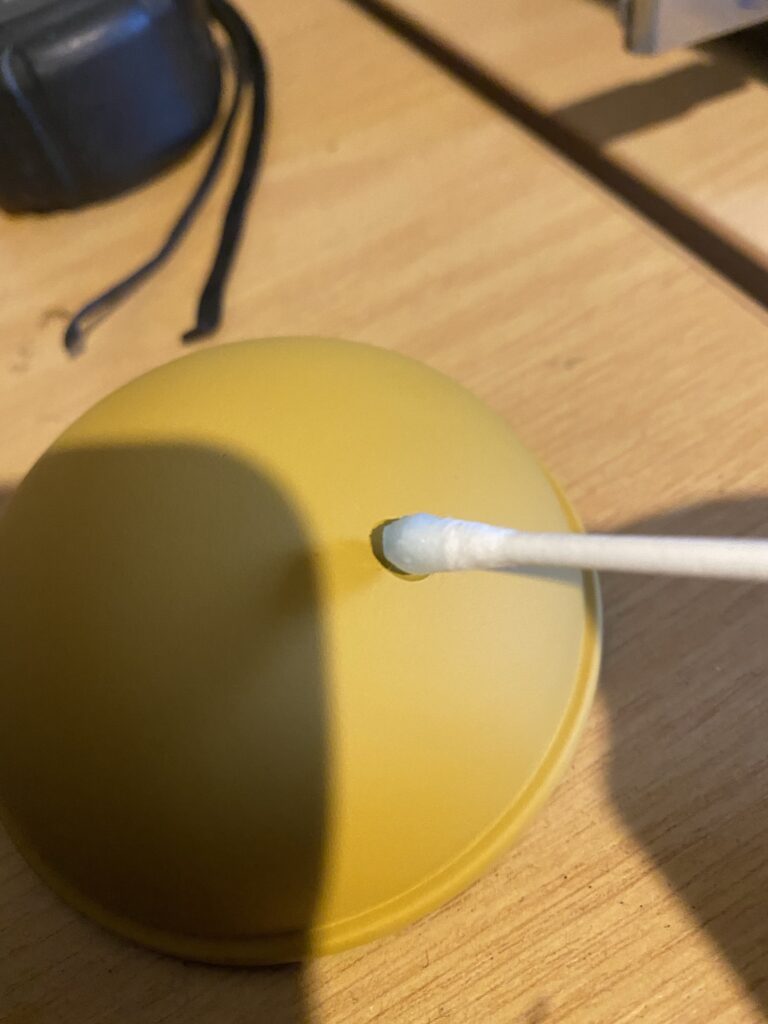
But alas! Despite thinking I’d gotten the surface absolutely perfect, the first layer of Filler Primer highlighted a slight defect… Ugh!
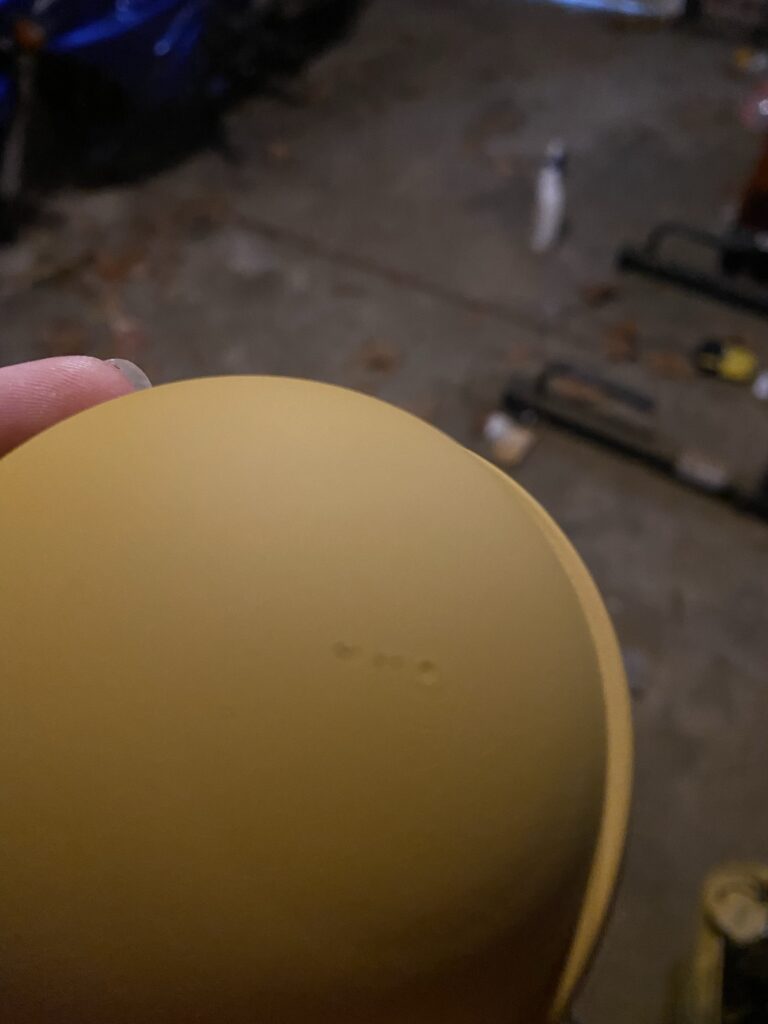
A quick repair job with some UV resin, then back to the eternal joys of sanding. Yay, I really love sanding, it’s great. Just, really great. Bloody love it.
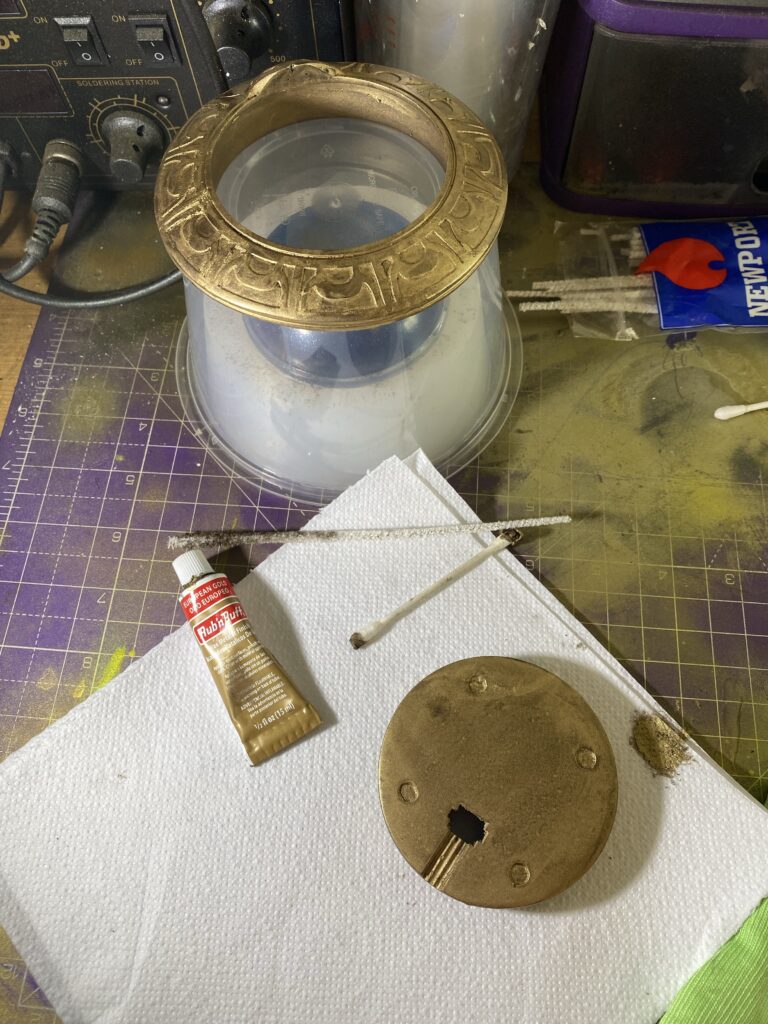
No such issues with the ring and base, they both primed perfectly!
Finish
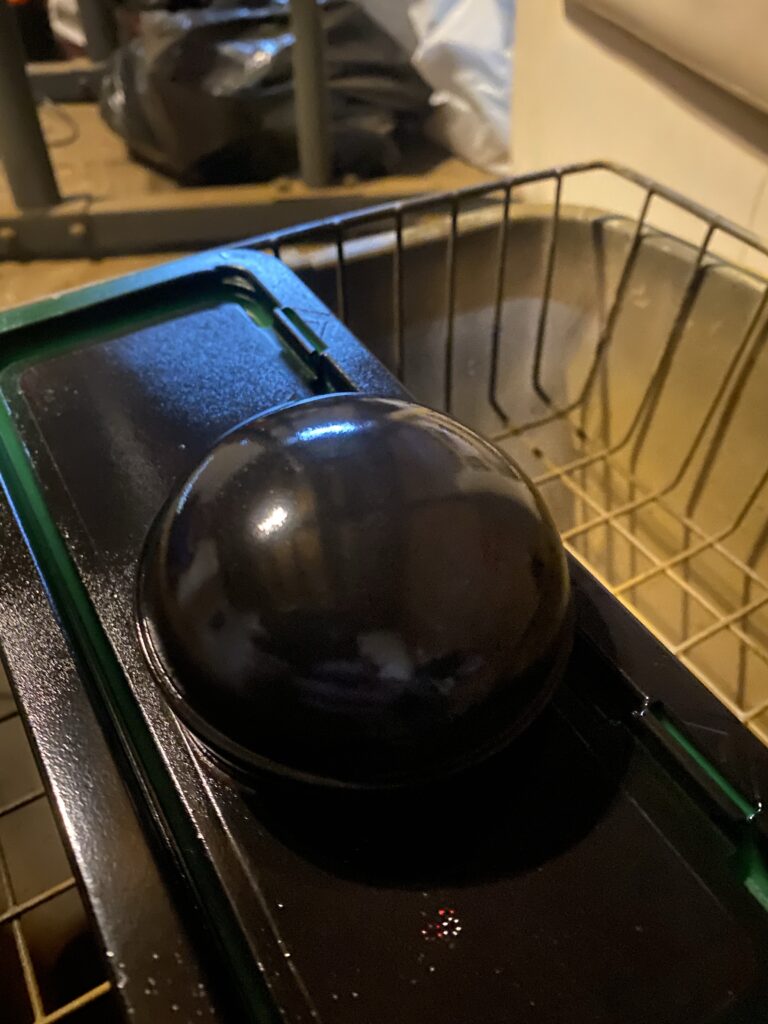
Let’s start with the dome! Just like a part that I plan to colour, a few coats of Gloss Black are the first step.
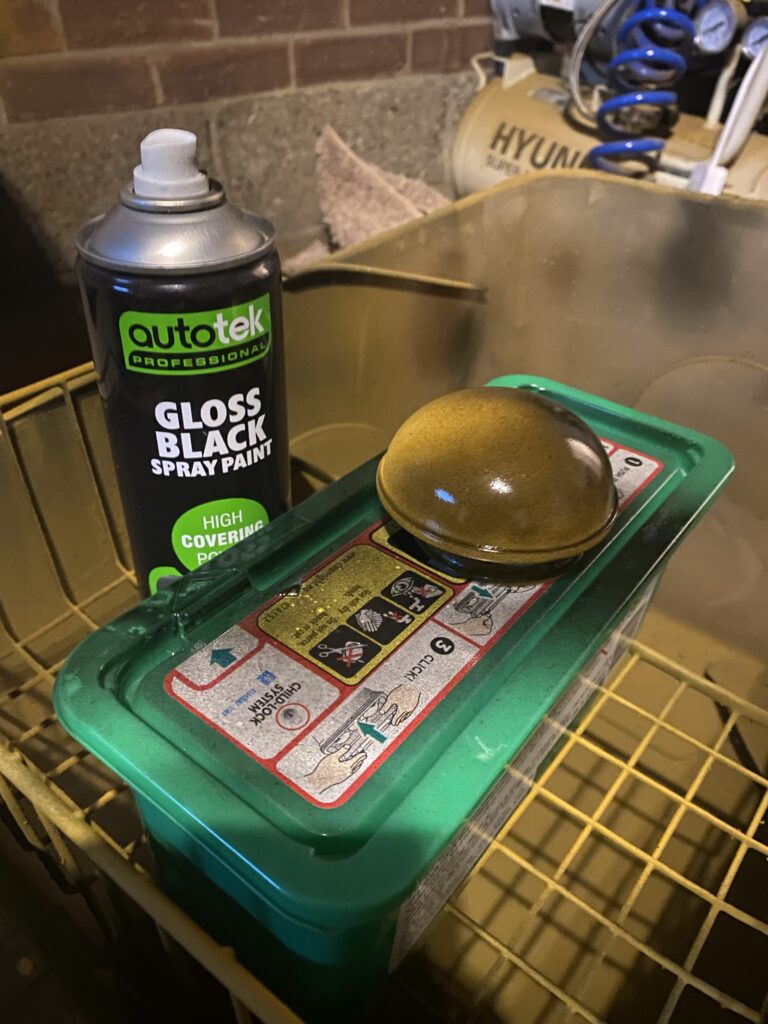
Once varnished as well, you can really see the smoothness of the finish!
I’ve been waiting for this part for a while now! Taking what I’d learned with the Elemental Enchantments from Shop Titans I made, I plan to make the dome section out of dyed epoxy resin in a mold! Next step needed is for the dome to get a light dusting of silicone release spray.
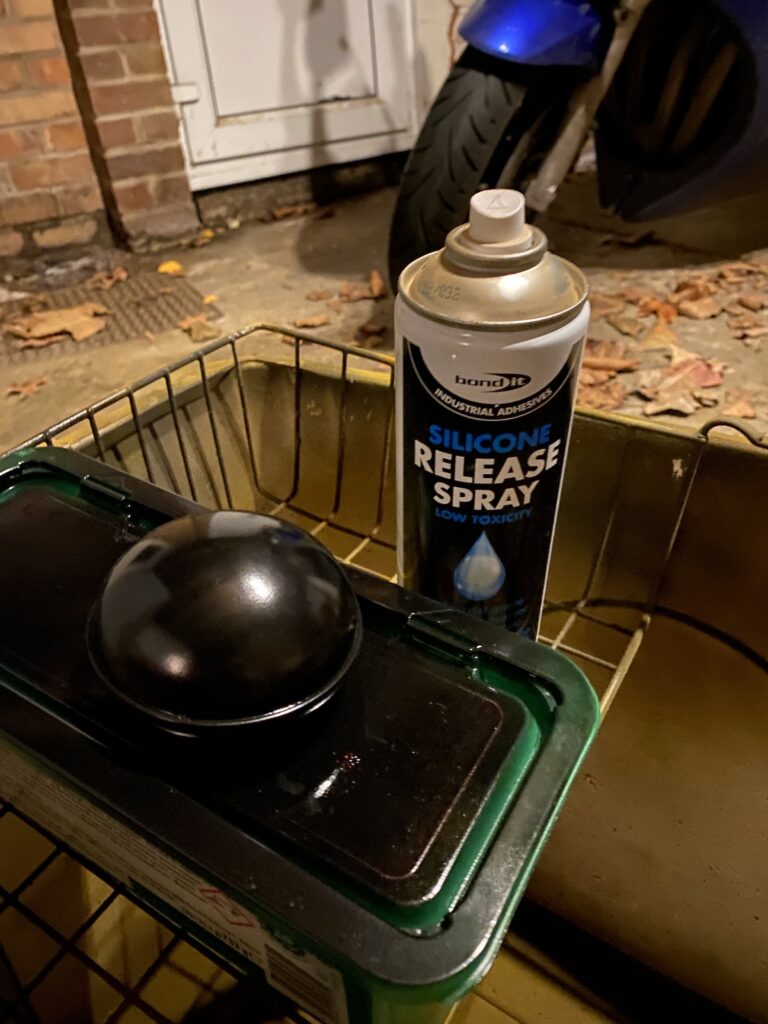
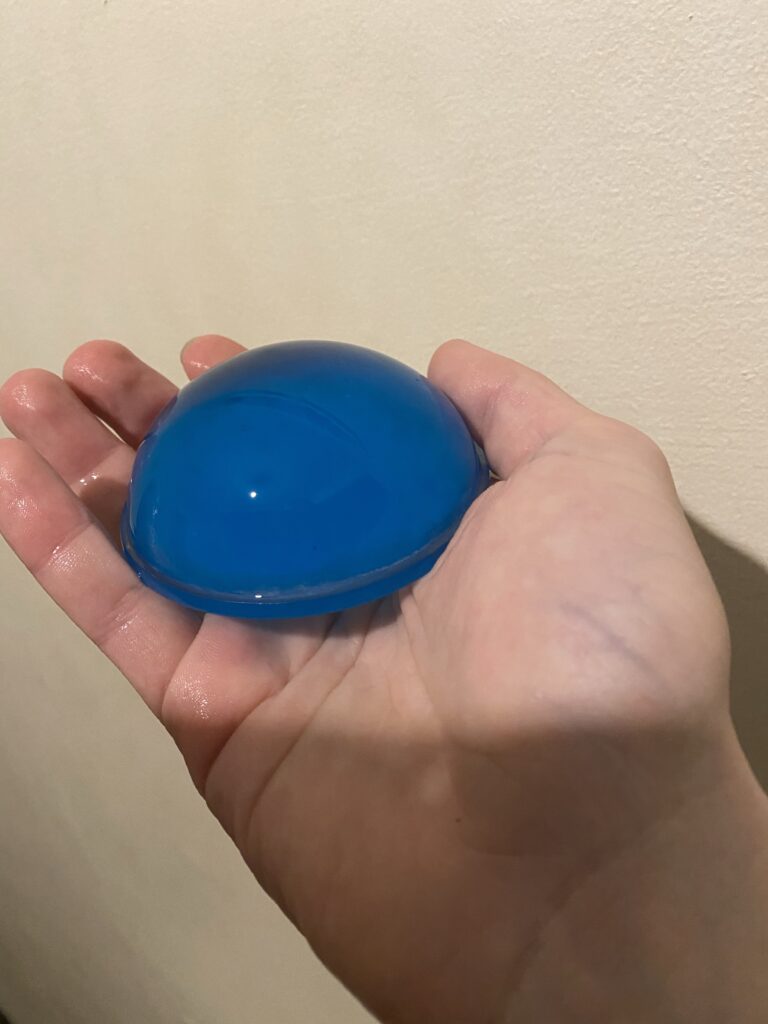
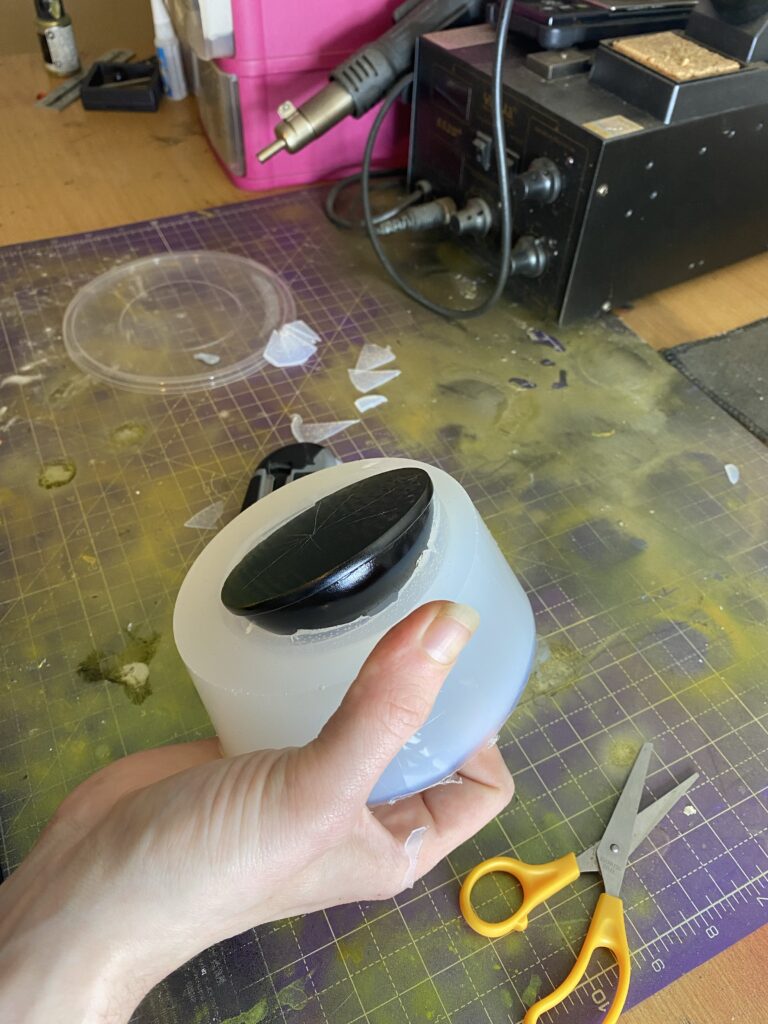
A two-part silicone mold set was used, with the dome submerged in it upside down.
A few cuts with a craft knife, and the model pinged out of the mold in a smooth motion.
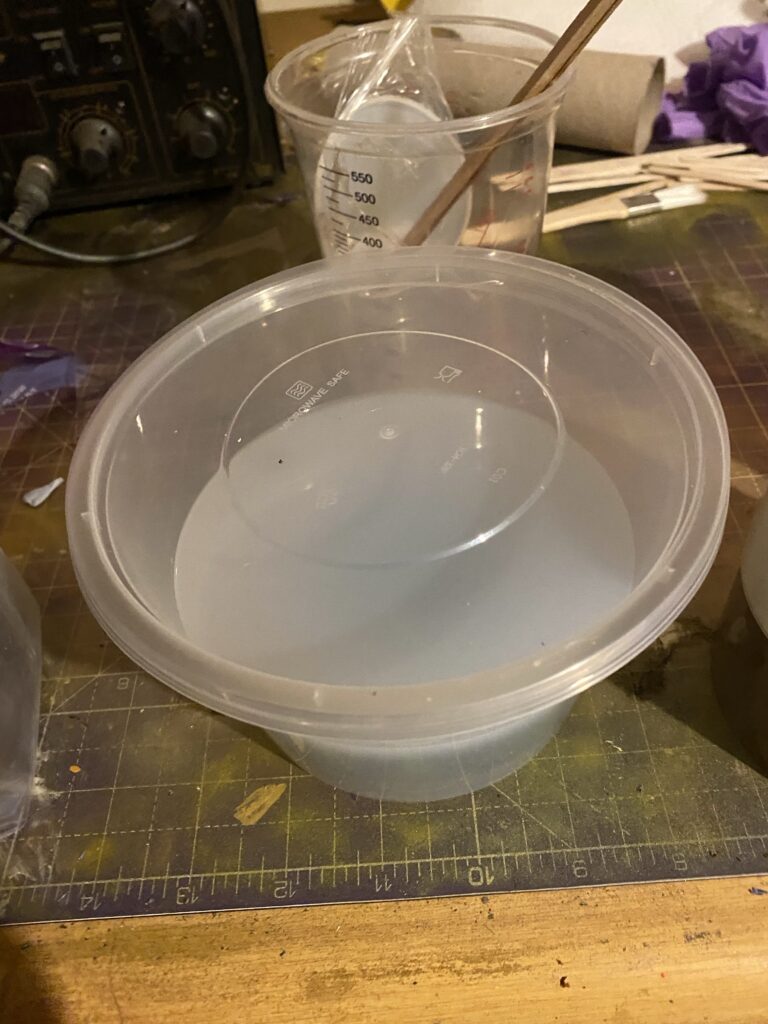
While I have worked on resin a little in the past, I don’t really have a game plan for the next step. I have a few choice blue dyes, some mica powder and some “3D effect” additives. Much like the multiple overlapping reds on Yone’s Azakana Blade, I’m just gonna go at it with gusto and see how the Jecht Sphere end up!

Resin work is magical! It’s beautiful, delicate and deadly!
THE USE OF EPOXY RESIN COMES WITH SERIOUS HEALTH CONCERNS!
If you’re playing around with it, always use full PPE. In this instance, gloves and a respirator. Honestly, don’t mess about on this point as the impact it has can be debilitating and permanent.
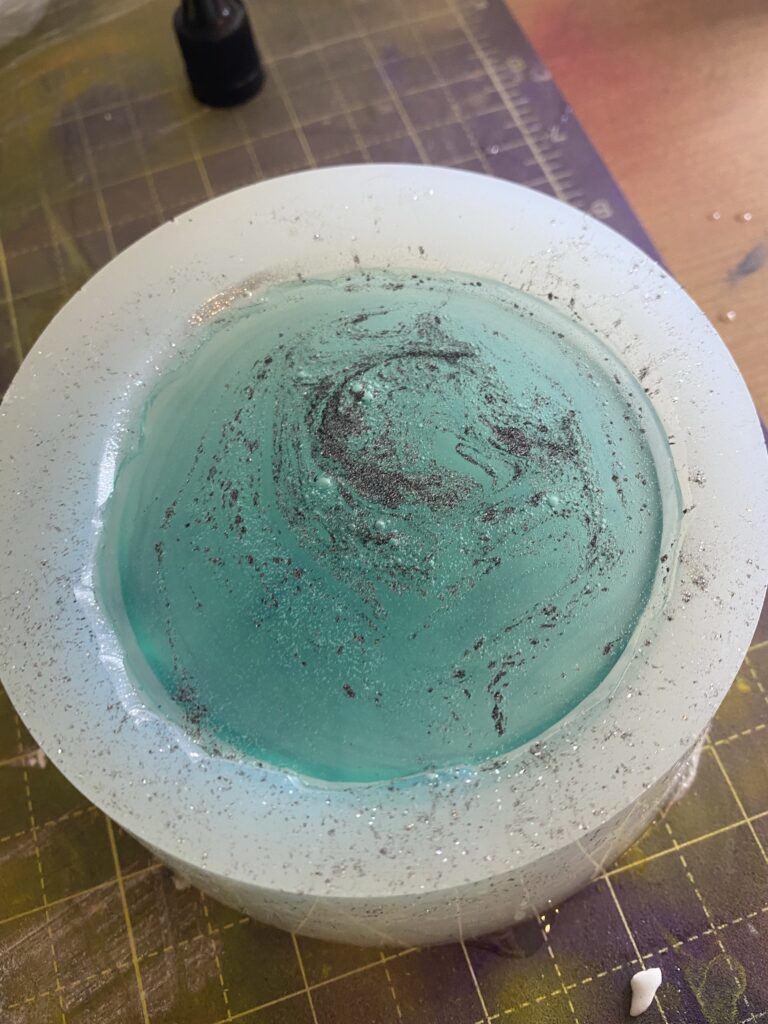
The image above and below had no change in the dye or colouring. To my surprise, it cured far darker than I was anticipating. Silver mica powder was added throughout. While curing, I stirred the concoction to avoid all the glittering powder sinking to the bottom of the mold (top of the dome).
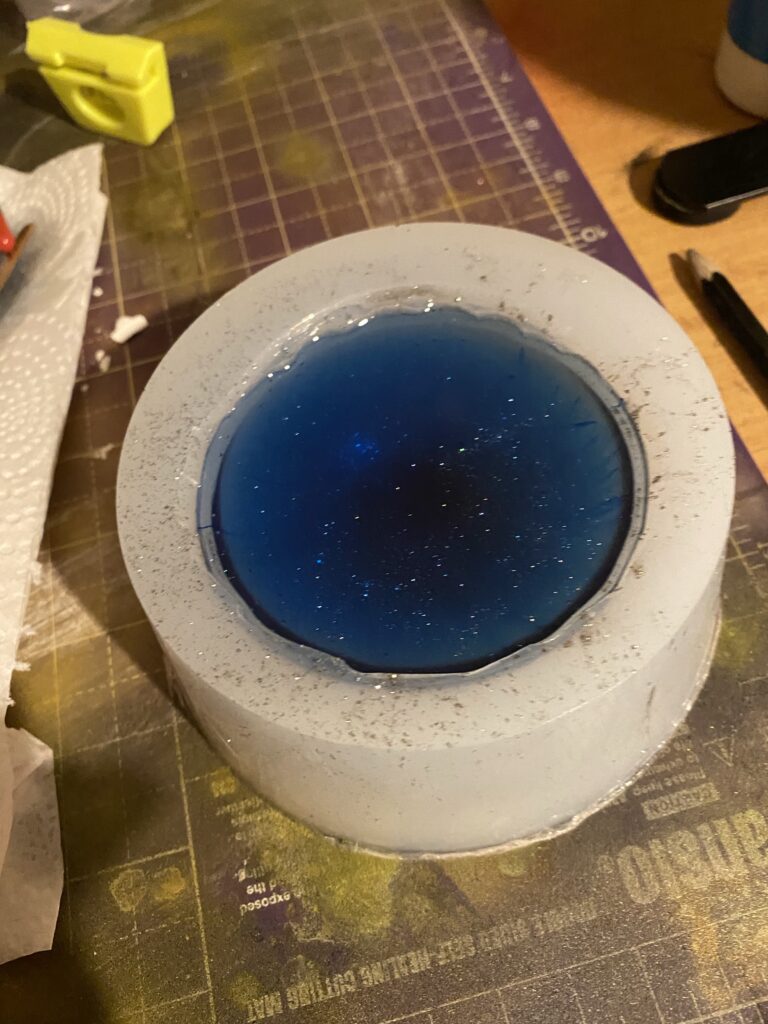
A little too much of the mica powder did indeed sink, but the look of the dome itself is absolutely beautiful! I was exceptionally lucky with the coloring! The dome is done! Done and exquisite! Jecht Sphere is coming together perfectly!

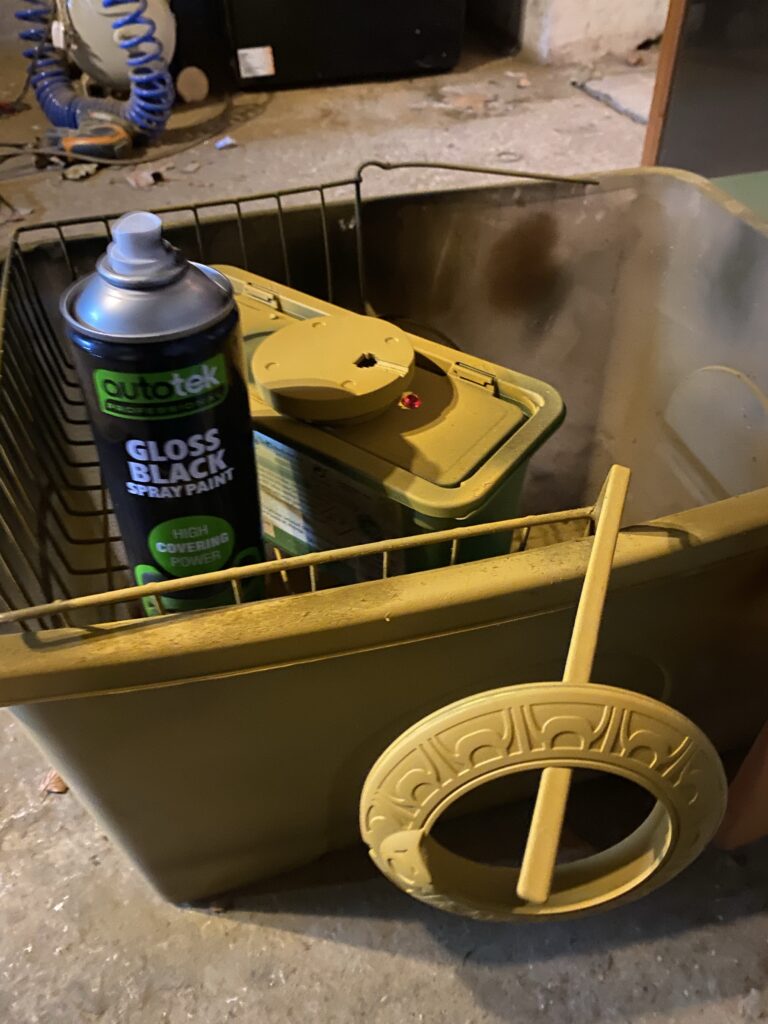
With the dome looking good, and the finish line in sight, it was time to go through the motions with the golden metalwork! First coat of Gloss Black!
As well as the amazing resin work for the dome, I also wanted to try something new for the gold. Paint is great, but I had never used Rub’n’Buff yet as a maker. This seemed like the perfect project to try it on, so that was the plan!
USER ERROR! I clearly used it incorrectly… Between too using too much, the surface not being ideal for the medium and leaving it on waaaaay too long before buffing it, even a few coats in, the finish was dire! This was gutting, and under normal circumstances, could have caused a delay as I put the project on the backburner for a bit…
But that’s not what I did for once! Yay! With all the other parts complete and ready, I powered through another ring and planned to use the same gold finish from Prototype I: Vallejo Gold Yellow/Burnt Orange [77.815]. Printed, sanded, primed, glossed, coloured and varnished in the blink of an image!

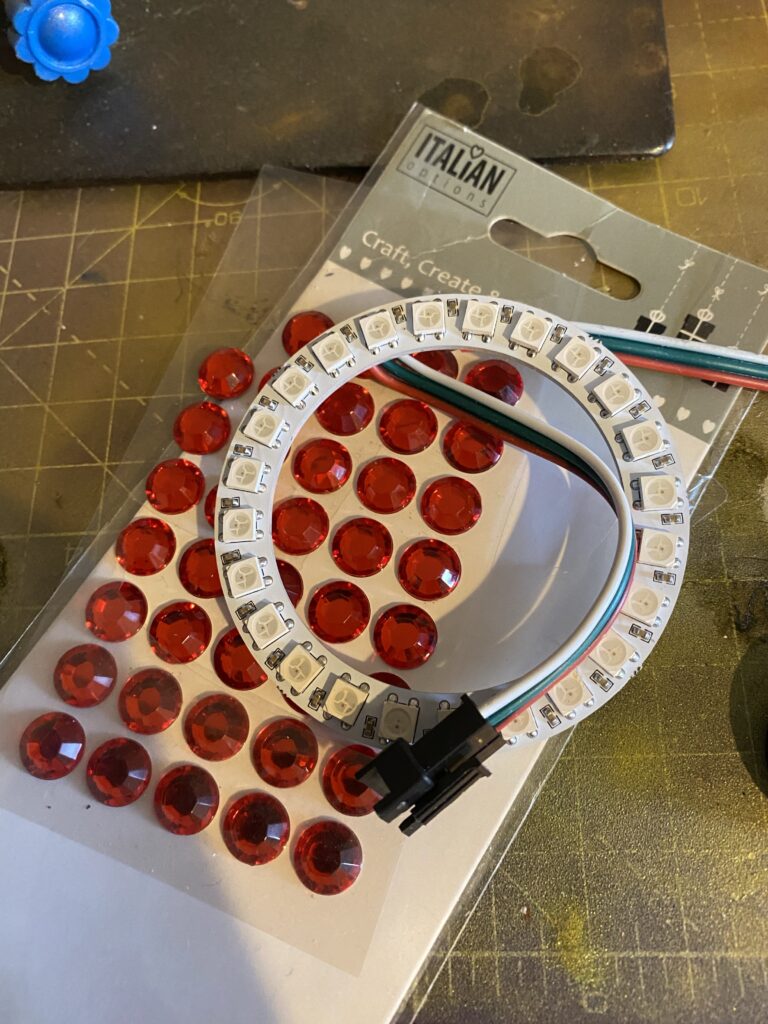
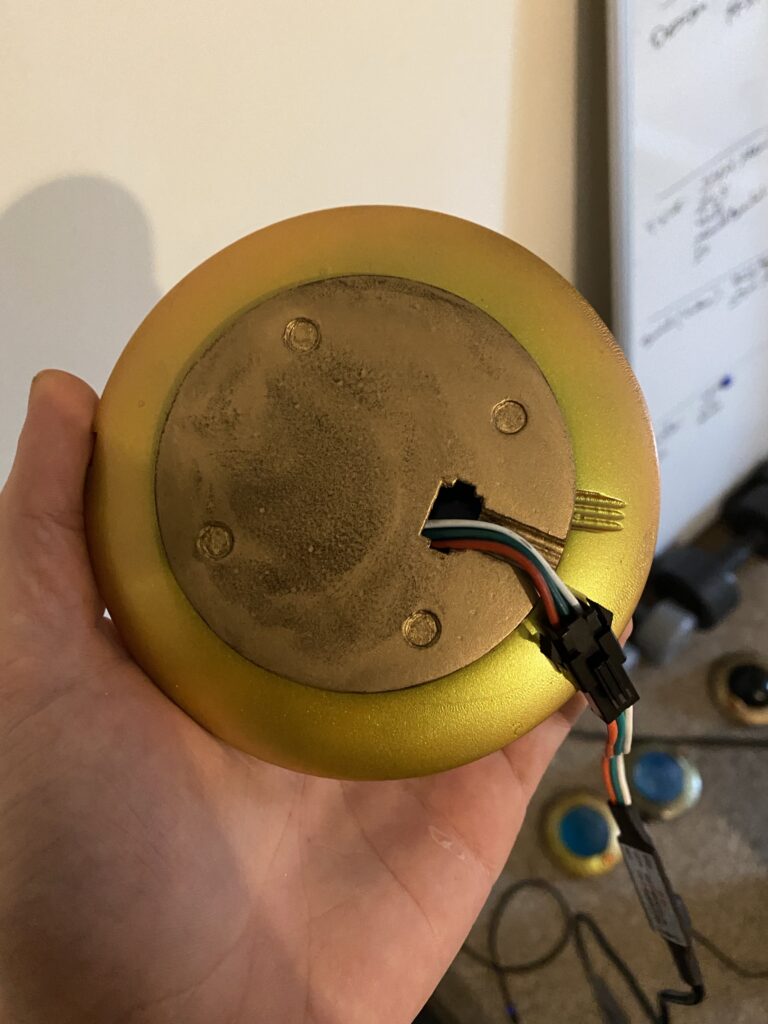
One last step, adding in the LED Ring and adorning the red jewel on the front, and done!!
I didn’t remake the base section so that part is still the older rub’n’buff, while the ring is the airbrush paint.
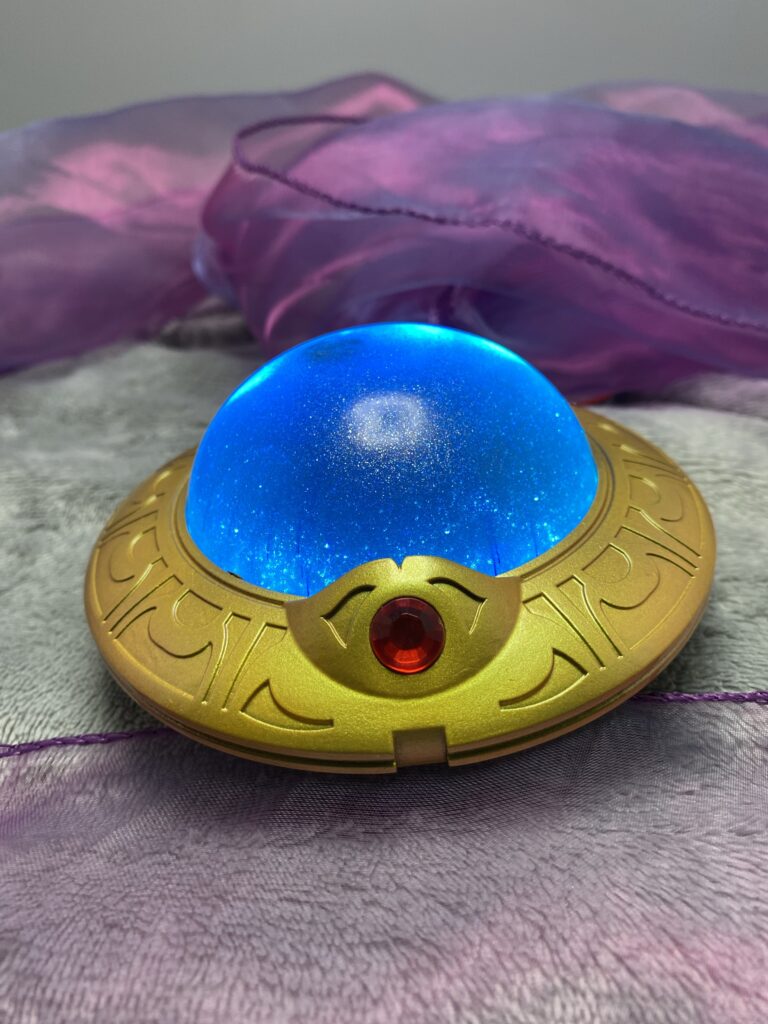
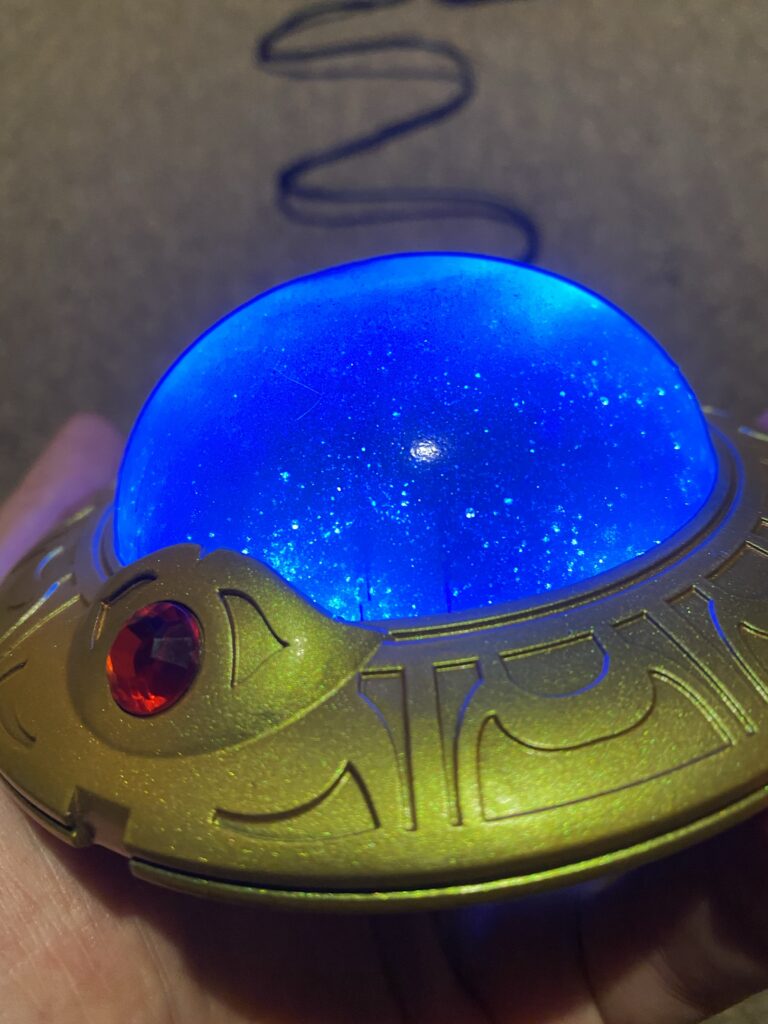
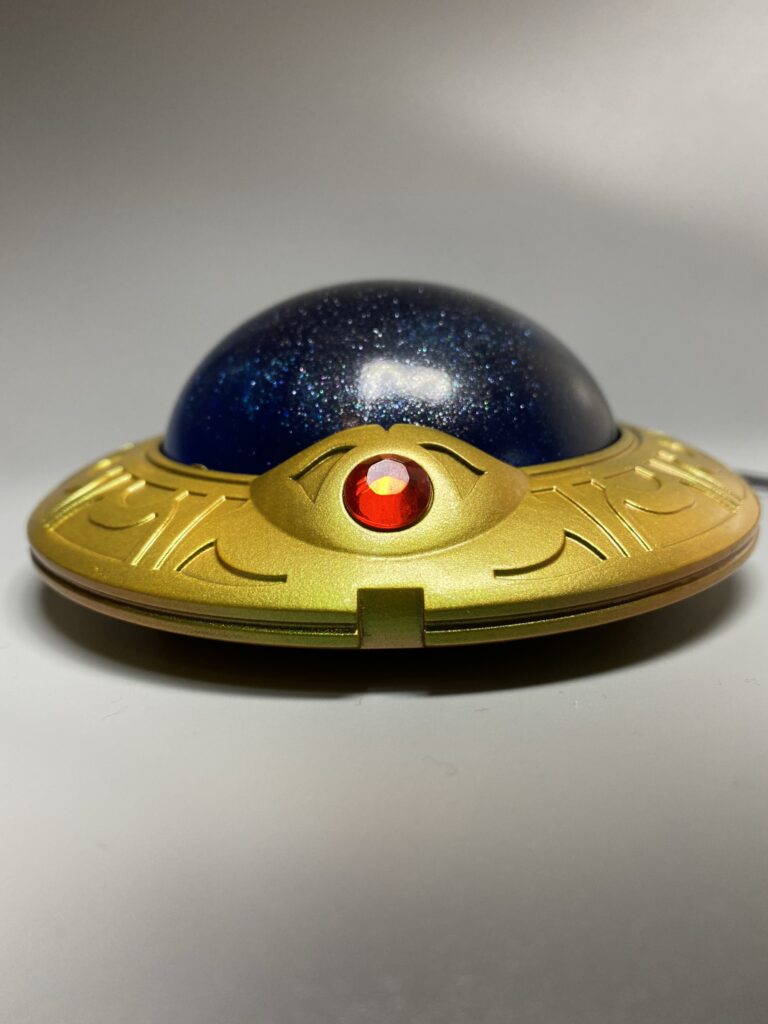
Jecht Sphere Result
Honestly, this FFX Jecht Sphere is one of the most beautiful works I’ve ever finished! While I usually finish a project and then move on to a new one, I may make a few more of these with how happy I am with the result!
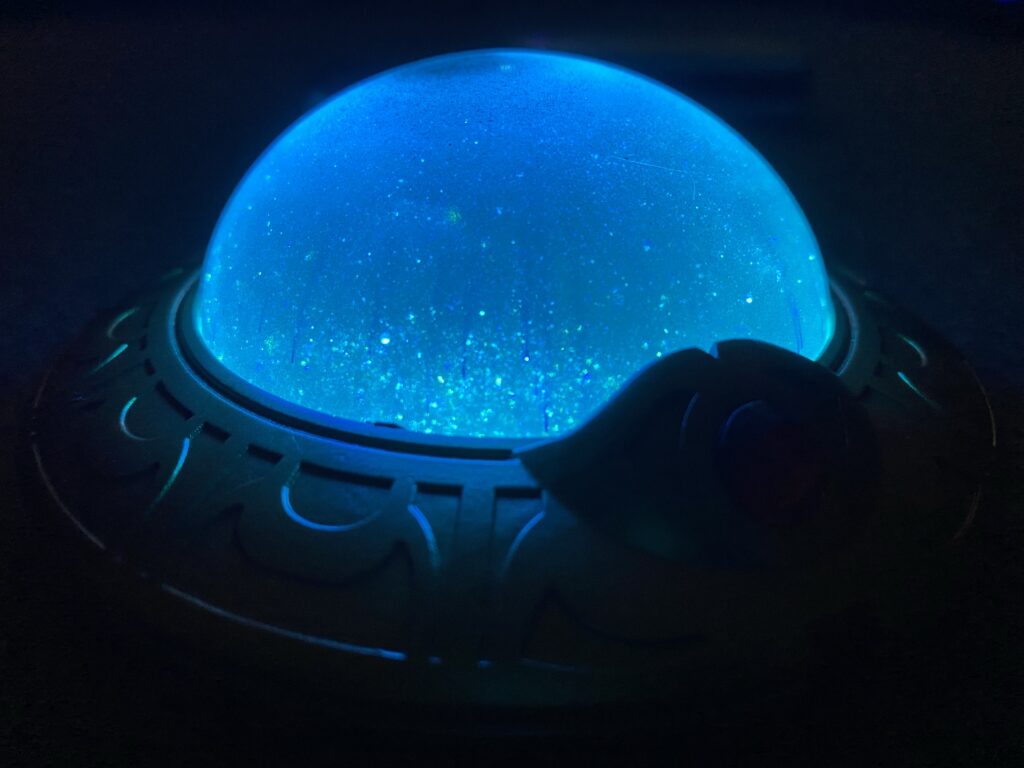
The standard blue light is perfect to capture the in-game look!
Spinning wheels of RGB goodness!
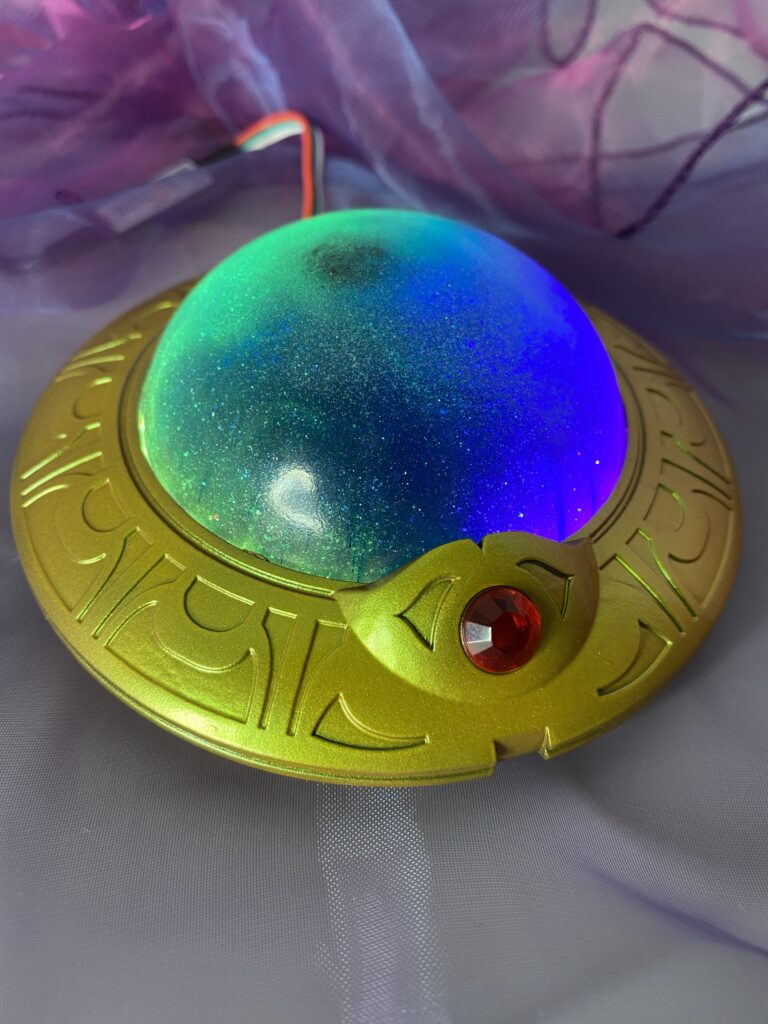
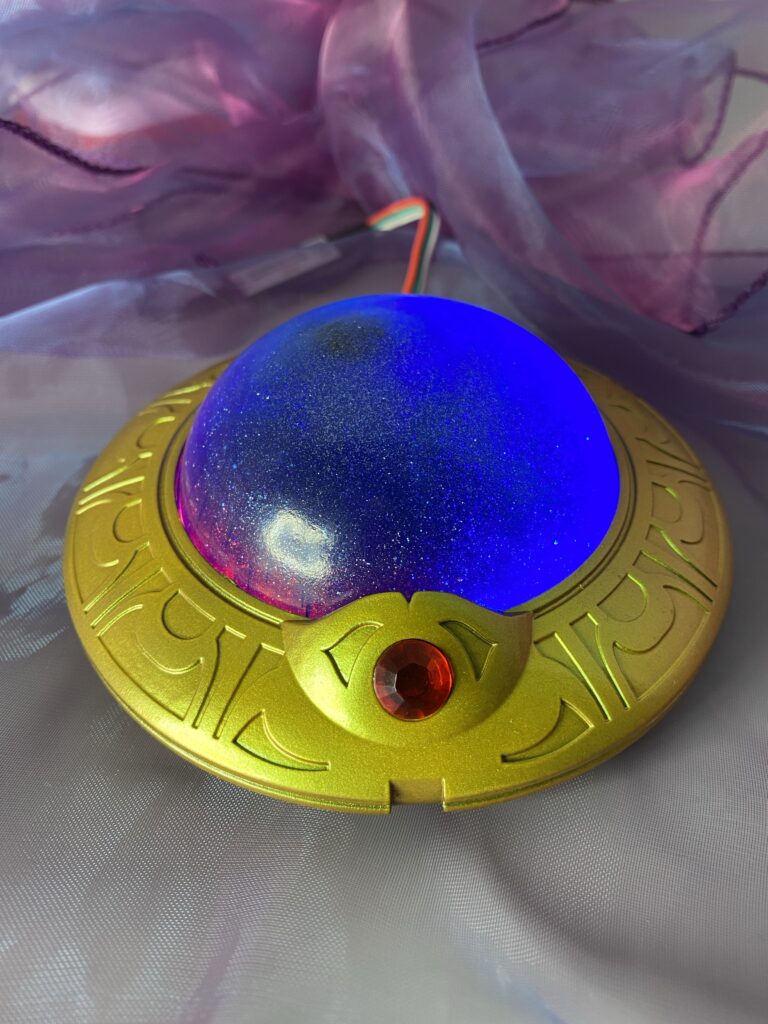
The sunken mica powder catches the light throughout the dome as the LEDs shine through.
Even without the LEDs spinning, the model is striking!
And lastly, this image. I do not consider myself a great photographer and appreciate that it is a difficult aspect to get right. So when I click a button and see an image of my own work appear on the screen as good as this one did, you know it’s put a smile on my face!
This FFX Jecht Sphere may be my favourite image of any work I’ve done thus far:
Thanks for reading!
If you enjoyed this, you might like some of the related articles from the Overview, or perhaps a different Project altogether?
Love what you saw? Got a project in mind? Feel free to reach out and let me know!