Introduction
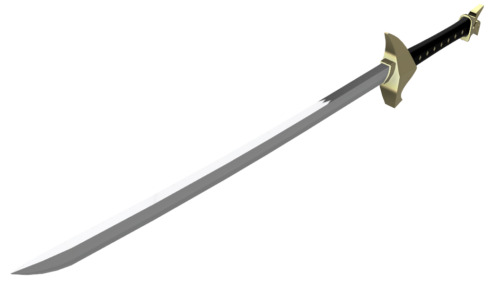
Welcome! In this build guide, I’ll be walking you through the process I took in making Yone’s Wind Sword from League of Legends.
This will be a full look at the Final version of this project from start to finish. It doesn’t matter if you’re looking for guidance with a Build Kit, thinking to Print It Yourself or just curious to see the project: You’re in the right place!
While this unlicensed replica is intended for decorative purposes or use as a cosplay prop, the main reason for building it is because I built its counterpart a while back, and wanted the set!!
Check out the link at the bottom of the page for the Overview if you want to see more, or if you prefer video, this build has video accompaniment in a YouTube playlist here!
Design
No nasty surprises in the modeling part, this is a relatively simple sword, and far more standard than the Azakana Blade. I had a few options, but kept as much of it as simple as I could.
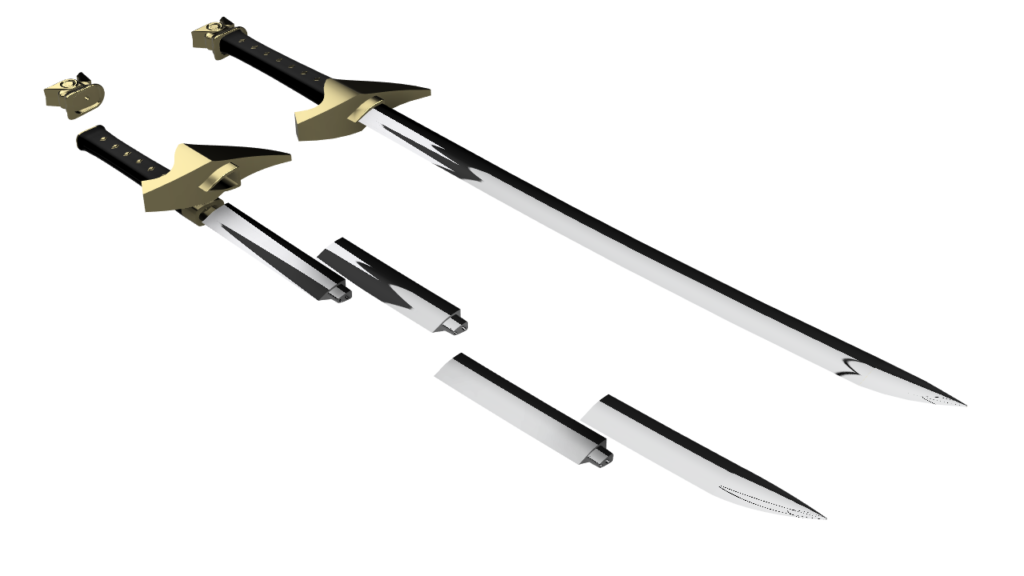
Check out the video for a closer look around the design!
Build
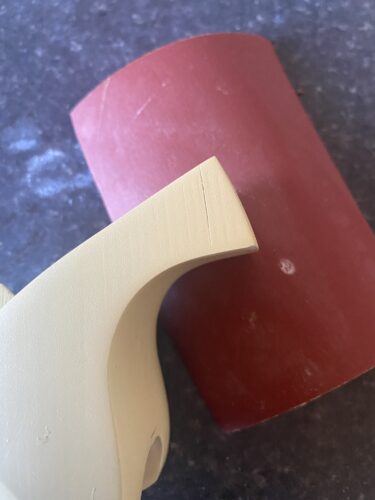
I began by printing out the individual parts in grey PLA on a Creality CR-10 Max and gathered them with the supporting rods.
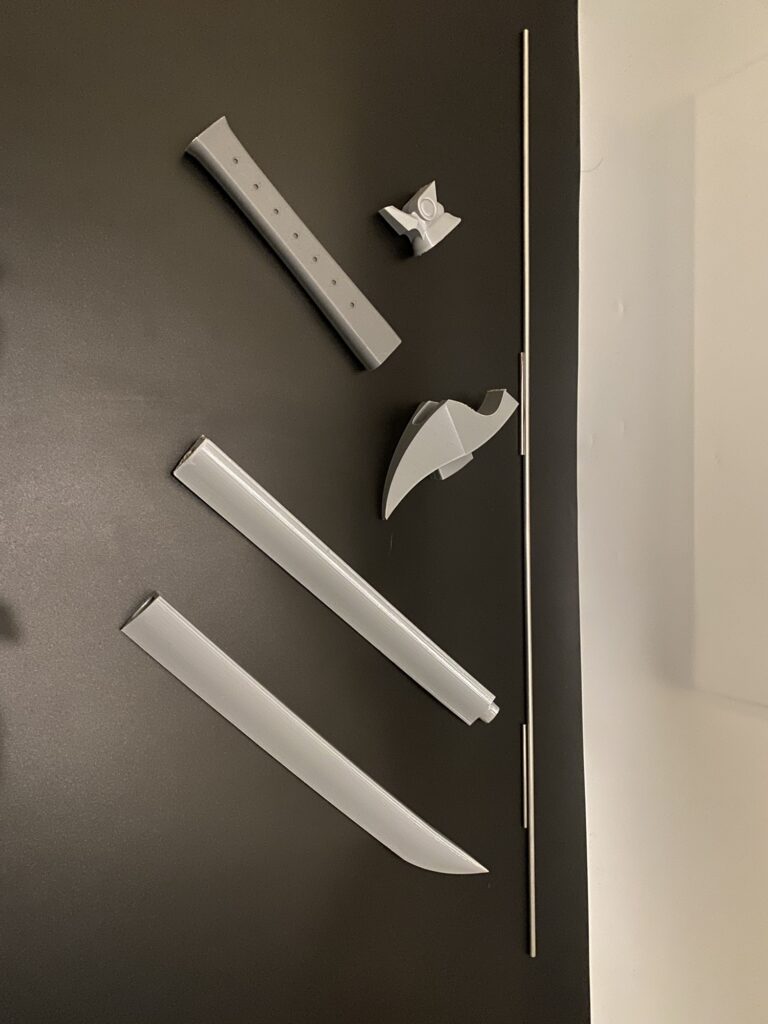
I’m using metal support rods on this, which will make it a little heavier, but a lot sturdier. Super glue for adhesion, but it’s just the two parts of the blade being permanently stuck together for now.
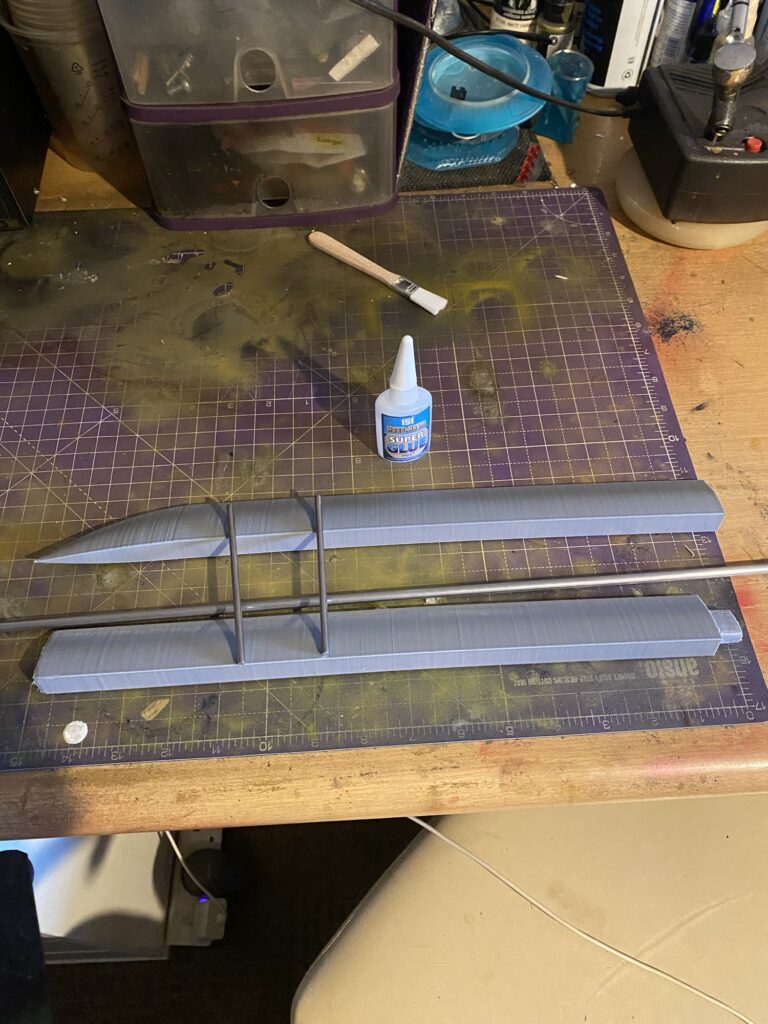
I loosely assembled everything to check for tolerances and general fit. Everything looked good, time to carry on with the rest!
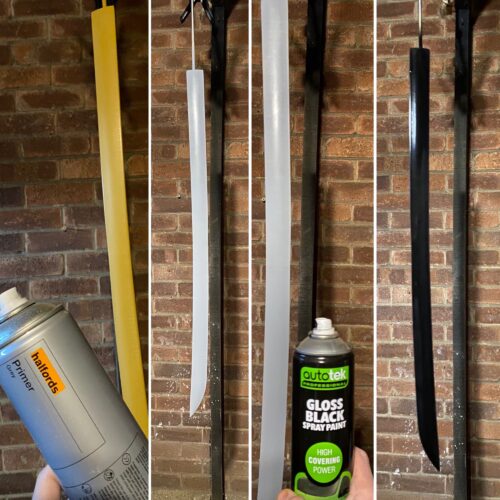
Sand, prime. Sand, prime. Nothing good to say about this part, I hate sanding. A few layers of yellow Filler Primer were used, with passes of sanding. Once on the last layer, I used grey primer, then gloss black ready for the metal look.
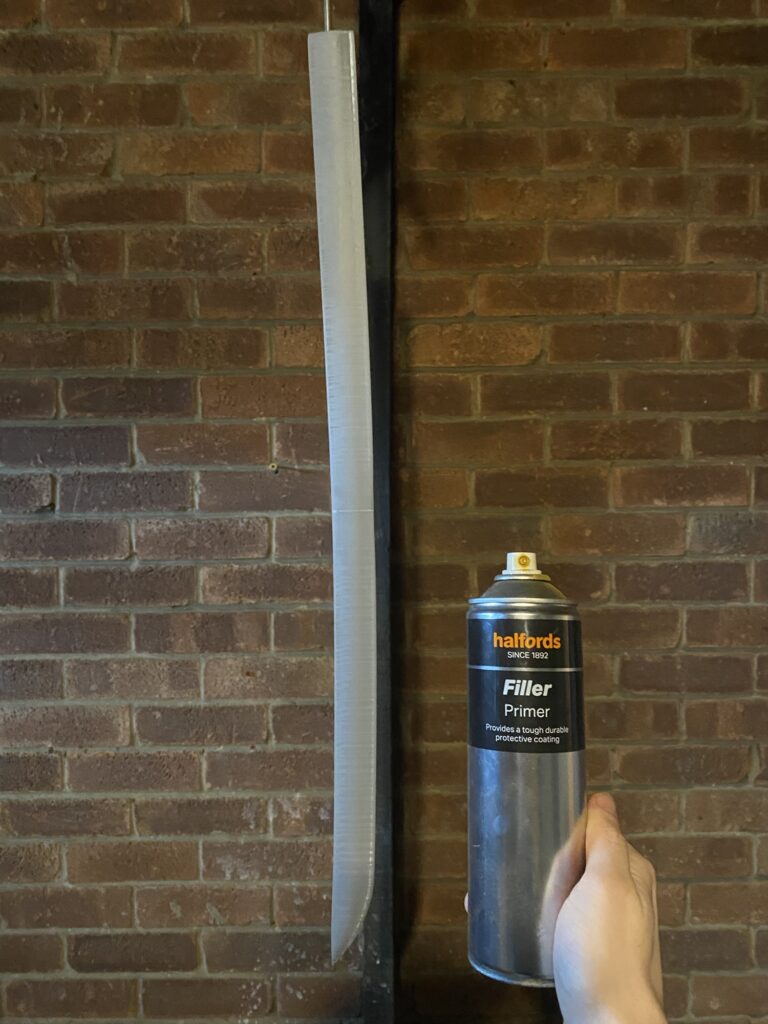
A few layers of the sand/prime dance, then once I’m happy with the surface, it’s time for the first layer of Gloss Black.
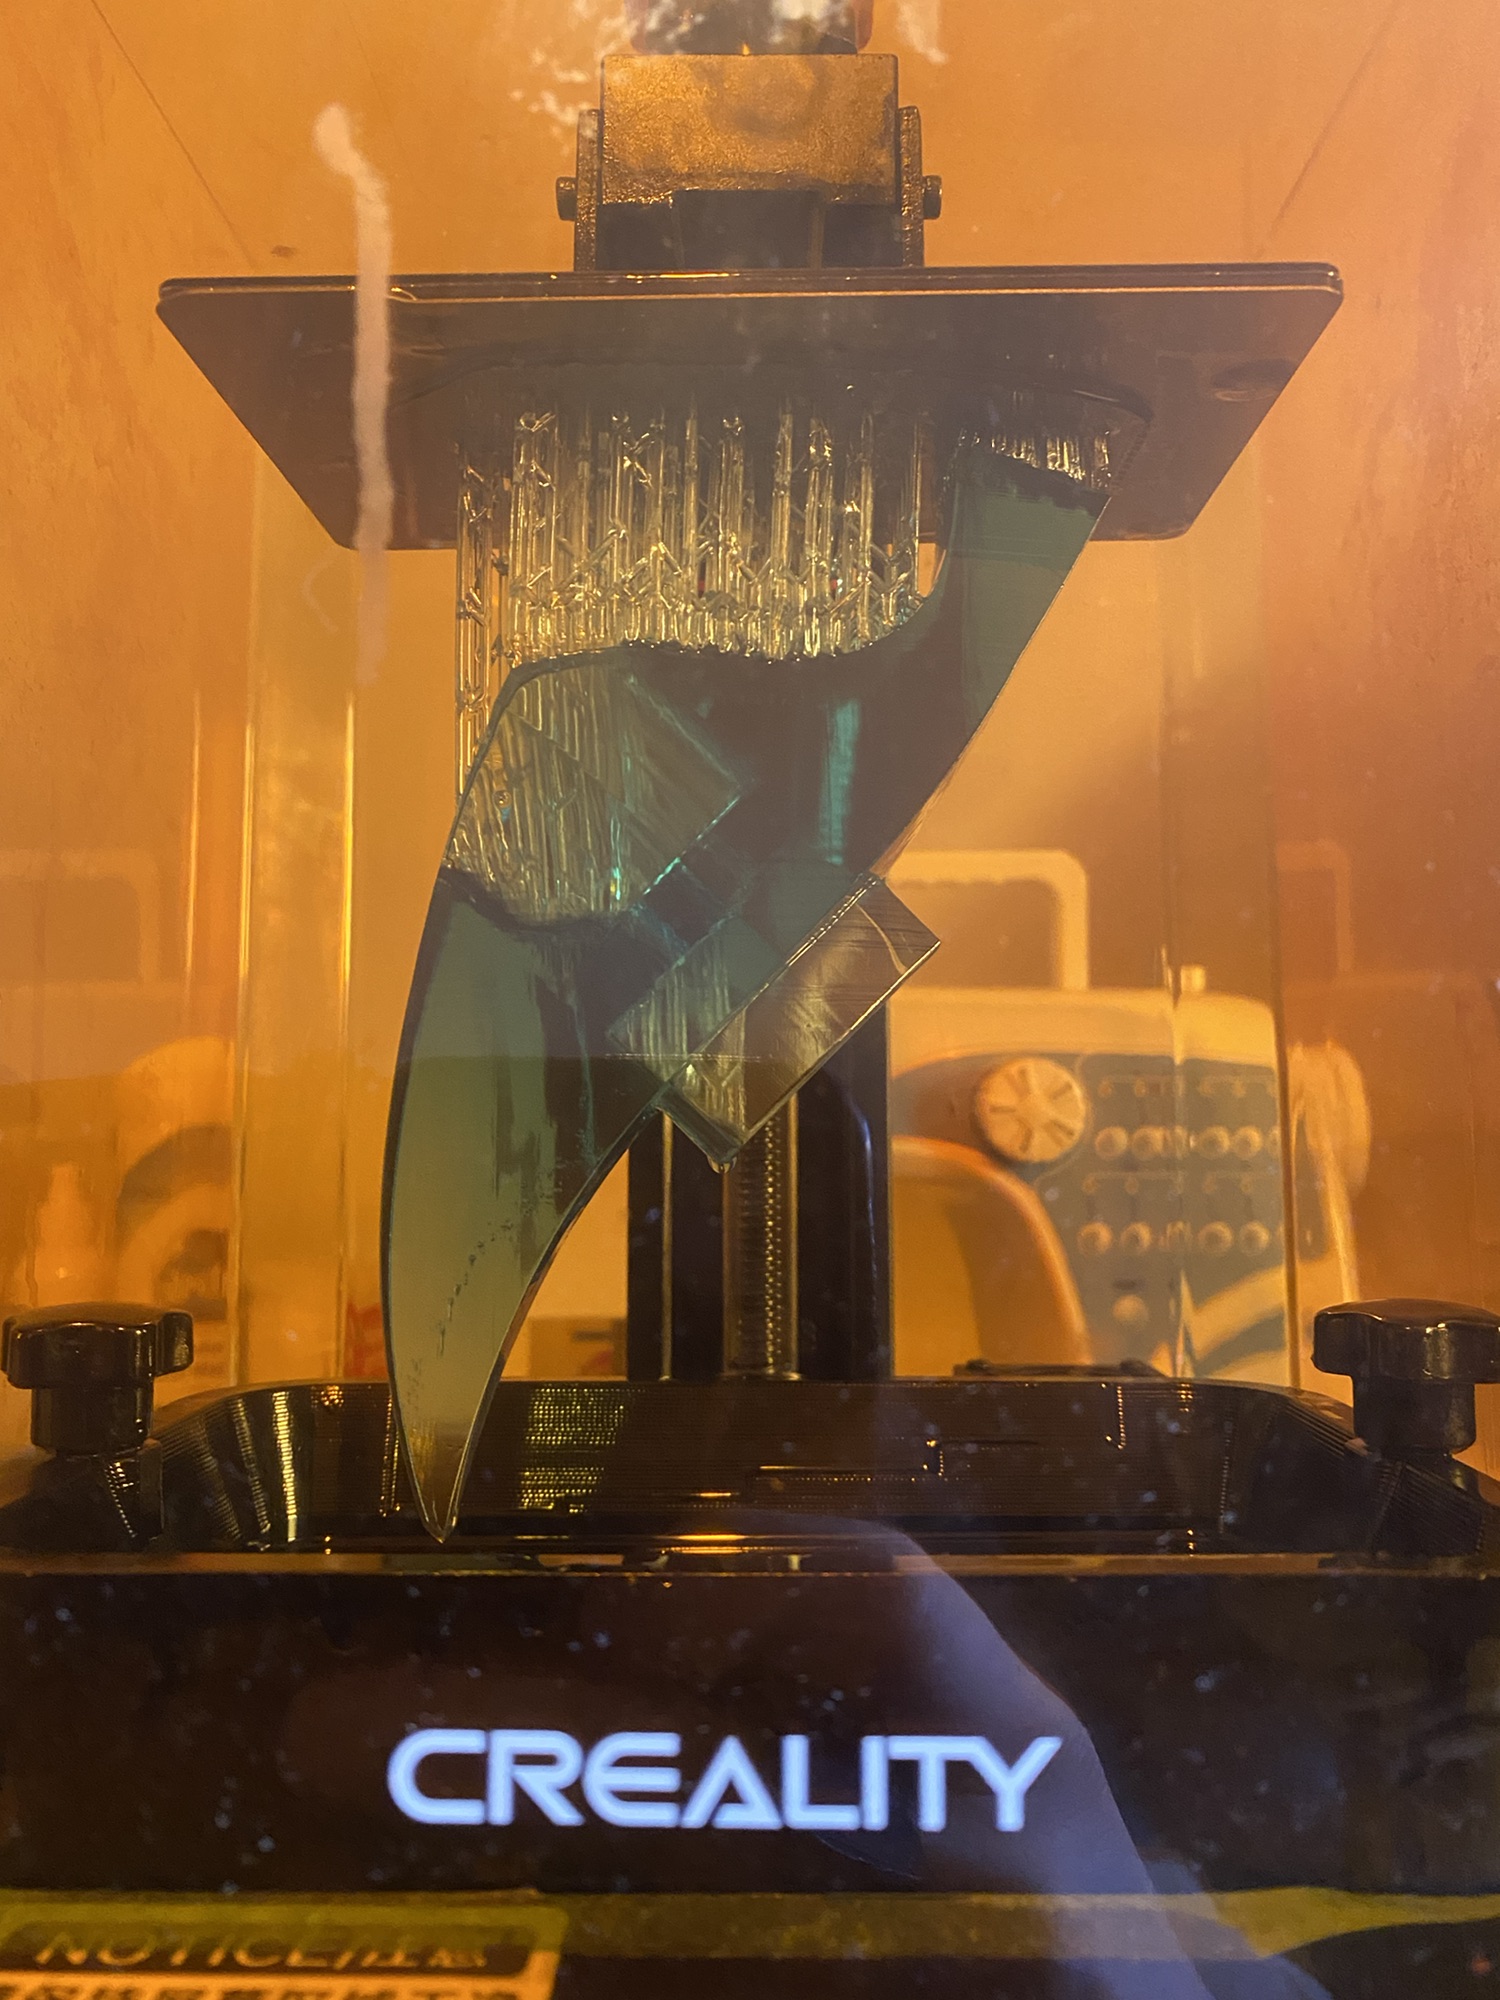
With the blade ready for the Finish stage, the other parts need a little attention. A few different models and materials were used, with either PLA or UV Resin being the go-to materials.
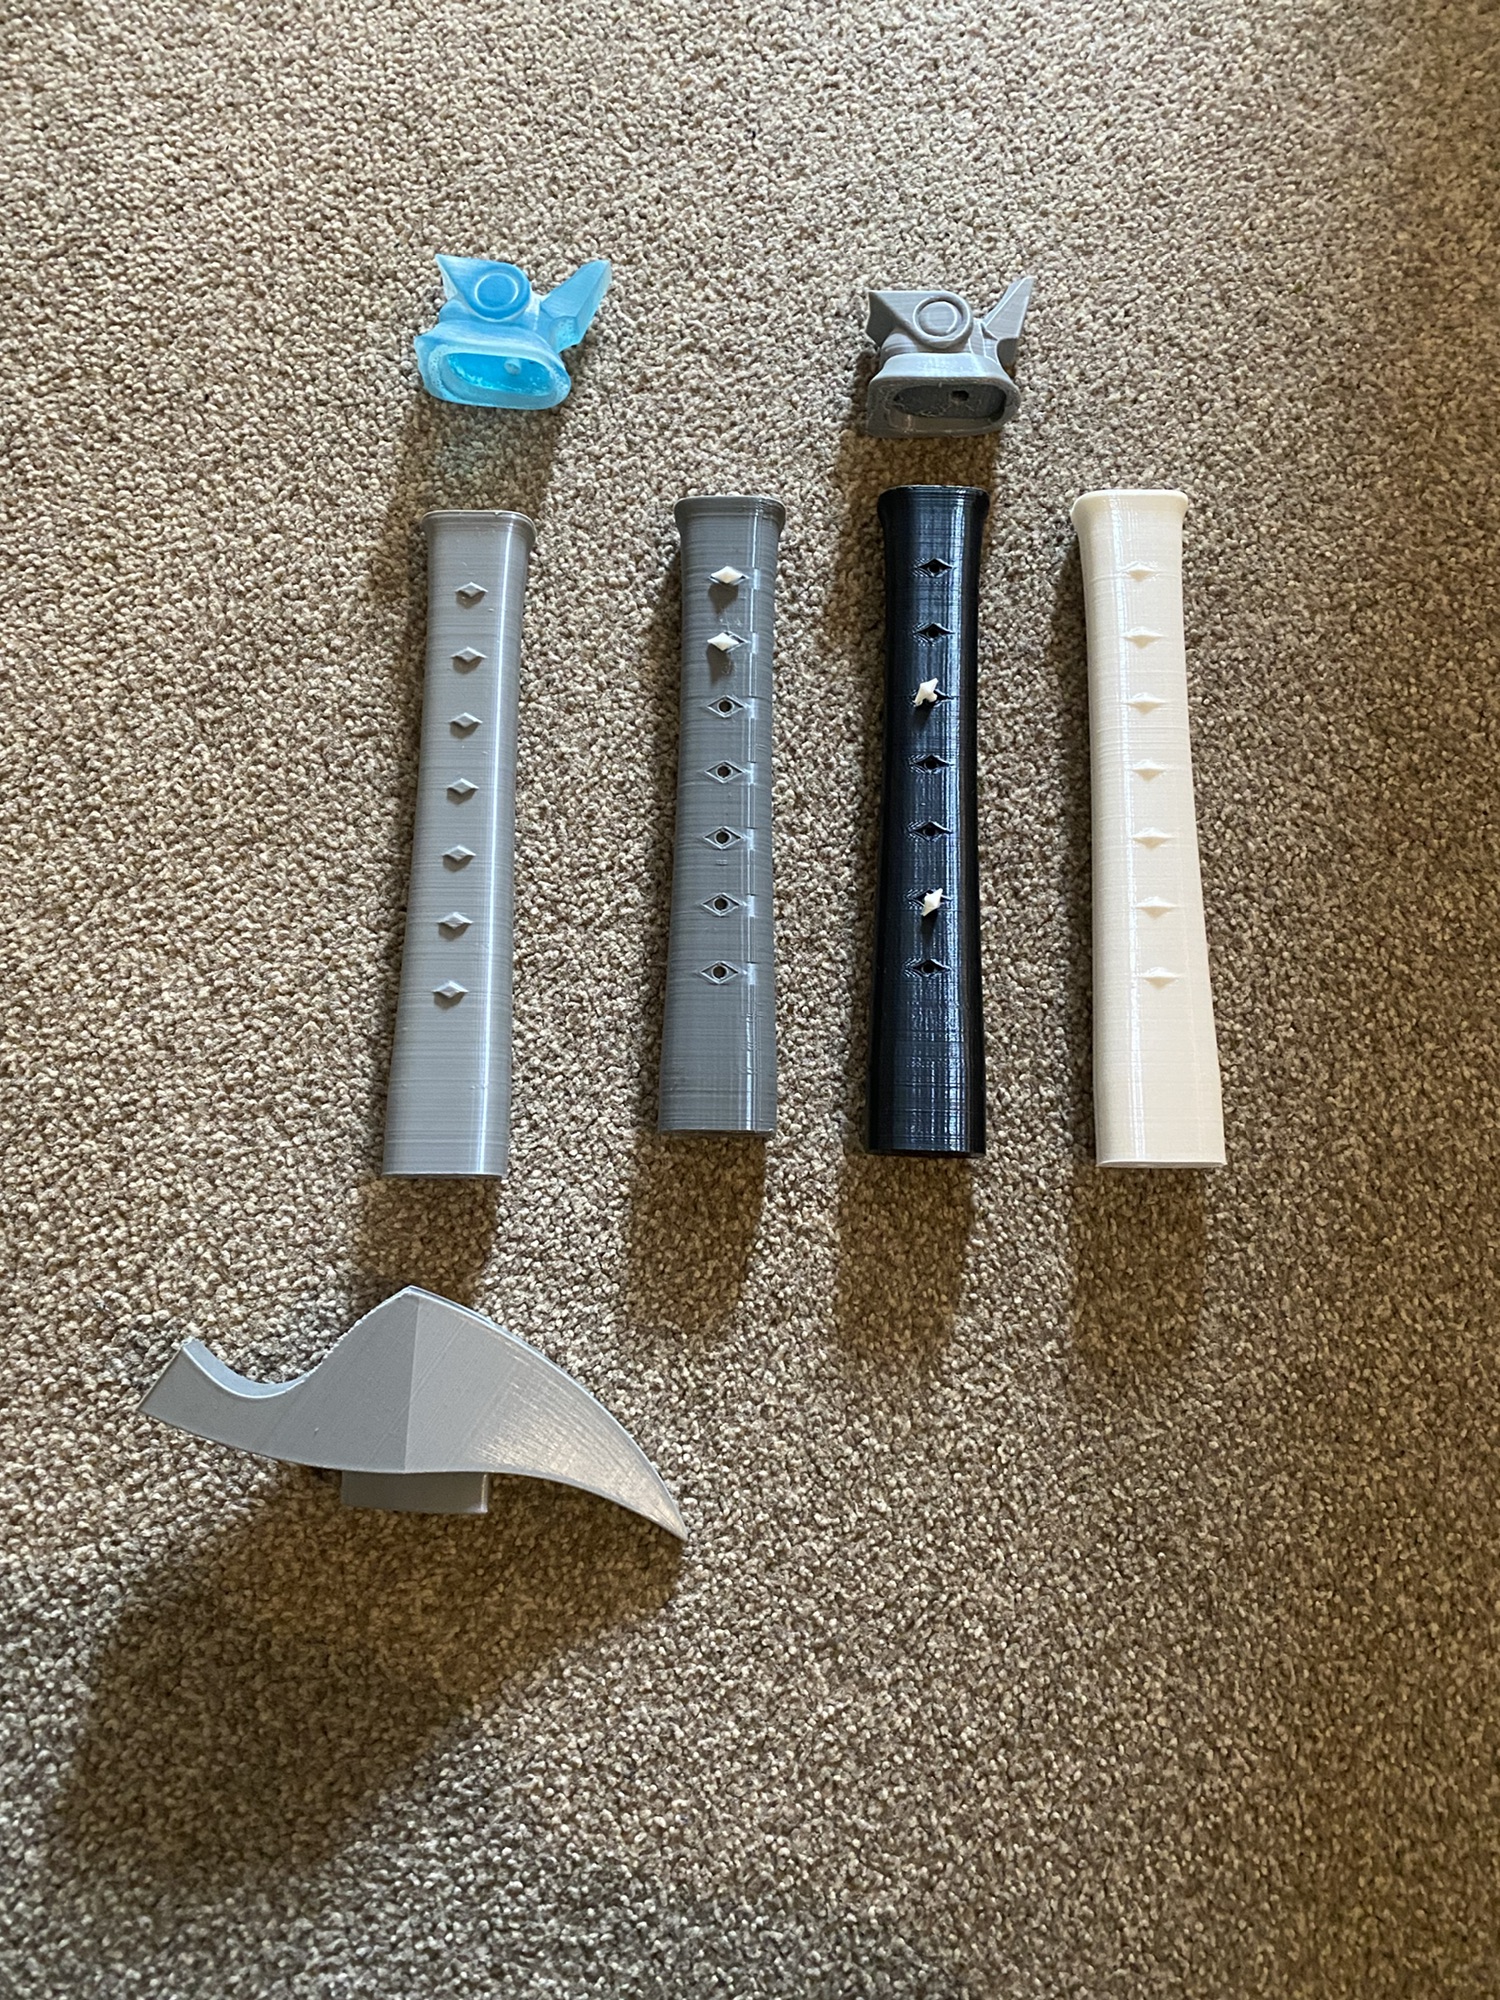
With both the hilt and pommel printed on the Creality LD002-R, the amount of sanding needed should be dramatically reduced.
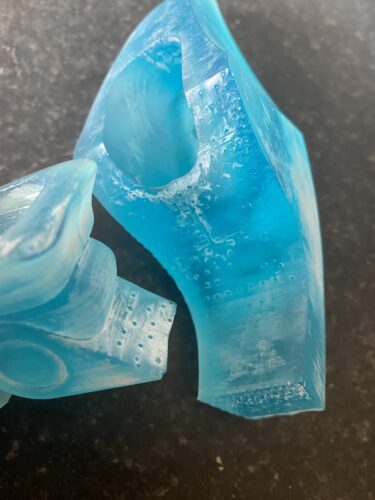
Dramatically reduced sanding time… but not completely removed.
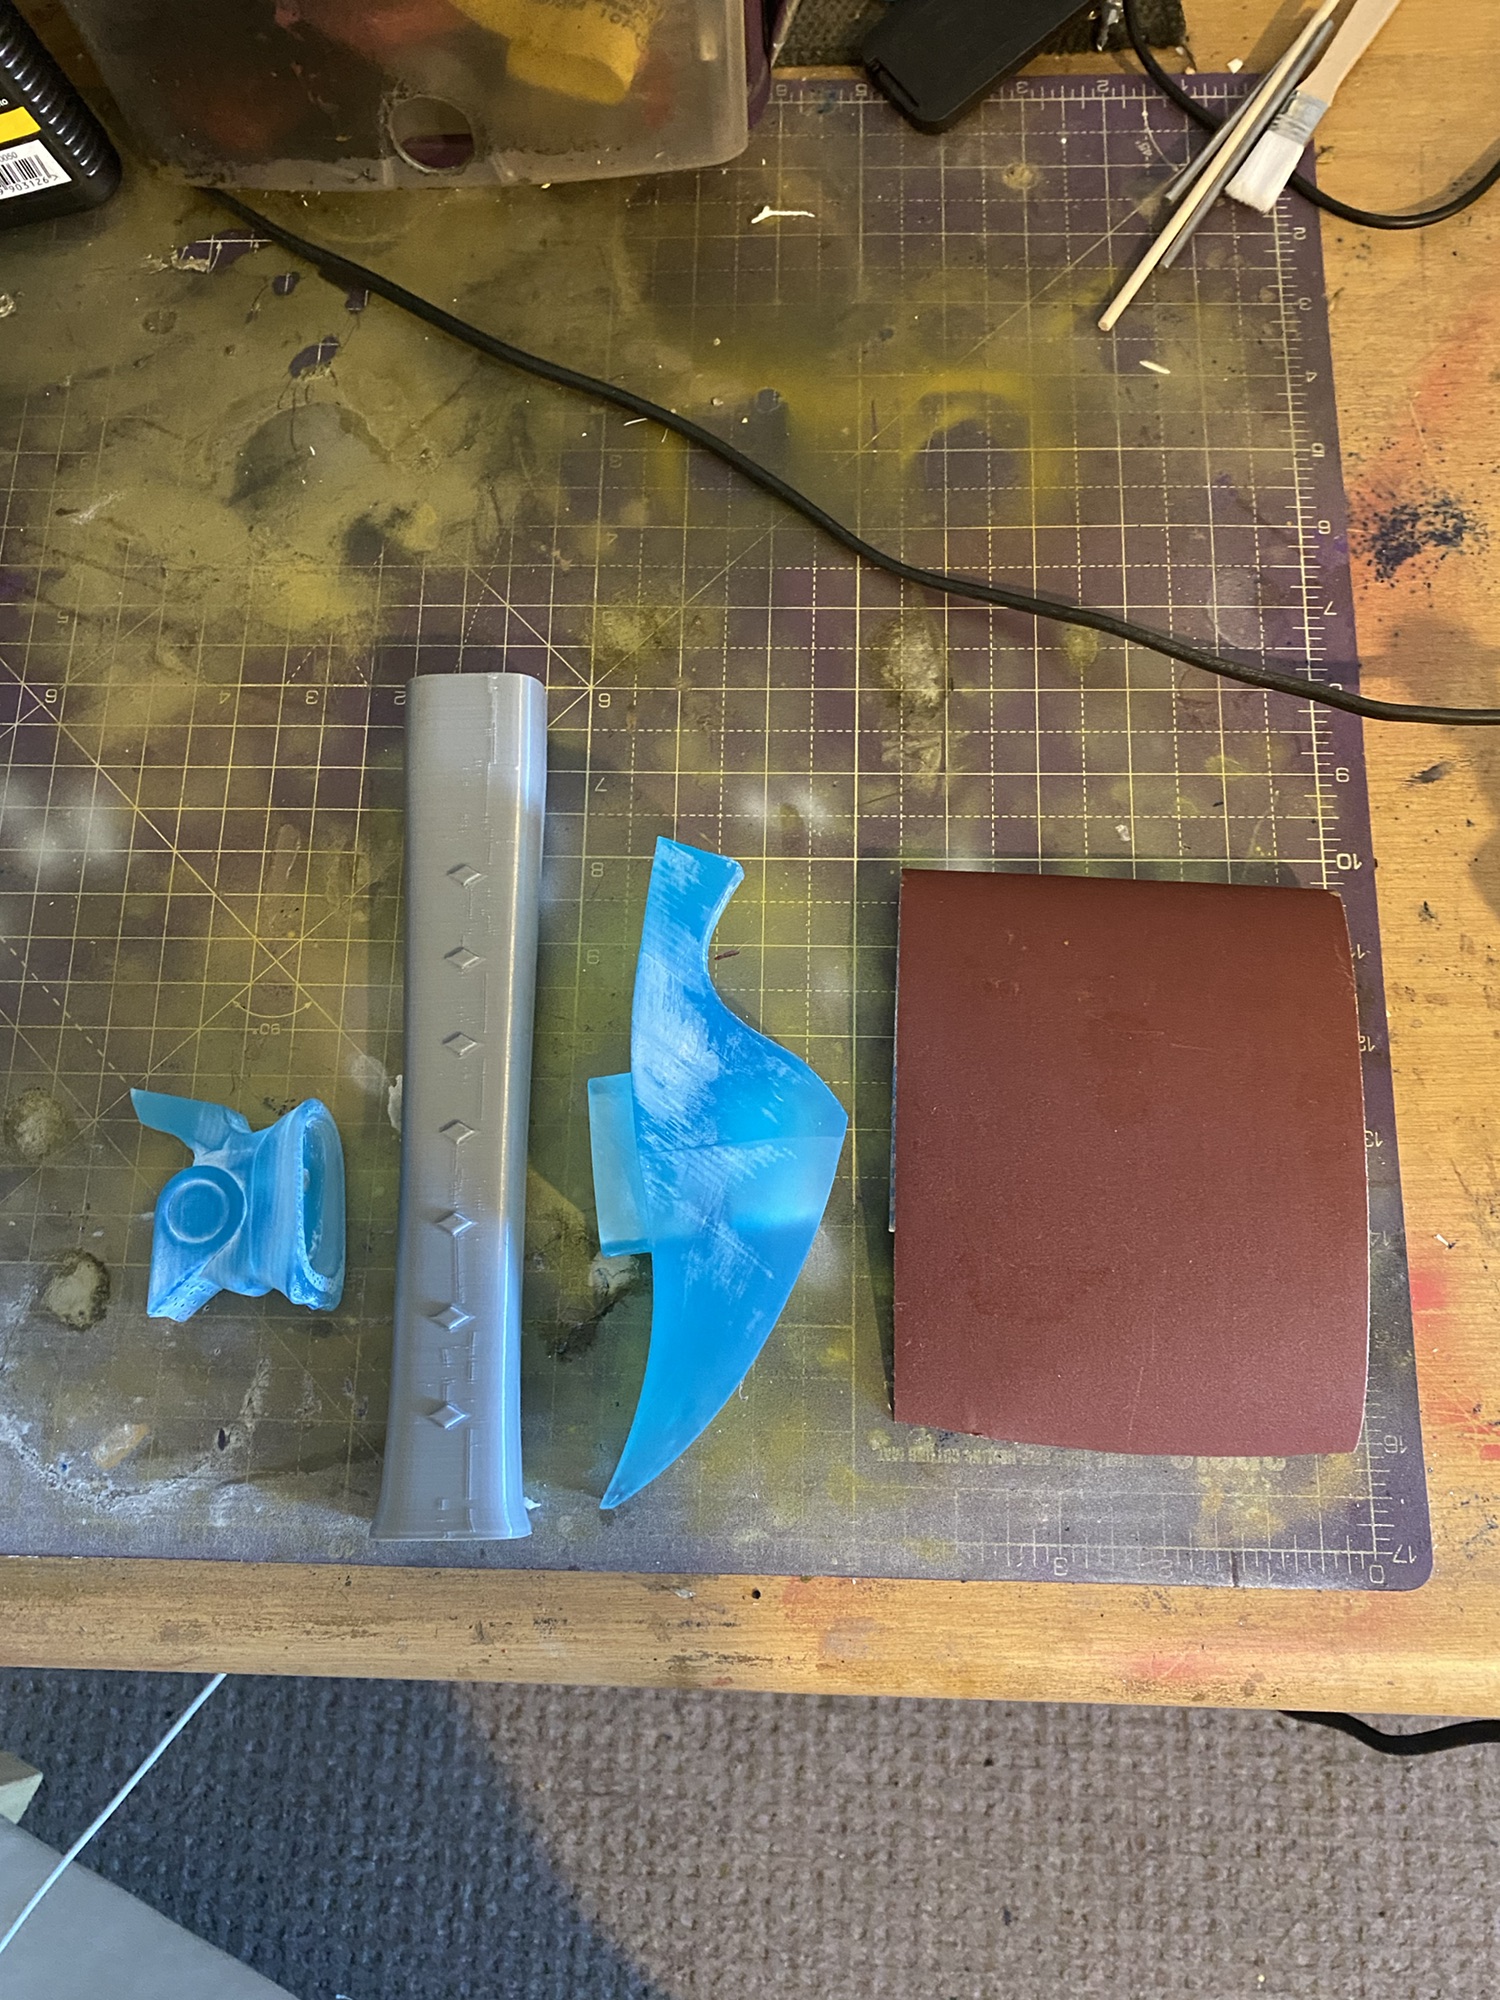
The main areas of the SLA printed parts that need attention while sanding tend to be where the support material meets the model. I begin with 800 grit, then wet sanded 1,200, then 2,000.
Once I’m happy with the final pass of sanding, it’s time to crack on with the filler primer layers. This part has already been completed on the blade, so it’s just the pommel, hilt and handle that need the work.

It appears Halfords have changed their Filler Primer, as it is no longer mustard yellow but rather a neutral cream colour. This change impacts nothing and should have no bearing on anything… I hate it and want my normal yellow stuff, ugh. A couple of imperfections were highlighted with the coat, so back to the sanding!
Last time for Filler Primer after a few passes of sanding and priming. Most of the current steps for the hilt, pommel and handle of Yone’s Wind Sword are occurring simultaneously.
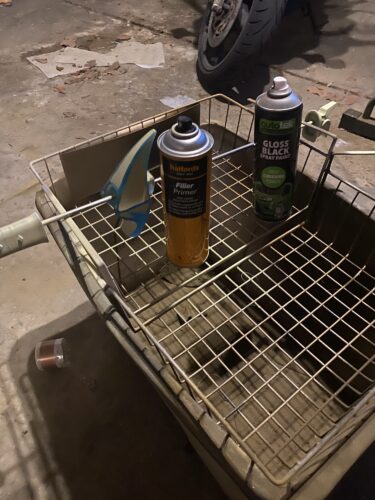
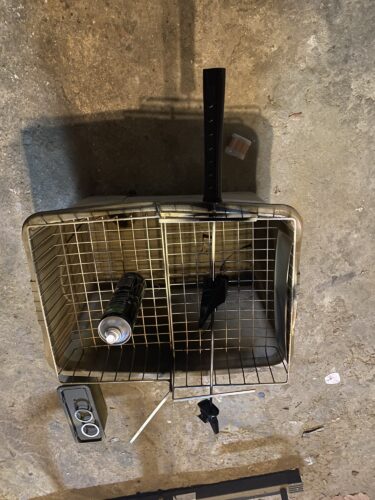
All these parts are going to have metallic paint ultimately applied, so all three parts need to have a base layer of Gloss Black.
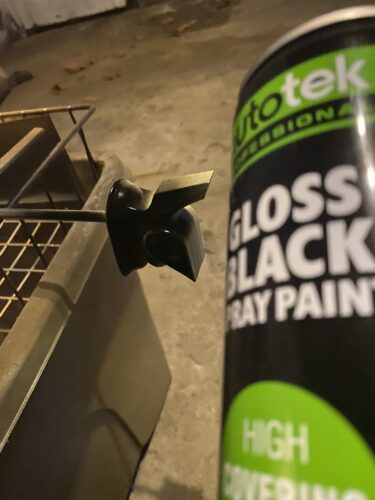
Woo! All other parts have now caught up with the blade, and are ready for their colour to be applied! Build section complete for all parts, onto the Finish!
Finish
Now the fun part begins as we get layers of colour applied. Using a few layers of Alclad Chrome 107 on a Gloss Black surface brings out a great metal finish.

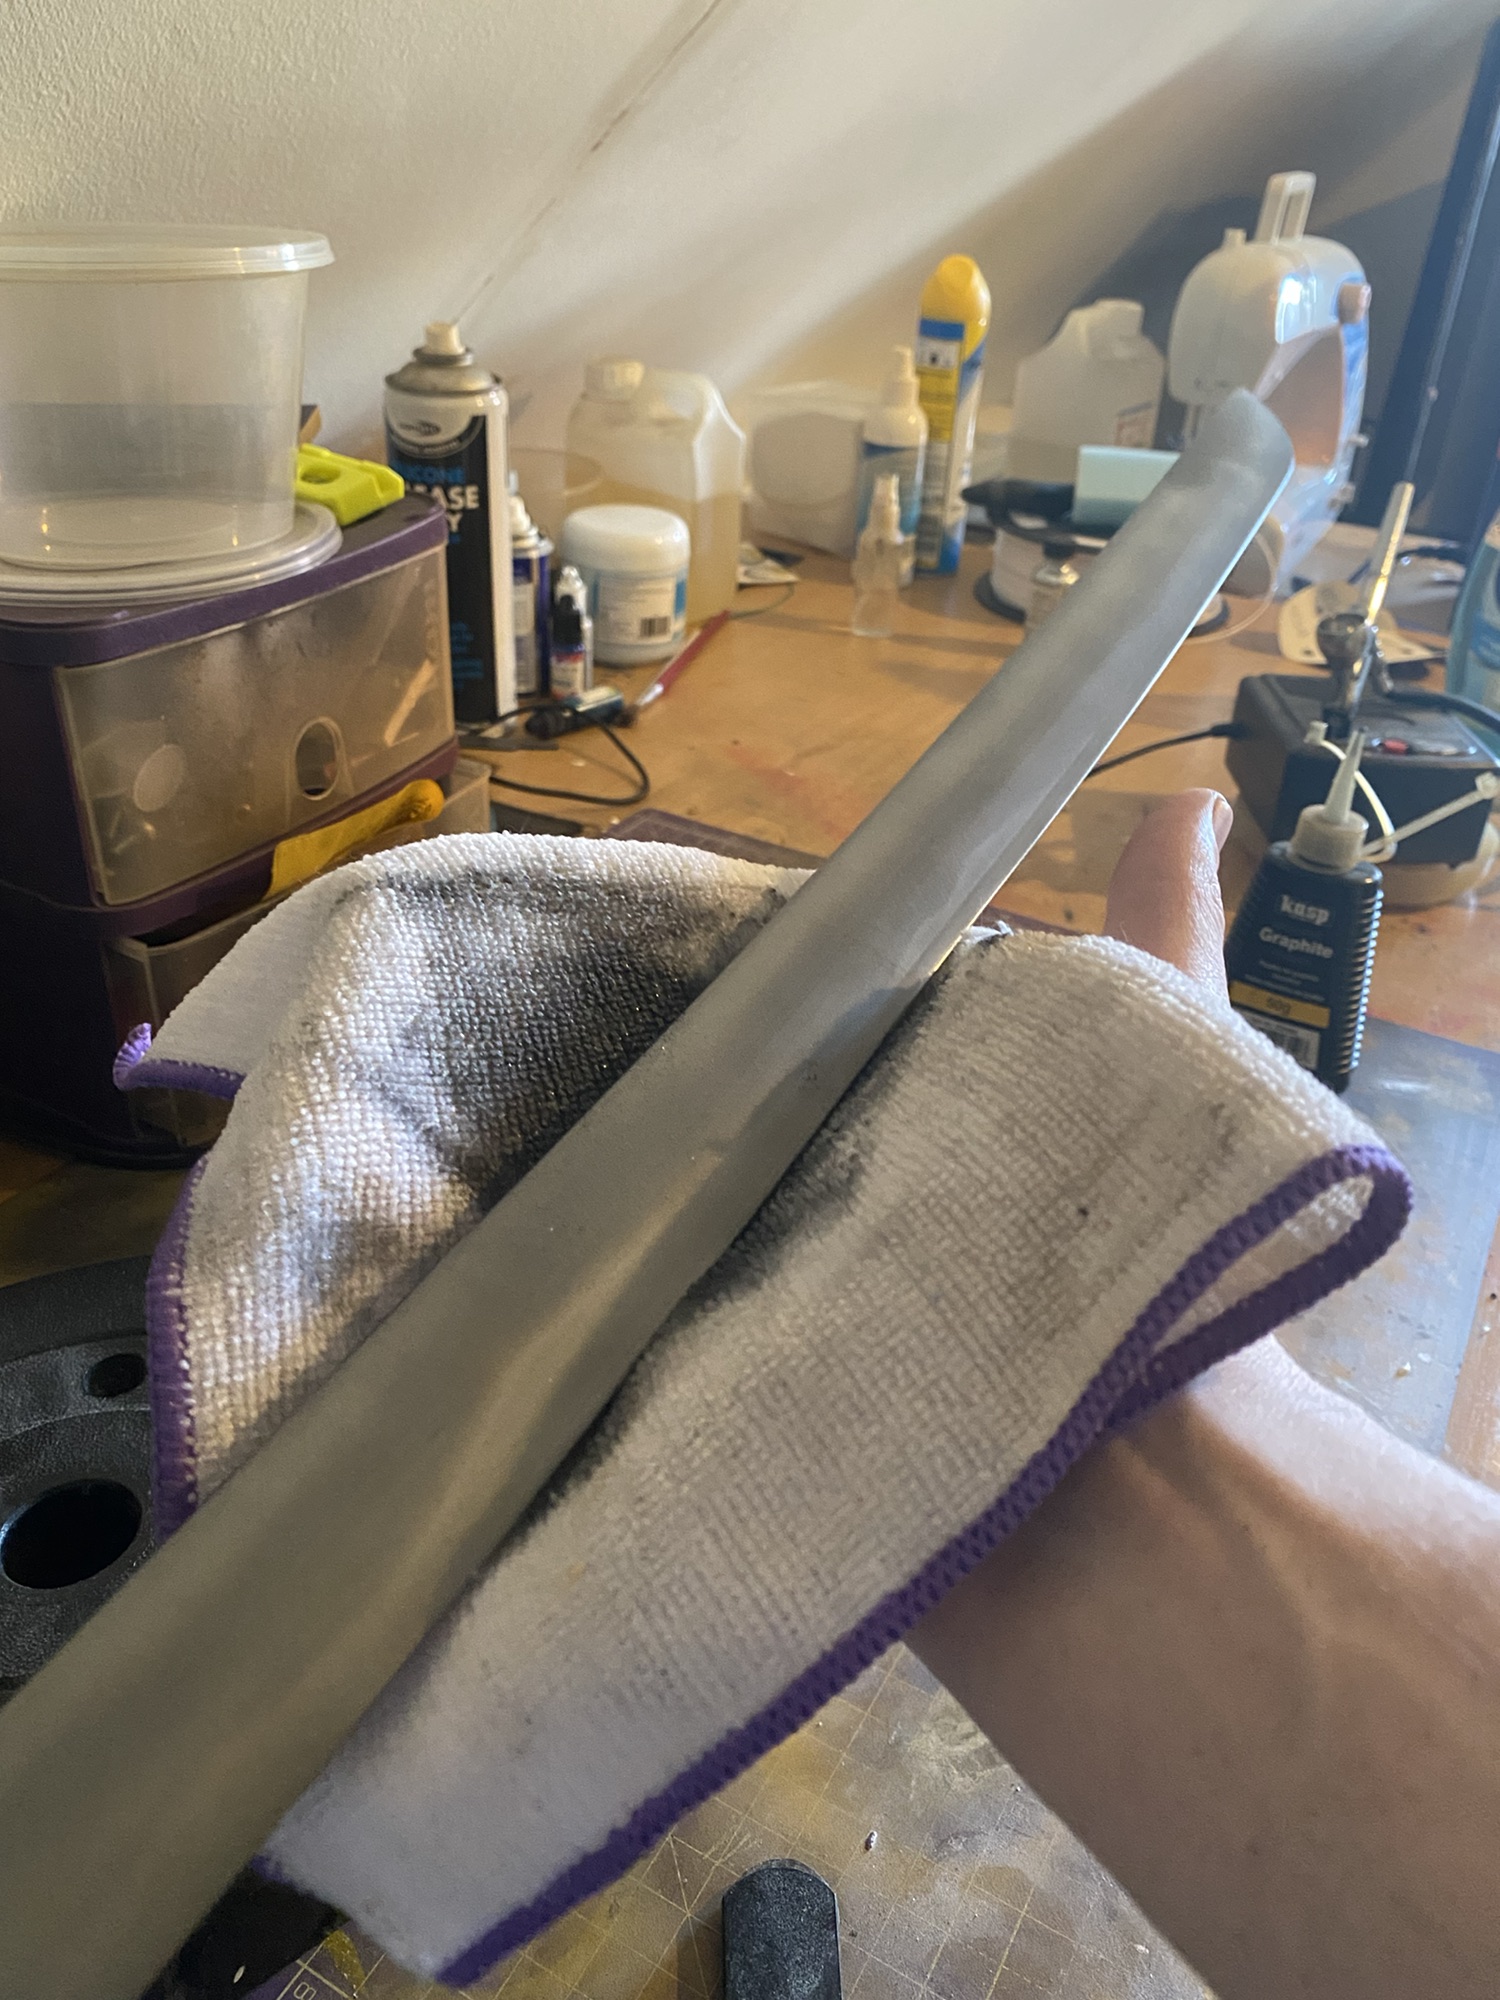
The silver look has caught the light nicely, and once I rub a layer of powdered graphite into the blade, it should take on a nice smokey appearance.
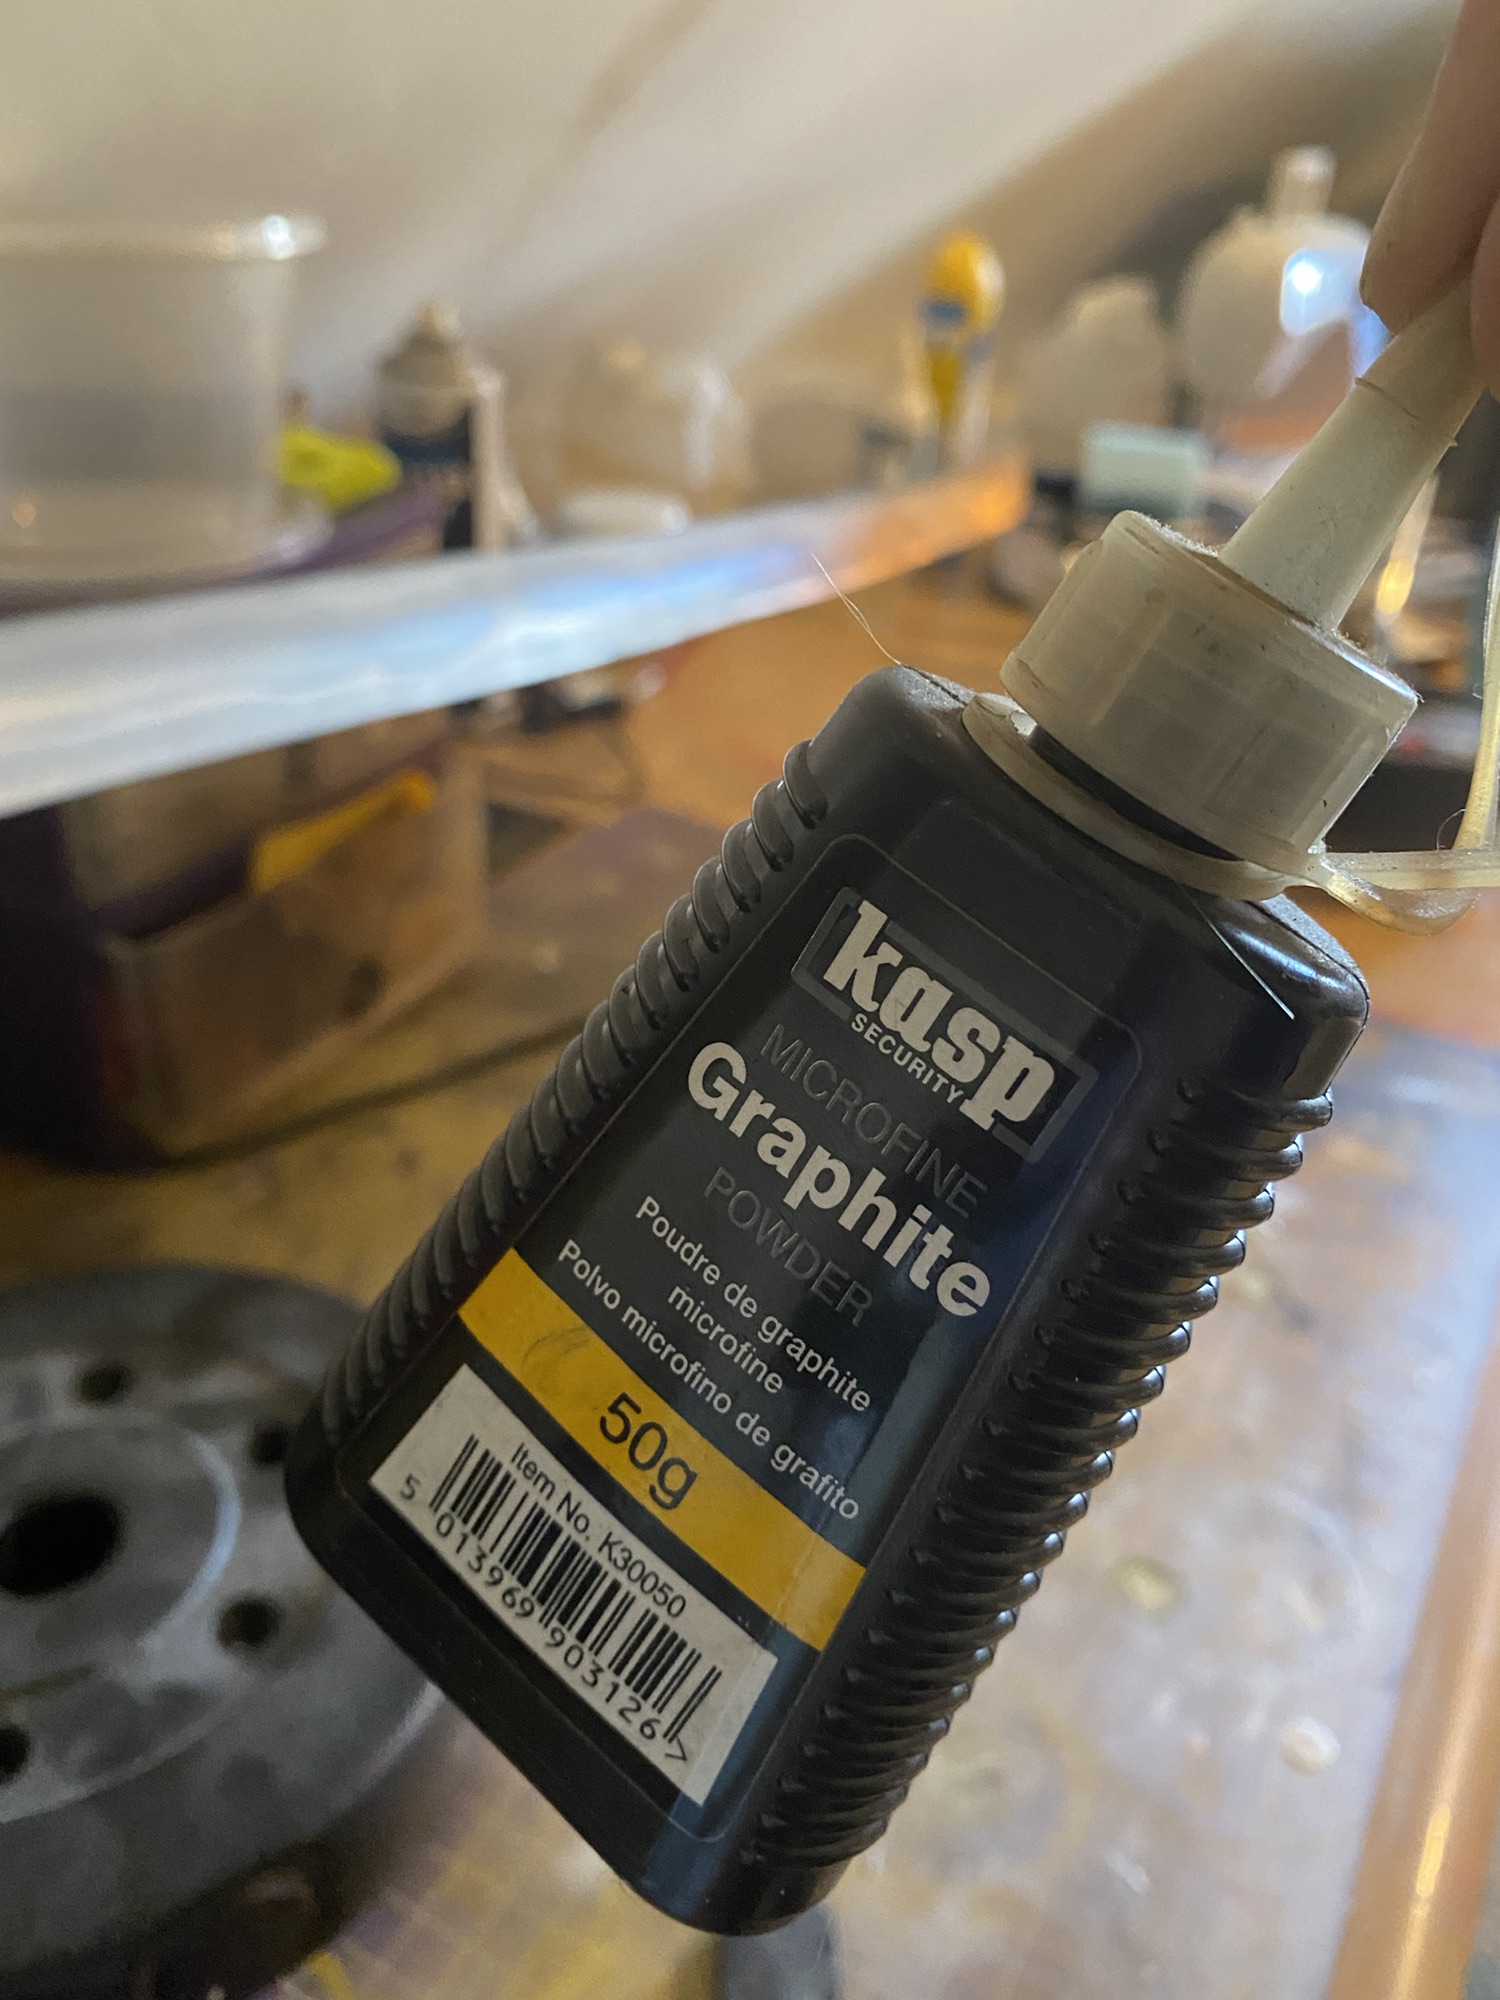
You can see how it no longer catches the light, but the look is so much better. It doesn’t take long to achieve a greater finish by adding this final step. Now the blade is completed, it’s time to jump back to the other parts!
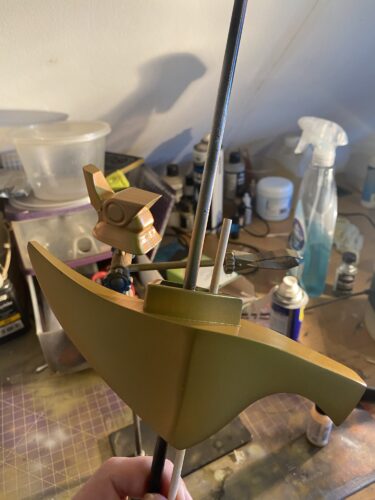
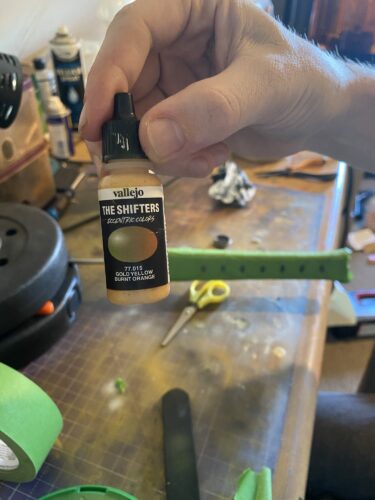
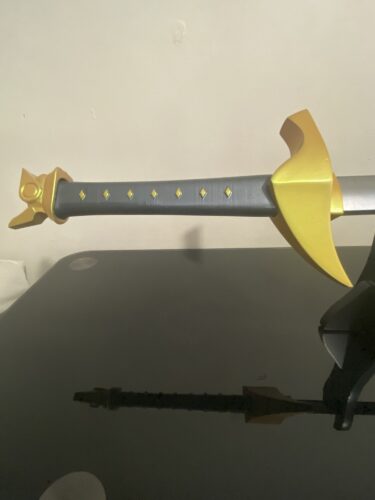
We’ll start with the completely golden parts. There is a specific gold I love using from the colour shift series by Vallejo: [77.015] Gold Yellow – Burnt Orange.
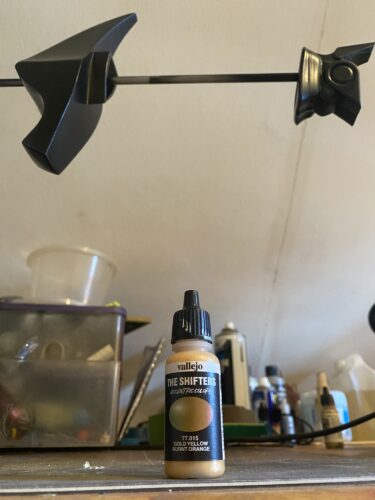
Perhaps a more sedate gold would have been appropriate in hindsight, but ah well. I’m still happy with the look, even if it is a little gaudy.
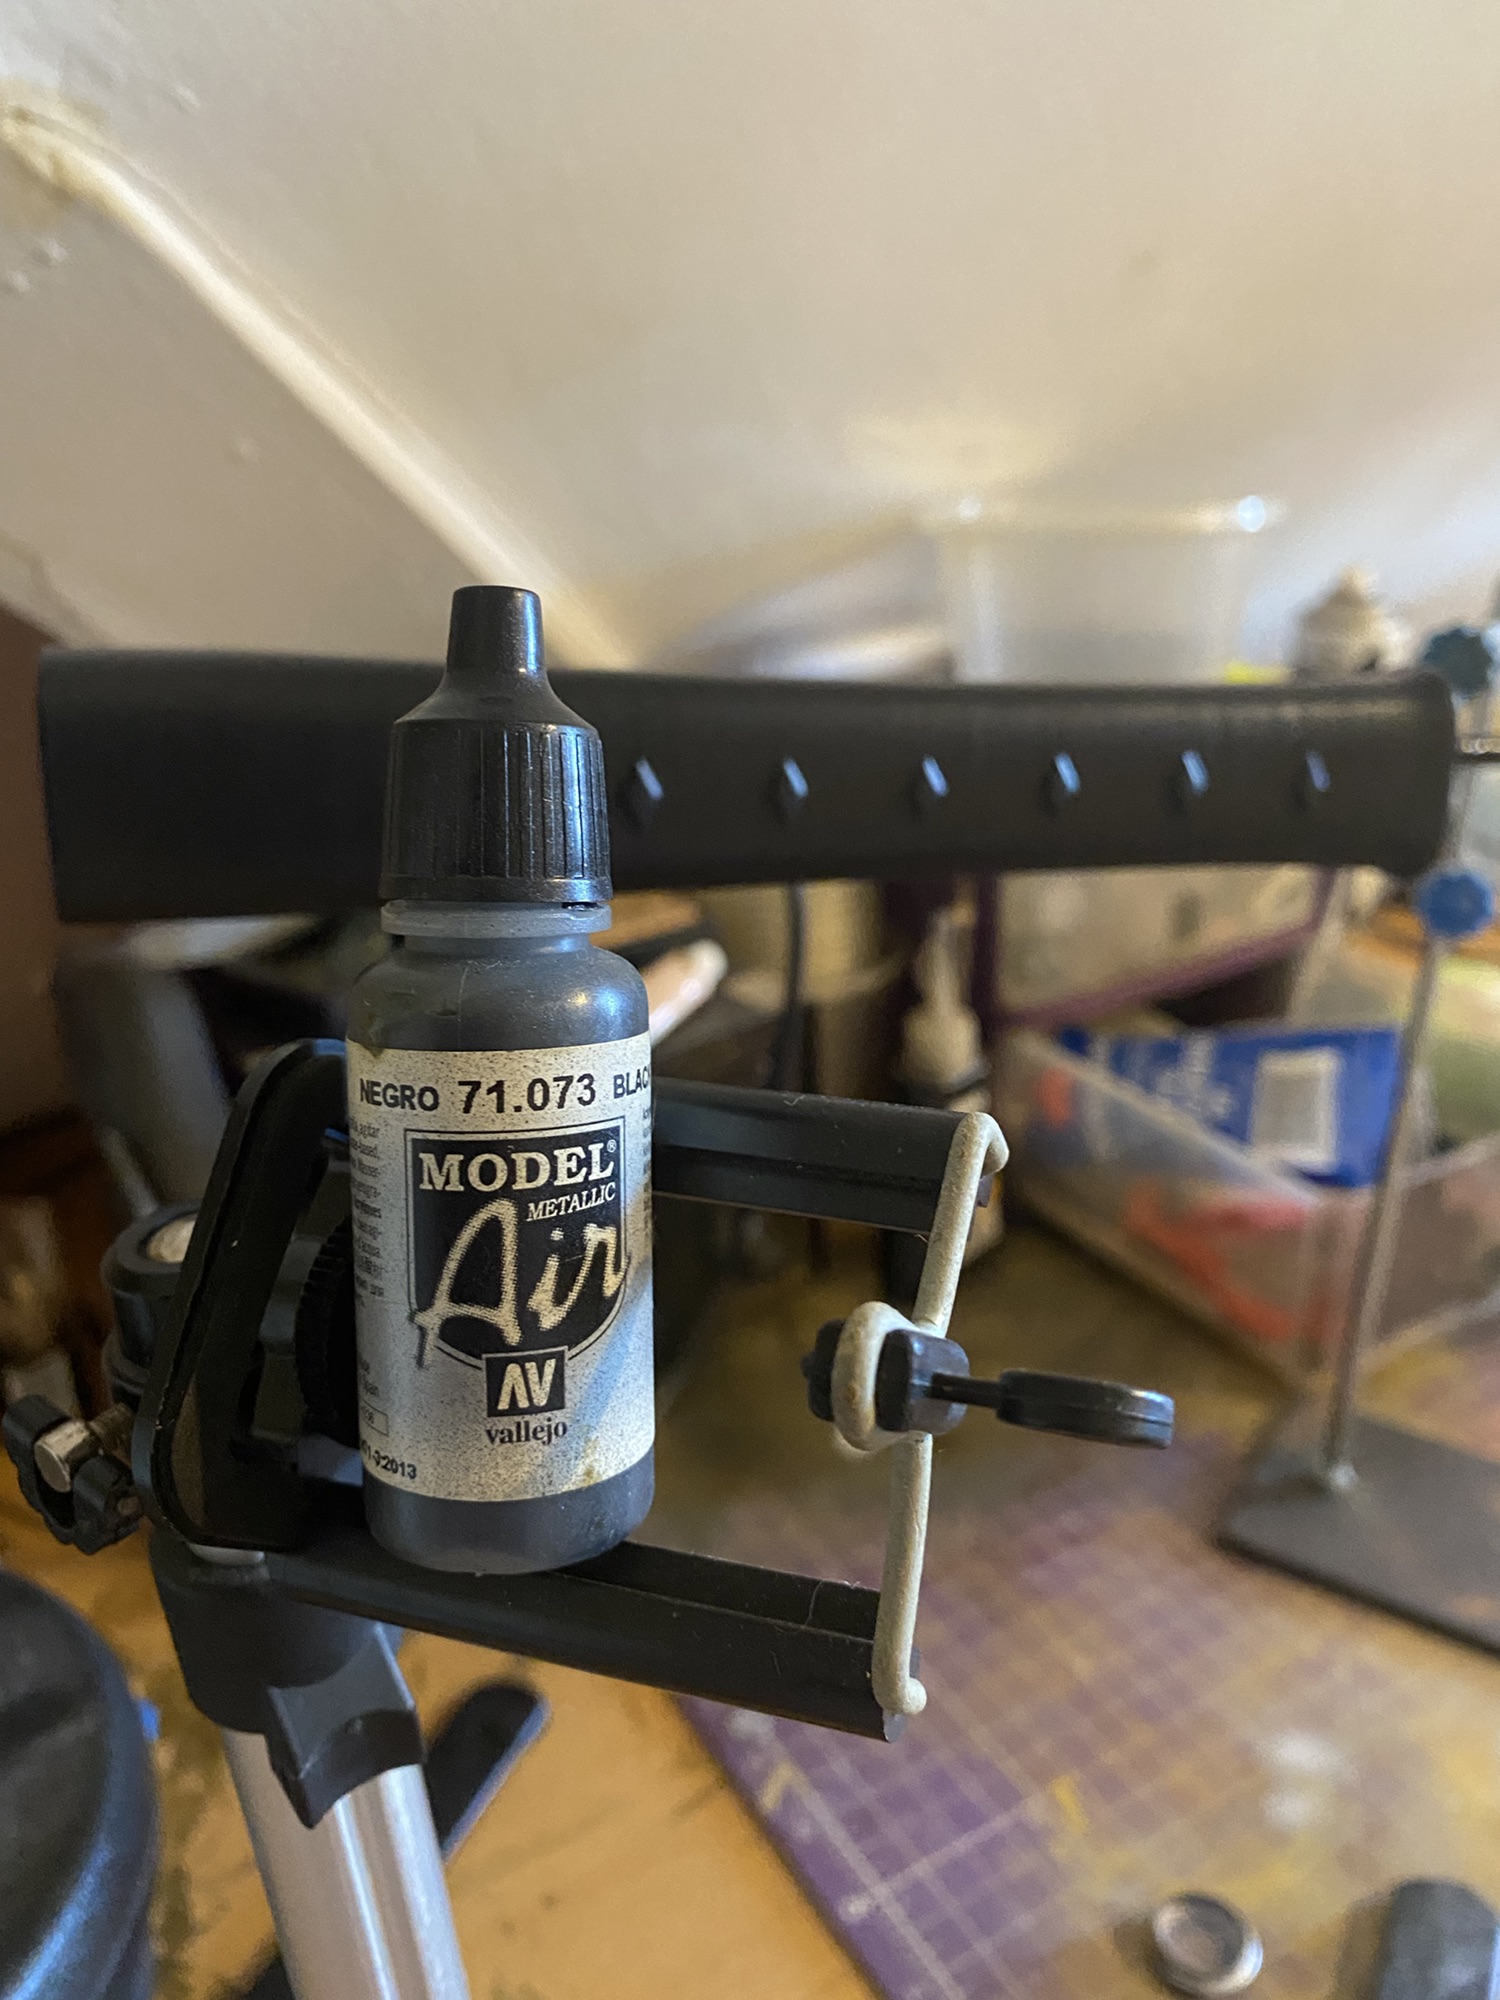
I’ve elected for the same metallic black I used on the handle of the Longsword from FFX. This is Vallejo [71.073] Metallic Black and gives a great look to it.
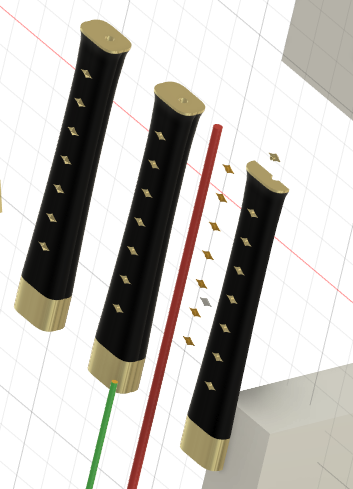
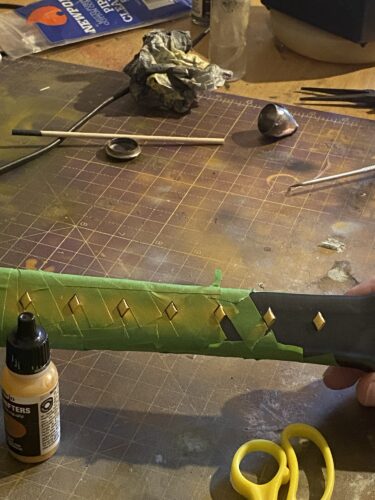
Much earlier in the design, I played around with having the golden studs being separate parts for the ease of painting. Ultimately I decided to go with masking to get the look I wanted. But that now means masking… Not usually a fun task.
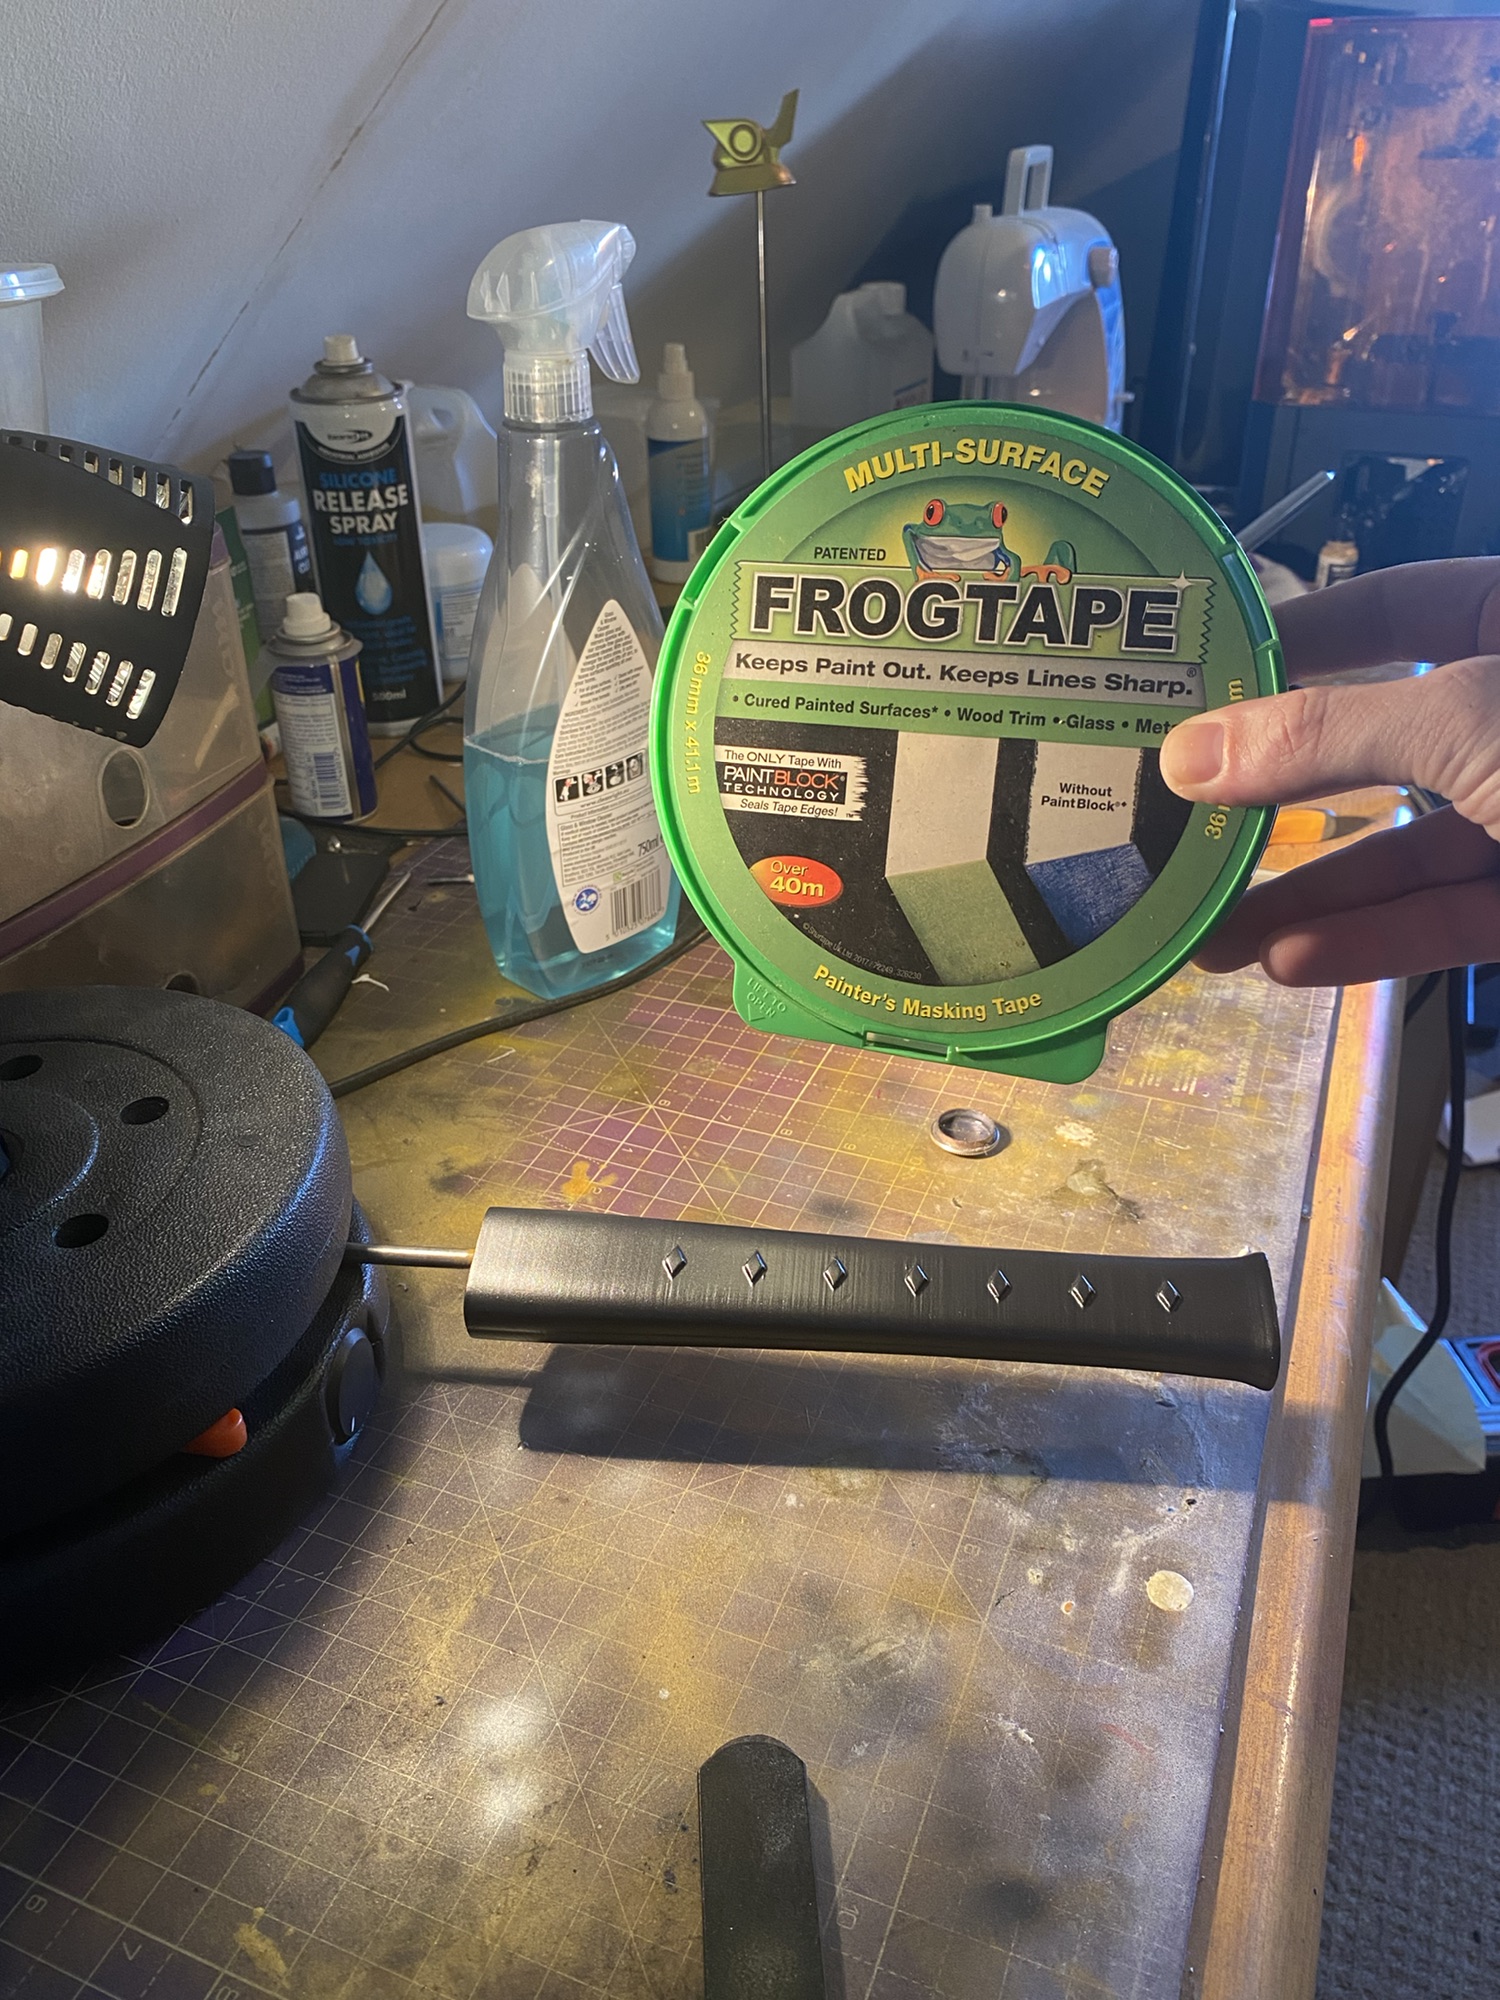
The shapes being masked are simple diamonds, so the task here isn’t too intricate or problematic.
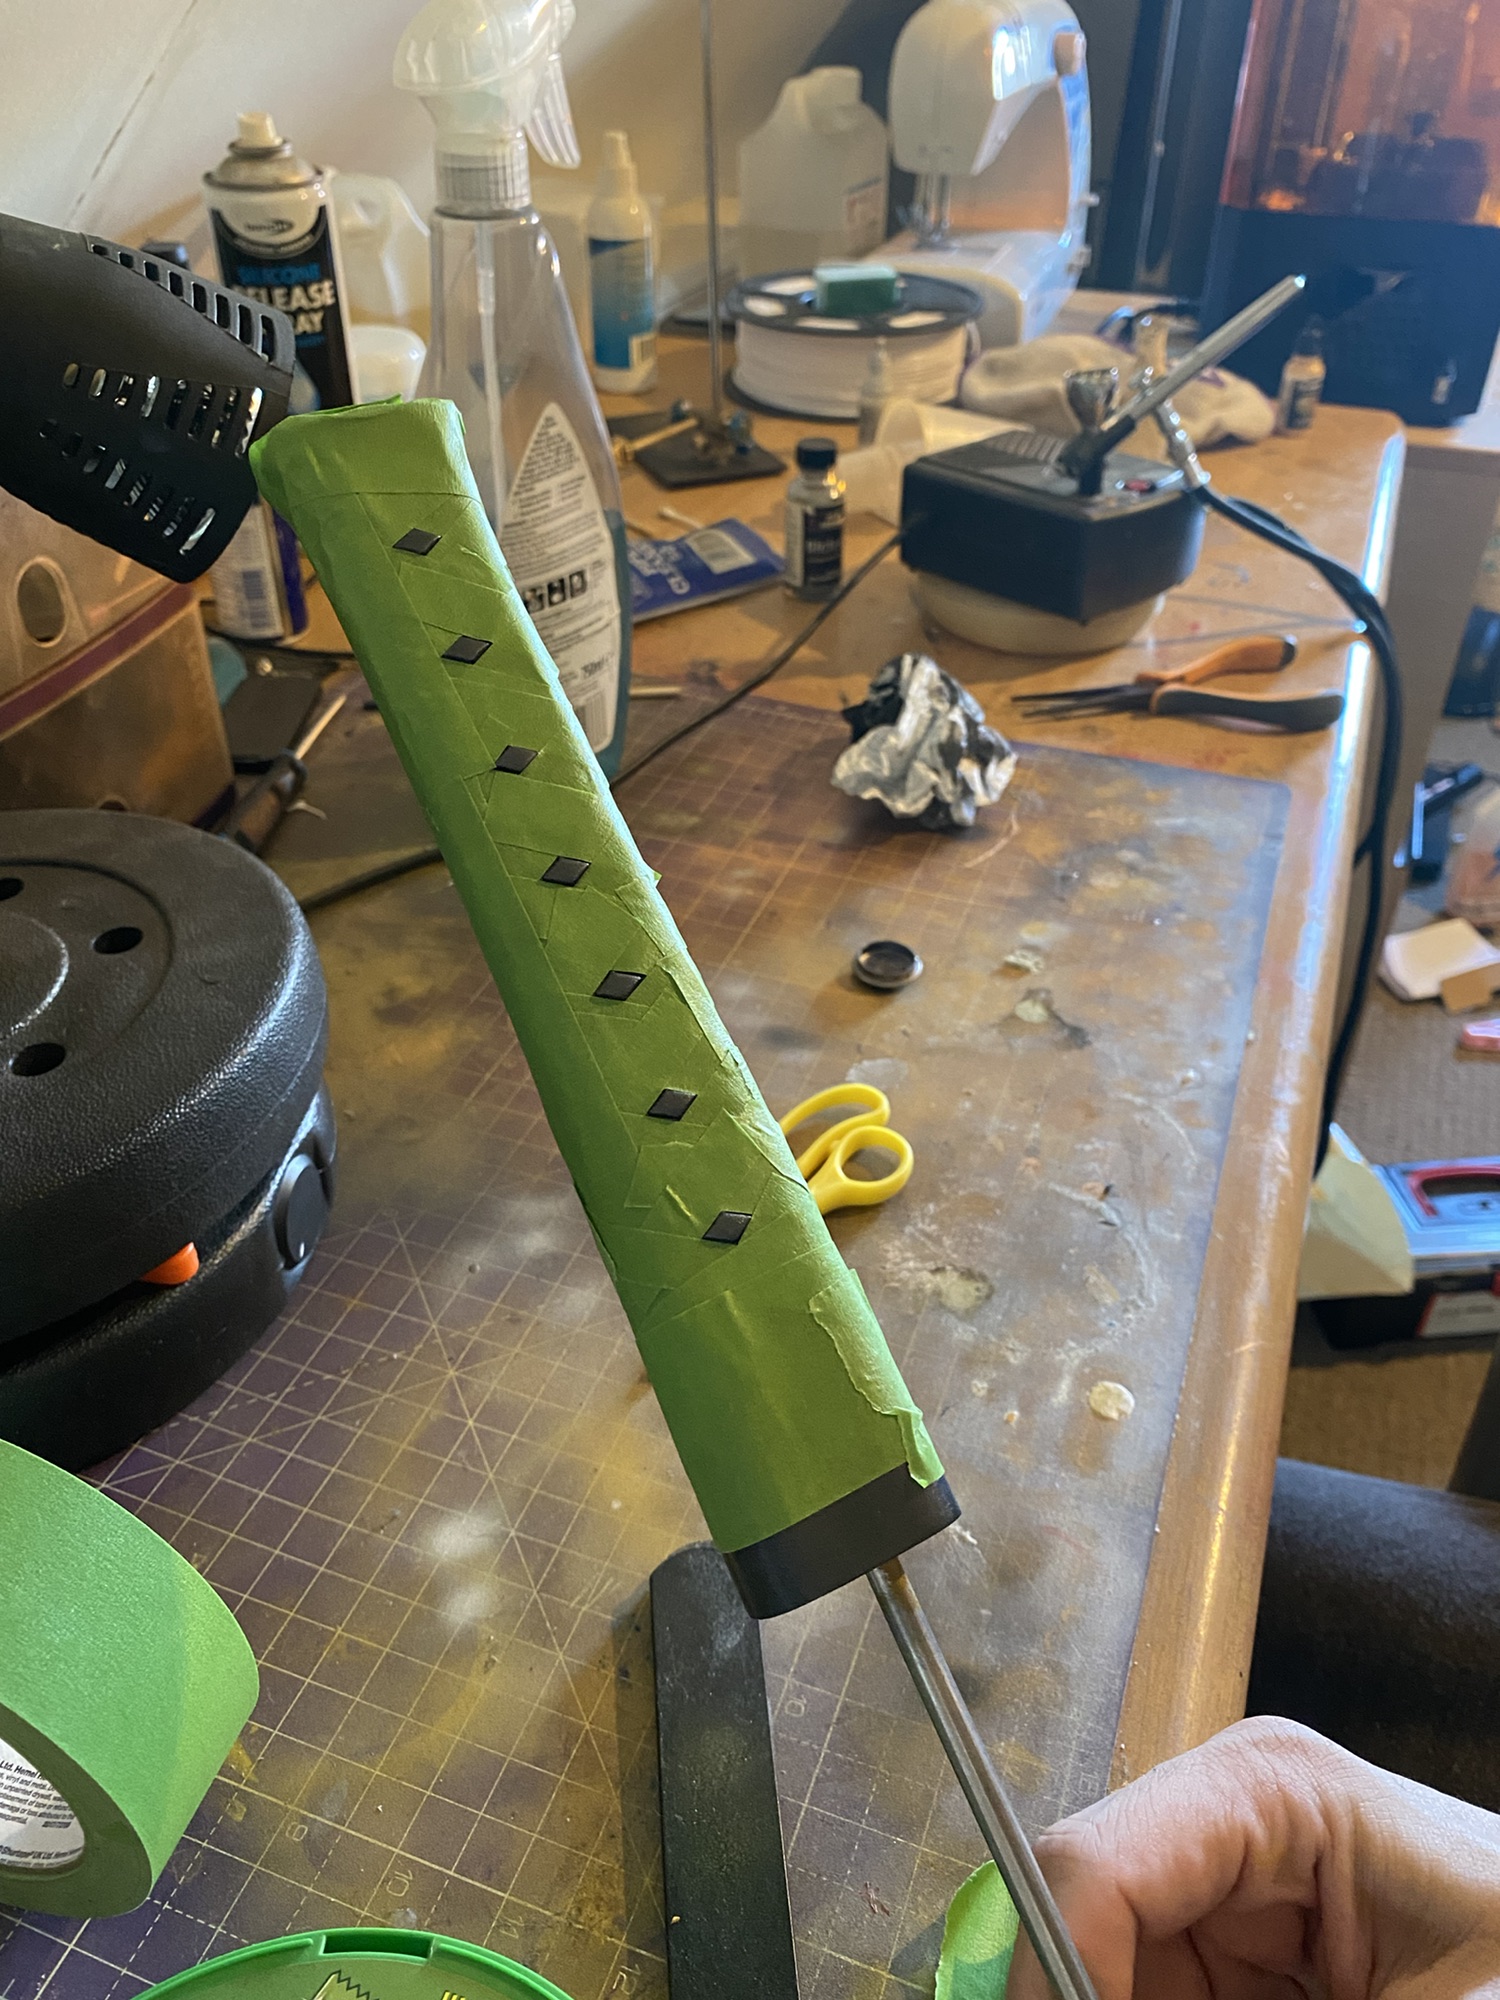
Oh look, yet another application of the beautiful colour shift series by Vallejo: [77.015] Gold Yellow – Burnt Orange!
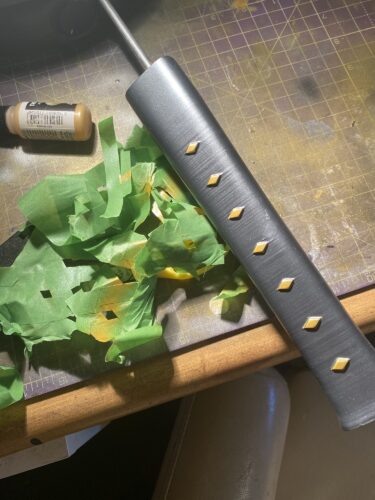
The handle of Yones Wind Sword is nearly free of the masking tape! The peeling tape comes off very smoothly.
Very happy with how crisp the lines held up against the gold!
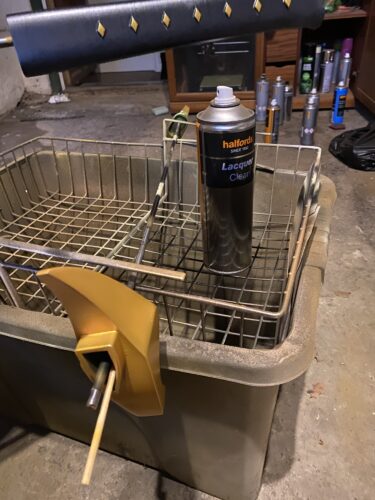
The penultimate step before the assembly: a healthy layer of varnish to keep parts as safe as possible from wear and tear.
The support rod through the blade is glued in place, and the assembly will just be a matter of threading the other parts onto it and using a little glue. Done!
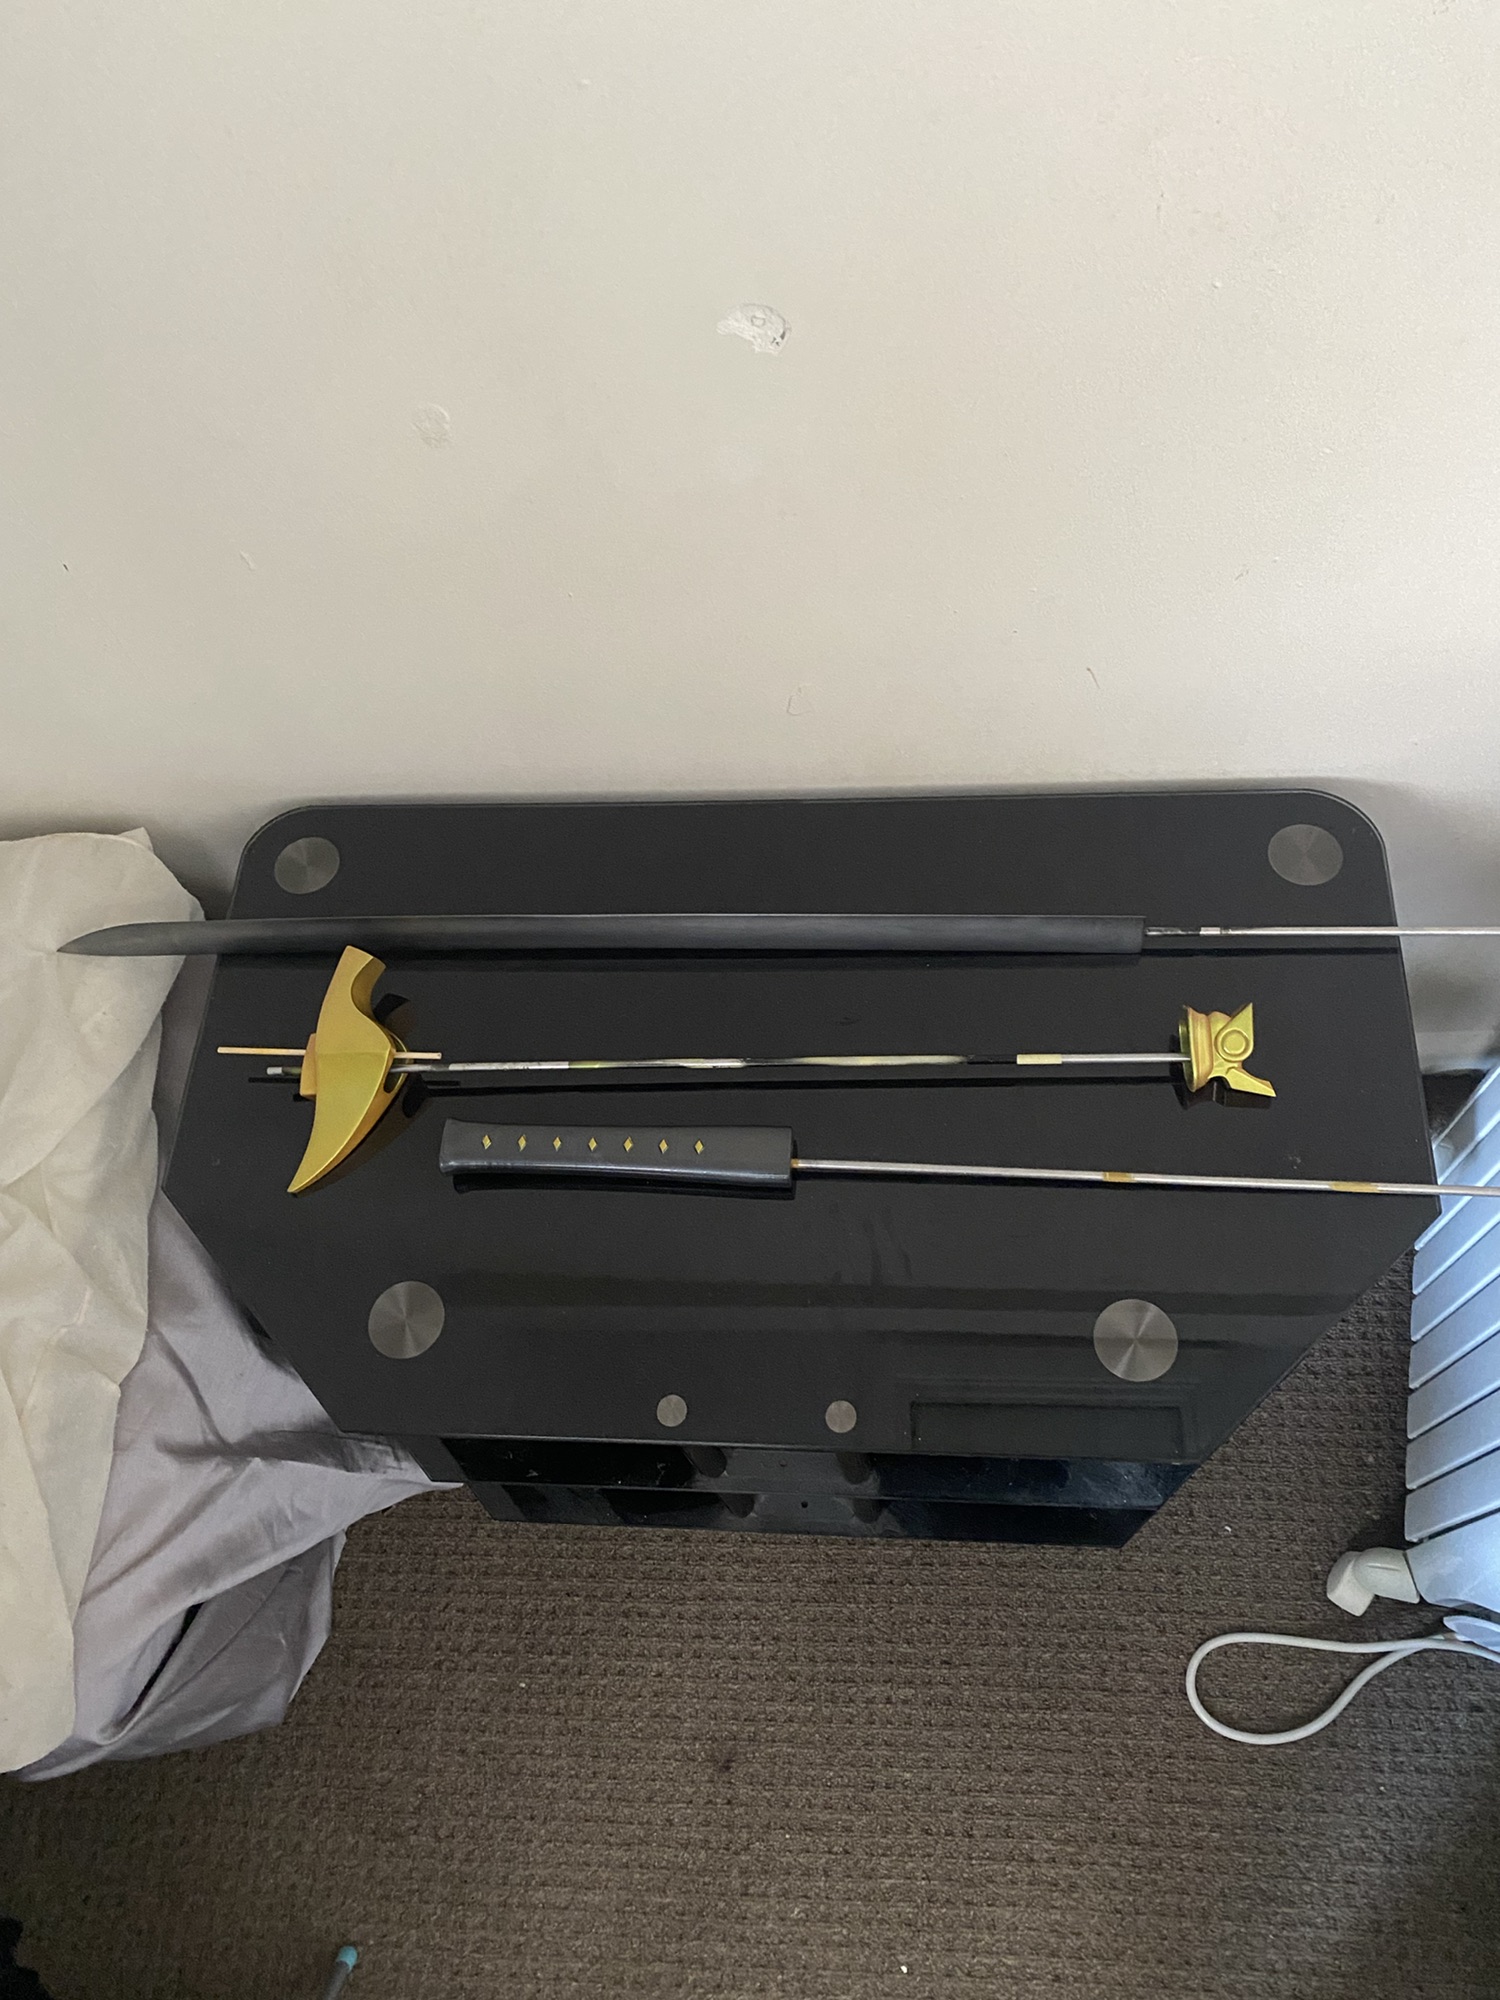
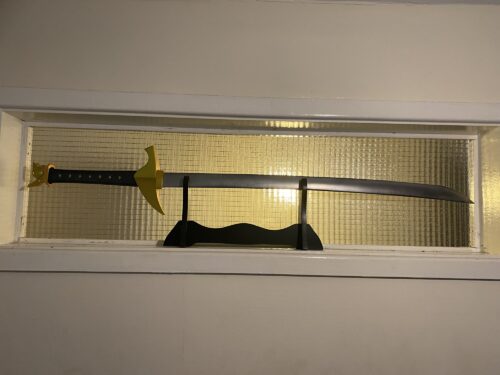
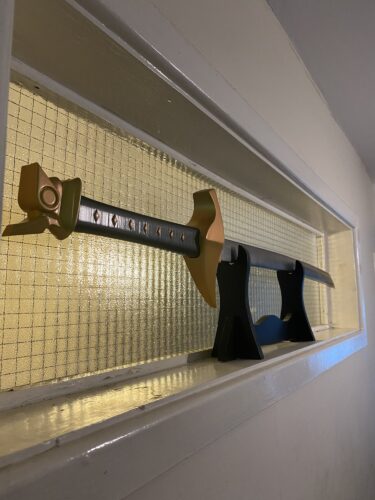
Result
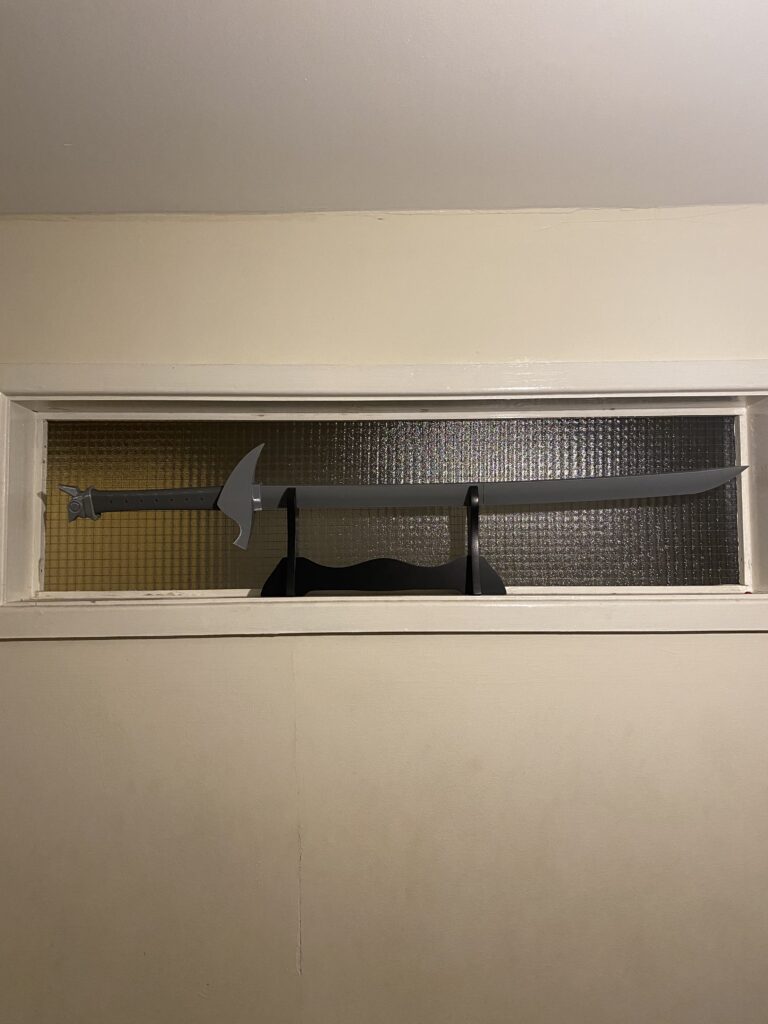
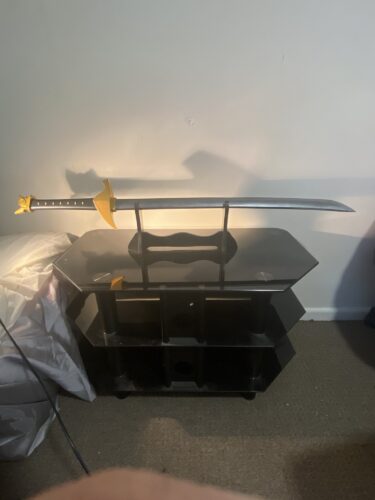
Completed!! Always great to get a design finished! The model itself was nice and simple, with no hidden surprises.

Thanks for reading!
If you enjoyed this, you might like some of the related articles from the Overview, or perhaps a different Project altogether?
Love what you saw? Got a project in mind? Feel free to reach out and let me know!