Introduction
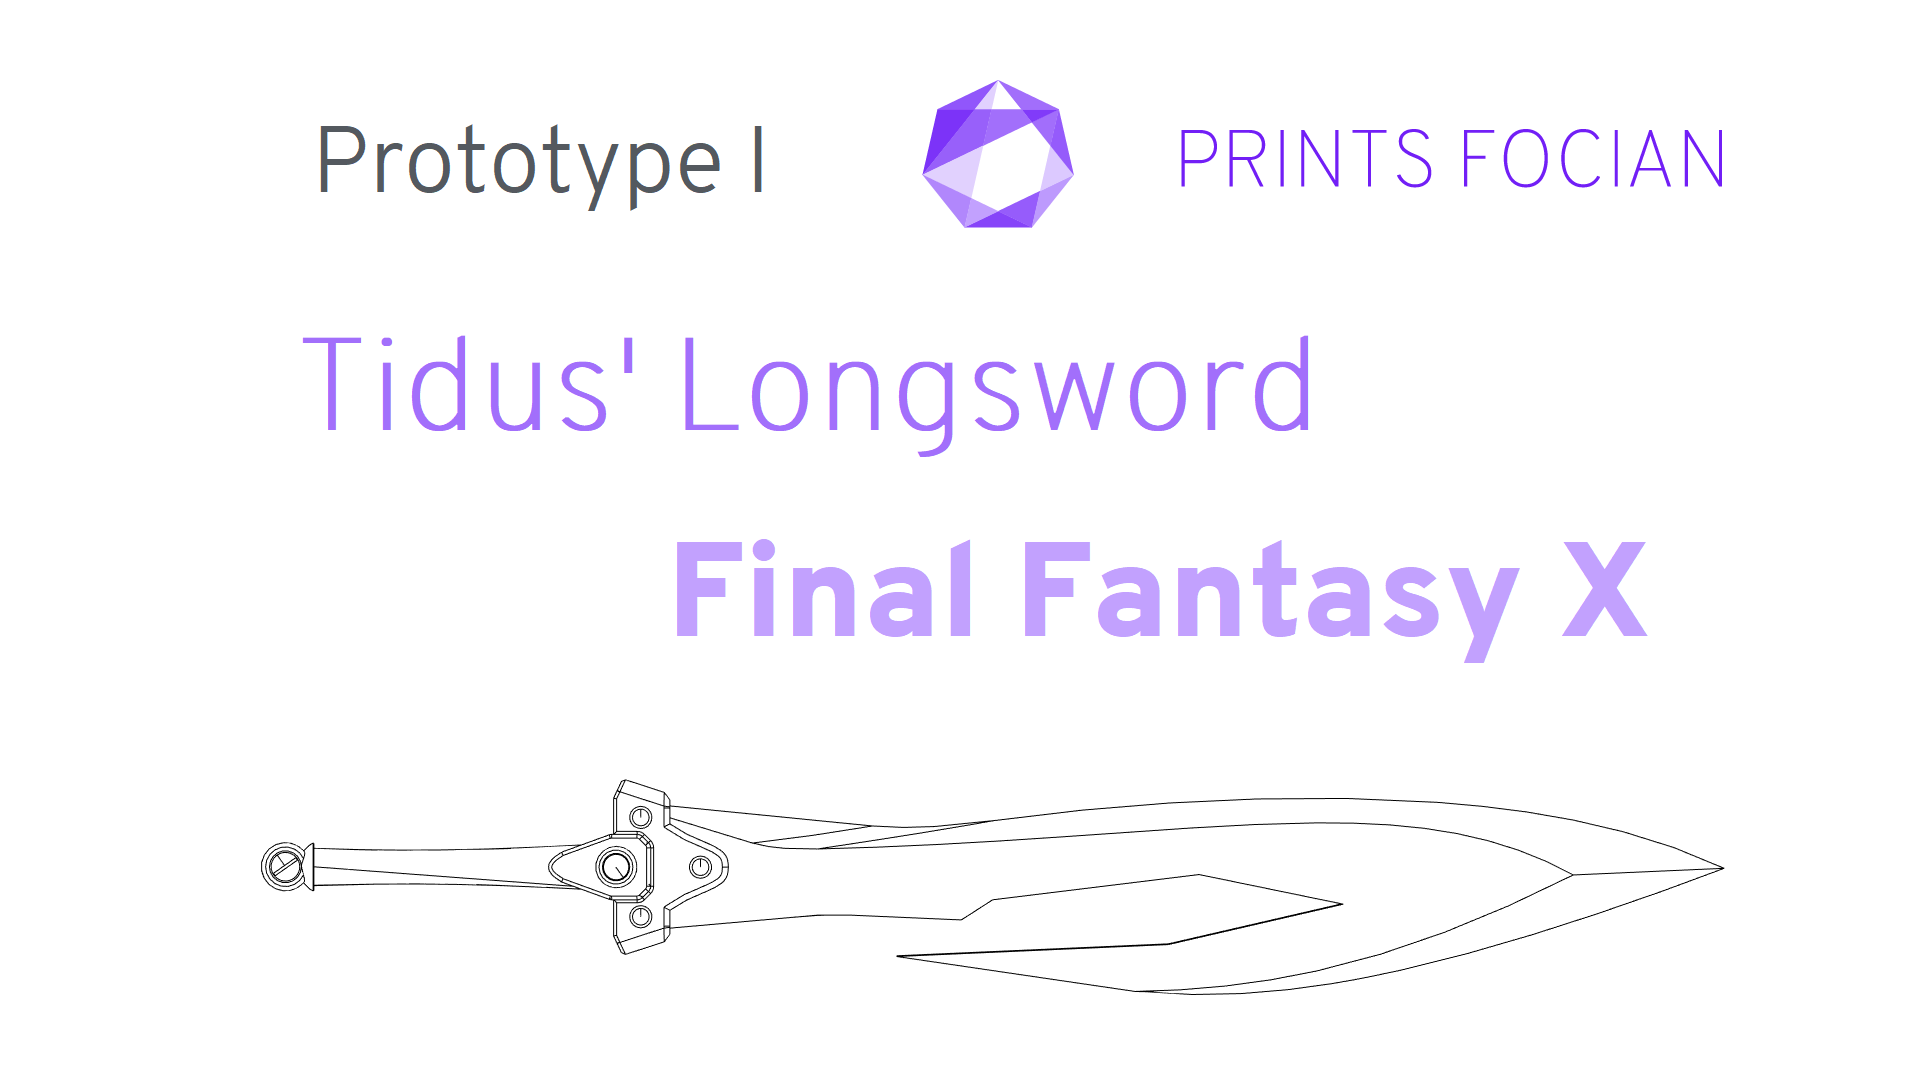
Welcome! In this build guide I’ll be walking you through the process I took in making a cosplay sword inspired by Tidus’ Longsword from Final Fantasy X.
This will be an intensive look at the Prototype I version from start to finish. It doesn’t matter if you’re looking for guidance with a Build Kit, thinking to Print It Yourself or just curious to see the project: You’re in the right place!
While this unlicenced replica is intended for decorative purposes or for use as a cosplay prop, the main reason for building it is because it’s cool and, as usual, it would be awesome to craft one!
Check out the link at the bottom of the page for the Overview if you want to see more!
Design
I used this project to jump back on Twitch and stream. Although I had finished the basic modelling, it needed some refinement and breaking down to make it practical for printing. You can see this in the video below. Feel free to follow the Twitch channel if you enjoy seeing the designs come to life!
I am using a 500mm * 10mm steel rod through the handle, hilt and start of the blade. The rod is attached to the two lower sections of the blade, each with an additional 200mm * 3mm guiding rod. The tip of the blade and the back fin are both secured by two 200mm * 3mm rods at each seam.
Build
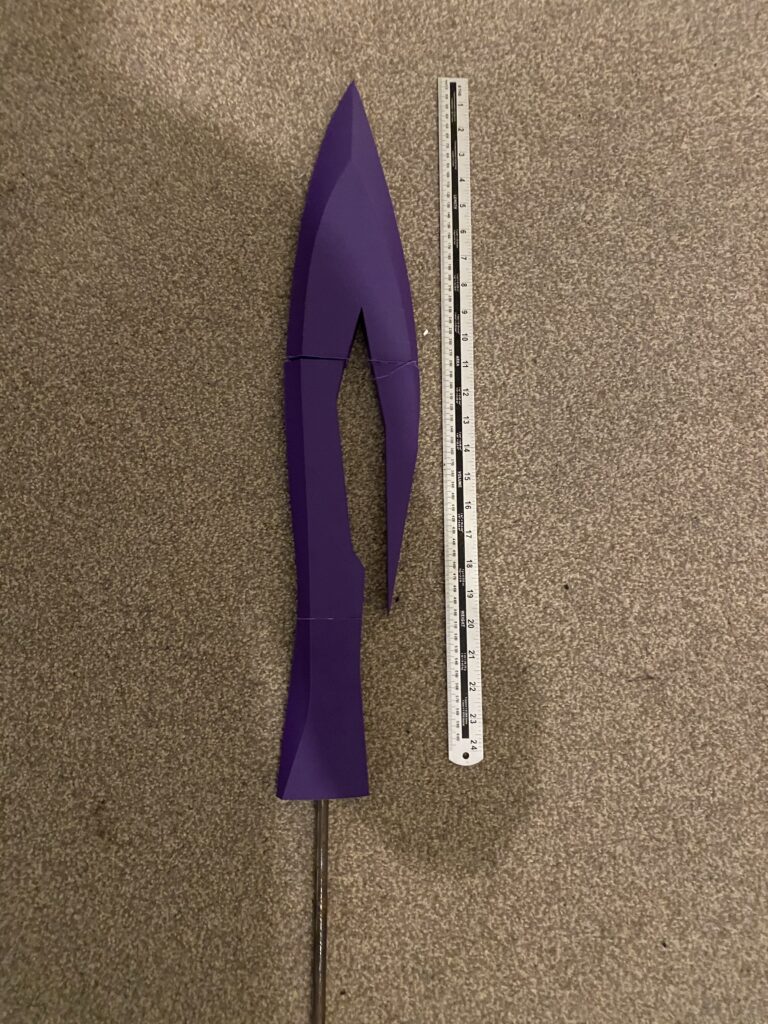
Here we are! First printing steps of another long build! It doesn’t take long for the item to become recognizable! All printed here in ABS.
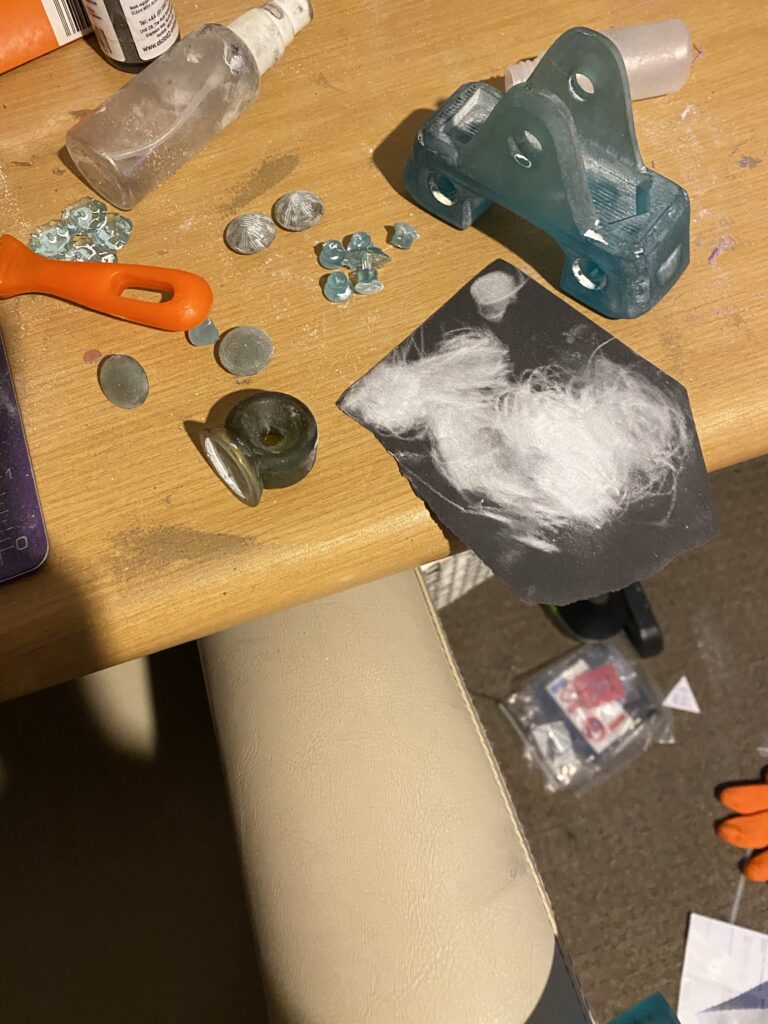
SLA prints don’t need as much aftercare, but still need a little! I used my resin printer (Mew) to print the hilt and all ten studs (six small for the hilt, two larger threaded for the pommel and two large ones for the handle). Just needs a light sanding!
It’s all coming together nicely:
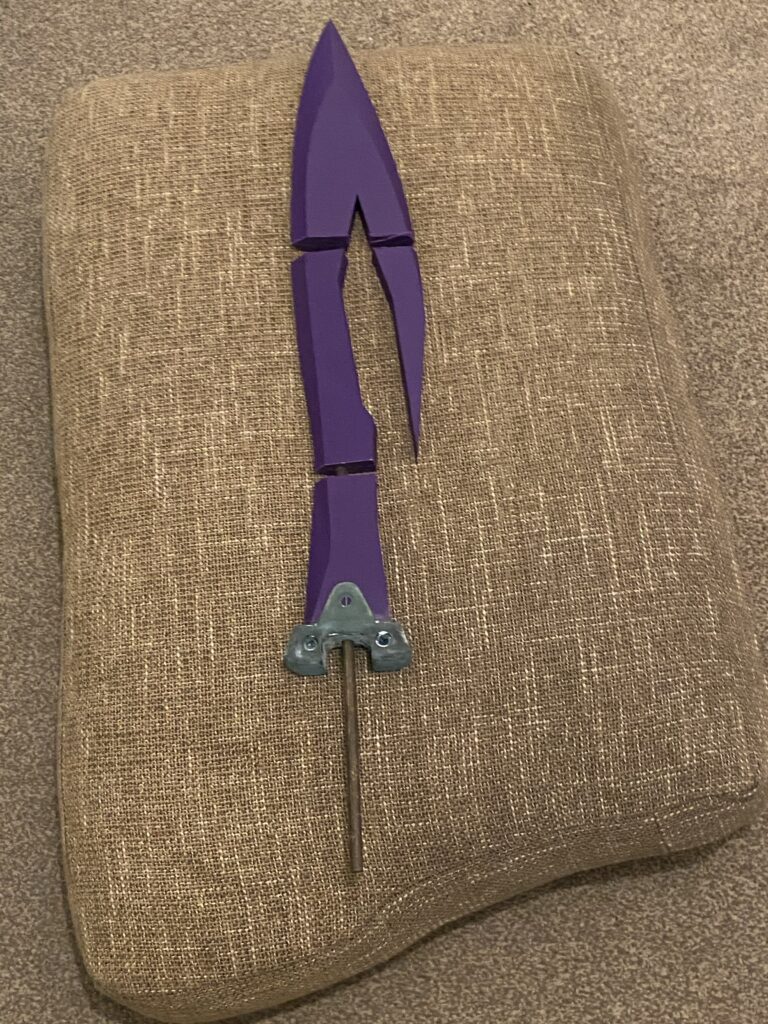
The lack of intricate details along the blade makes the joining a lot easier, I thought I’d have no trouble with that at this stage…
Basic form coming together, still very rough though! I’m attaching some components together, while other bits are just getting the metal rods in place. Making sure each part has something to grip is a lifesaver!
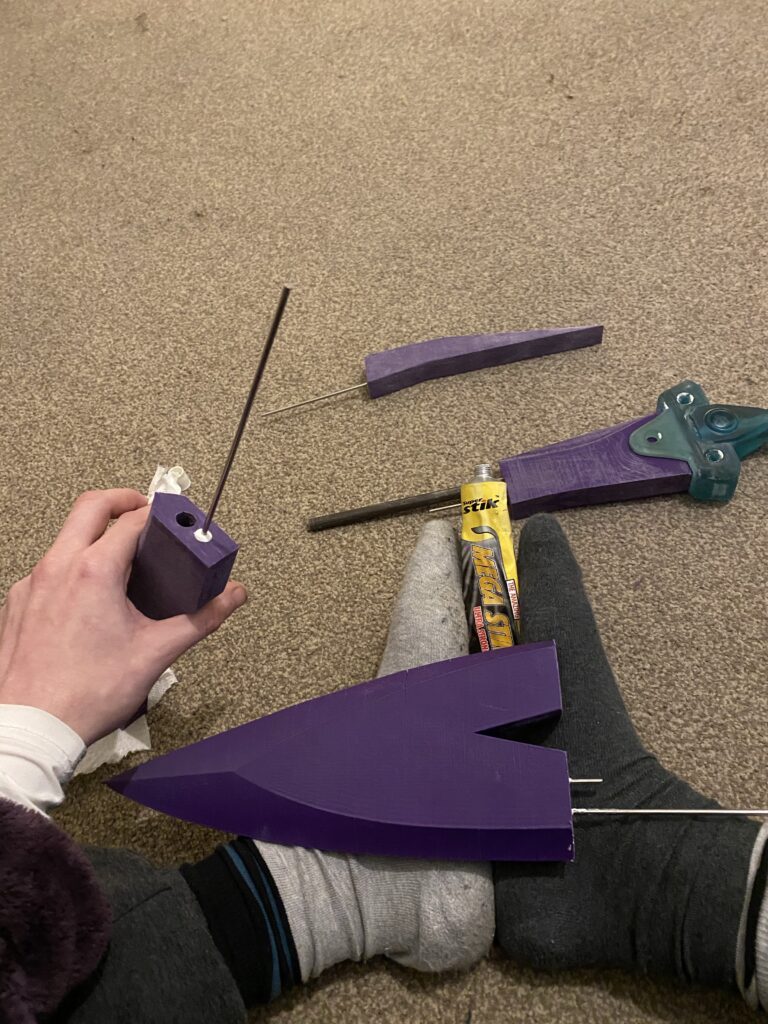
To make life a little easier, I’ll be working on some harder-to-reach plastic before attaching the fin to the back of the blade. But for now, I’ve completed the basic assembly!
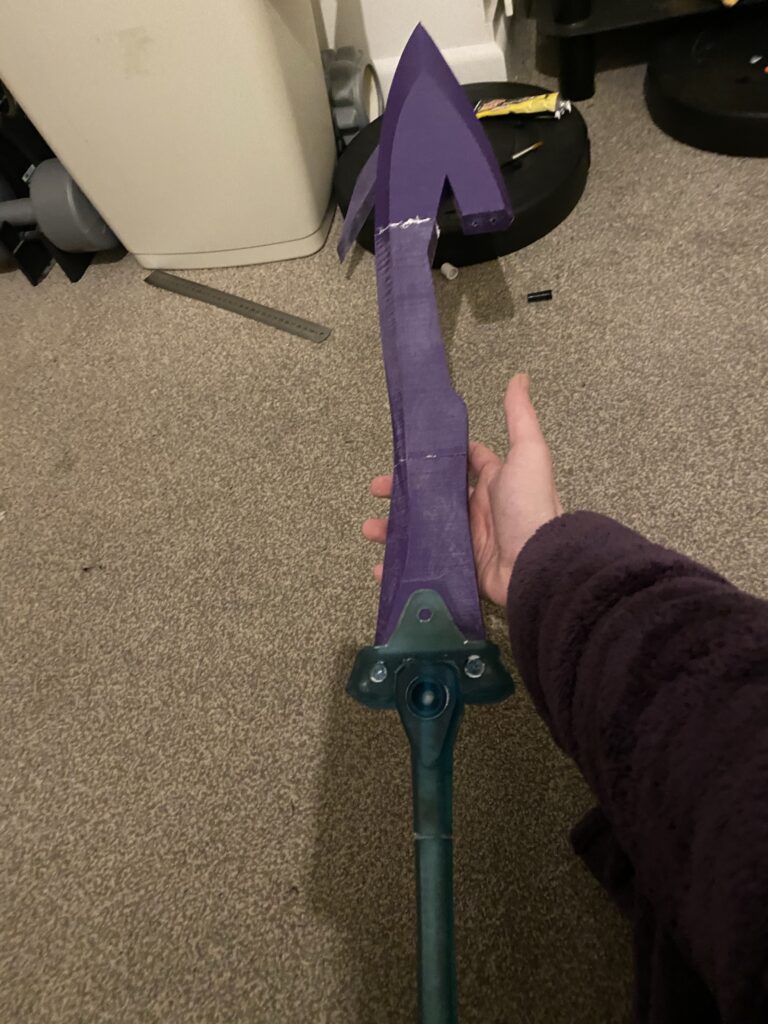
Start of the same old song and dance: primer filler, sand, rinse and repeat. I’m sure the 3mm metal rod supporting the whole weight of the blade is fine. Nothing to worry about, it looks solid!
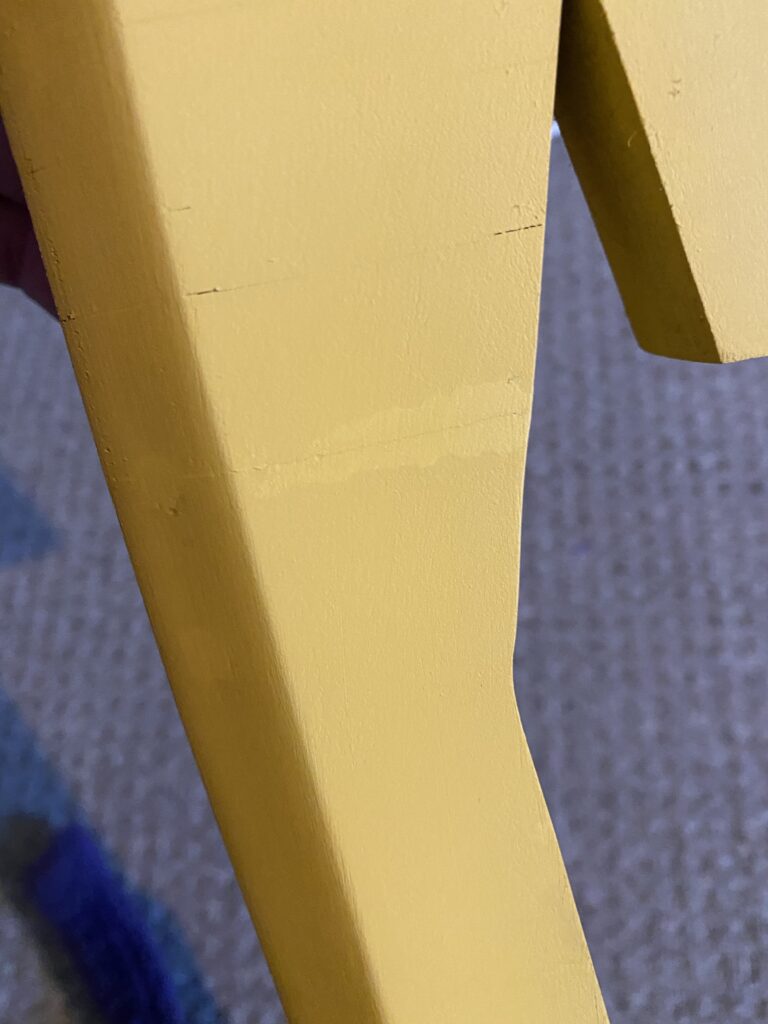
The seam took far longer to hide than usual, but I got there in the end! Genuinely a bugger to hide, took multiple passes with primer filler and I ended up using some Milliput later on to ensure the difficult job was complete. Irritatingly, the seam kept on appearing after being defeated multiple times. Who would have guessed that two 3mm rods were not going to be enough to support the weight… (everyone? Oh. Oh, okay then.)
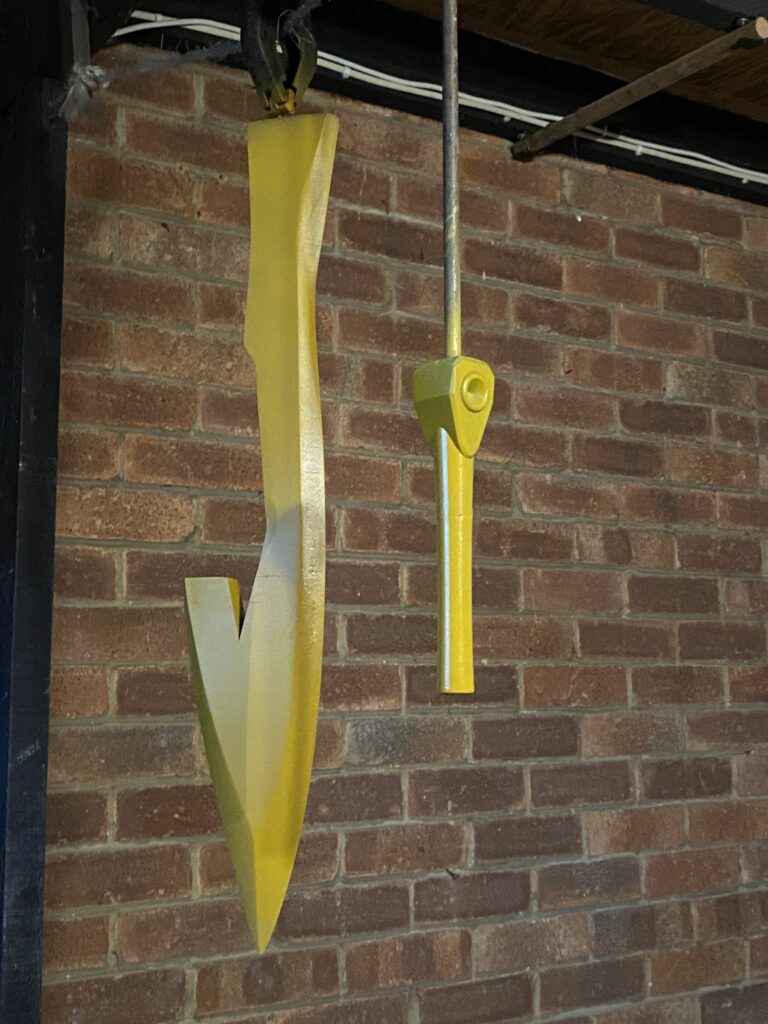
This is where disaster struck! I went to check on the drying blade and handle dangling from the roof, but I found the blade on the ground, damaged and nearly in two pieces. Given the dramas I had trying to hide the seams and the fact that I had started working on Prototype II (which was measuring up to be the Final), this seemed to spell the end for Prototype I! The damage to the side of the blade was extreme and the drop had reopened that nasty seam… AGAIN! End of Project! Screw this sword and everything about it!
…
…
…
A few days later, once I finished my little temper tantrum, I remembered the wise words of Cid:
Hu haat vun daync! Fryd ec kuut ypuid machina, ec drao lyh pa piemd yhaf, oui caa?
No need for tears! What is good about machina, is they can be build anew, you see?
I resolved to carry on. While I may or may not be able to get this as good as I wanted it, there were still going to be things to learn on this project. Here, for example, I learned if something is dangling… make damn sure whatever is holding it supports the weight! Continuing with Prototype I was my best option.
I gathered what little enthusiasm I could muster and cracked back on with it, knowing that it probably wasn’t going to look anywhere near as good as I was hoping.
Okay, let’s stop messing about and bring the Gorilla Glue out to play. Given the issues I had with the seam on the other side, caused by only using two small rods to secure it, I was going to give this part every advantage that I could. This bad boy is going to get STUCK!
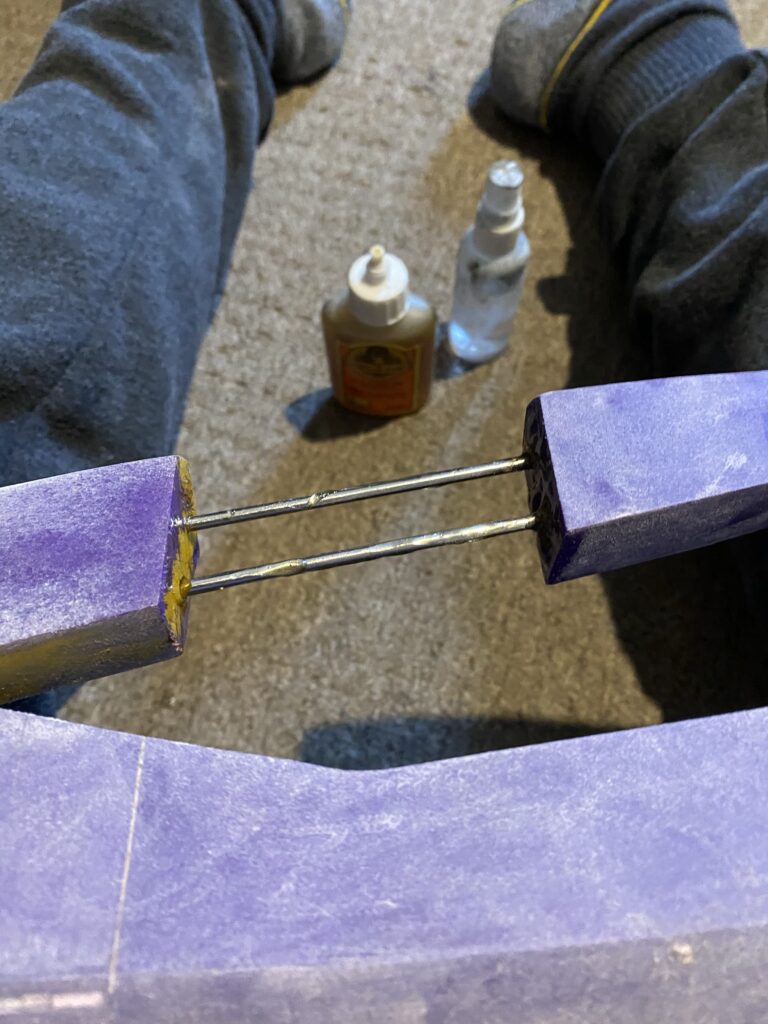
THIS. WILL. STICK!
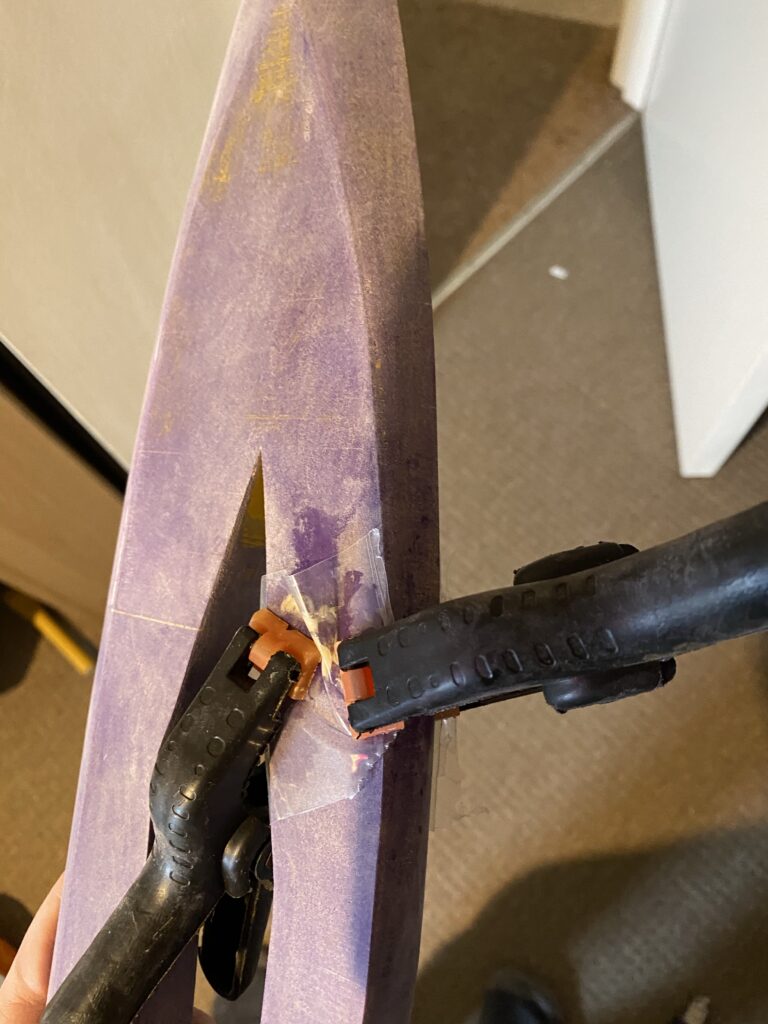
Okay, assembly completed again, back to me trying to get to the finish stage! There was a gorge down the side of the blade following the drop. The first order of business was for me to fill it in with epoxy putty. Ugly, but essential, as these holes were not small.
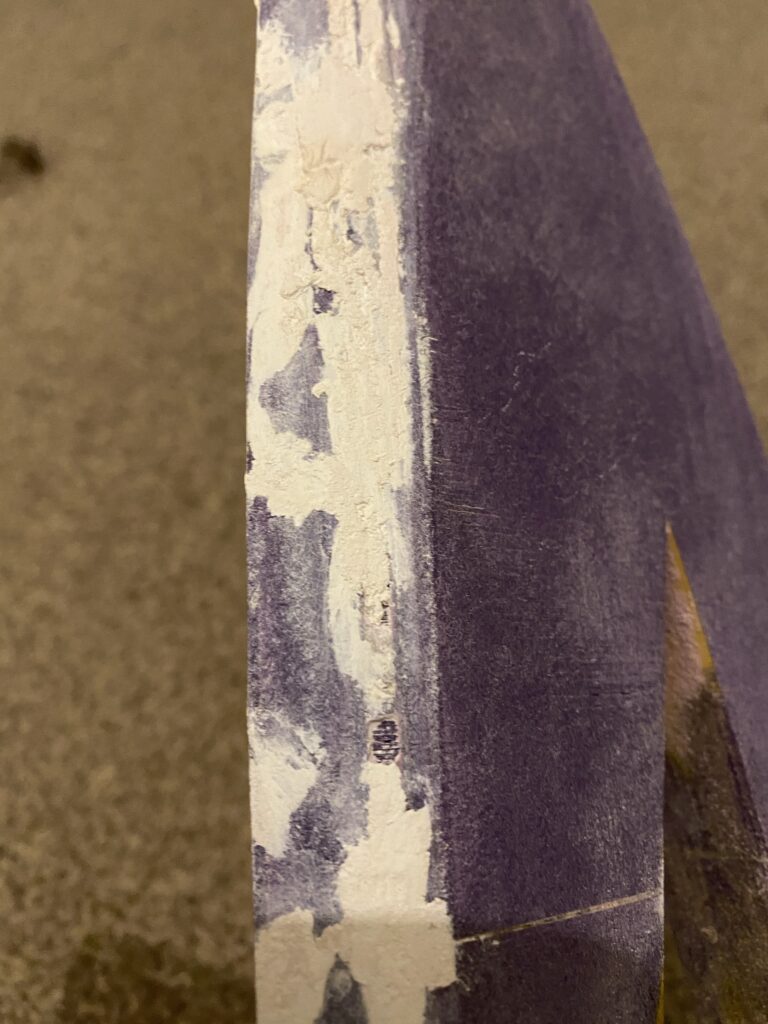
Primer, filer, epoxy putty… find new small imperfections that need work on… ugh…
And now, we take a little detour. This italicized section was sat in the Judgement part for about four months as the model mocked me and my failure. I had resolved to quit, I had this article all written up, and yet didn’t post it…
“You’ll notice that the blade never ended up making it any further than the build phase. Through problems that had arisen, I couldn’t get the surface I wanted to take it any further. While it is perfectly possible to get this to the end stage, the time and effort required would be prohibitive.
With other exciting projects on the go and the sheer level of my current workload, I’m finding zero time or essential enthusiasm to complete this work to its fullest. With the handle completed (bar cloth tape) and the blade in a workable but rough state, I am no longer looking to sell this… Or even complete it. This painful model has more sentimental value now than it could ever achieve financially and will serve as a stark reminder that not every project will see the finish line. I am happy to step away and leave Prototype I half completed forevermore.”
And then something happened. I’m not too sure if my standards lowered, my enthusiasm returned or a new petulant stubbornness emerged but I wanted to get this Prototype as close to finished as possible! I had given up on this project… Again! I had resolved to sell this as a cheap, half-finished project. Or perhaps I could leave it on my shelf and be happy that it was over, regardless of the level of completion! Not all projects go smoothly, and this Prototype has been the most difficult thing I have attempted, by far!
I wouldn’t be comfortable selling it even as an item that needed to be worked on with the defects. Nor could I leave it in its half-finished state given how much work I’d done on it. New plan: rush to the end! Not a great option, but I can’t get now leave it like this! This is no longer about quality, this is no longer about perfectionism, this is now about crossing the finish line! I primed it grey to hide my failure and moved forward. Maybe I should have quit and put my time and energy into Prototype II/Final, maybe I should have worked harder on the quality. Maybe maybe maybe…
Finish
If I ignore the dramas with the blade, I can crack on with the handle and hilt! A few bits of it getting a quick blast of grey primer.
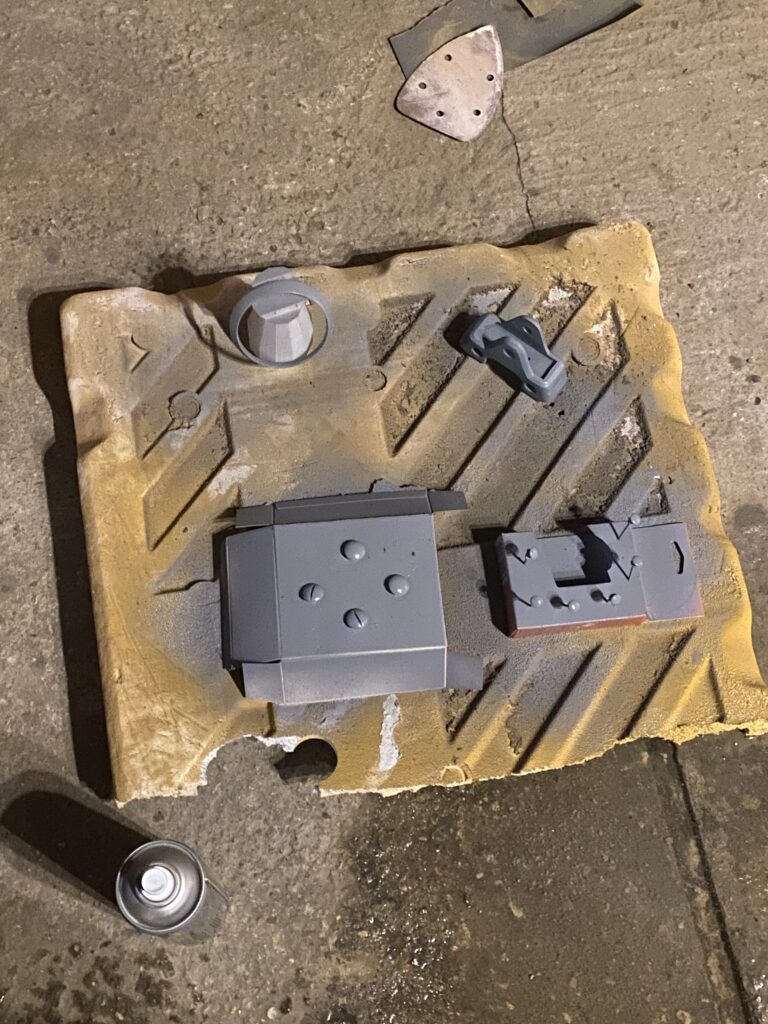
Anything that I plan to have a metallic finish gets a coat of glossy black paint.
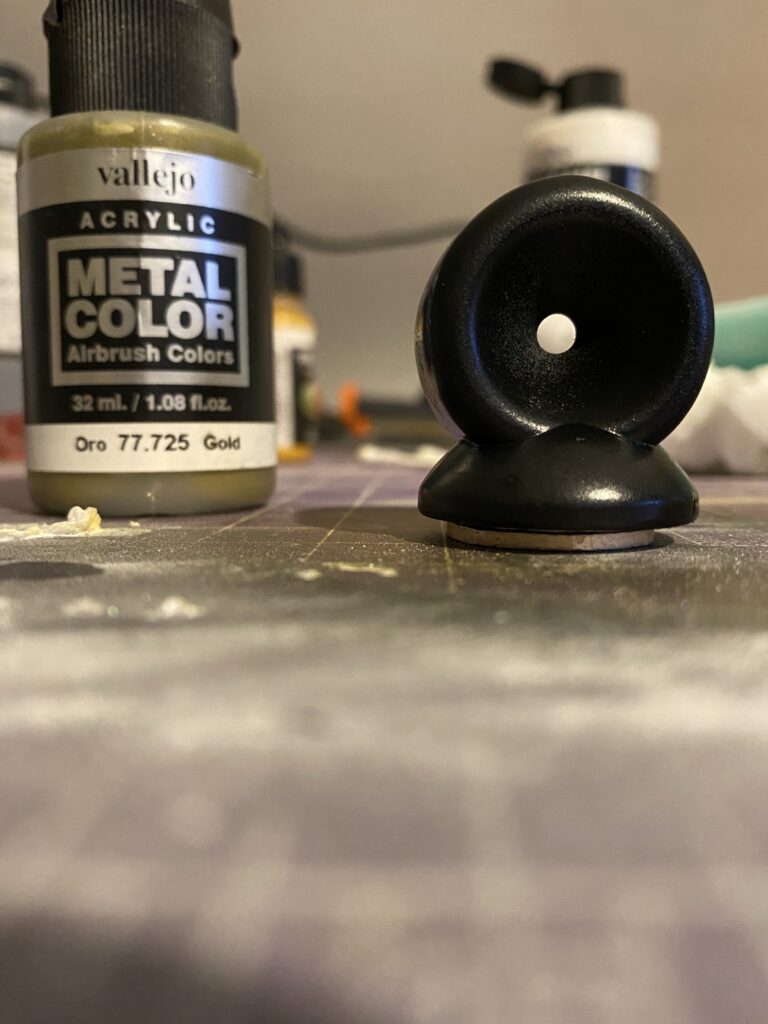
The gold I’ve gone for is Vallejo Gold [77.25]. I used discarded supports from a Charon’s Obol and a toothpick to keep the components off of the surface.
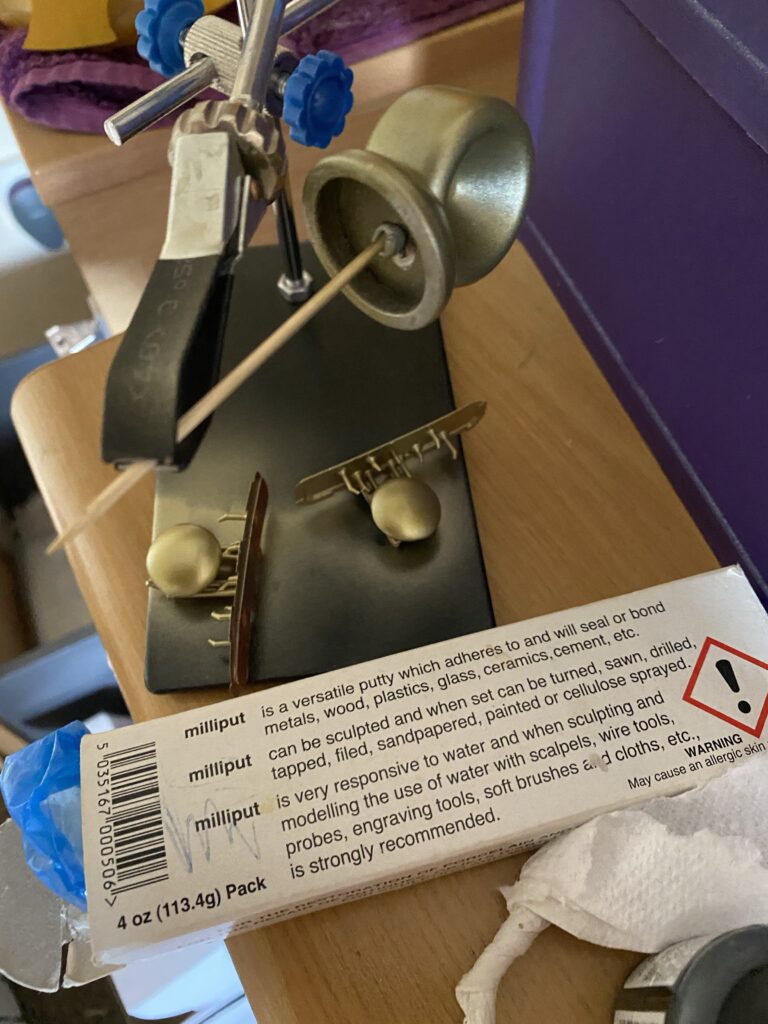
I finished the handle with Vallejo Metallic Black [71.073] and roughed up the surface areas where the superglue would be sticking to the studs.
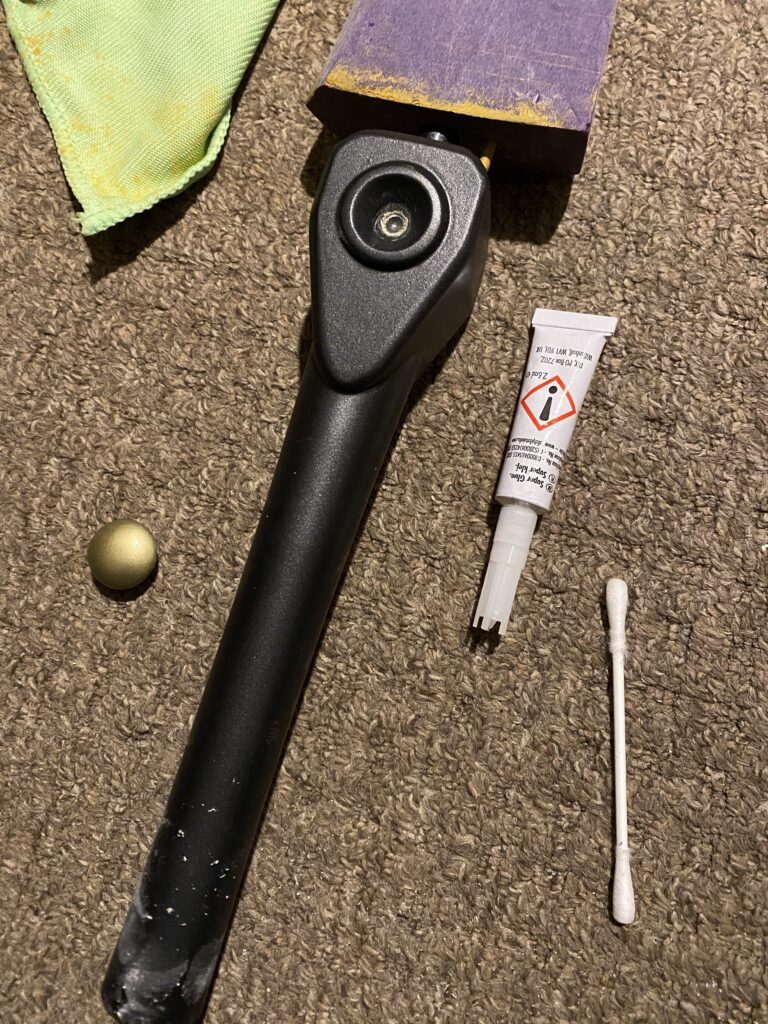
First time using anything from the Vallejo Game Air series of paints, but I’m seriously impressed with the coverage of the first coat! here I used Vallejo Game Air Leather Brown [72.740].
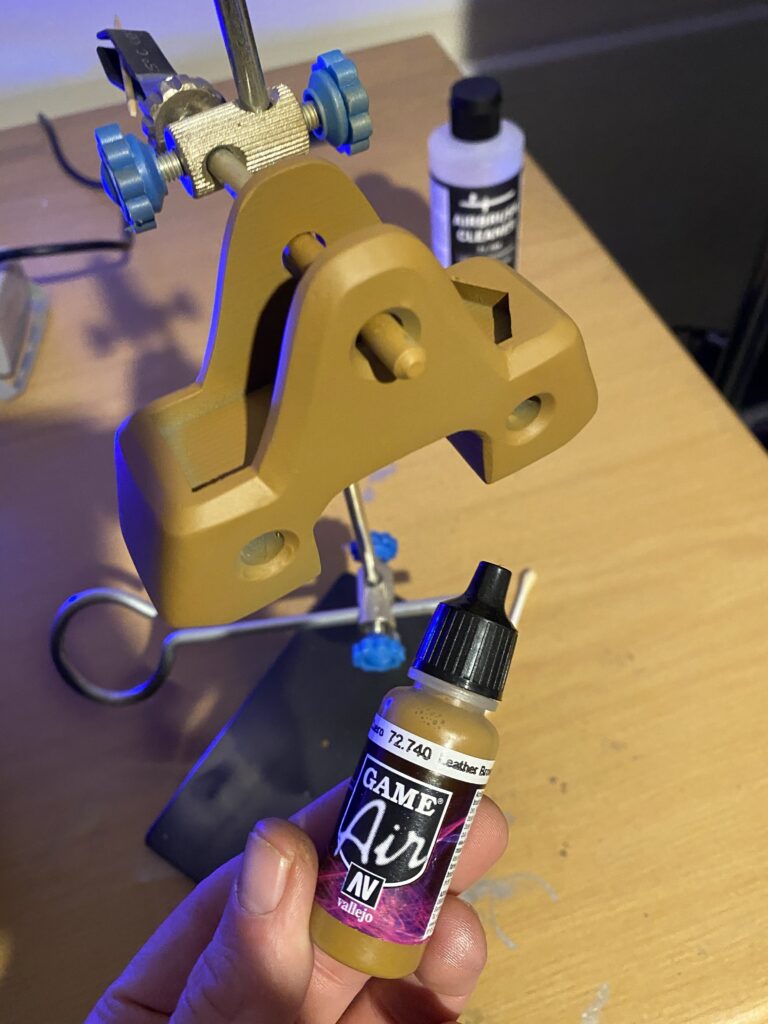
Once the brown leather went down, it was time for me to make the metallic parts look great!
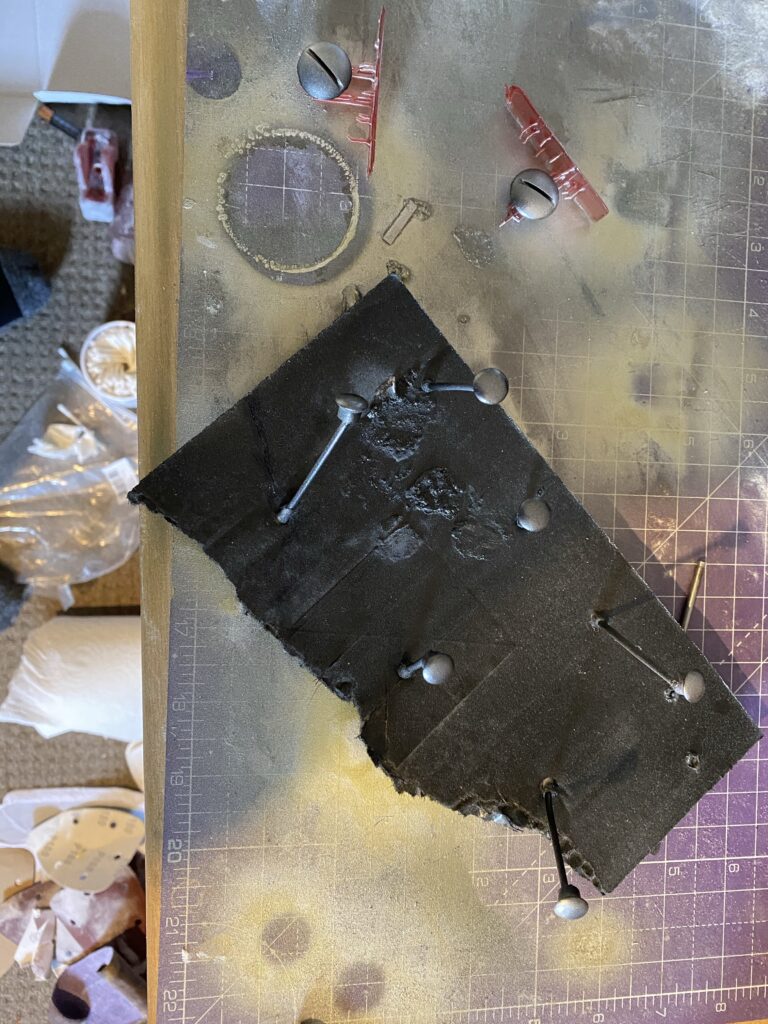
After that was painted, I varnished the hilt with Halfords Clear Laquer. Once again, a discarded part of the Charon’s Obol project helped here, keeping the hilt slightly raised.
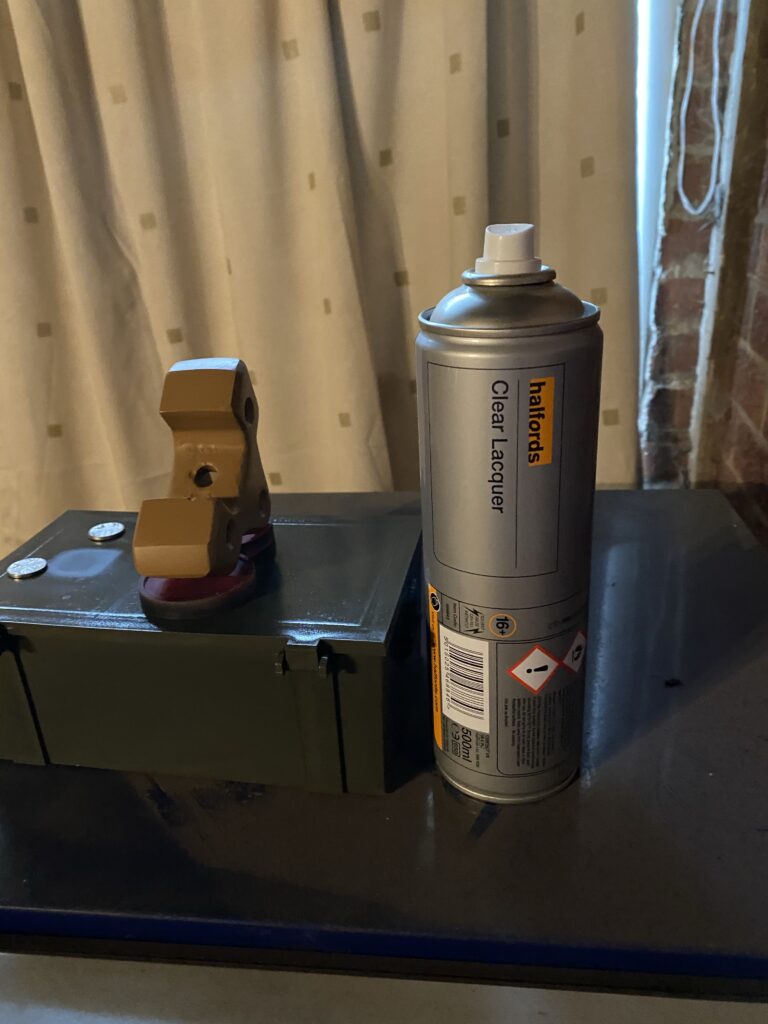
Varnish protection went on great and I scruffed the inside areas where I would be supergluing. The studs sat perfectly!
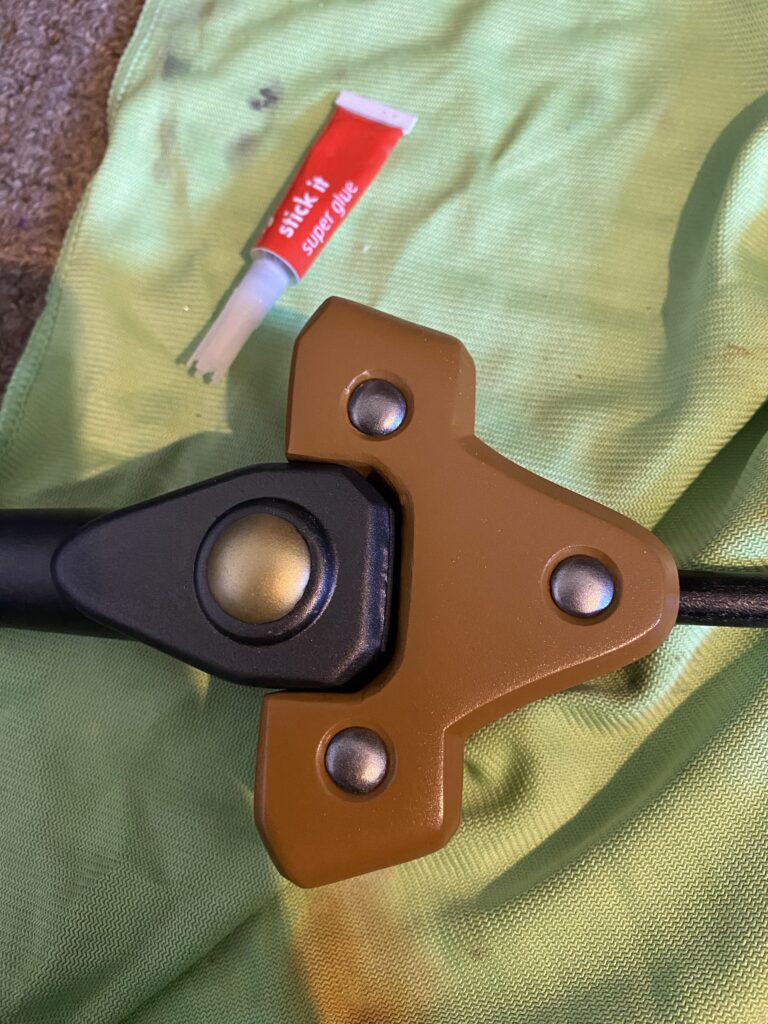
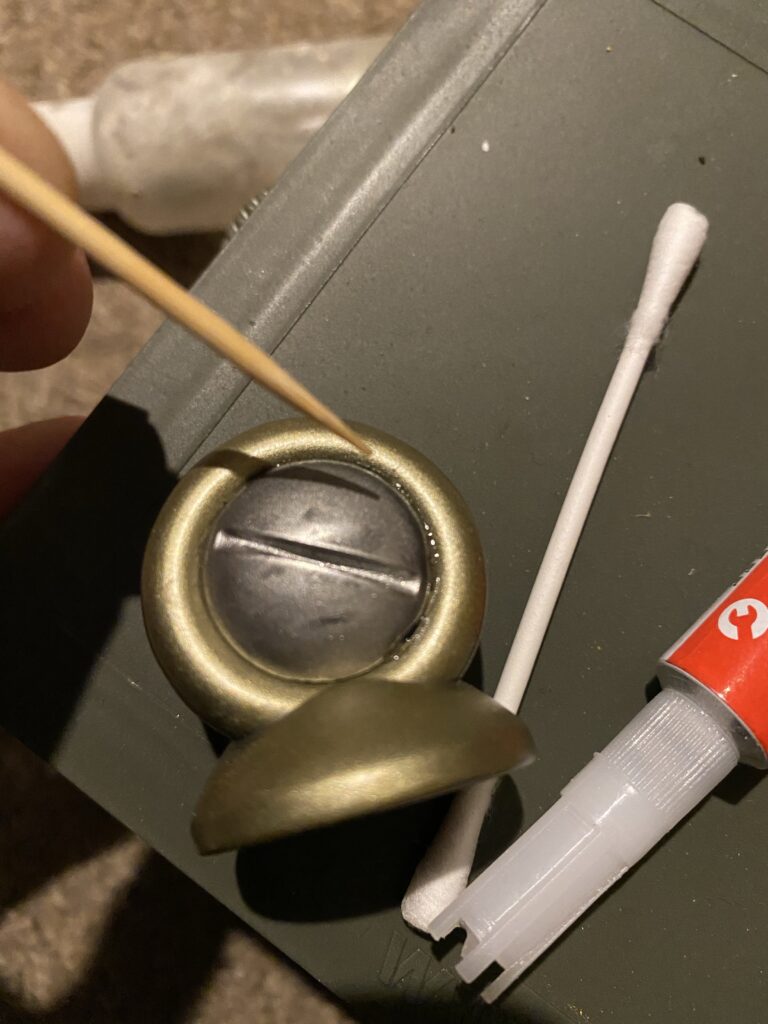
I glued the studs into the pommel. I used a touch too much glue and unfortunately it is noticeable on both sides. The paint also wore slightly and I fear I’d make things worse trying to rectify it, but that’s all okay!
With nothing but drama with the blade section, it felt great to get the handle completely finished! I’m really happy with the look of this! And actually finished! WOO!
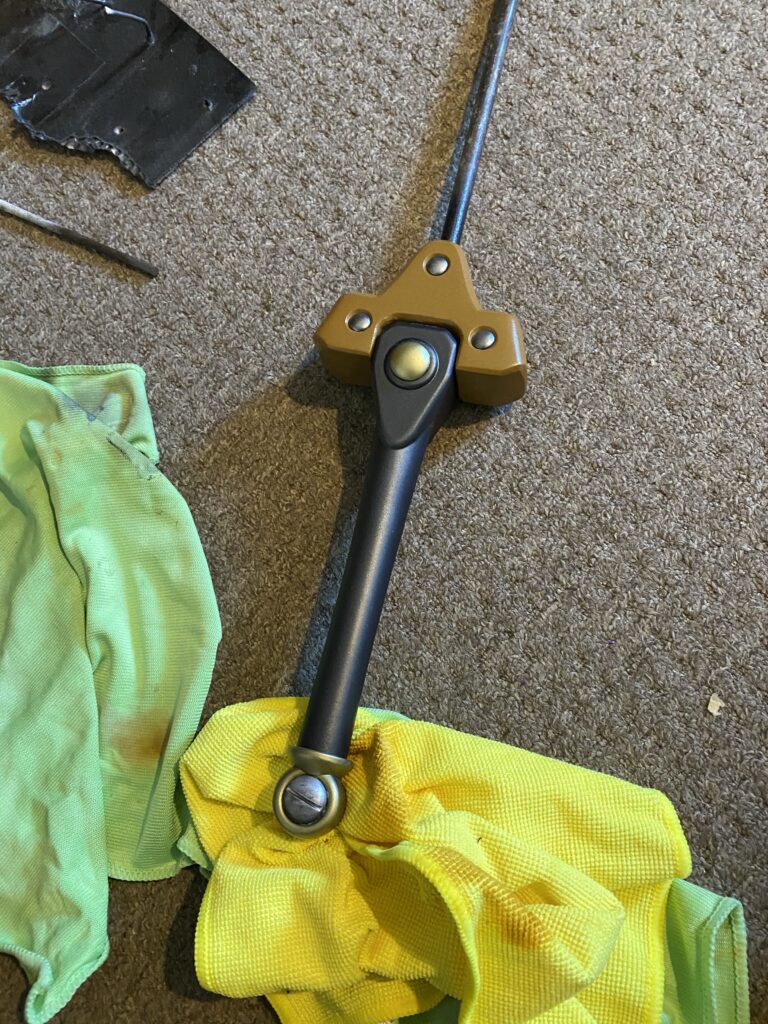
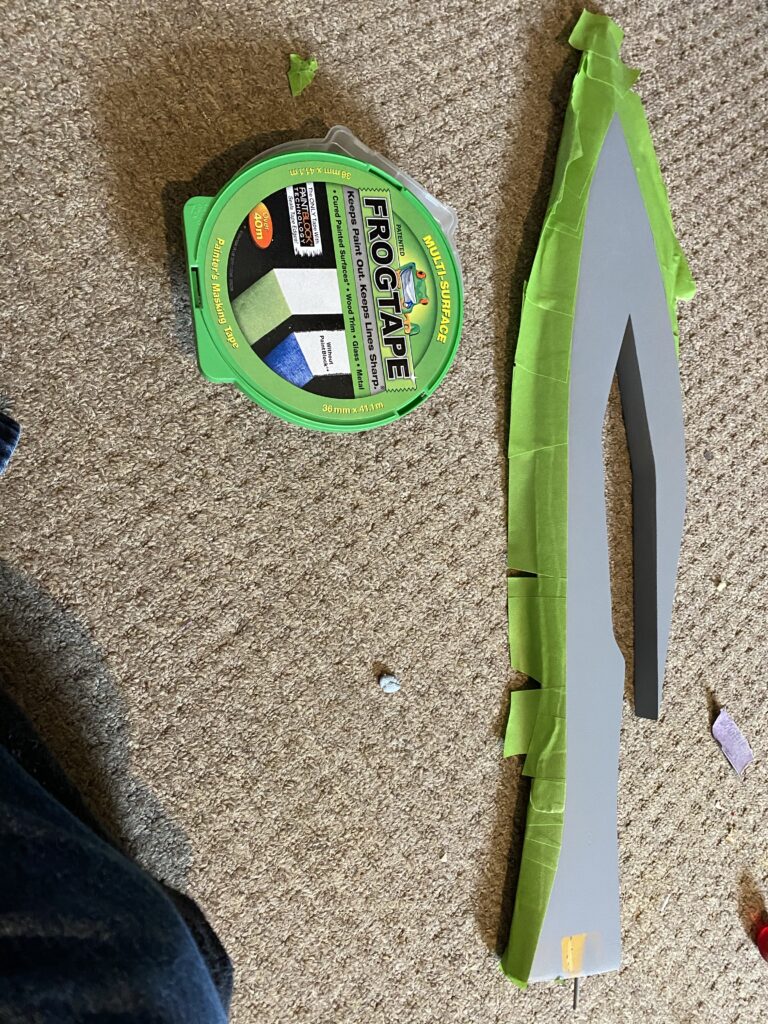
With the handle completed, it’s back to the blade which was last left coated in Primer Filler after the epoxy and a little more sanding. Generally speaking, I like every component that is a different colour to be a separate piece. This makes life easier when painting, but it isn’t really an option with a red blade and metallic edge. I’m using Frog Tape to cover the intended metal sections.
The image actually looks okay, but I assure you there were defects, problems and imperfections a-plenty!
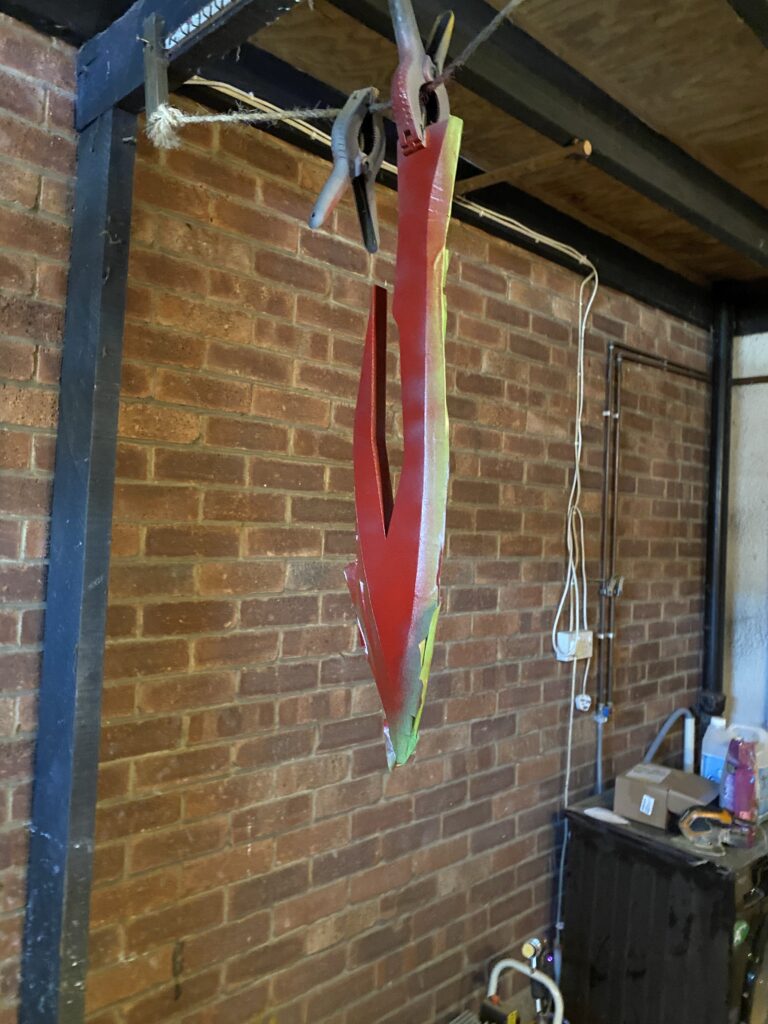
Ford Radiant Red spray paint from Halfords was the perfect shade, plus I had some remaining from when I attempted to make a Torbjorn Turret! I hung it from the ceiling and started spraying. At the risk of blocking some of the paint, I’m using a solid clamp; not making the same damn mistake again!
Moment of truth: I peeled back the tape and am really impressed by how well it held the line! I used Frog Tape, a premium brand of masking tape, and gods this part felt so good! Undeniably satisfying and also oddly apeeling.
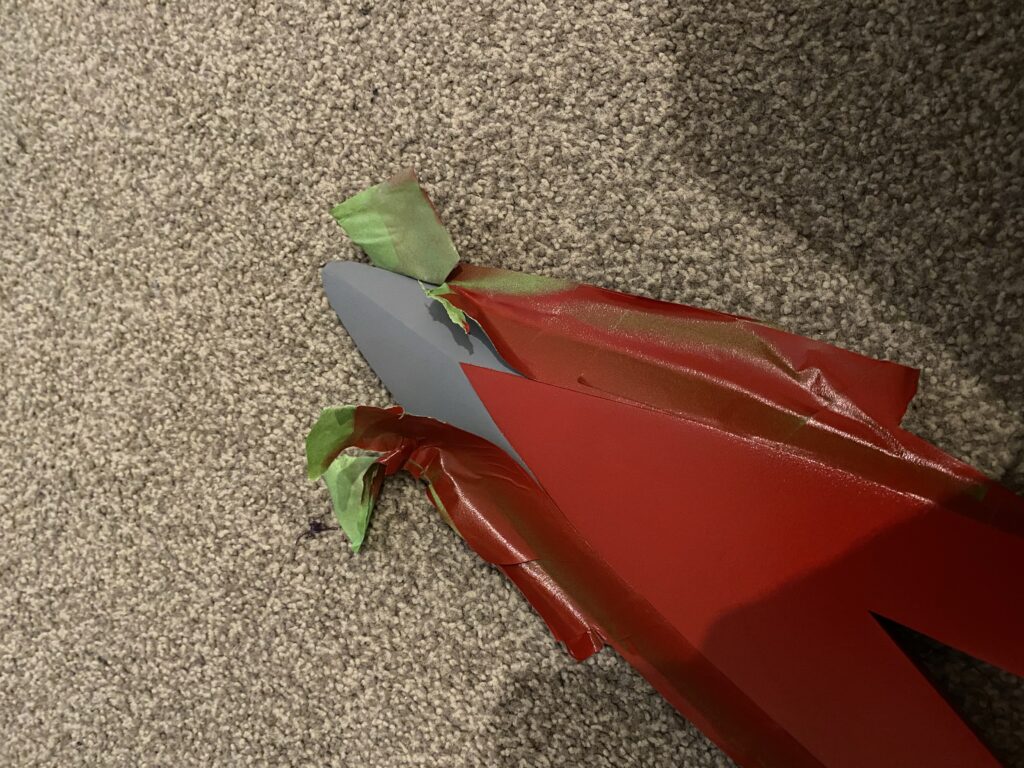
Okay… Okay, um… okay? The tape worked well, and the red colouring/grey edge combined with the finished handle…? This… looks freaking amazing!?!! What the hell!? Don’t get me wrong, the problems are still readily apparent and I wouldn’t be comfortable selling this, but that doesn’t matter! My major focus on the many (many!) imperfections is melting away and being replaced by low-key elation! I would love to say “I’m glad I stuck with it” but to be honest at this point the best I can say is “I’m glad I broke it so very much!”
There are still some issues to be rectified. I was going to be quite happy leaving the grey blade edge grey and calling it a very long day! And yet with the second (seventh?) wind I’ve gotten for this project gusting? I want to get this as right as I can at this stage!
Two things I want to fix:
1: Tape up the red and get the edge from grey, to gloss black, to shiny metal!
2: Sort out where the clip held the item during spraying (I thought the hilt would cover it, I was wrong).
But here is the kicker… I should have uploaded this article the first time I quit and updated it with each successive reinvigoration! I am happy to once again call this a day, and while the end result may be of questionable quality, just getting to this stage is more than I expected! On to the judgement of Prototype I!
Result
I have built more complicated things. I’ve built things that took longer. I’ve built bigger, and I’ve built smaller. I’ve built with motors, with sensors and with lights. I have built quite a bit over the years, and yet, I have never ever had a project test me this hard.
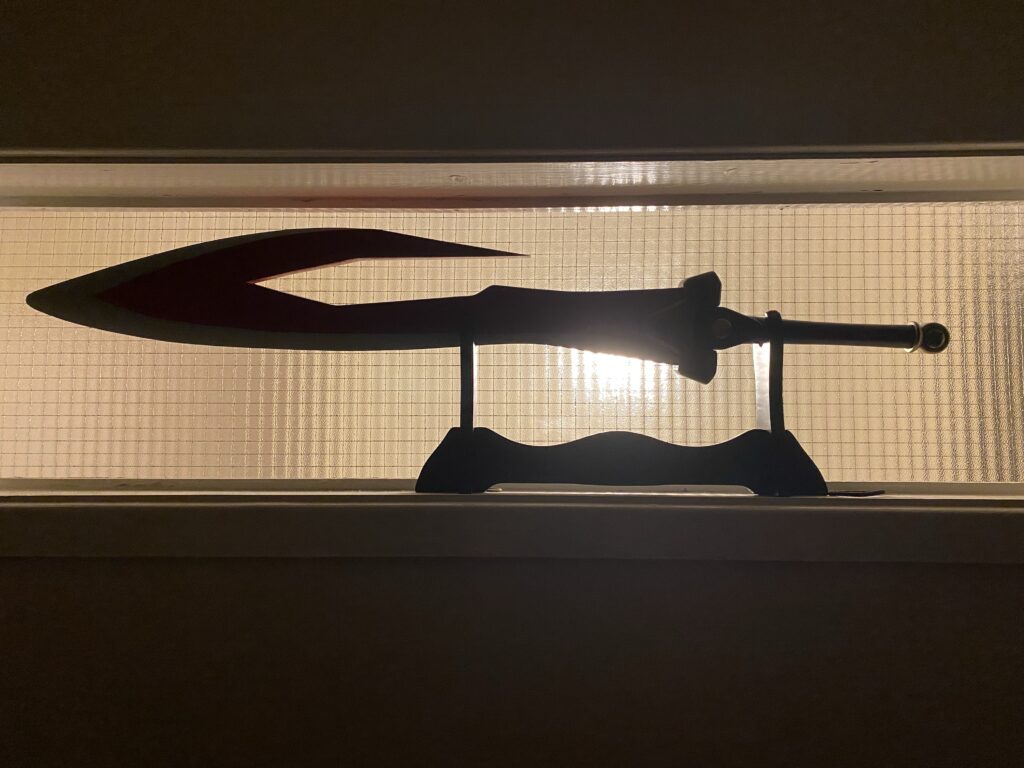
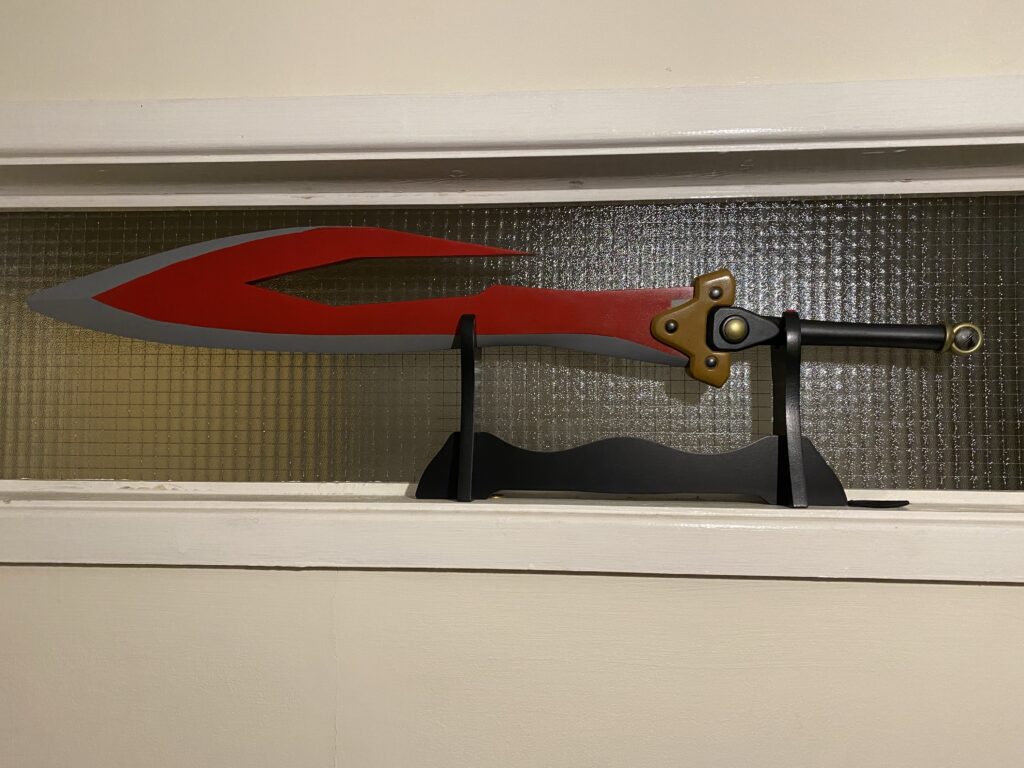
No, it doesn’t look terrible, it looks freaking amazing!!! I am so happy with how this has turned out, even with the glaring imperfections! I’ll not outright say that the destination was worth the journey, but it’s a journey I am very glad I took! This will never be one to sell, too low quality and too high in sentimental value to be able to give it a fair value.
I will sort the lack of a metallic edge and the small section of missing red paint near the hilt one day, maybe. For now, I believe the next Prototype will be the Final model, and if I have time to work on an FFX Longsword, it needs to be that one.
Reading this article must have felt like the process to get to the end of this build. Confusing, difficult to follow, and really yes, quitting should have been considered much sooner. But you got to the end and I’m proud of you!
Thanks for reading!
If you enjoyed this, you might like some of the related articles from the Overview, or perhaps a different Project altogether?
Love what you saw? Got a project in mind? Feel free to reach out and let me know!


