Introduction
Welcome! In this build guide I’ll be walking you through the process I took in making a cosplay sword inspired by Godslayer, Gamora’s Sword from Guardians of the Galaxy.
This will be an intensive look at the Prototype I version of this project from start to finish. It doesn’t matter if you’re looking for guidance with a Build Kit, thinking to Print It Yourself or just curious to see the project: You’re in the right place!
While this unlicenced replica is intended for decorative purposes or for use as a cosplay prop, the main reason for building it is someone at work said they wanted one. After looking at the cool design, I thought I’d give it a whirl!
Check out the link at the bottom of the page for the Overview if you want to see more and keep in mind this was a very early project, long before I was documenting in the manner I do now.
Design
Around the time of planning this project, 123 Autodesk, the main designing program I use, was no longer being supported. I had a couple of options available for what to move onto, and it was Blender that I landed on. This was my first larger project on Blender, previously I had just been messing around with the tools.
Blender is a free, open-source program that does infinitely more than just 3D modeling. Grab it from Steam and give it a little whirl if you’re curious. Please be aware though, it is exceptionally powerful and varied, but takes time to get used to. If you plan on using it for 3D modeling and are a complete beginner, I could recommend no better place to start than the YouTube channel of The Blender Guru.
The plan was for two metal rods, one from the handle to the tip inside one side, and base of the blade to the tip in the other.
It started off very geometric, which looked cool in its own right, but wasn’t quite the look I was going for.
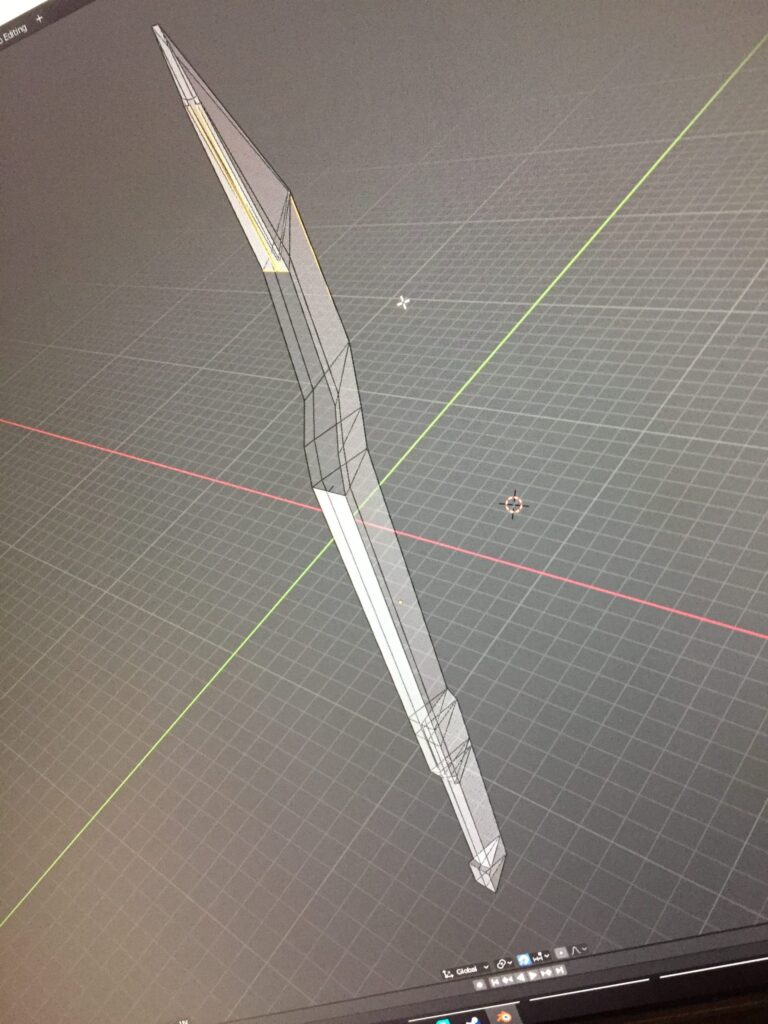
Hoping it would look better as I continued… I continued.
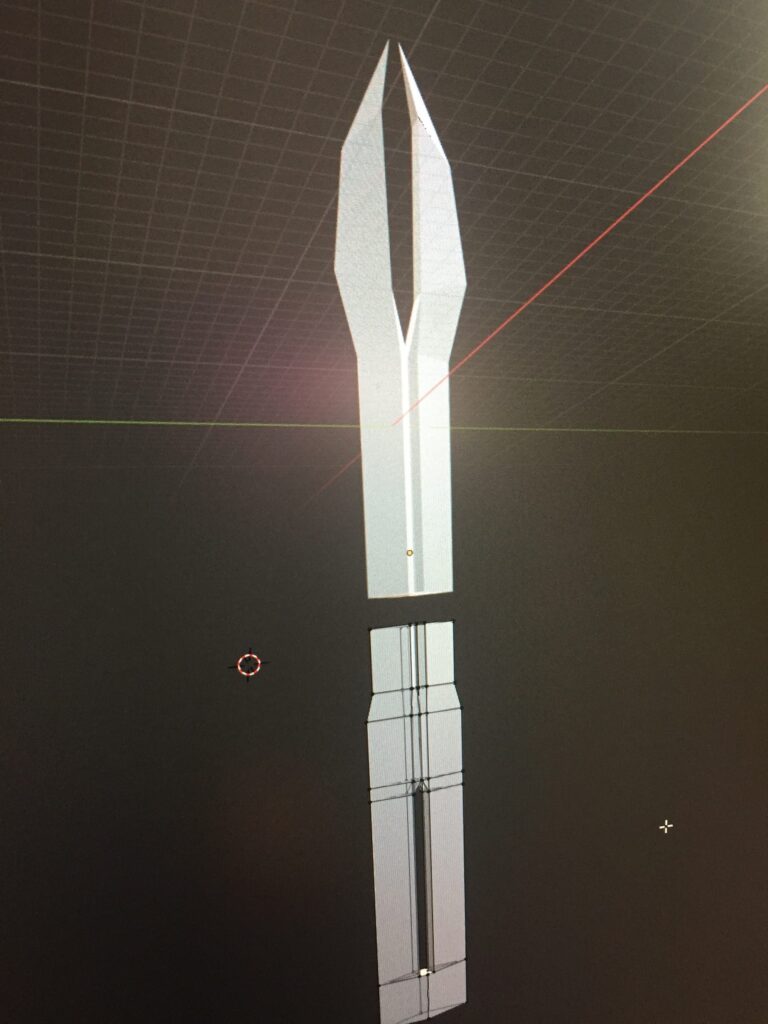
The handle started off as an ultimate pain, and never really got too much better…
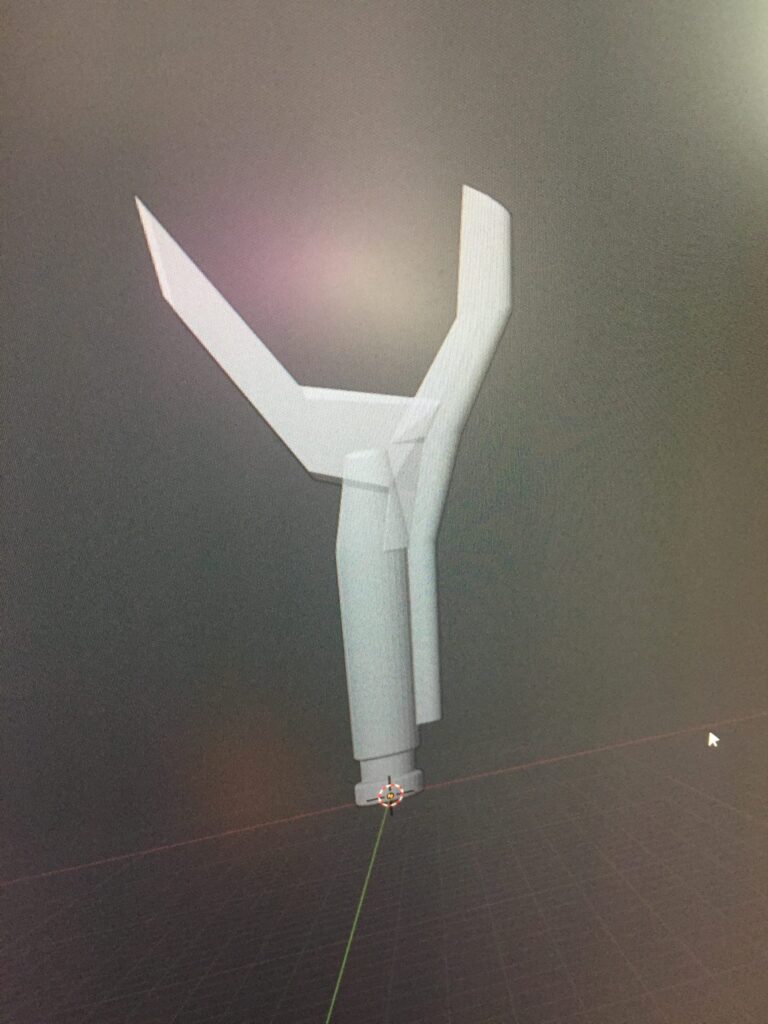
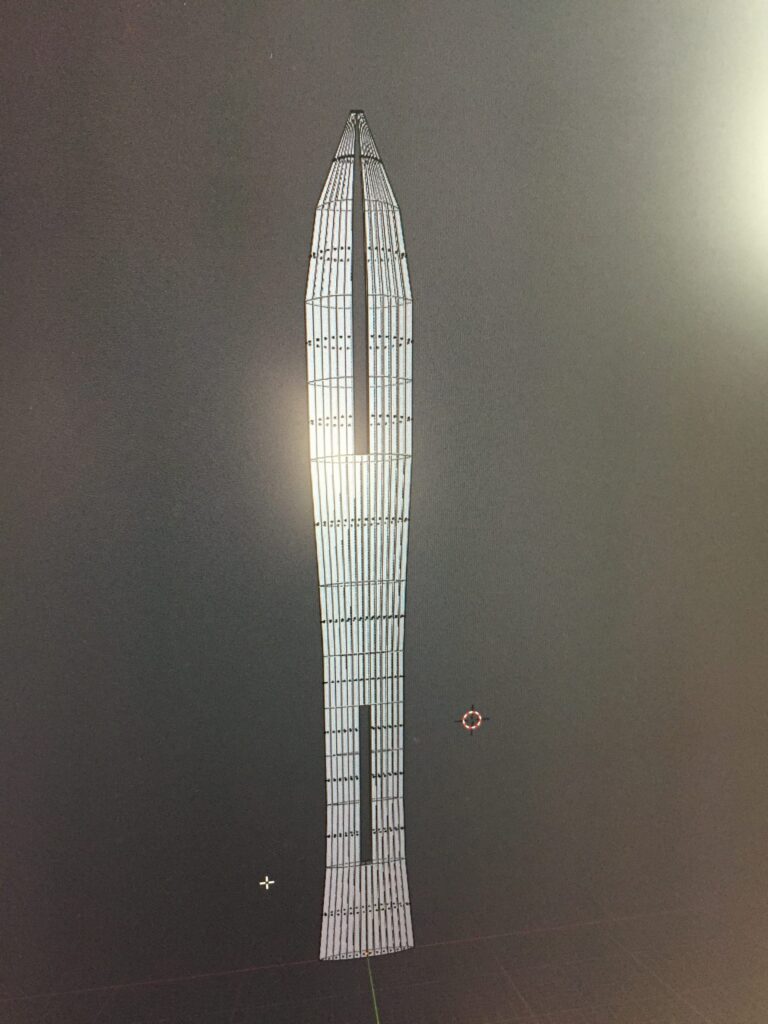
The handle may have *looked* better in the final design, but it was not manifold, and I lost several days trying to fix it. The blade itself ended up being much smoother than the angular ones above.
Build
I jumped straight in and started printing all the components. I was still rather new to 3D Printing and had a lot of failed prints, but eventually got all the needed parts printed.
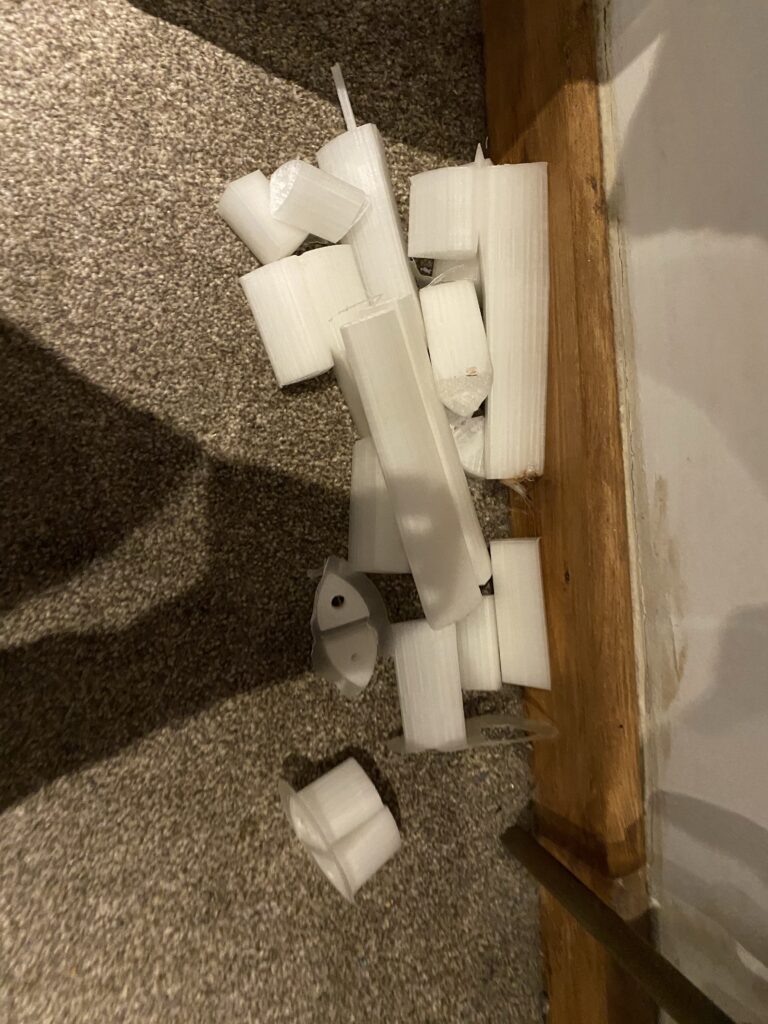
When they were all printed, I stepped back to check my work. Okay, not great if I’m being judgemental. One of the guiding holes for the support rod is out of alignment, but I could sand my way out of that issue. But the handle… ugh. It looks more like something that comes out of a Xenomorph’s mouth than a sword handle or throwing knife.
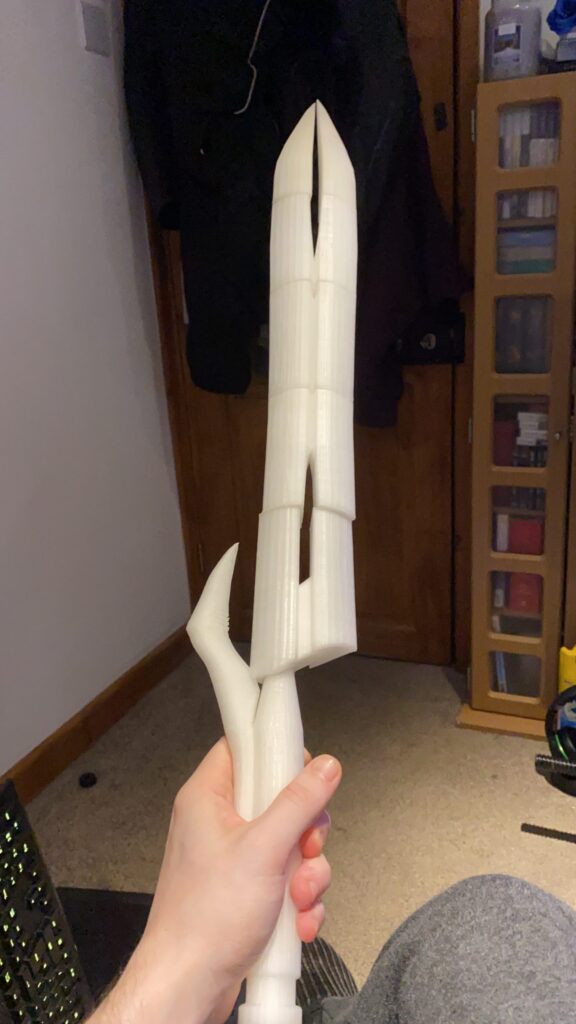
I couldn’t settle on that handle and had to give it another go, and it was a good shout because the next version was much better! This time I thought it might be prudent to print some mini prototypes out to hopefully highlight any issues (although they themselves had issues printing as well. Was very new to this at that time!!)
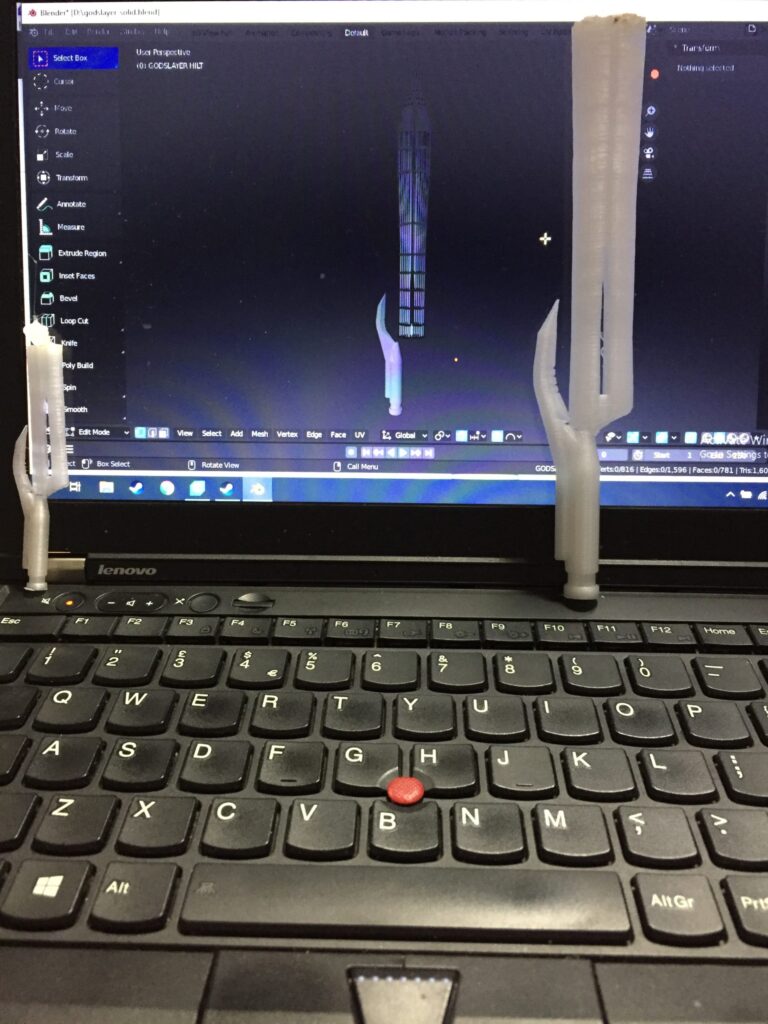
Usually, to make my first sword, it’ll cost more time and resources as I learn; this was no different. You can see the change I made on the handle as well, making less organic with more defined ridges and edges. There is always failure on the way to success when you’re new to something, and this project was no exception.
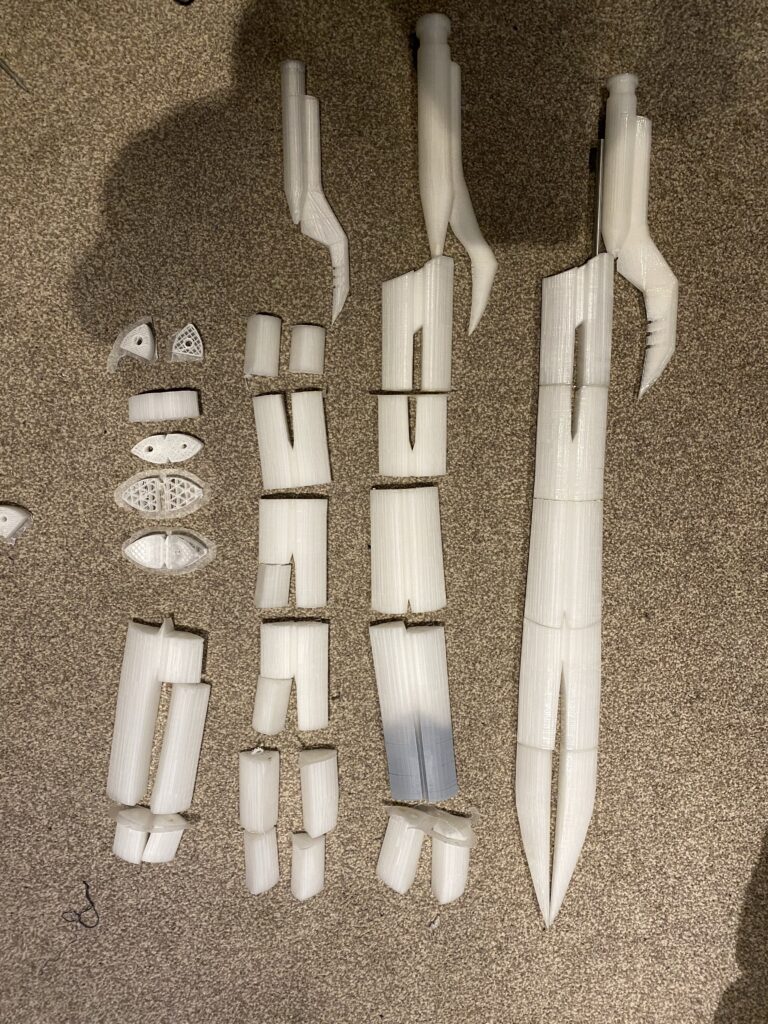
Okay, we got the bits!! Lets start fusing them! Although I do not remember 100%, I used super glue to join them, then milliput to hide the seams.
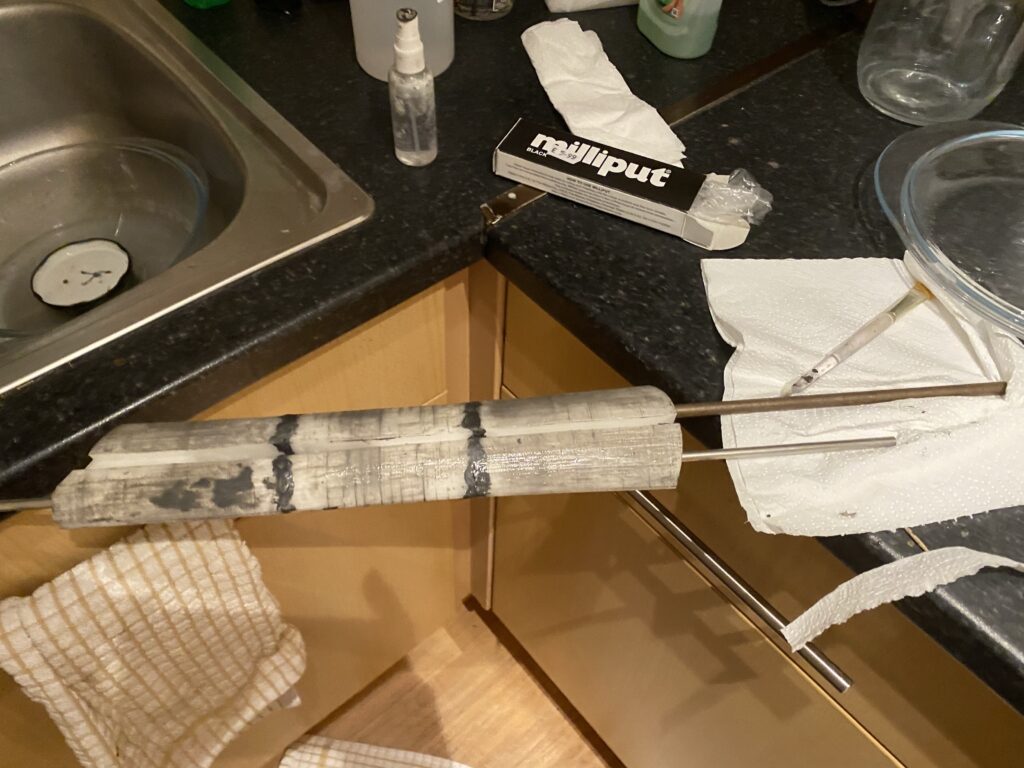
Just getting into the groove of things with a small file.
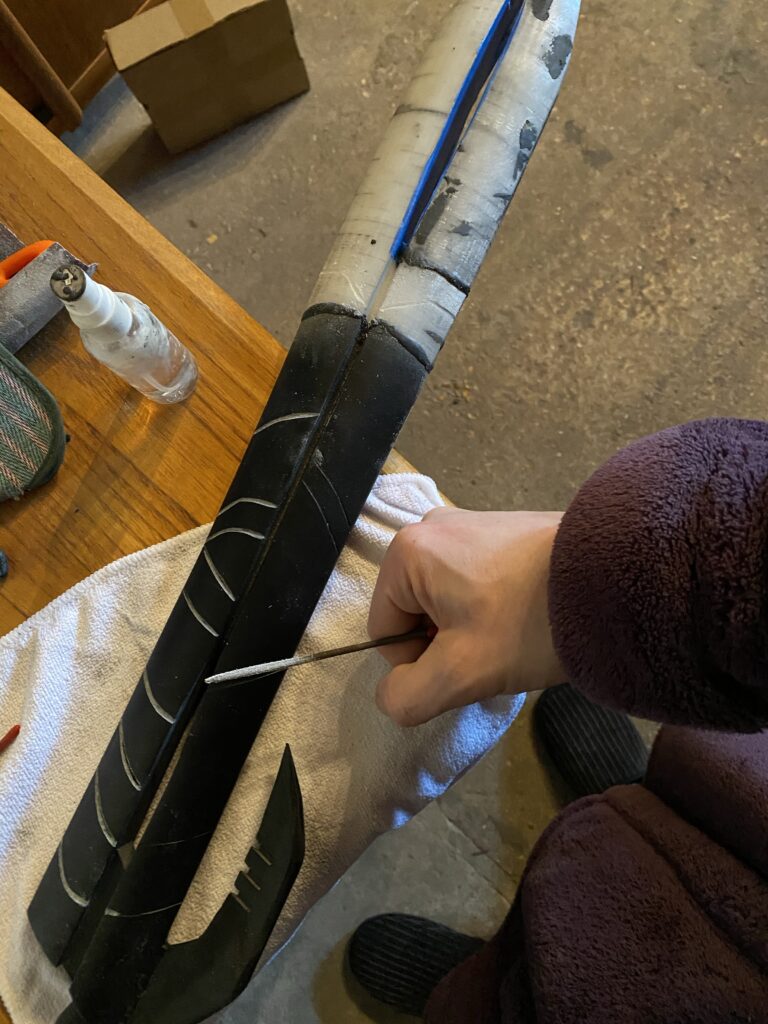
Looking good against the black!
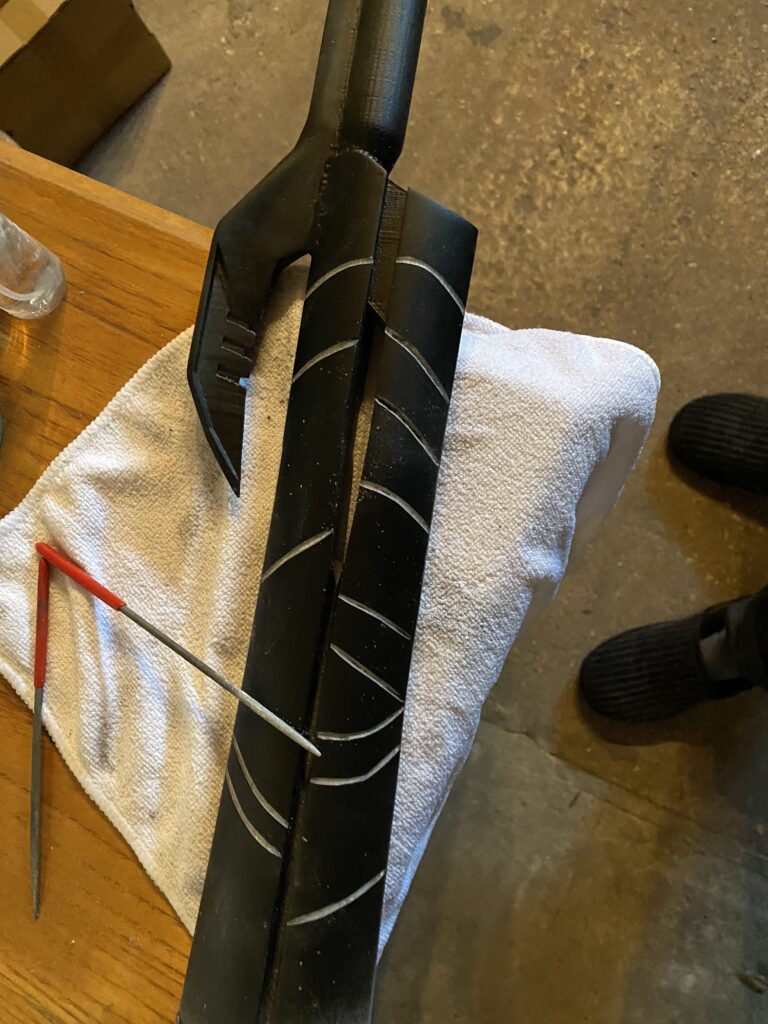
Etches made, time to sand more!!
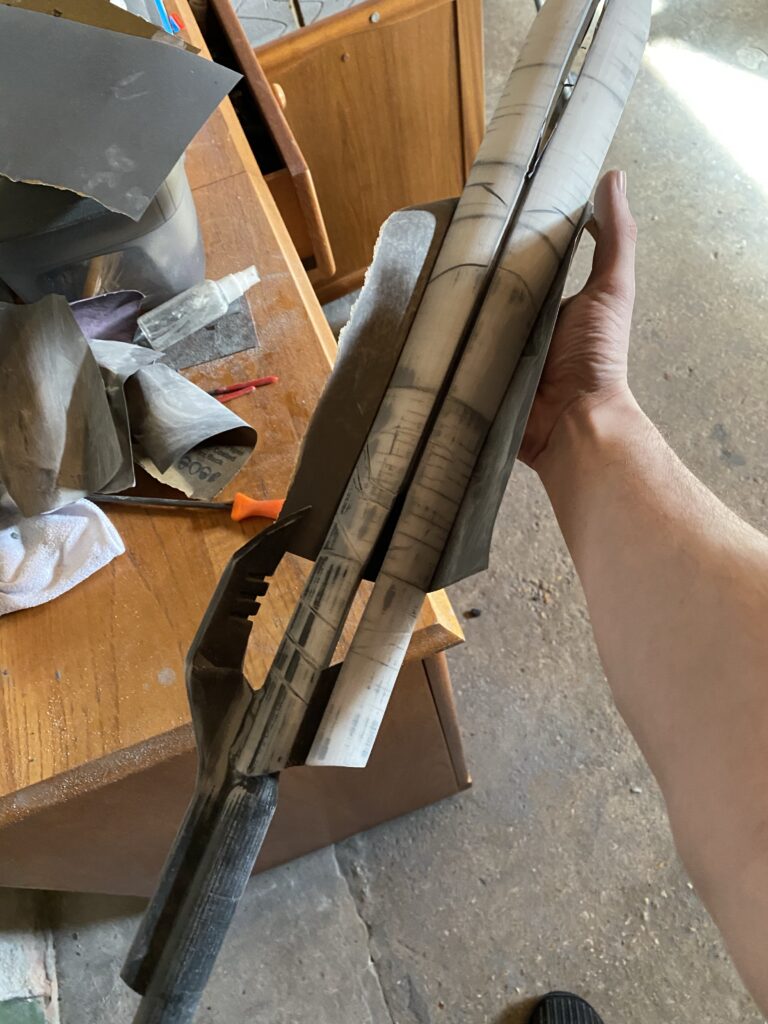
Lastly, an application of Grey Primer to mark the end of the build stage!
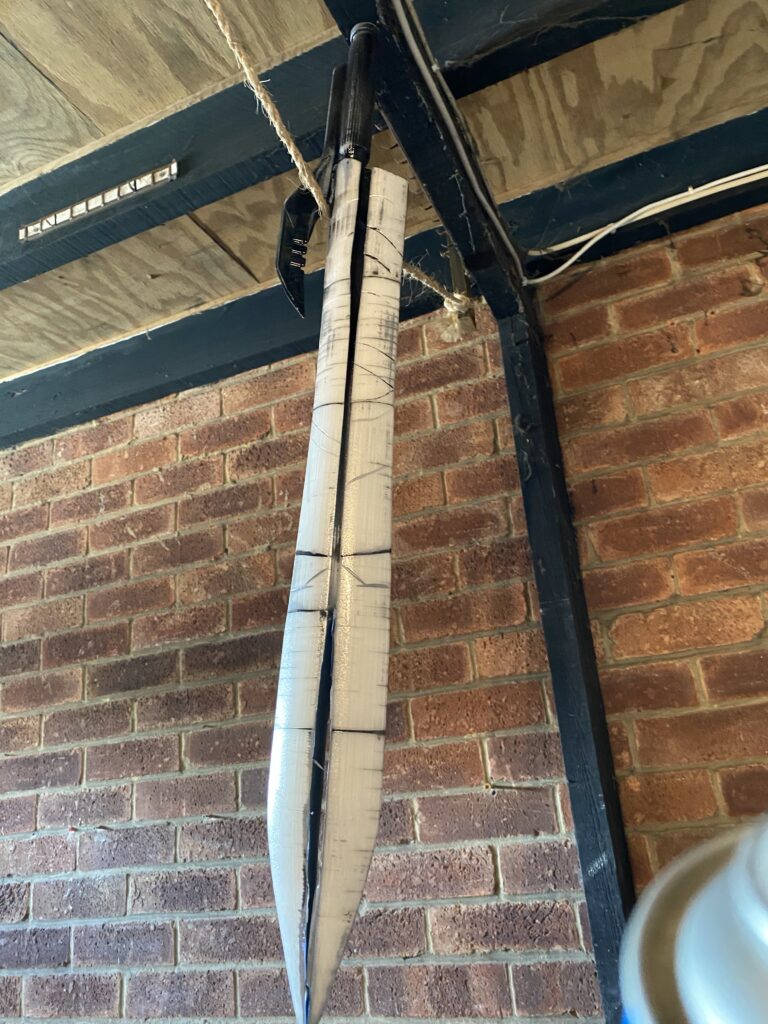
Finish
I started with a layer of Enamel Grey Primer from Halfords.
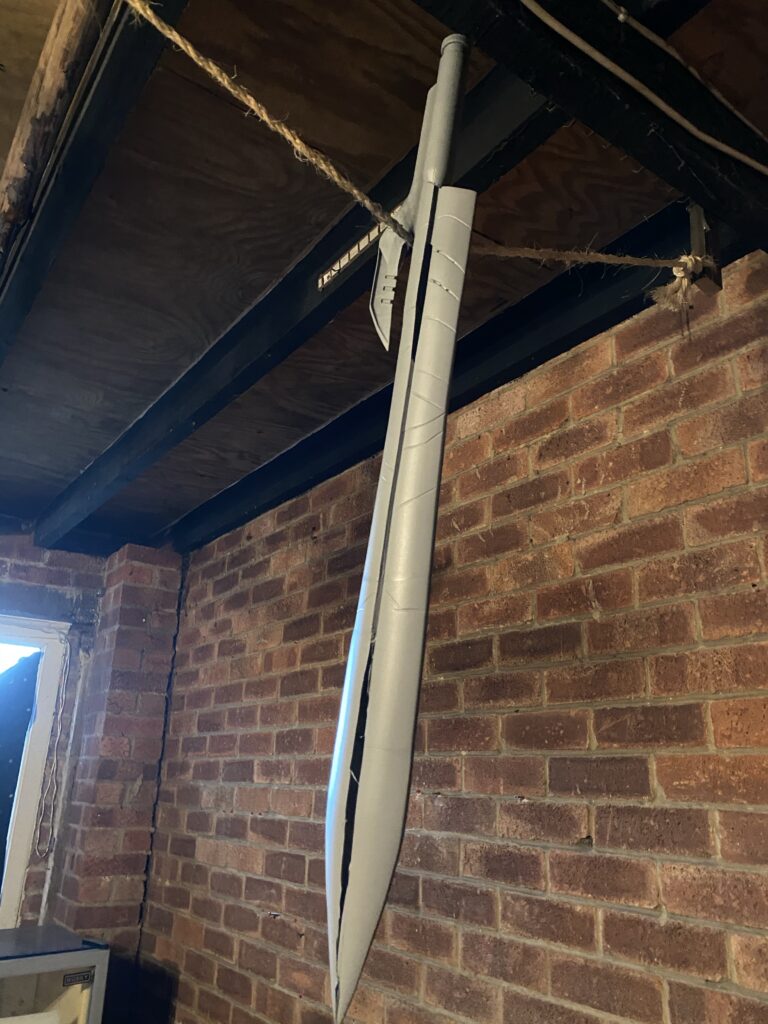
I really wanted to try some Enamel Chrome Paint from Halfords designed for car body work to see how well it worked. Turns out, better than I thought it would!! And since Enamel Paint doesn’t require varnish, that the last step!
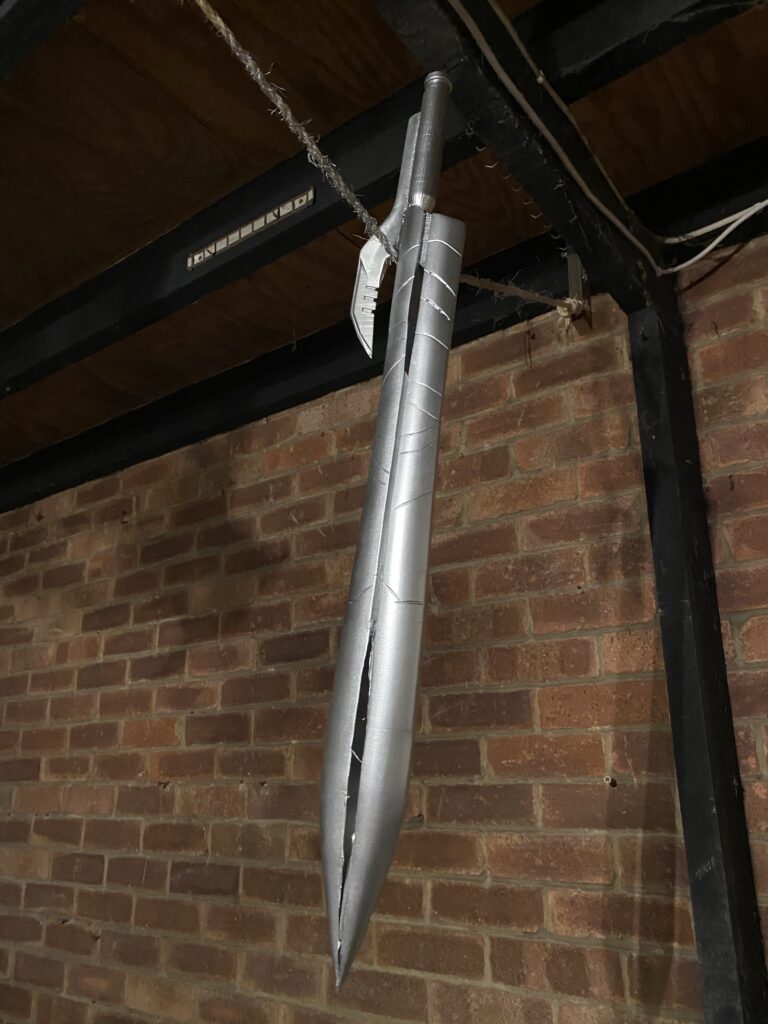
Result
This came out great! The chrome spray paint did a great job, quickly and worked great on a budget! I’ll likely not be using it on future builds because I have learned a *lot* since then, but I’d strongly recommend giving it a try if you’re after quick, cheap and shiny! The design itself ended up a little more rounded than I had intended, but honestly this was one of my best projects up to that point!
I took it outside for a picture with better lighting, what do you think?
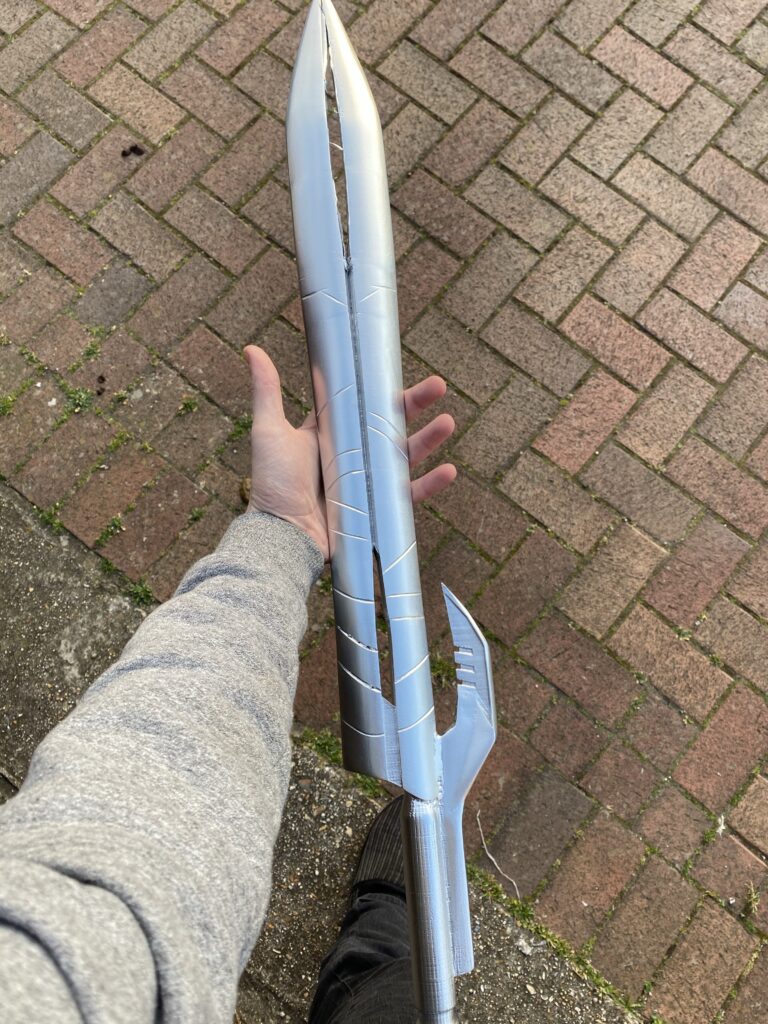
I’m elated with the end result, but the next one of these I make will have the design started again from scratch and will be a full sized item. Furthermore, I’ll also be attempting to make it in three pieces and held together by magnets. Ambitious, but could be amazing!!
Thanks for reading!
If you enjoyed this, you might like some of the related articles from the Overview, or perhaps a different Project altogether?
Love what you saw? Got a project in mind? Feel free to reach out and let me know!


