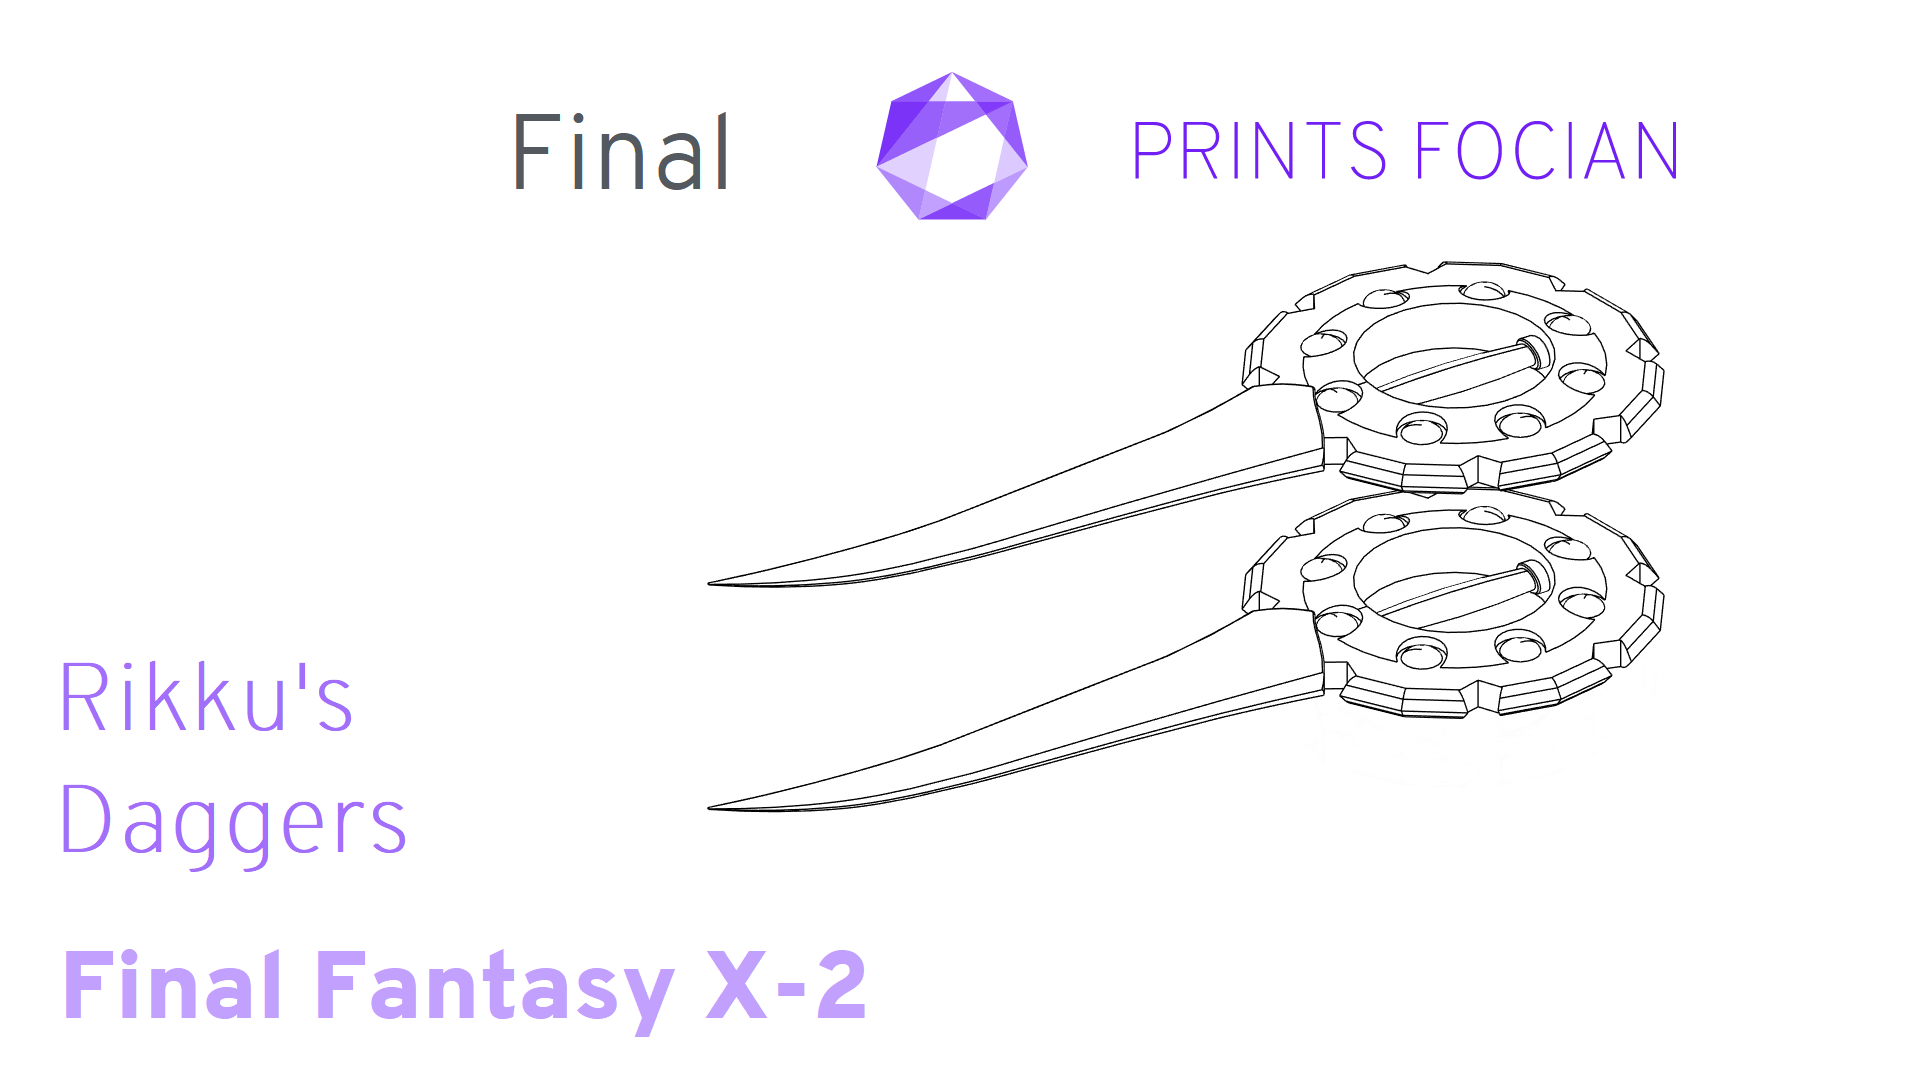
Rikku’s Daggers, Final Fantasy X-2 – Final Version
Introduction
Welcome! This is the Final version of my build of Rikku’s Daggers from Final Fantasy X-2. Whether you’re a cosplayer, a maker or just someone who appreciates a cool pair of daggers, this is where the real work begins.
This Final version marks the finish line: tested, functional and ready to be shared. It’s the version available as STL files and Raw Build Kits.
STL files and Raw Build Kits will be linked in the Assembly Guide when they’re ready. If you prefer your builds in video format, I’ve uploaded the build to both TikTok and YouTube.
Keep scrolling to dive into the full text and image build of Rikku’s Daggers from FFX-2!
Build
With the design all finished, namely the Raw Build (which is what the two of these Daggers are) the Print It Yourself and the Master Versions, it’s time to crack on with the build itself!
I like to use grey PLA with my builds, as I prefer simple colours, with black not photographing well, and white being susceptible to showing marks and imperfections. This is also the first project on my newest printer, the Anycubic Kobra 3 Max. All previous printer names have been Charmander, Charmeleon and Charizard for the FDMs, and Mew, Mew 2 and Mewtwo for the SLA printers. For this new one, I’m sure you’ll not be surprised to learn that the Kobra’s designation is Arbok.

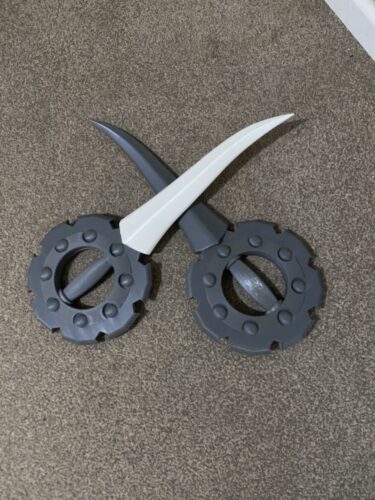
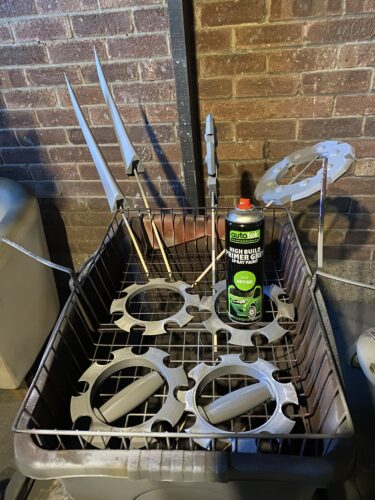
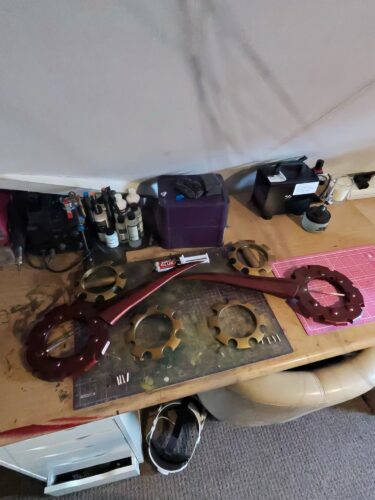
Once all the individual parts were printed, I arranged them with their intended support rods, ready to go. The pain will go away once they’re all primed, but for now, that singular white PLA blade hurts to look at.
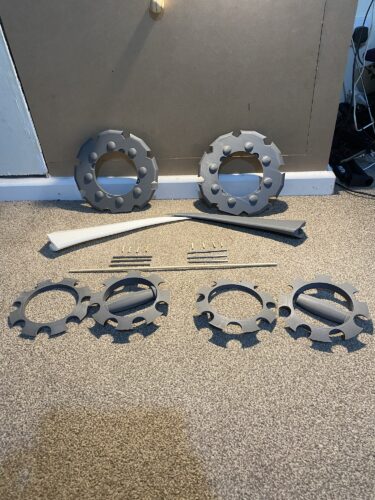
An important part of the build, once all parts are printed, is the loose assembly with support rods. Nothing is glued or permanently affixed at this juncture, but it is a great step to ensure there aren’t going to be later assembly problems that could have been avoided with a little bit of early due diligence. They look great, they feel great, and I was able to shake them both around a bit with no major problems.
Sanding time… Boo. Just a few passes of the Sand/Prime Dance.
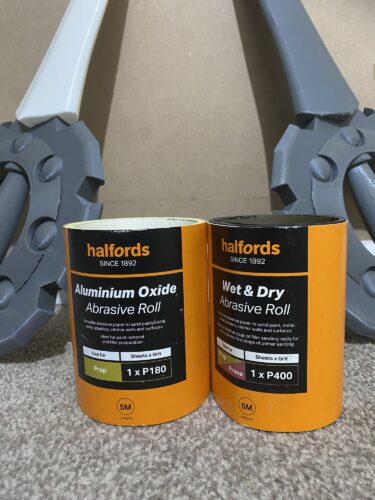
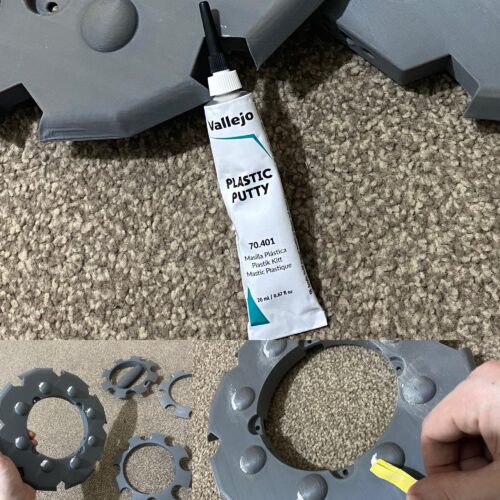
It appears that the Sand/Prime dance has a few new steps to it. Due to the quality of the printed underside, I’ve opted to try adding some of the putty to smooth out the lines. This was for the bottom of the rounded knobs that jut out of the body of the daggers and a few other sections of the outer surface.
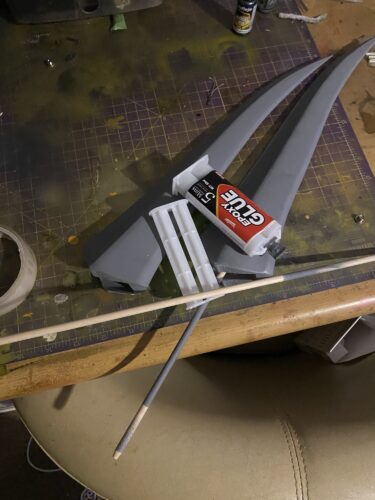
I’m using epoxy resin to secure the wooden support rods into the blades. By doing it now, it makes it a lot easier to handle the blade sections for priming and painting without impacting the finish.
Support rods secured, sanding and priming dance completed (mostly). Time to finish priming and move on to the Finish section!
Finish
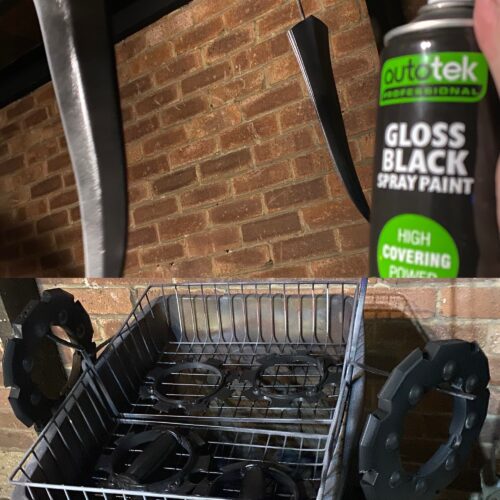
Each final part of Rikku’s Daggers will be either metallic red or gold, meaning that all components will need an undercoat of Gloss Black. While not easily visible in the images, it became clear that I didn’t spend enough time sanding, as there were still quite a few layer lines that the black picked up.
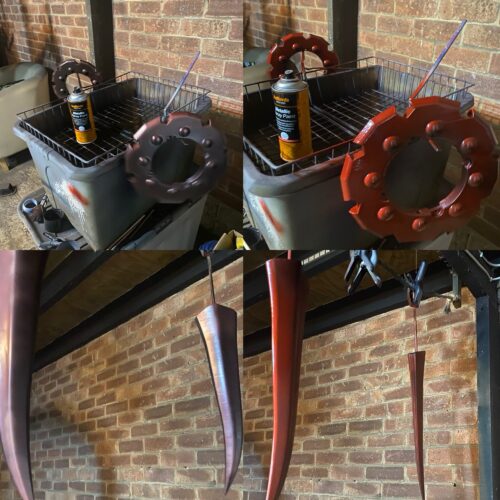
I tried the paint on a scrap piece previously and was worried that the metallic red I had selected was far, far too dark, but after a few coats, the signature crimson came through and started looking great!
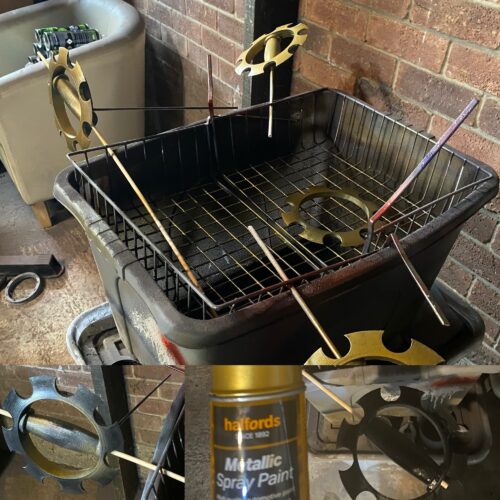
With the scarlet bodies and blades drying, it’s time to work on the gold. When possible, I used temporary support rods to paint them without needing to have them resting on a surface.
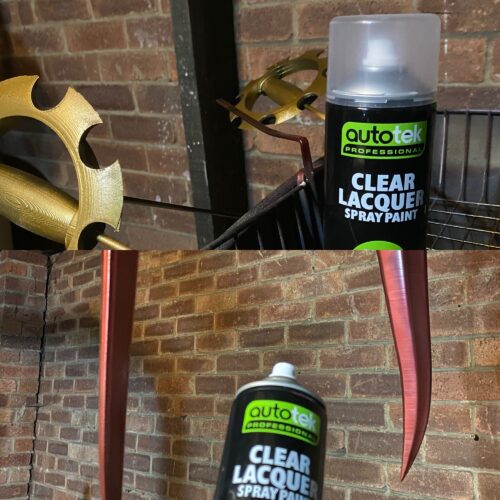
With both the red and gold painted and dried, a coat of clear lacquer will keep the finish pristine through use.
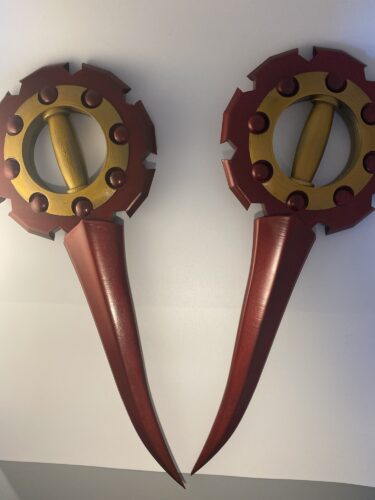
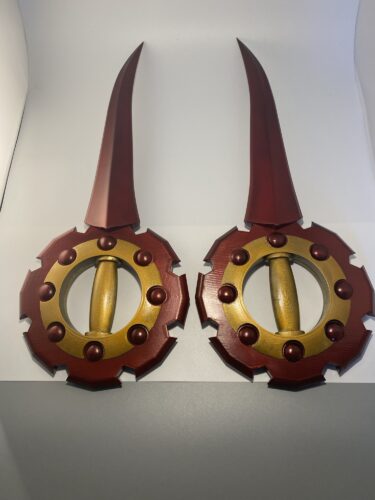
All individual parts completed, now just a case of assembling the fully finished daggers!
Result
These both feel very solid, and they were fairly easy to assemble. These will look cool on my wall!
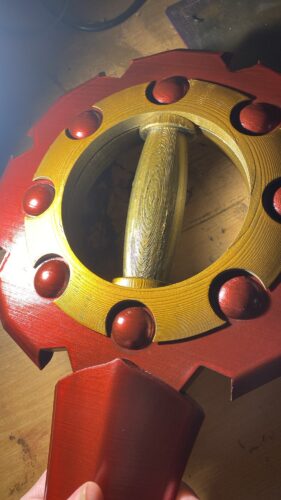
I definitely did not spend enough time or patience on sanding, and that really shows on the underside when looking closely.
Thanks for reading!
If you enjoyed this, you might like some of the related articles from the Overview, or perhaps a different Project altogether?
Love what you saw? Got a project in mind? Feel free to reach out and let me know!