Introduction
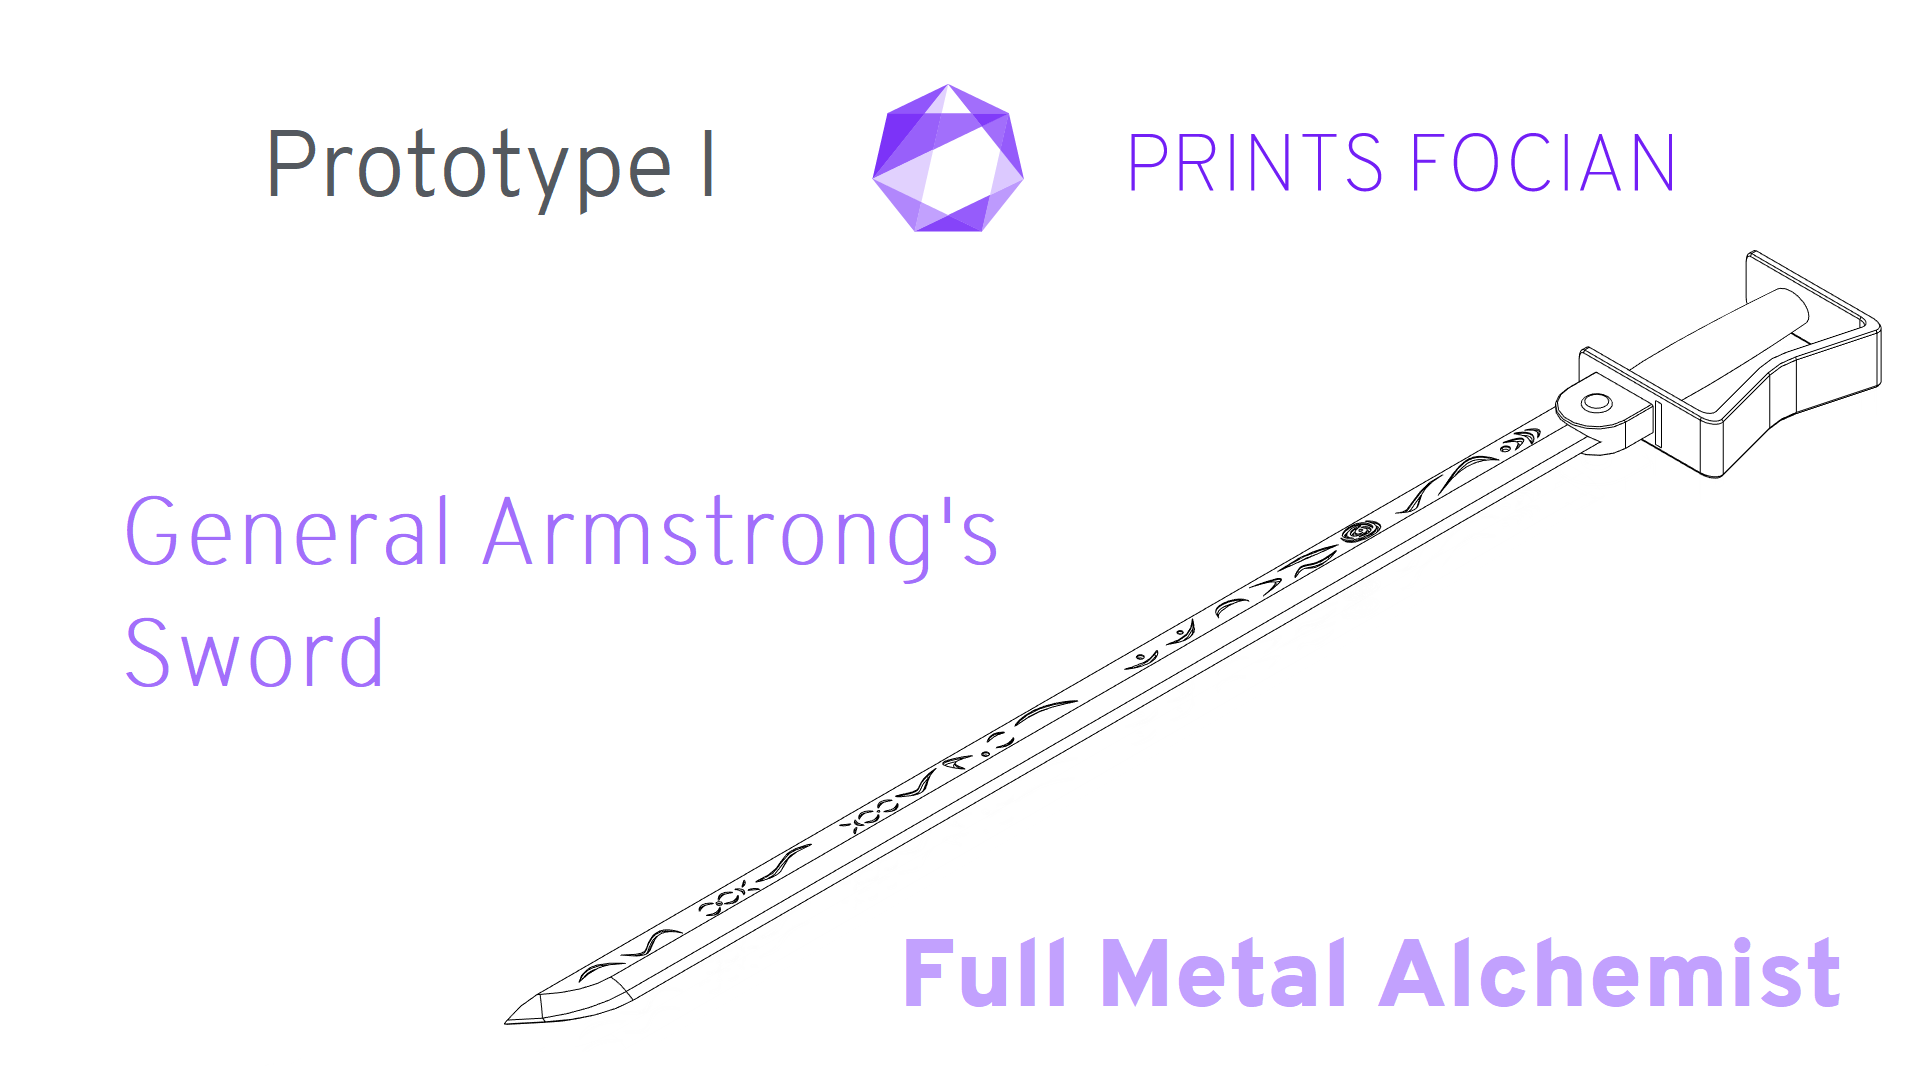
Welcome! In this build guide I’ll be walking you through the process I took in making a cosplay sword inspired by the one wielded by General Armstrong in Full Metal Alchemist (FMAB).
This will be an intensive look at the Prototype I version of this project from start to finish. It doesn’t matter if you’re looking for guidance with a Build Kit, thinking to Print It Yourself or just curious to see the project: You’re in the right place!
While this unlicensed replica is intended for decorative purposes or for use as a cosplay prop, the main reason for building it is because I got hooked on Full Metal Alchemist and wanted to make something from that world!
2025 update, please excuse the brazen shoehorn of certain terms here, and a few more times in the upcoming article: Fullmetal Alchemist sword
Check out the link at the bottom of the page for the Overview if you want to see more!
Design
The design came together nicely over time. I didn’t record or stream the process, but hopefully that was the last time I’ll make that mistake. There were a couple more images uploaded to Instagram if you’re after seeing a little more.
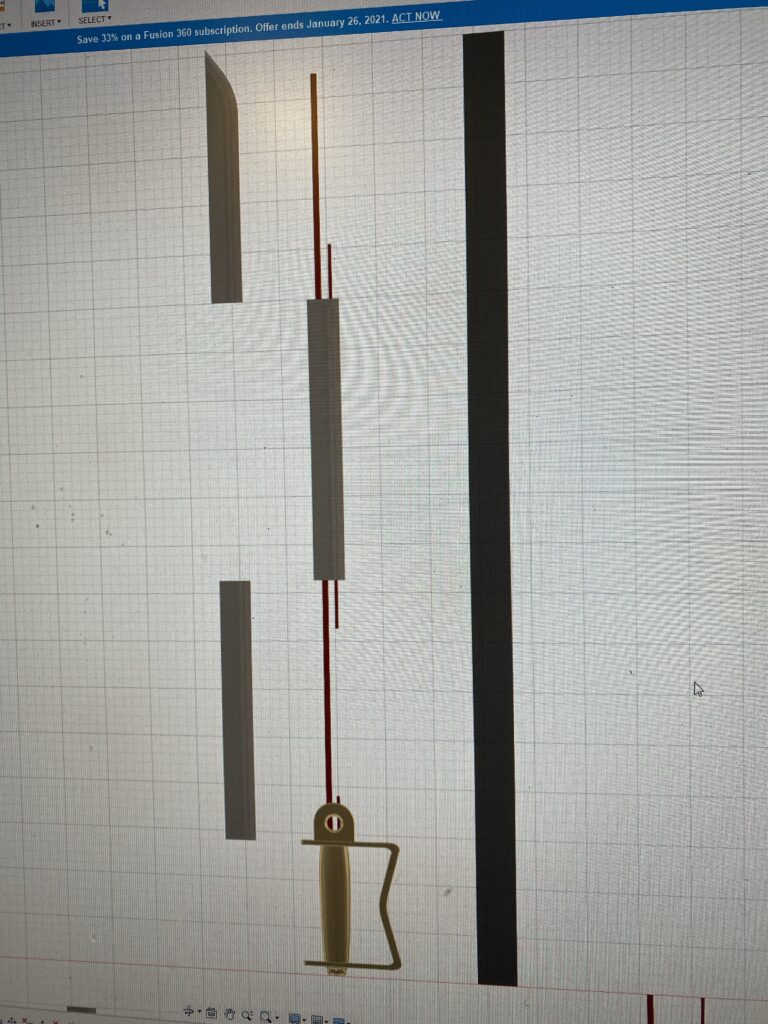
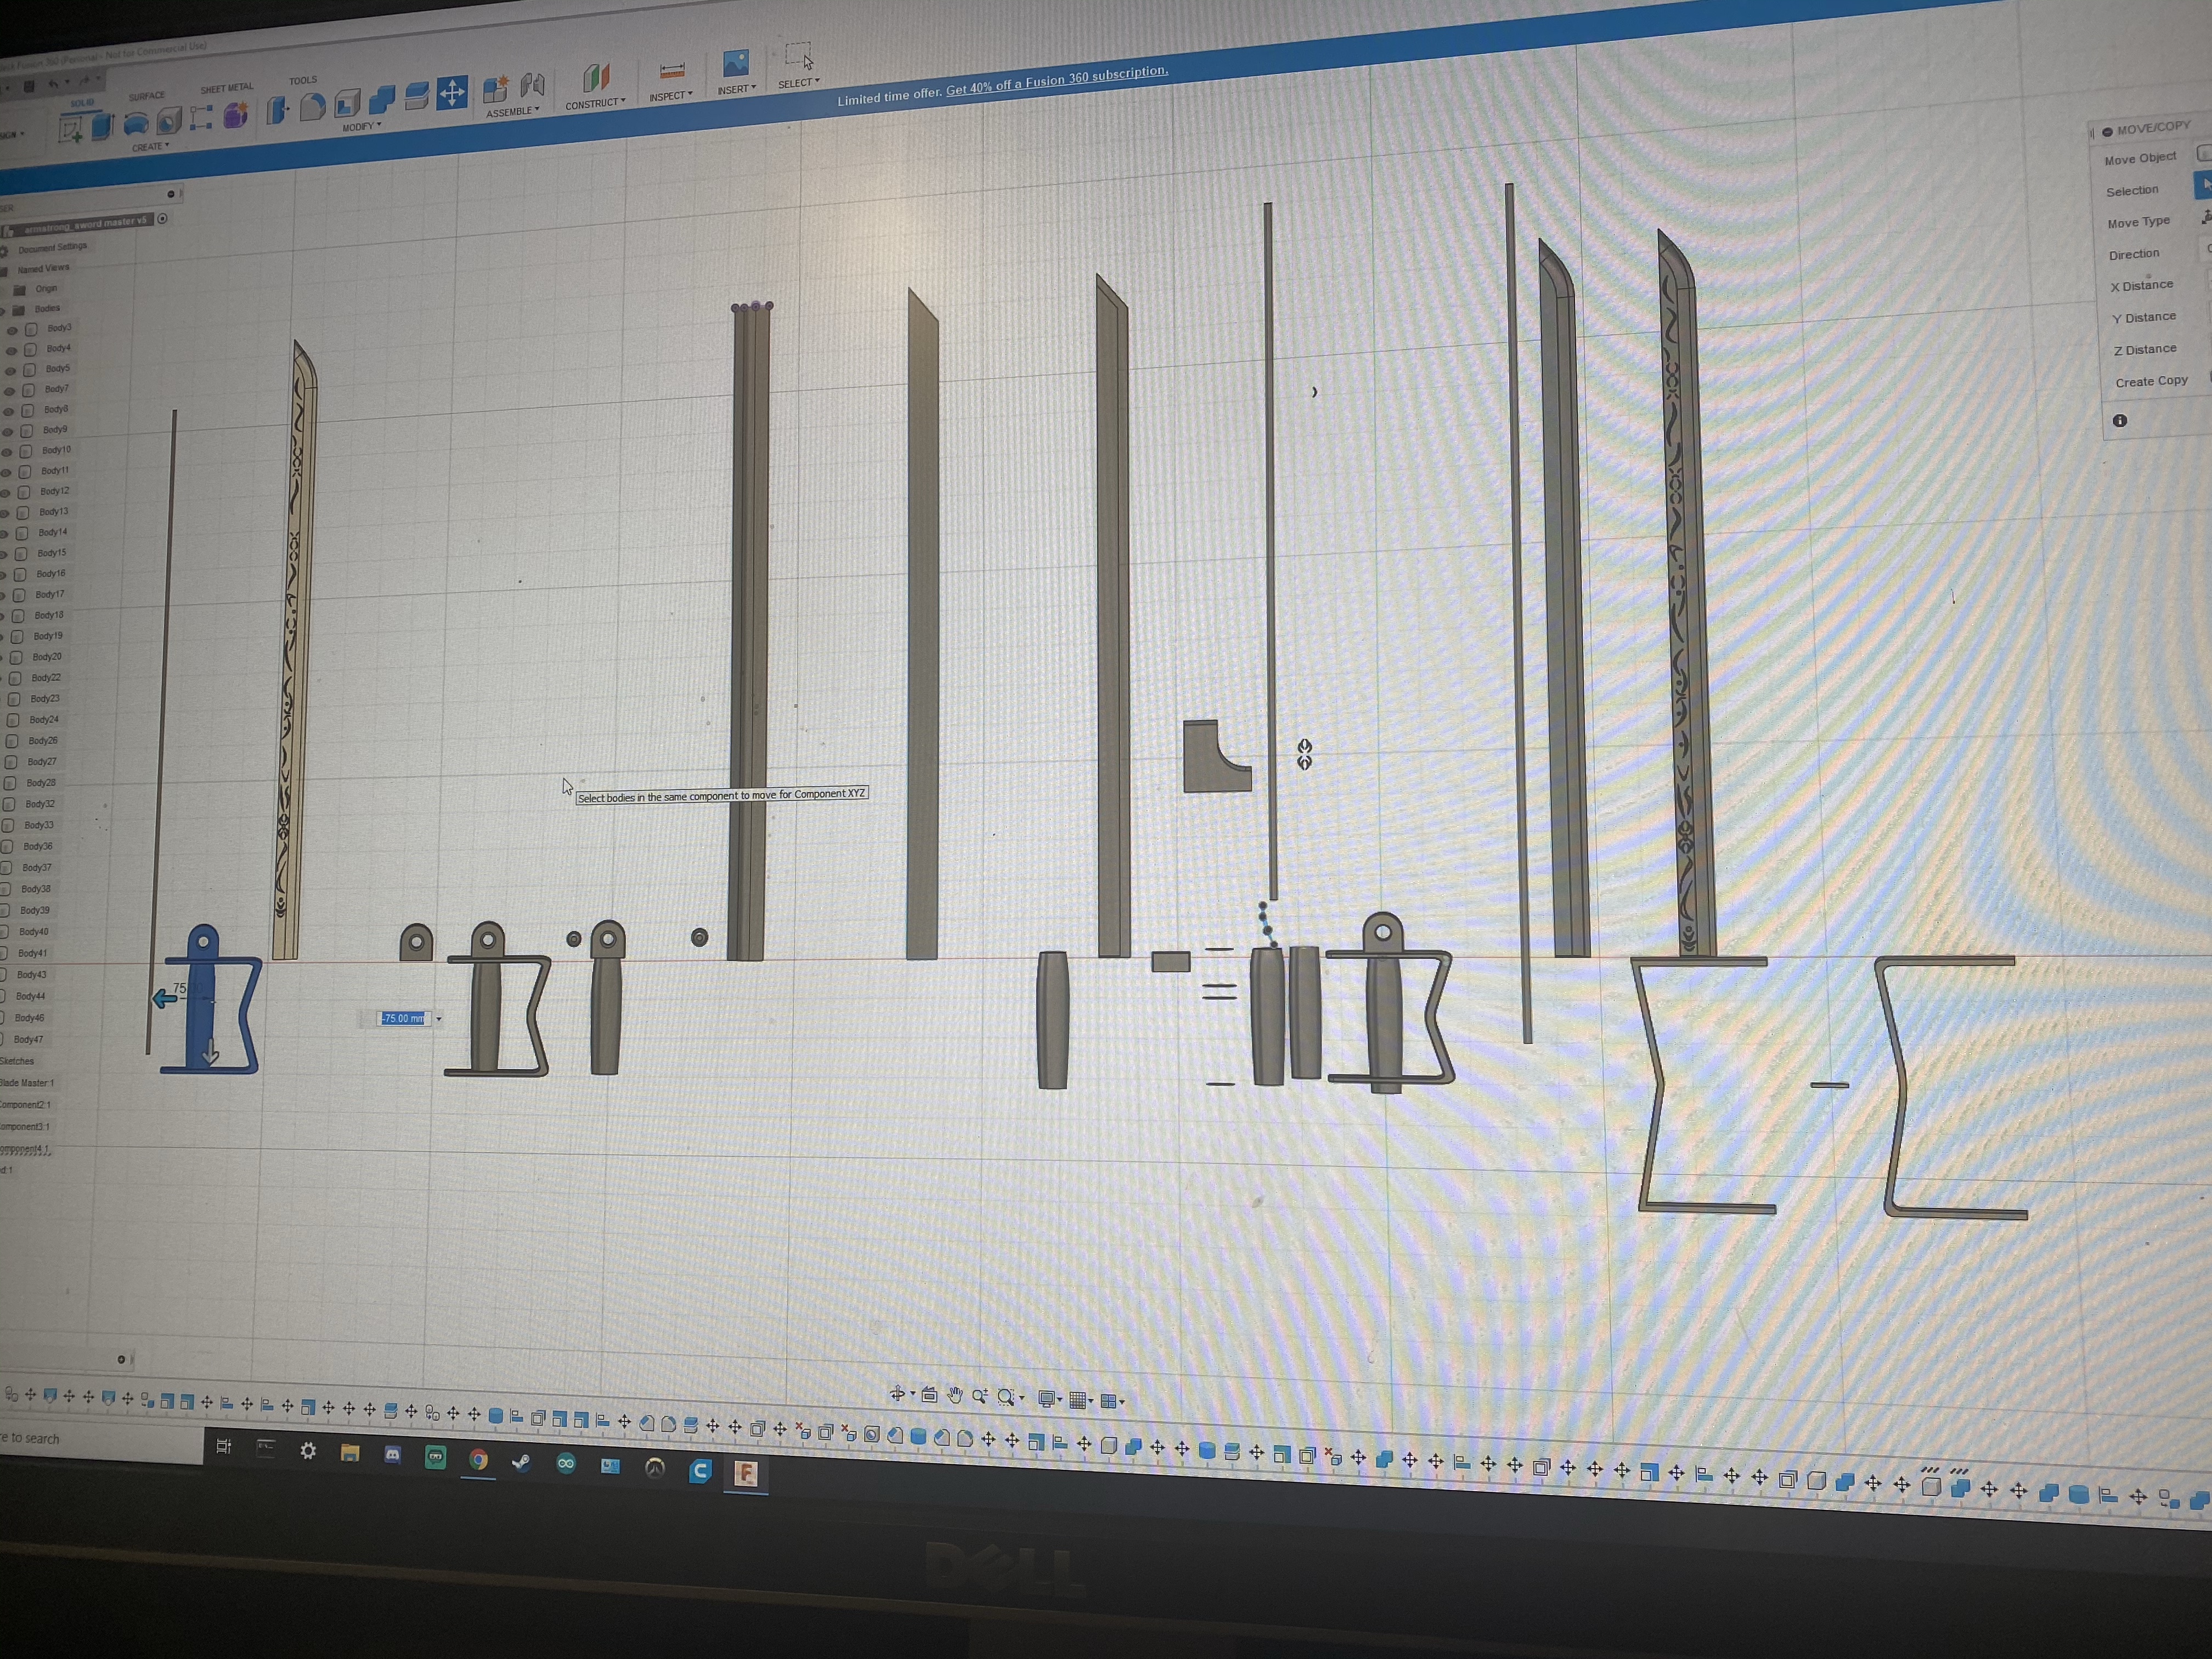
My workspaces are as chaotic in Autofusion 360 as they are in real life, but at least everything is close to hand!
Build
The first part printed off of the Fullmetal Alchemist sword without issue and looks usable, let’s print the rest of the prop blade based on that!
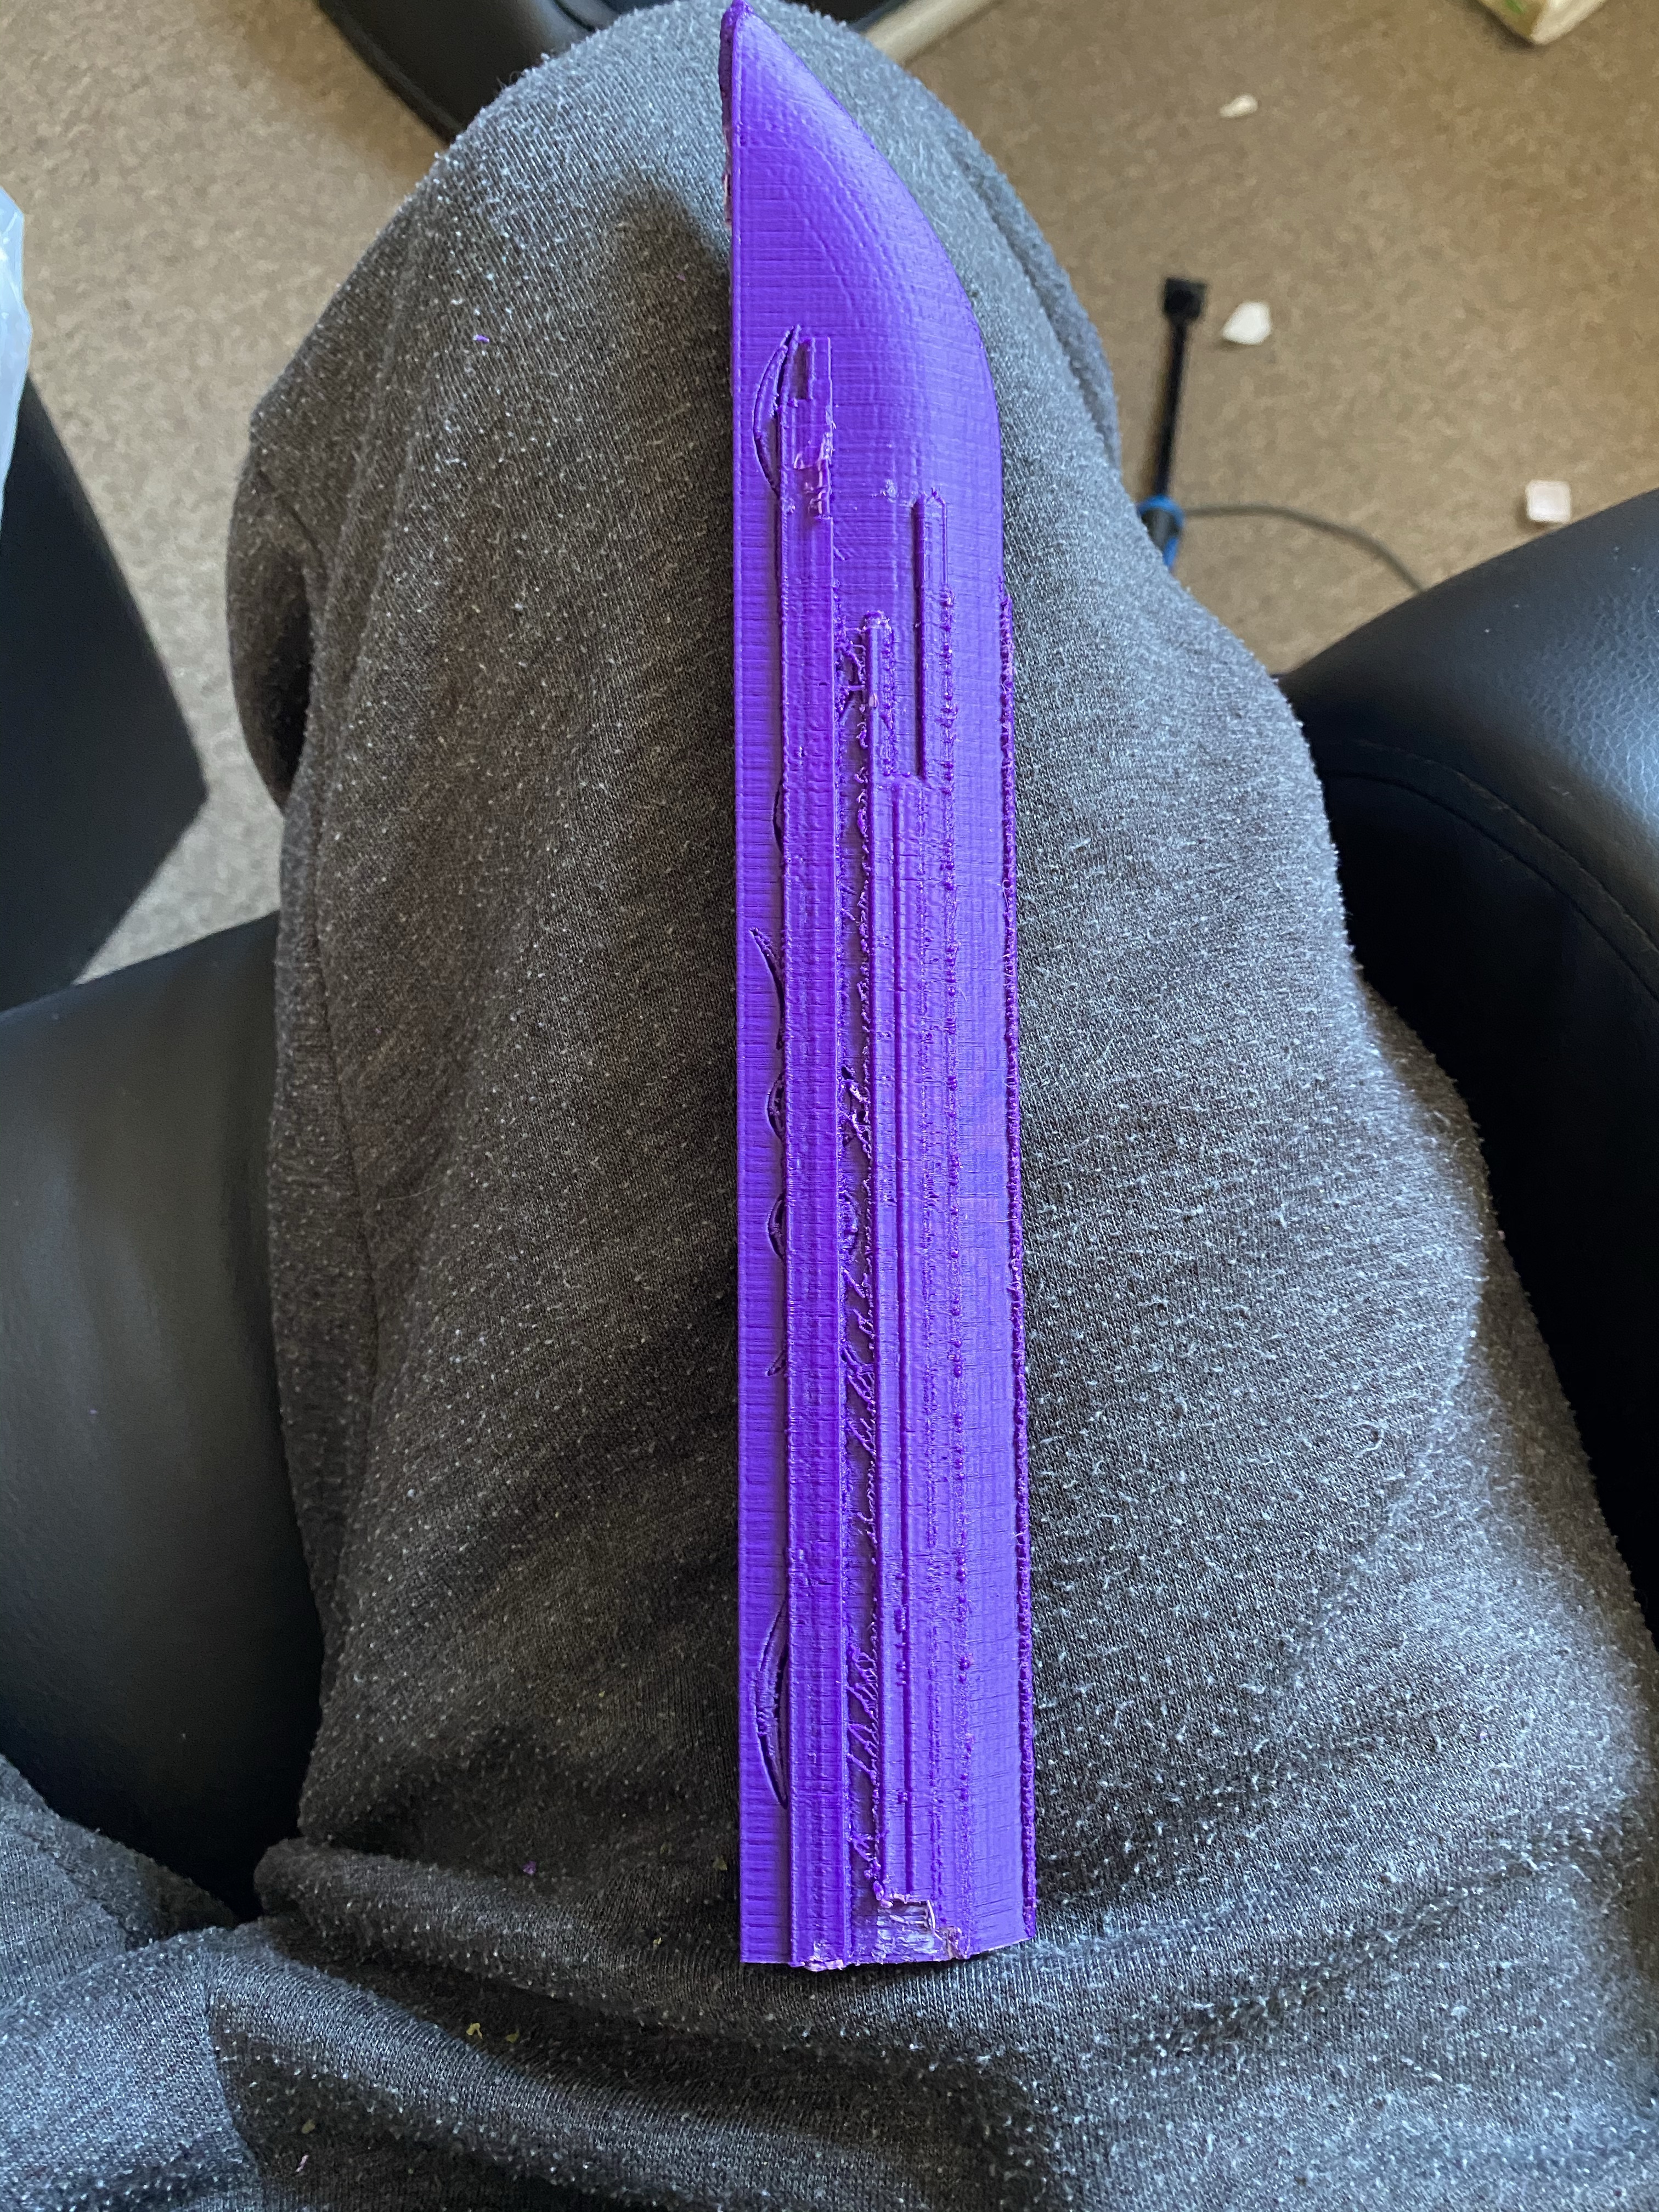
No matter how carefully I removed the support or tweaked the settings, they proved to be a burden.
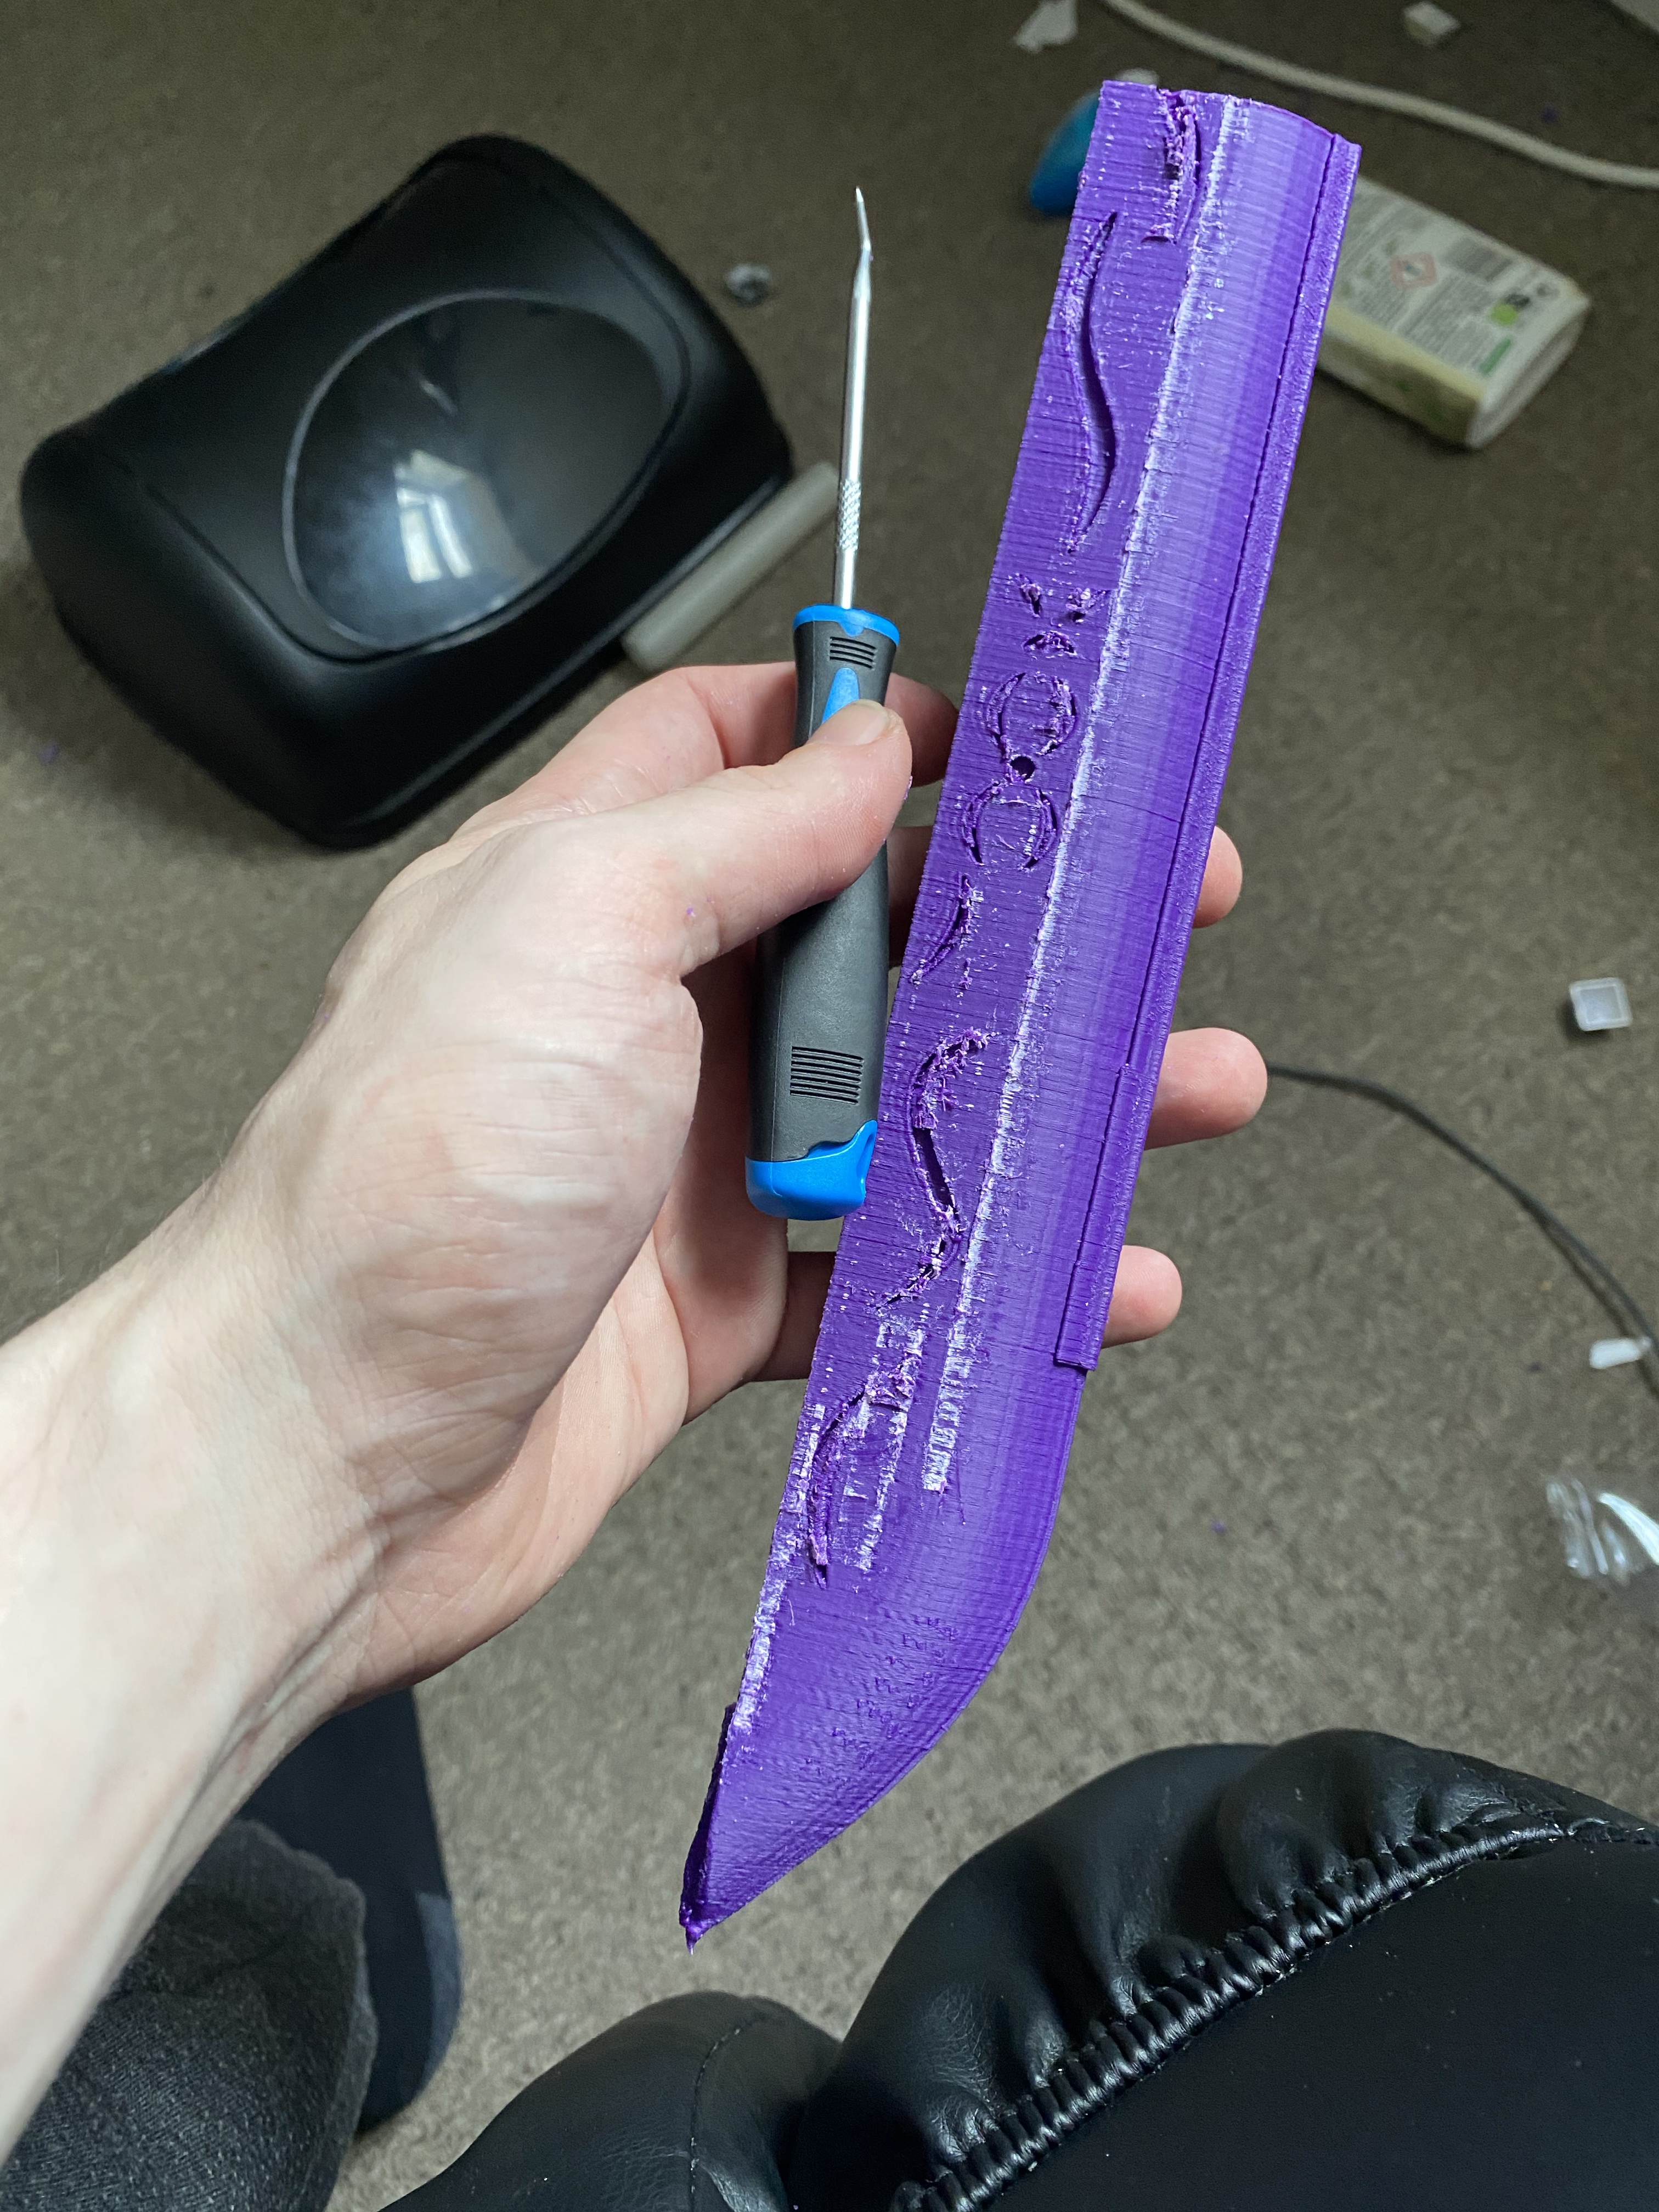
It printed perfectly well without the support, and now I have all these spare parts… yeah, probably should have tried removing the supports on the first piece of the blade before printing the next two, ah well!
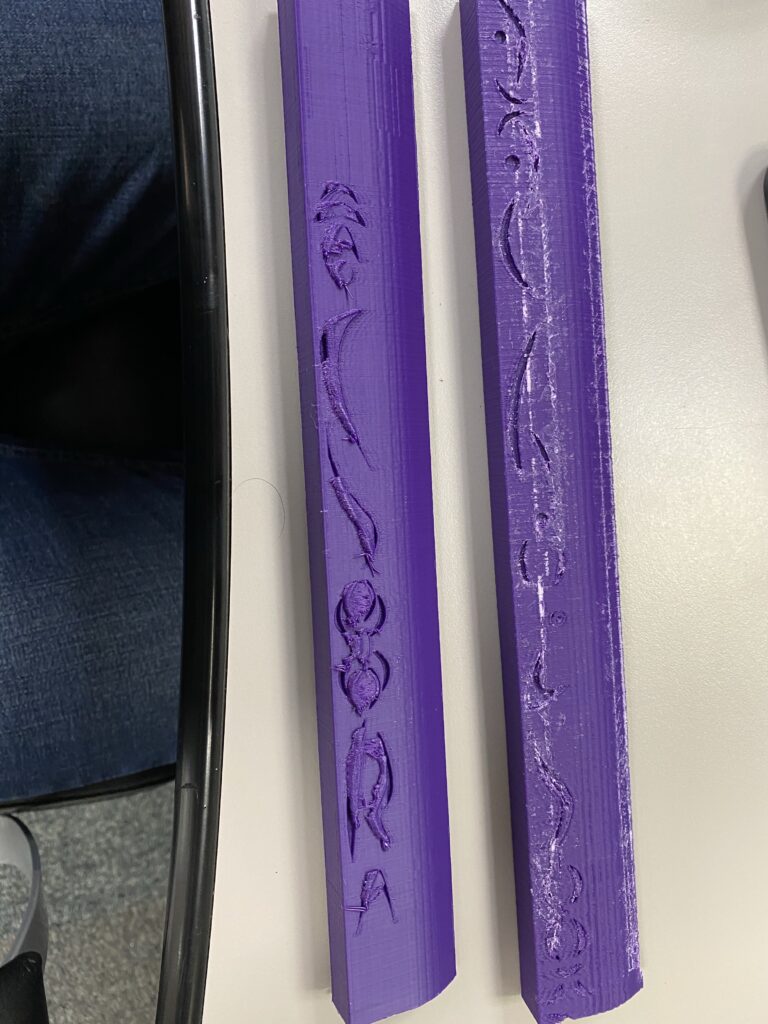
The holes in the blades fit snug, and I used acetone to bond them together. I then used far too much Milliput along the seams, and then a little more. Over the next few days, I applied multiple coats of acetone to the engravings. This helps smooth the difficult-to-reach places that sanding is not an option for.
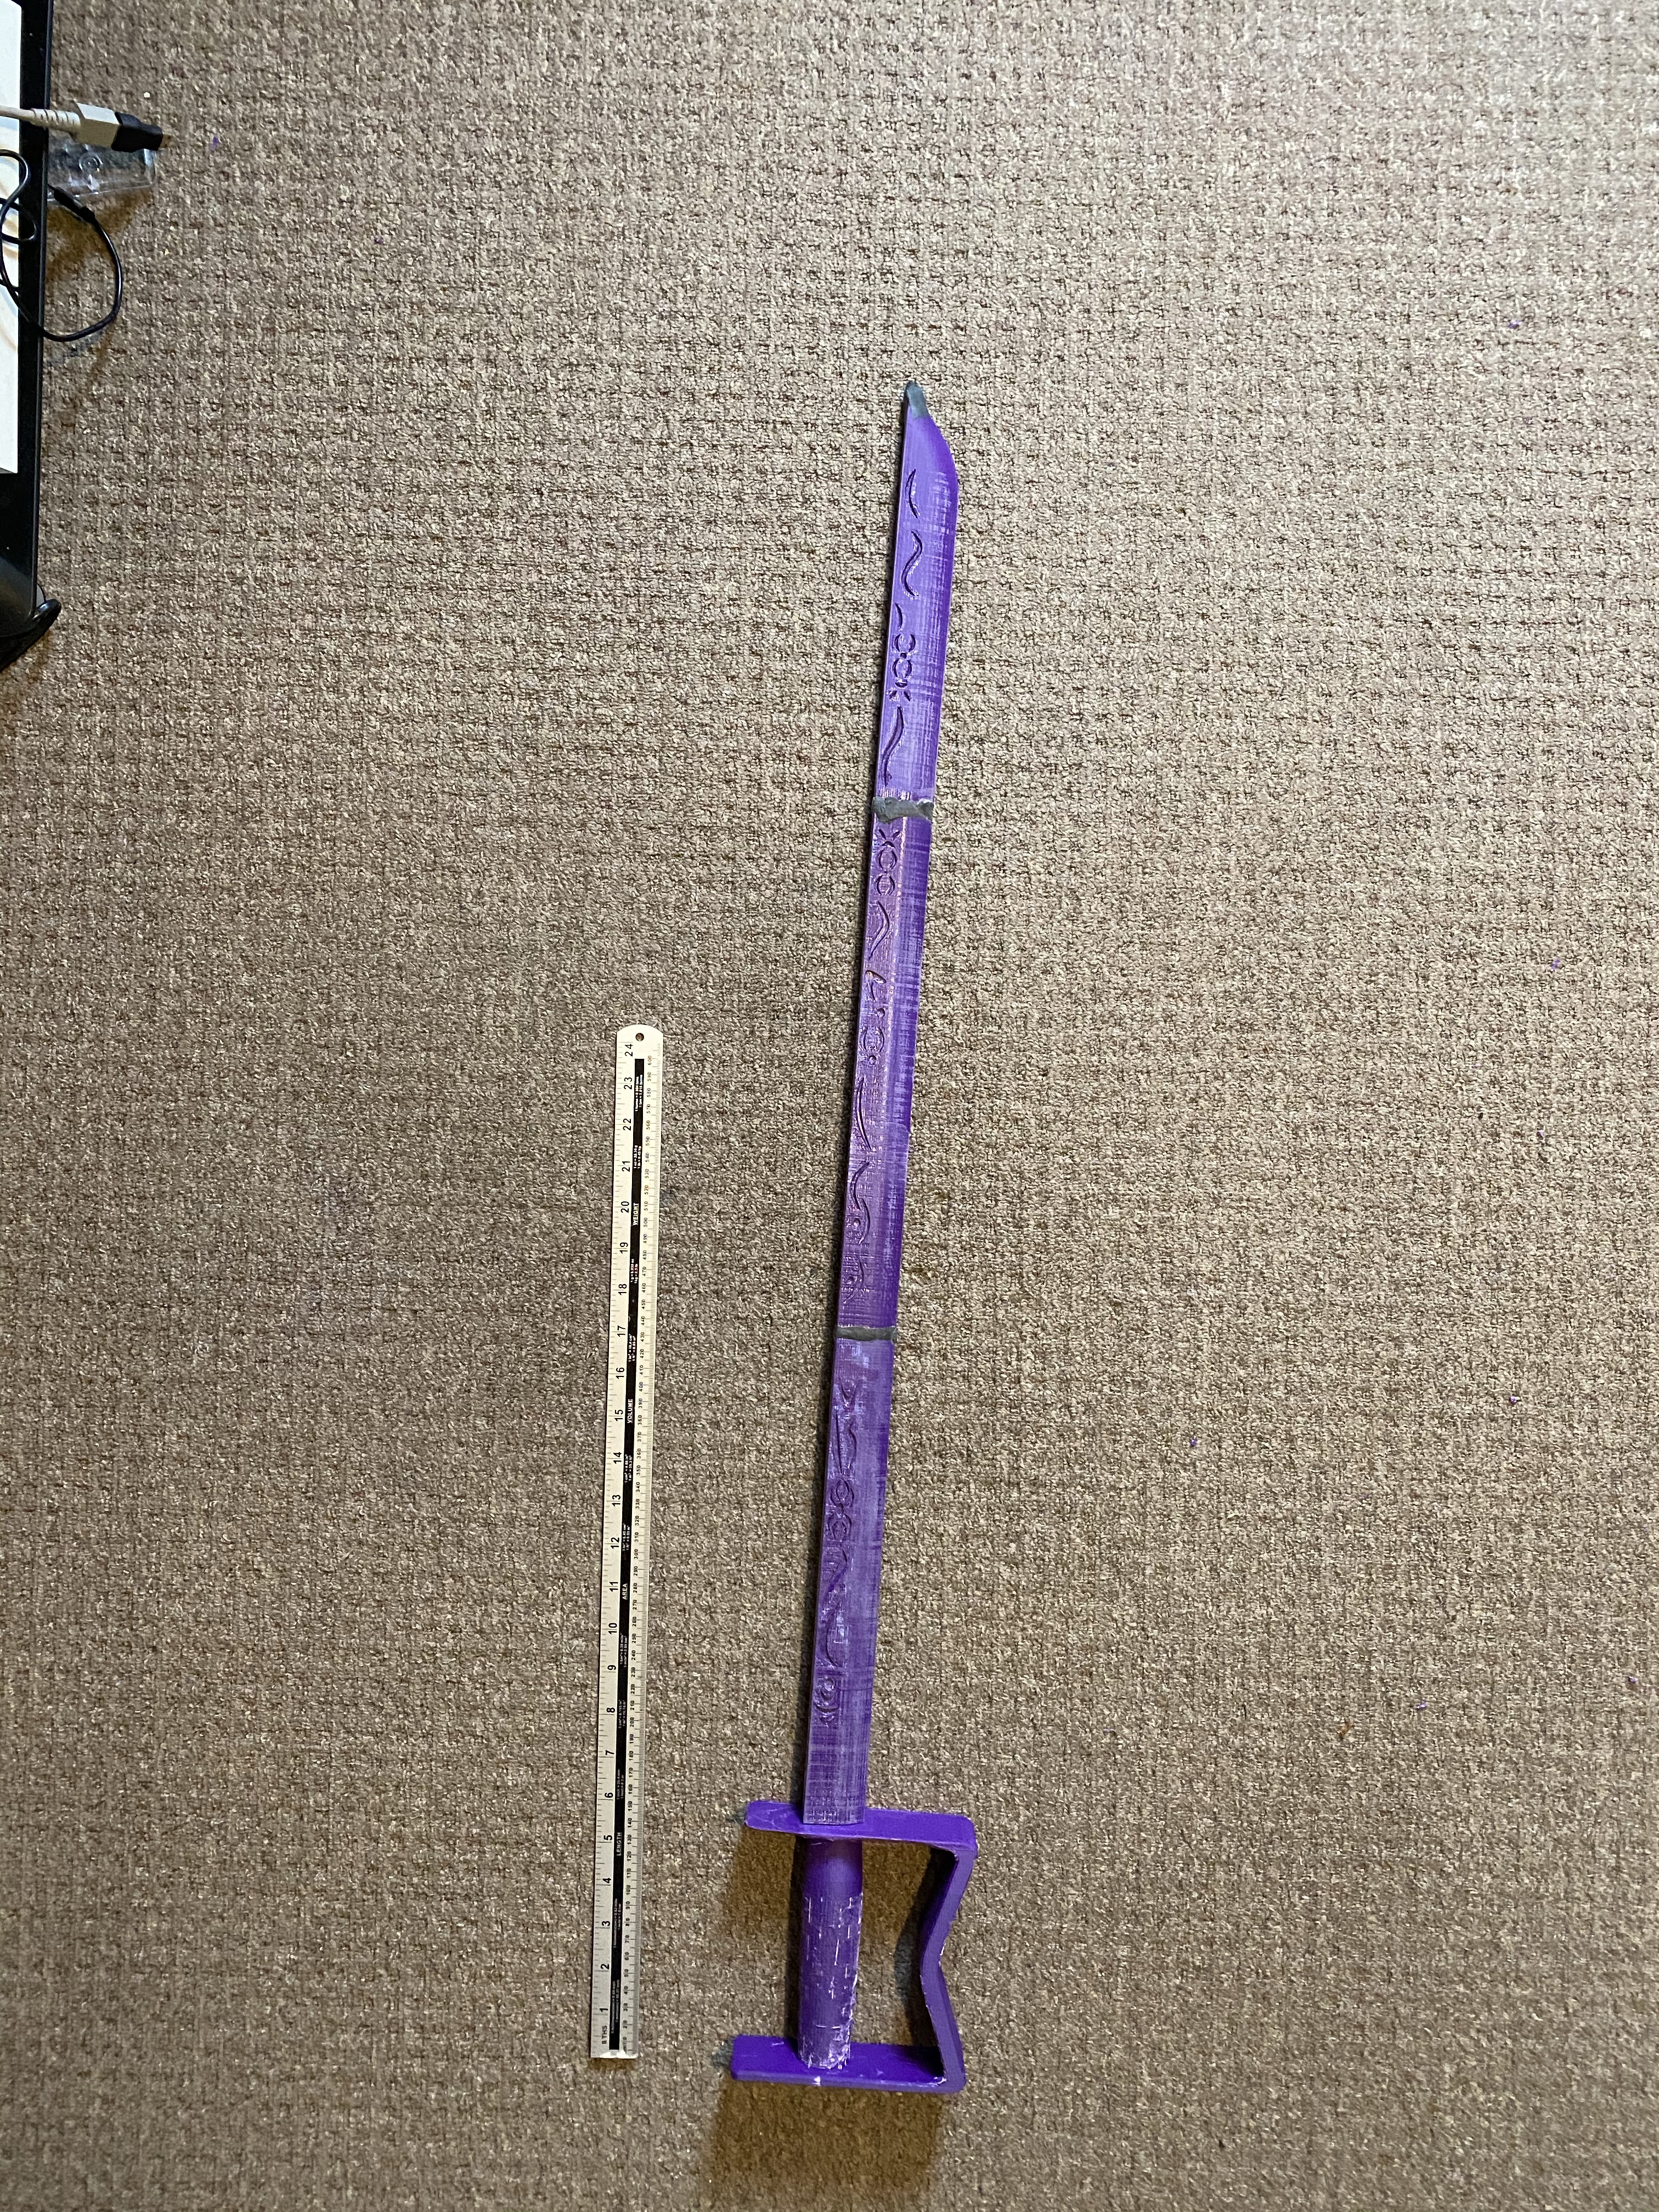
This is 3D printing, it is an inevitability. Sanding. Taking the time and working up to the finer grit sandpaper with patience and diligence is the game. And I’ve yet to find many hacks:
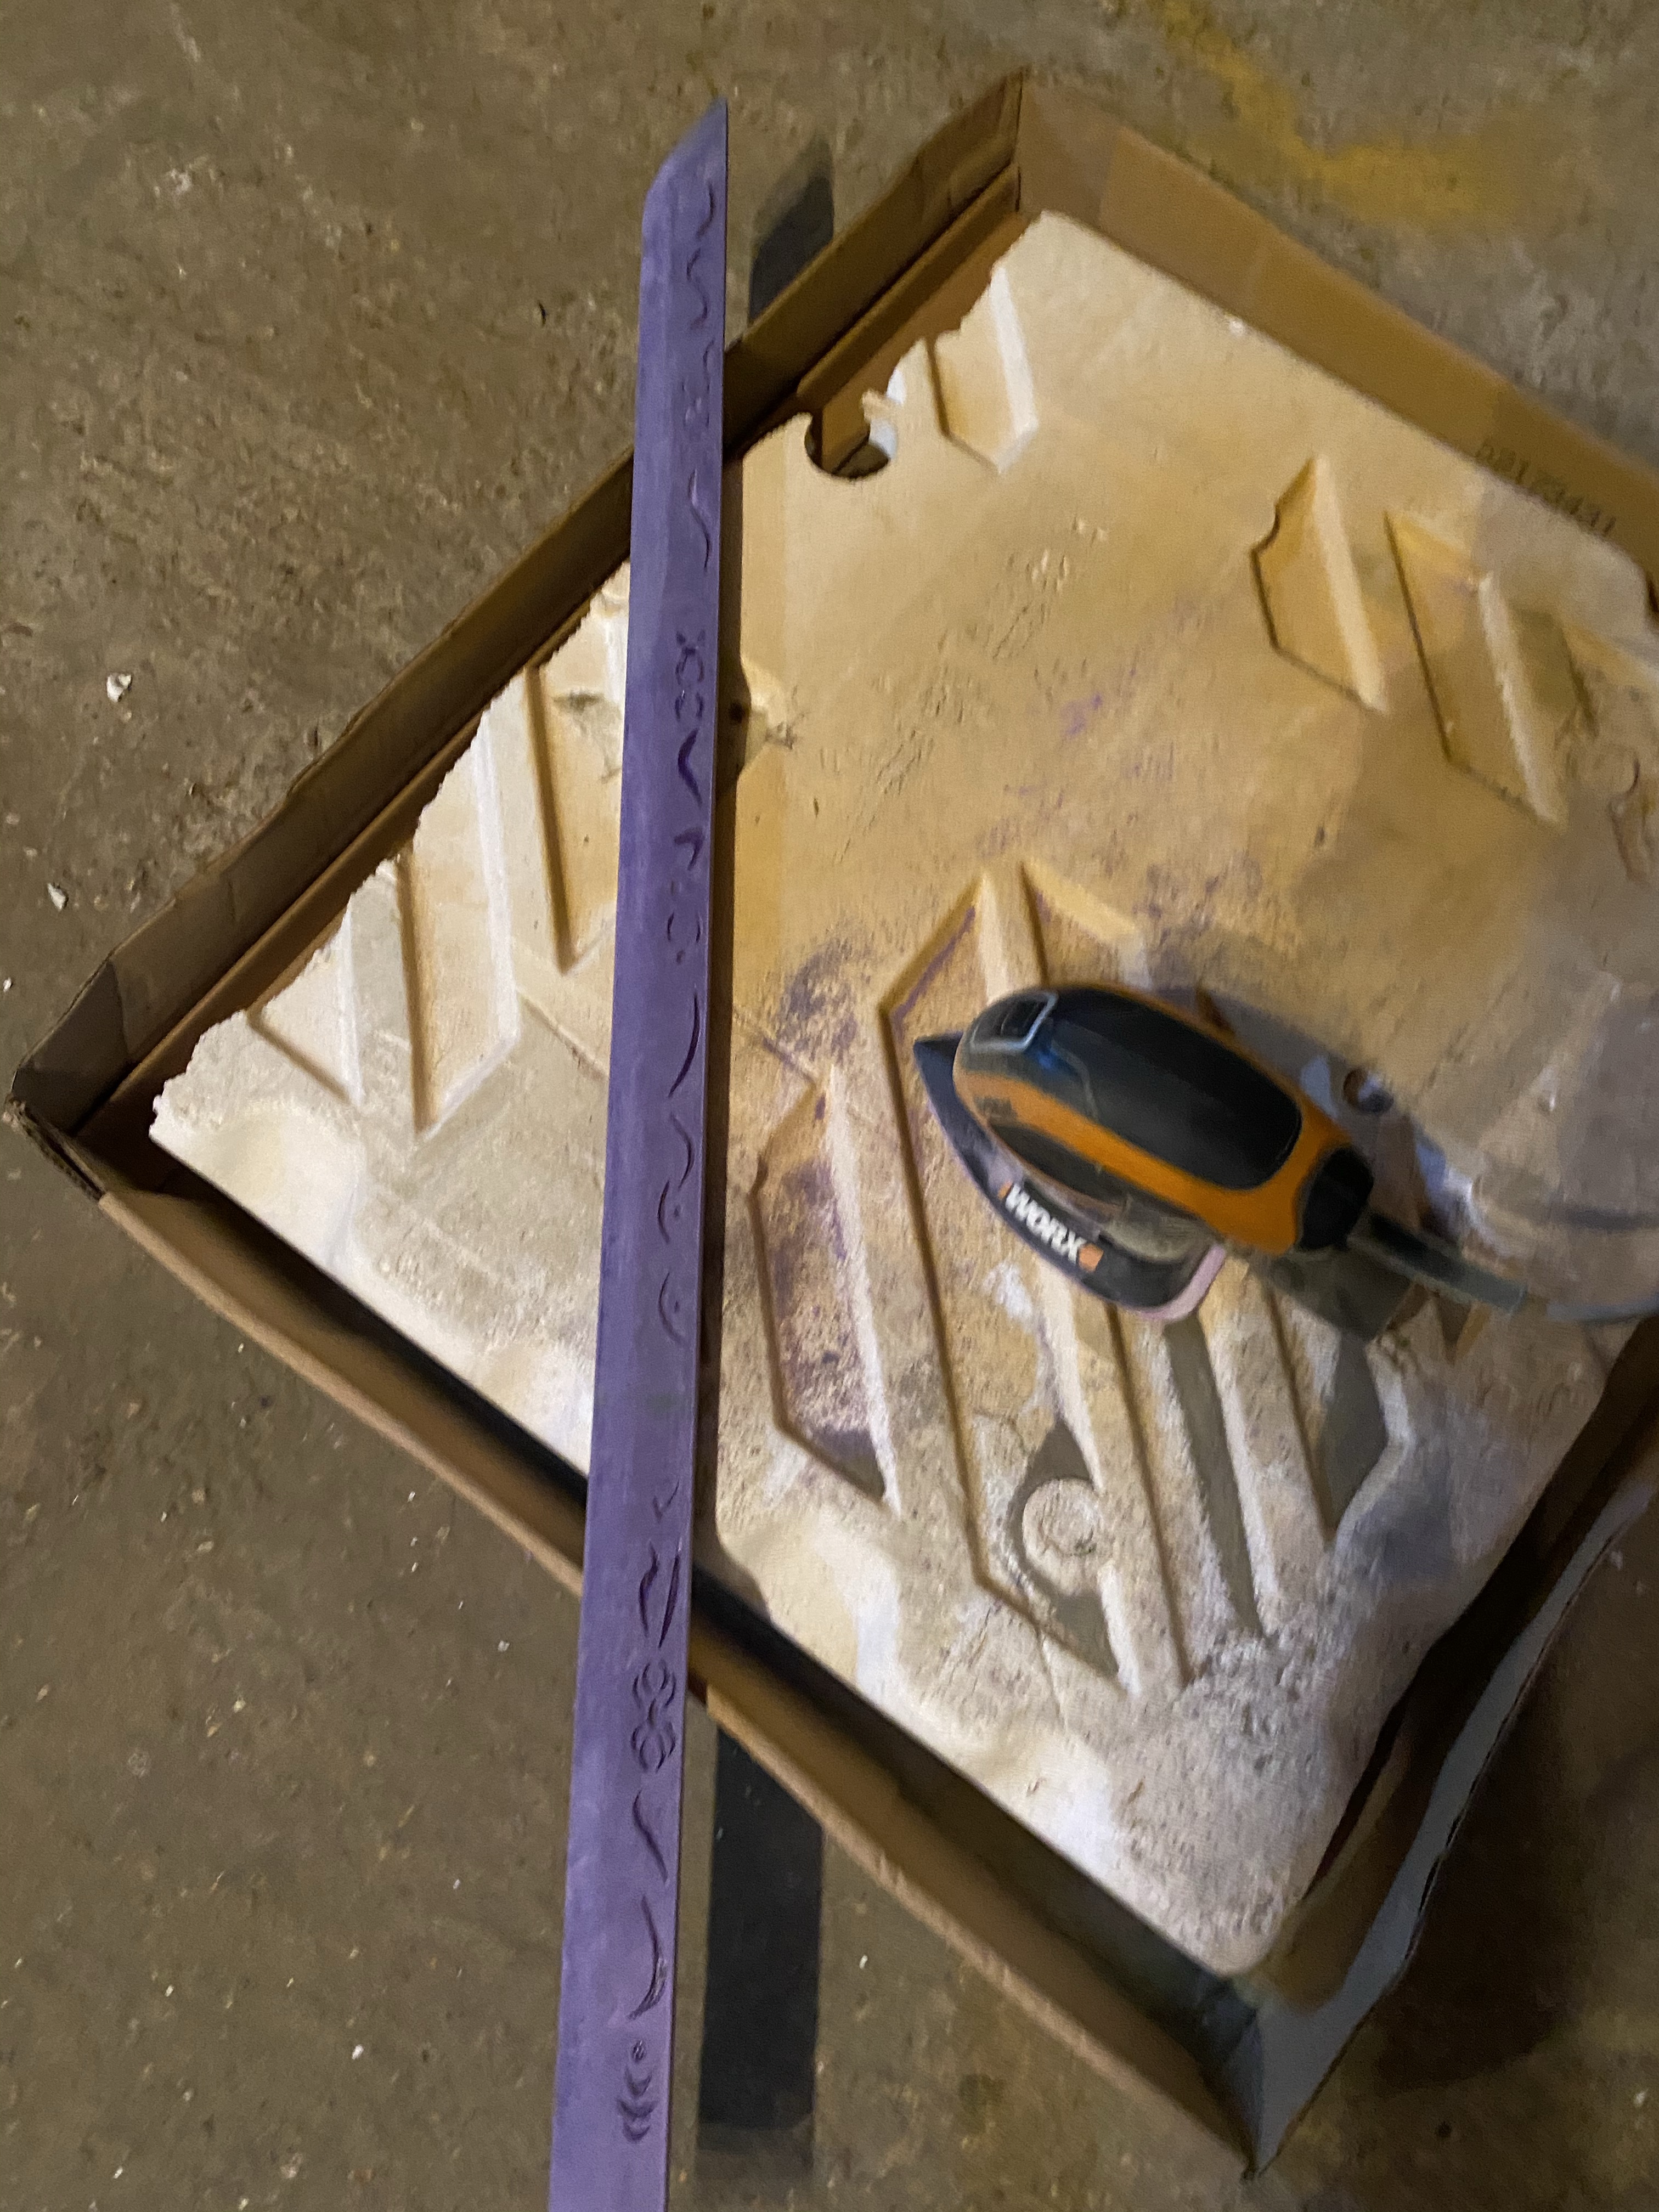
But you know what? No matter how much sanding sucks, it’s worth it:
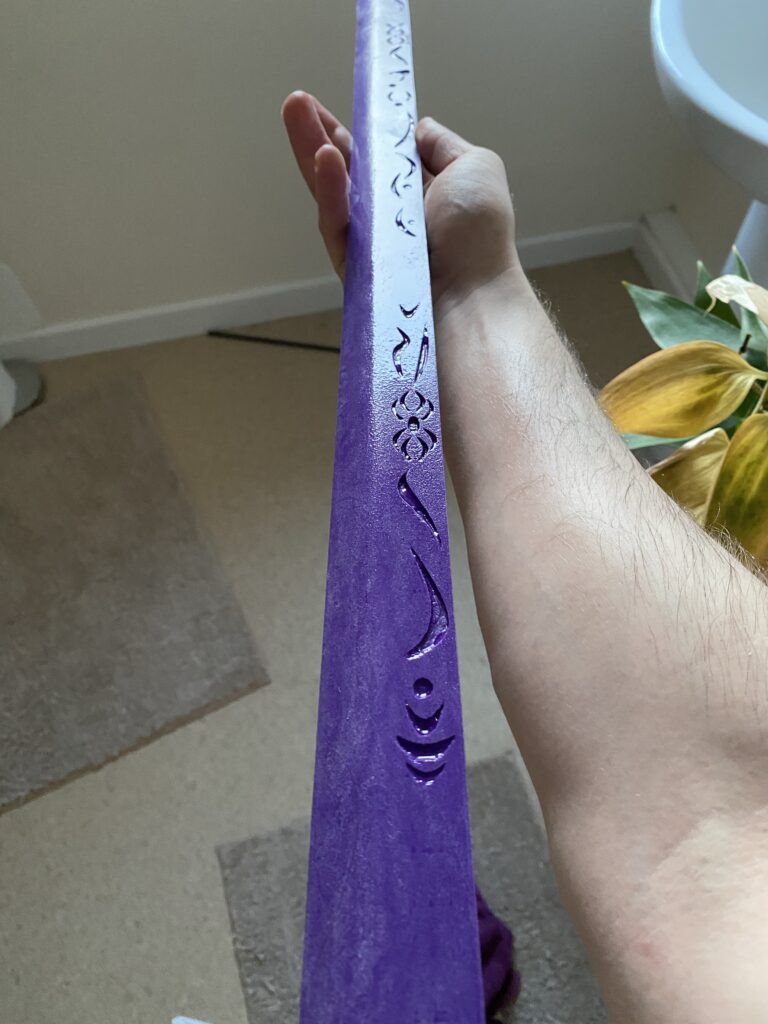
Still more effort, still getting there… The Fullmetal Alchemist sword is coming along.
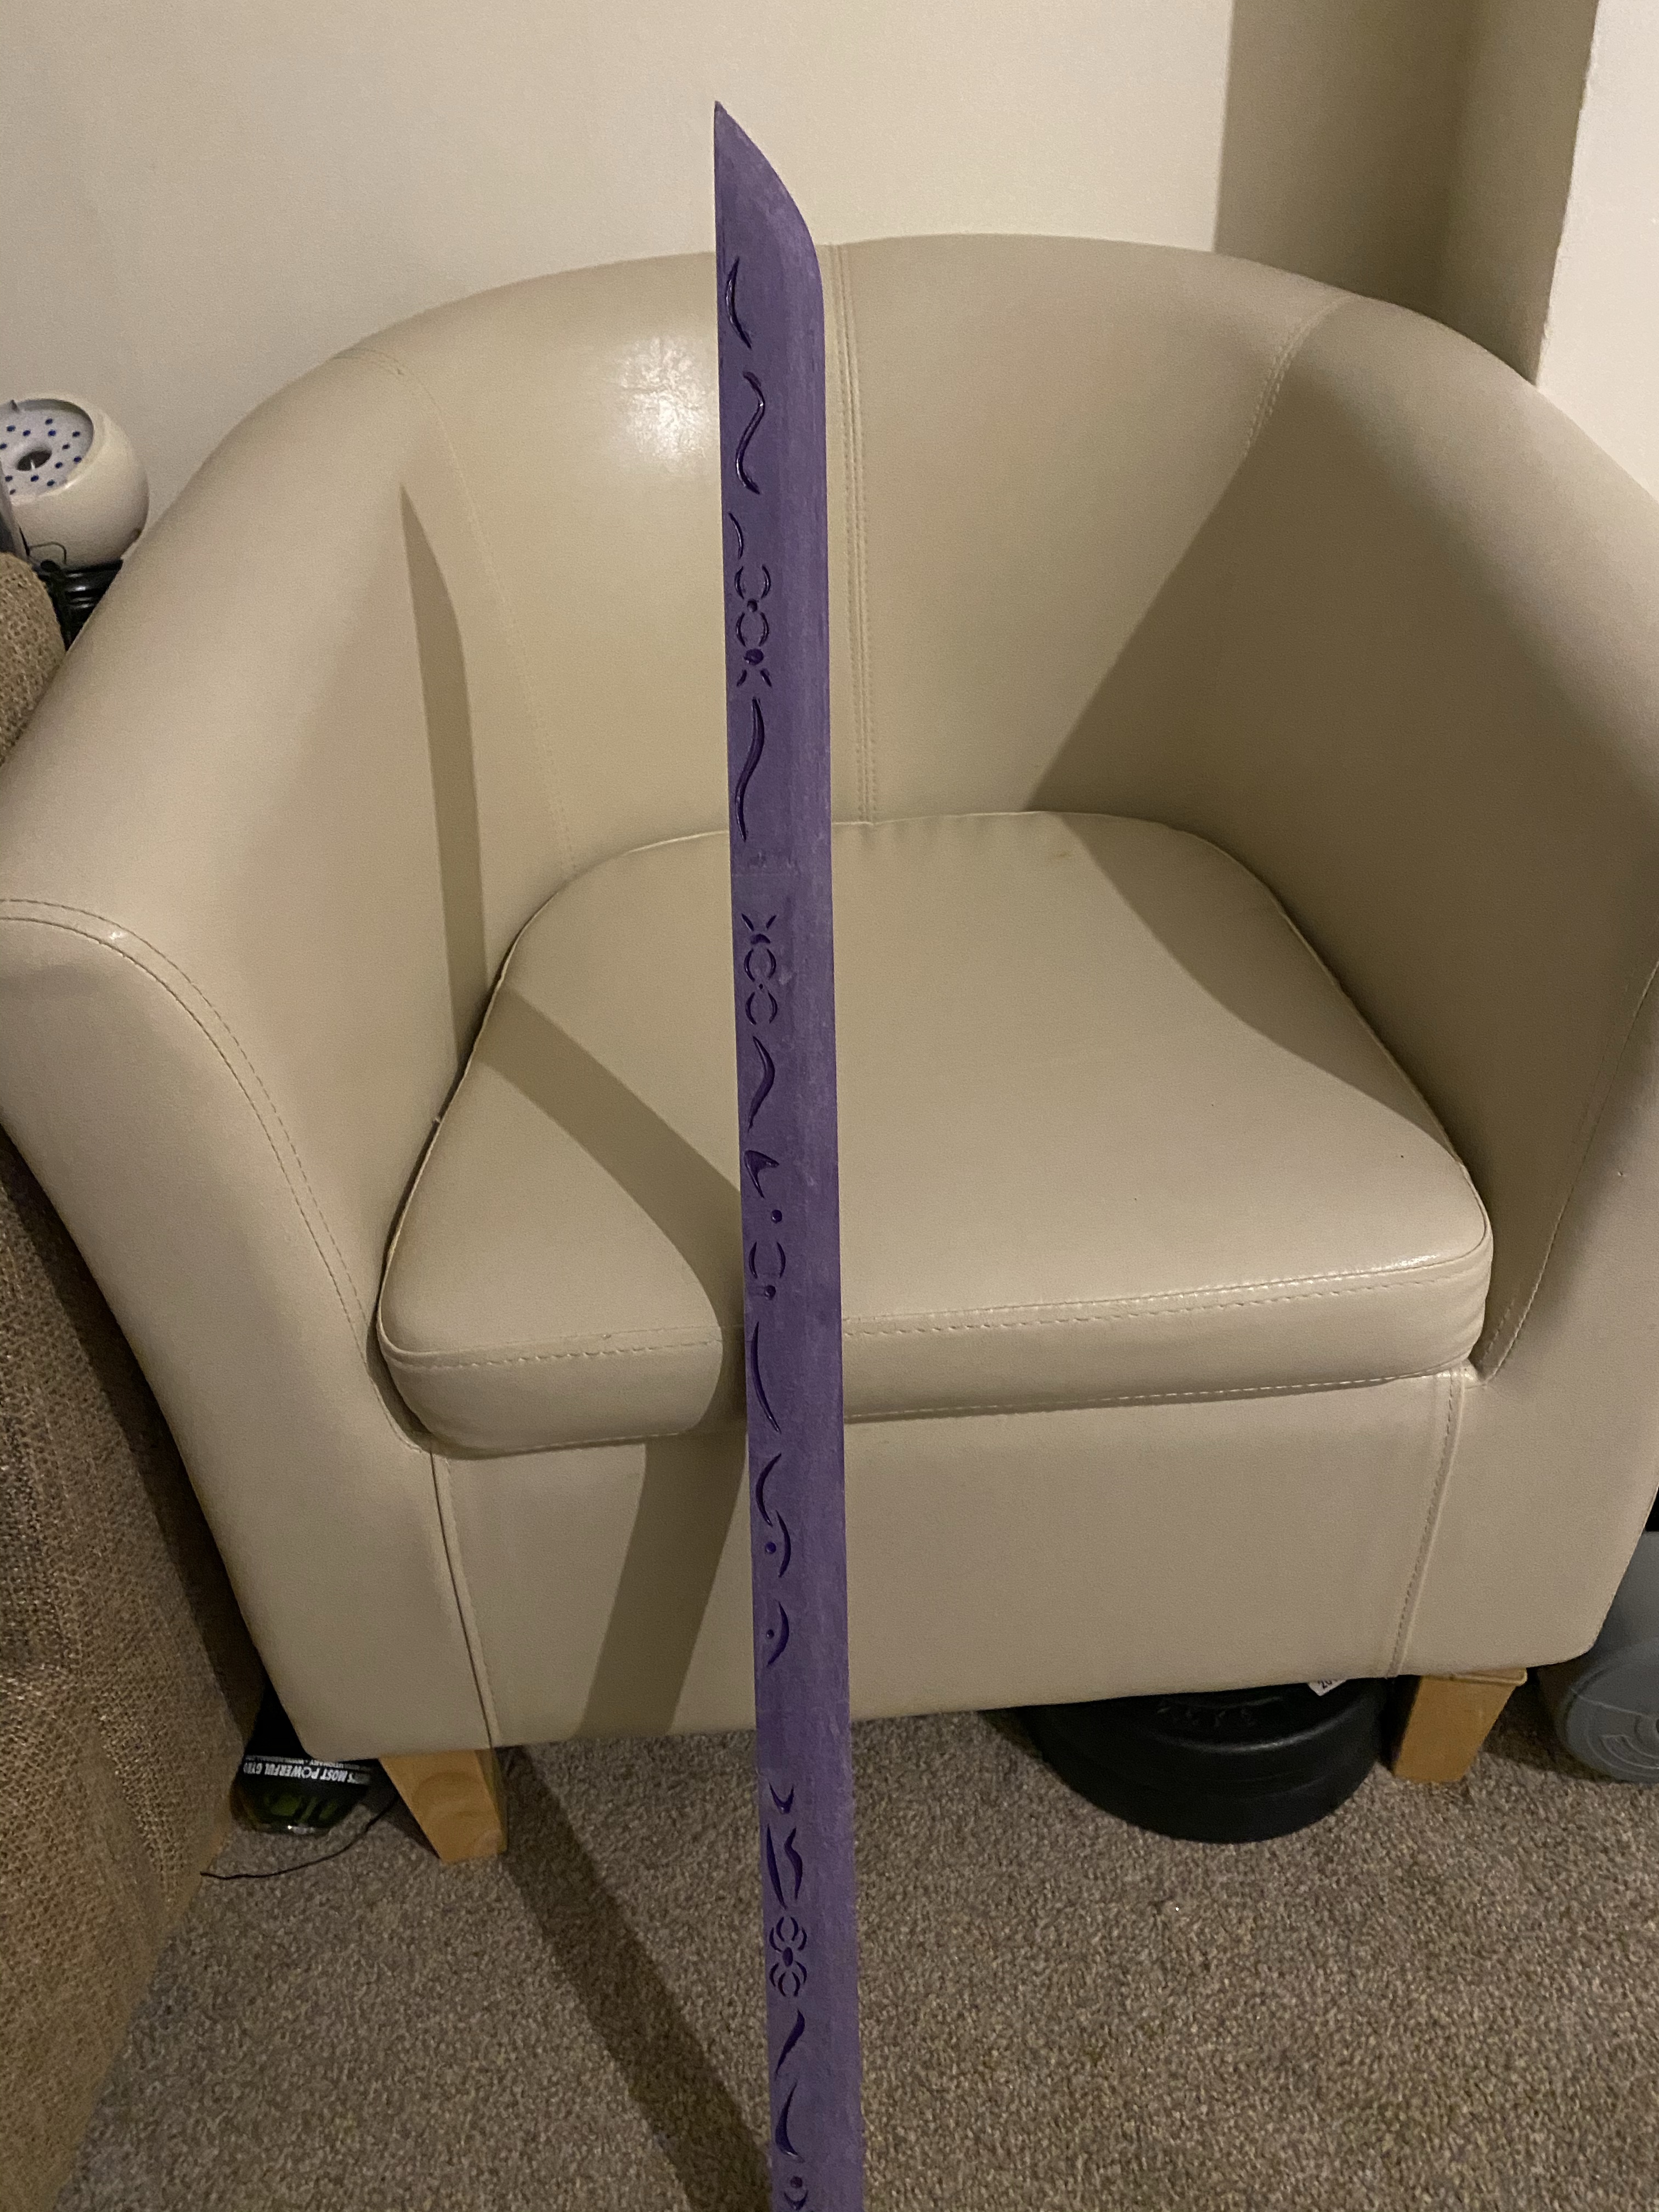
Time for that first layer of primer filler, then it’s back to the joy of sanding, this time with the higher grits. I’ve found Halford’s Primer Filler to be a reliable blend of cost-effectiveness and great for any larger projects.
It was about here in the build that a few problems bothered me and I began to work on Prototype II, which succeded into Finality. I’ll go into more detail in the post for the Final version about the problems it was trying to fix, but they weren’t serious enough to stop me from seeing this guide through to completion.
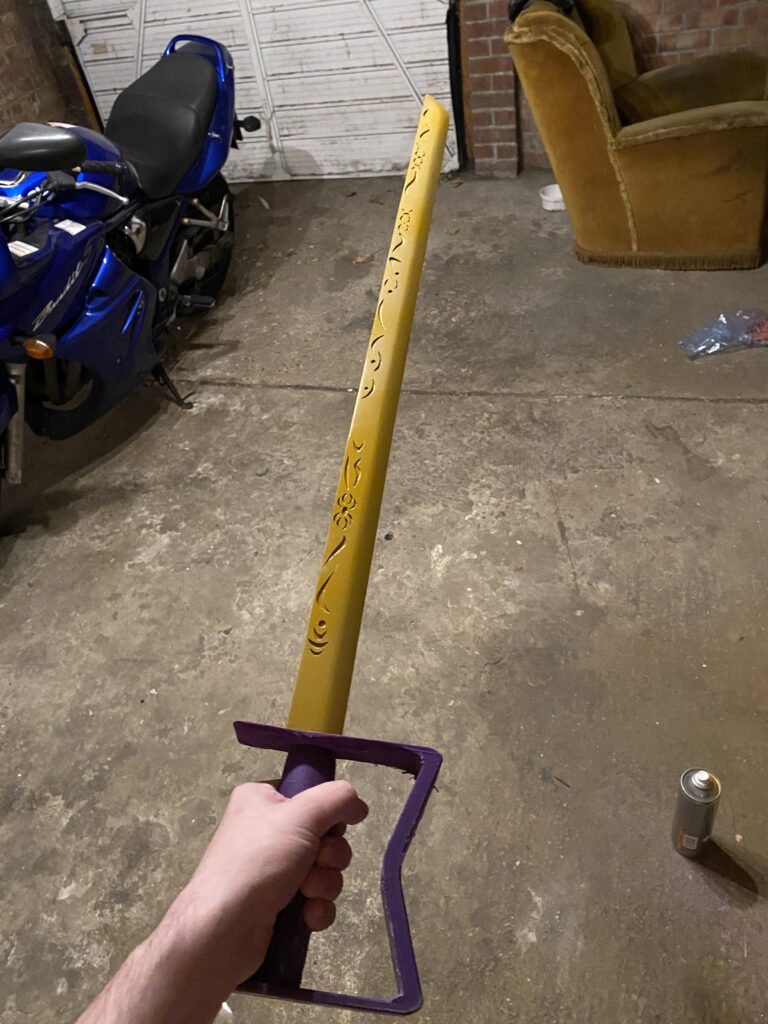
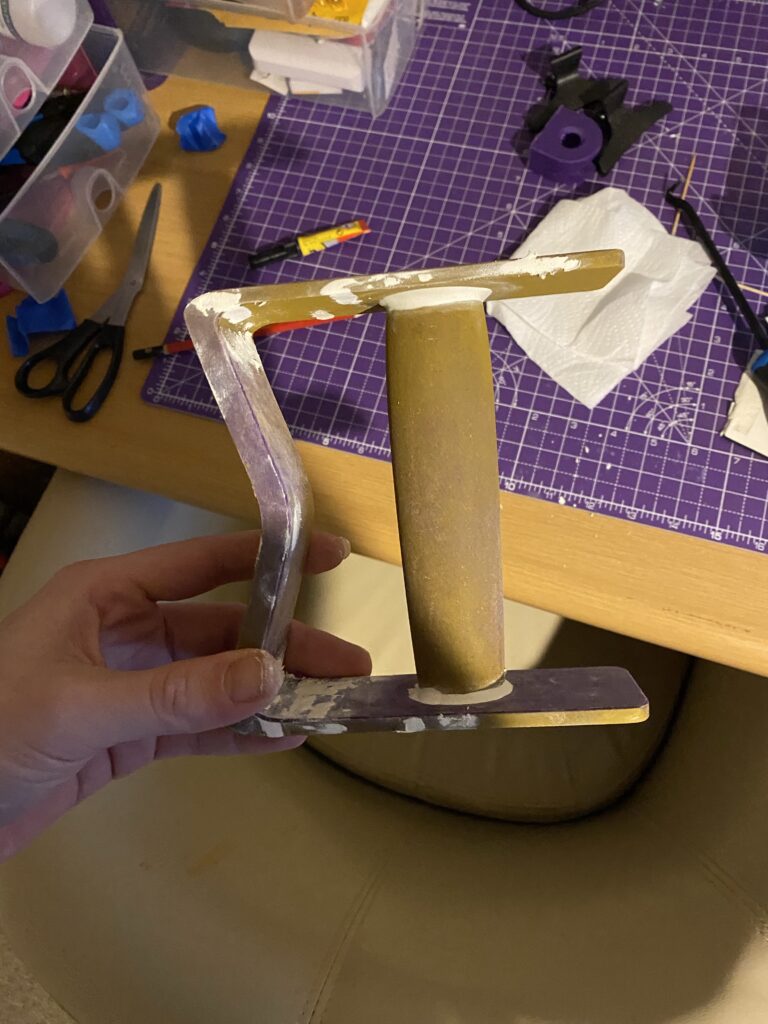
The handle and knuckle guard as one solid unit was just too ungainly to process efficiently, so I reprinted it as two parts. All it took was a tweak of the design to ensure there was a recess for the metal rod on the very bottom of the handle. It was far easier to sand and rejoin together that way.
Finish
It took me a long time to get to this stage, now I get to paint it! Although it is already primed, I like to give it one more base coat, and for this, I’m using Vallejo Black Surface Primer [77.660]
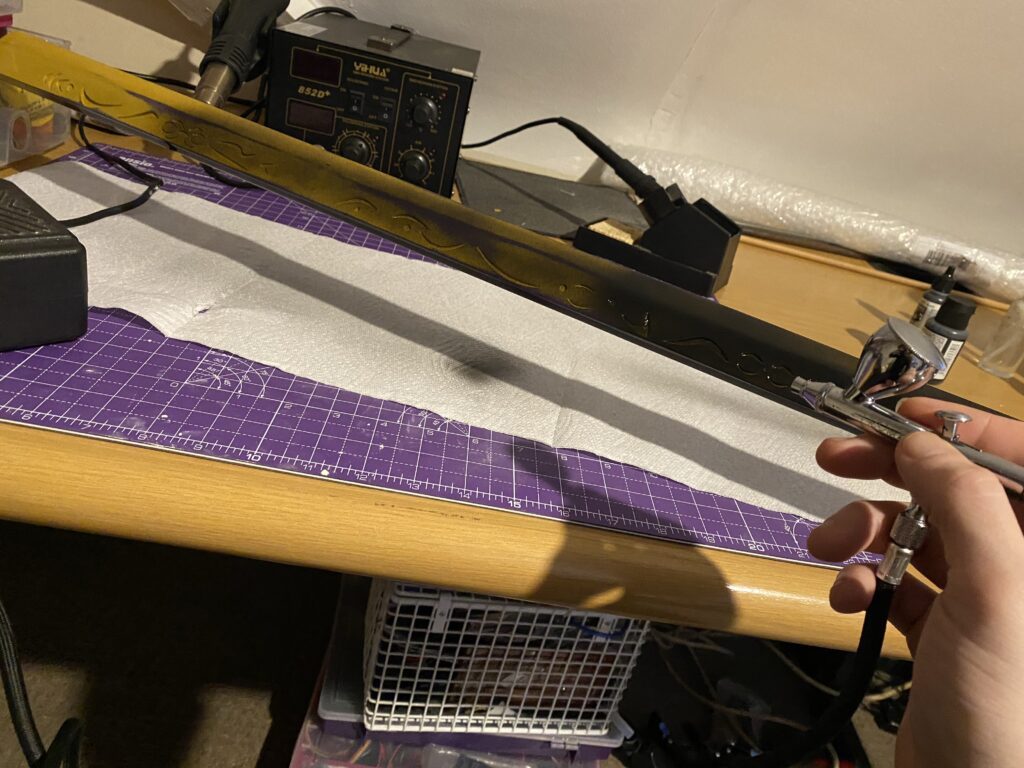
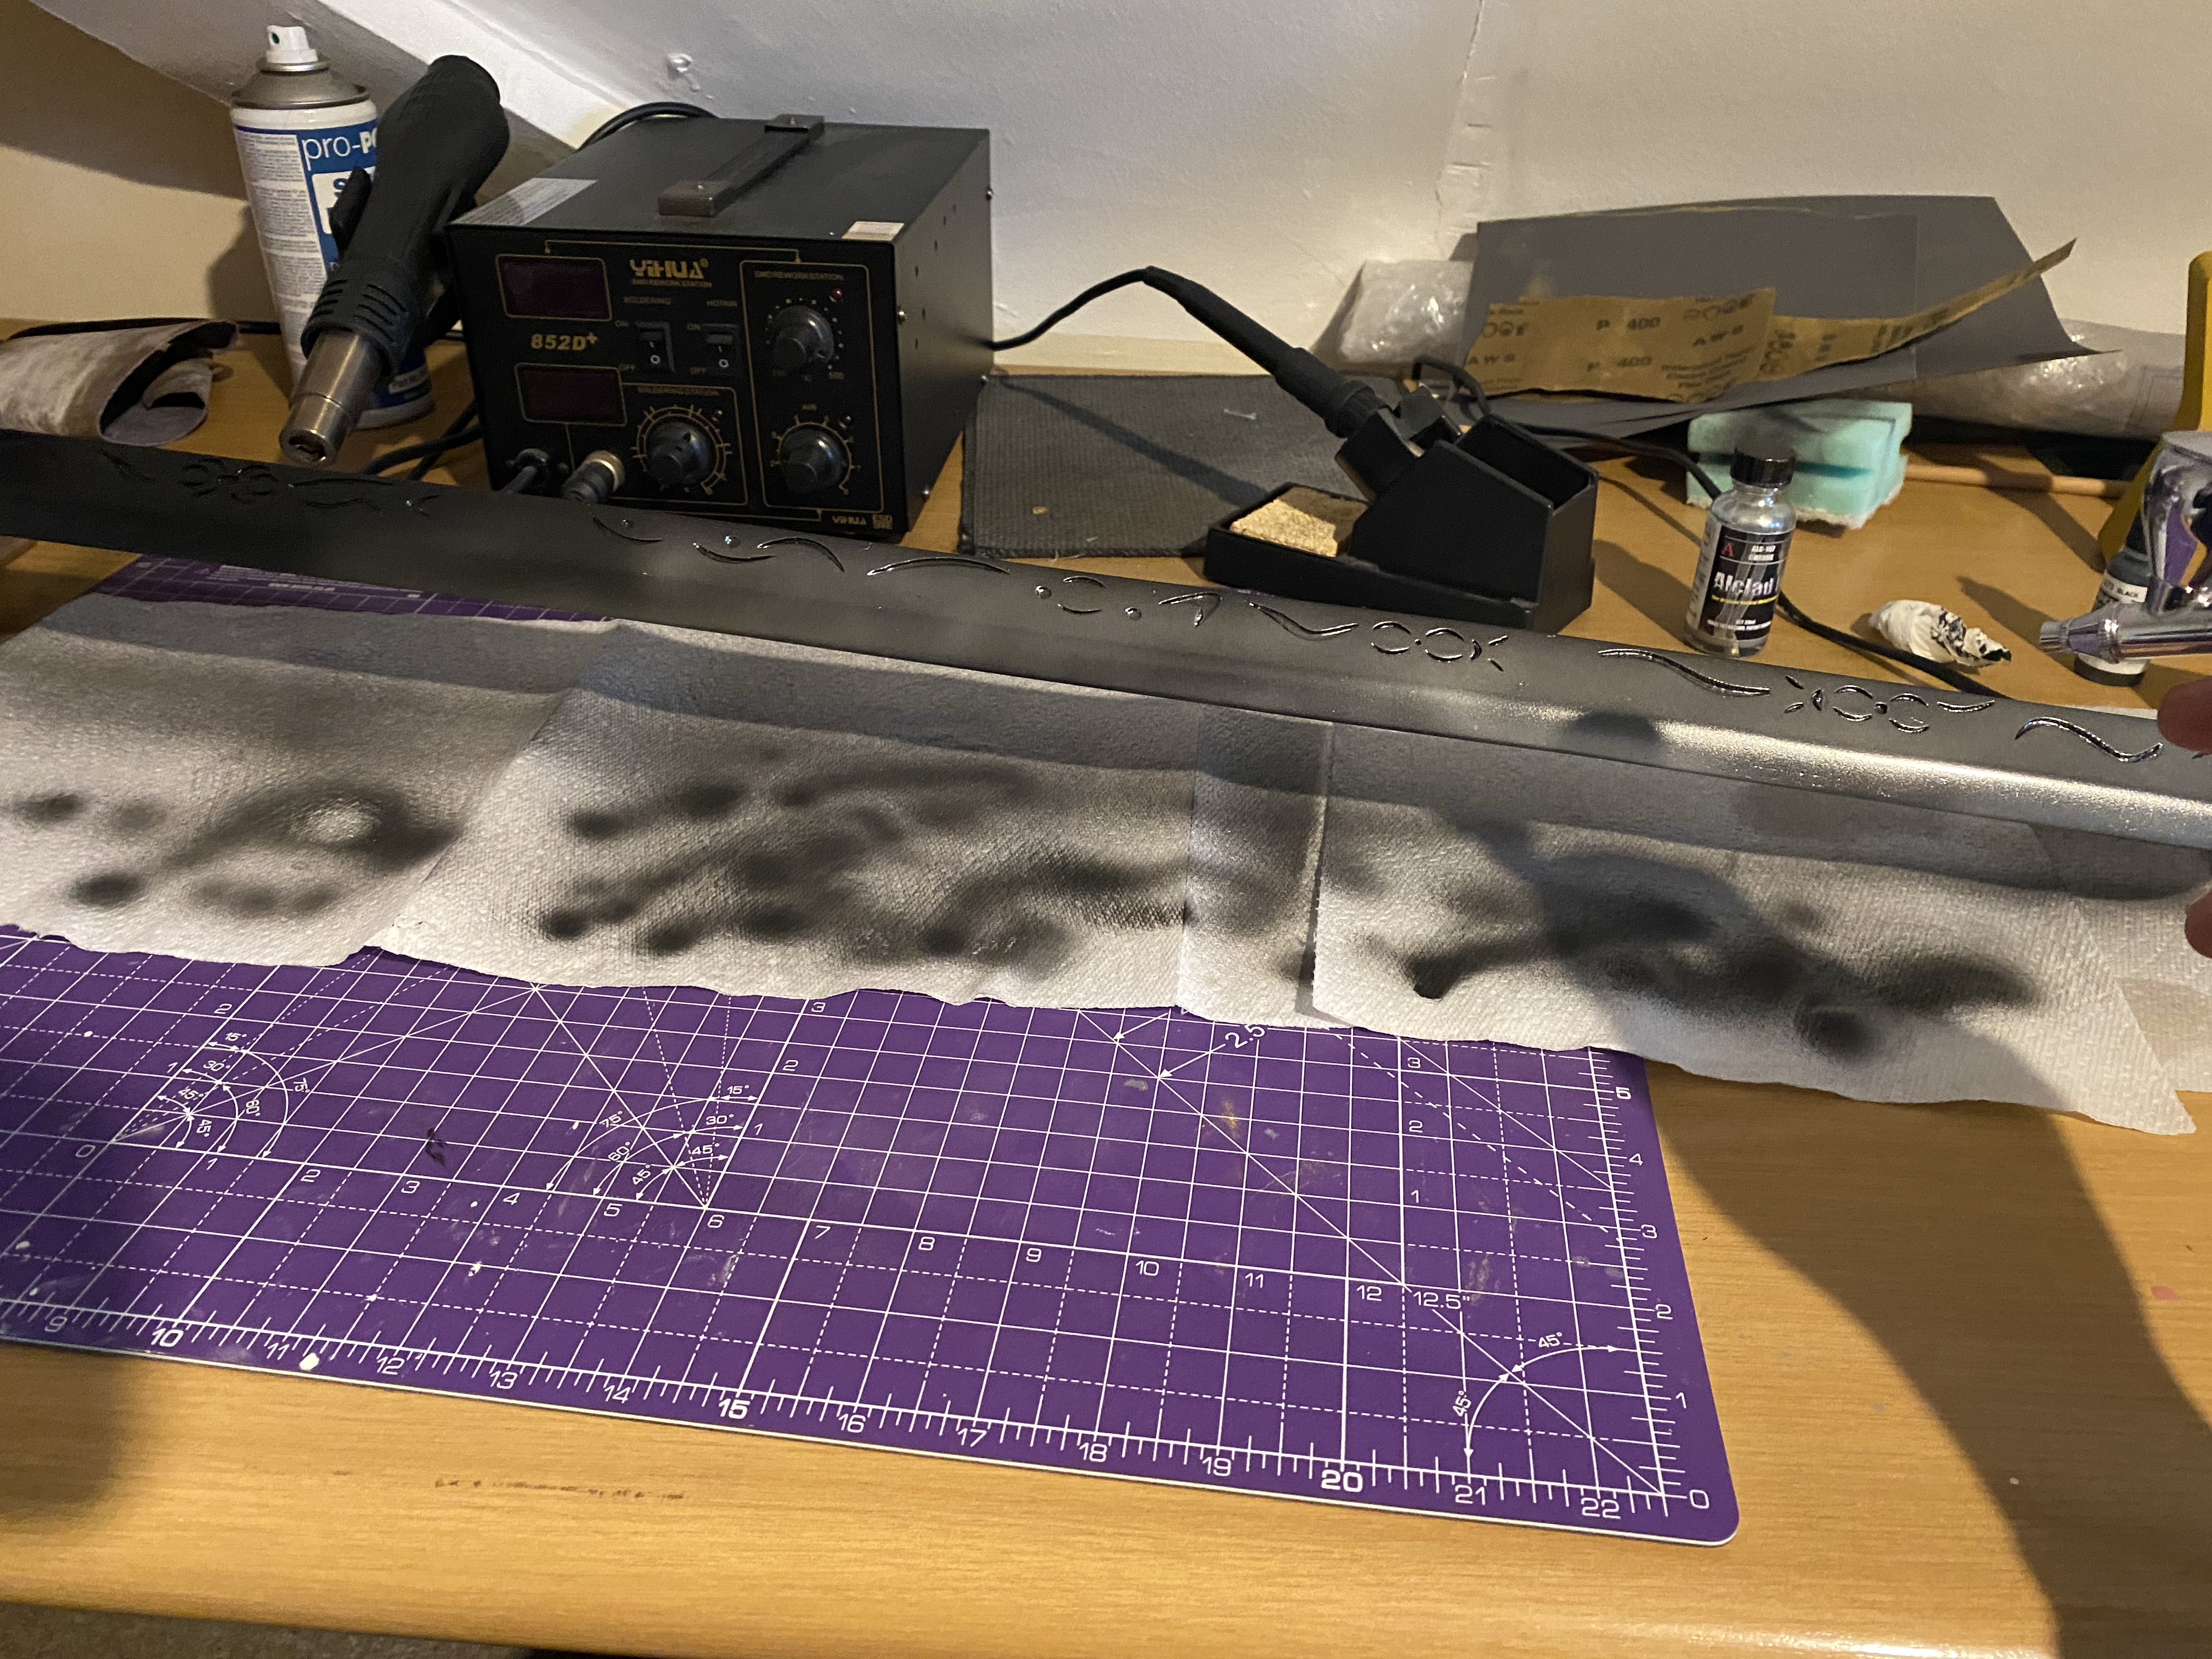
The first coat looks great! Nearly there with the Fullmetal Alchemist sword!
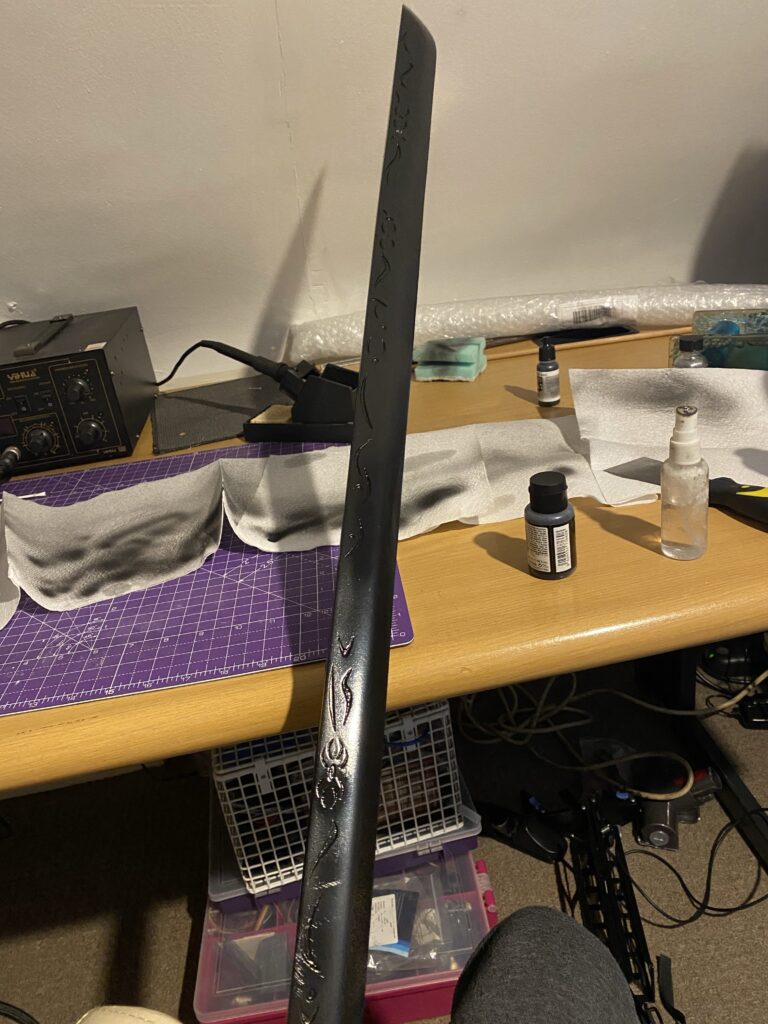
Leaving that to dry and I’m starting to paint the small studs of the Fullmetal Alchemist sword. These were printed on the SLA Printer and have been washed in isopropyl alcohol, cured under a UV light, sanded and primed.
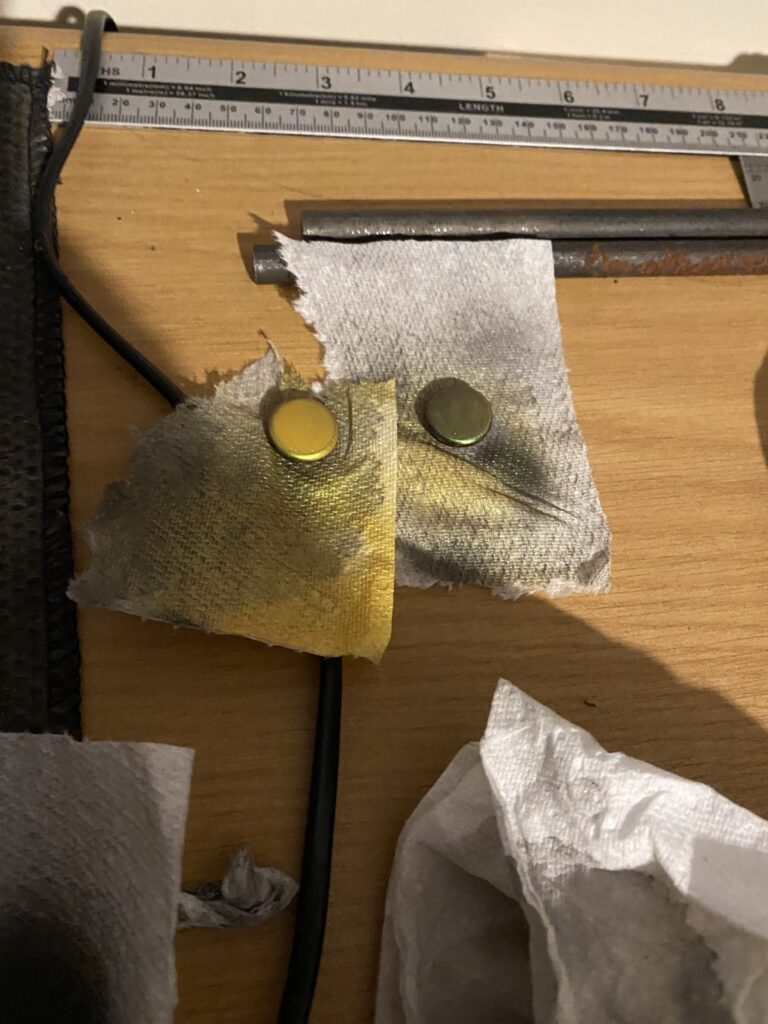
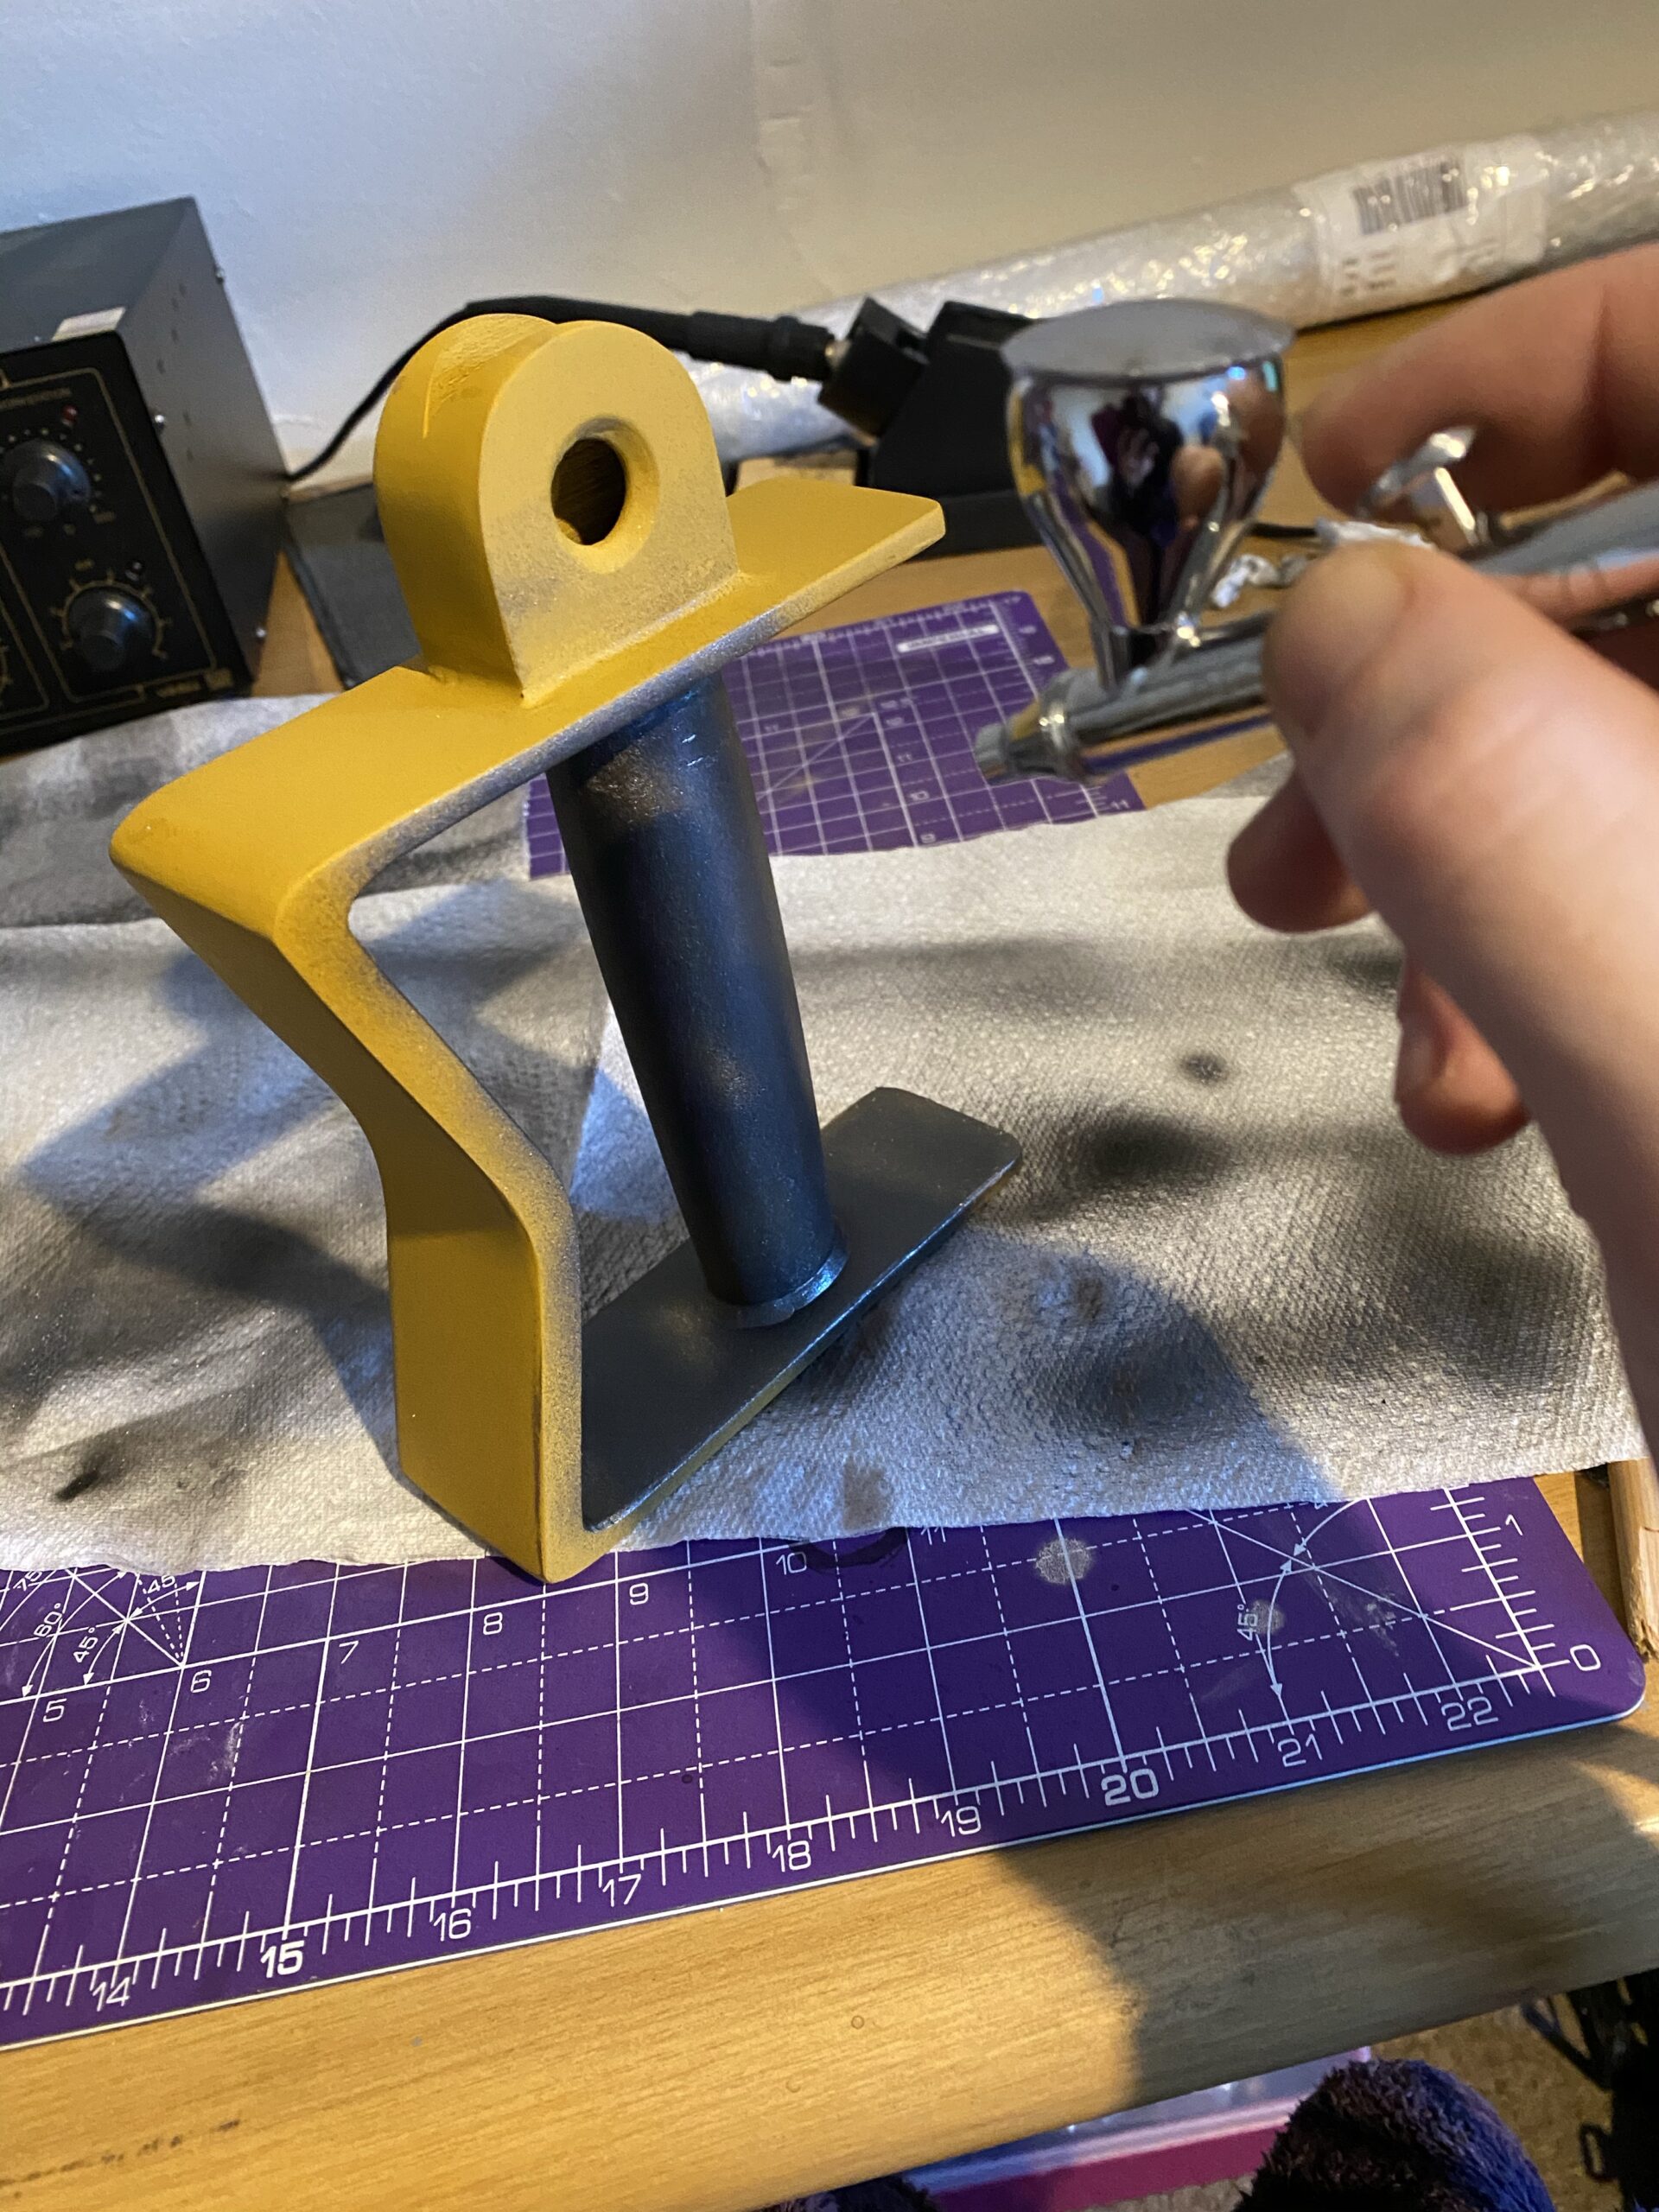
Although I have a few sensible golds I could use for the colouring, I really want to see if the Vallejo Gold Yellow/Burnt Orange [77.015] from the shifters range would look good here. I’m hoping the studs are small enough that it doesn’t look ostentatious, which wouldn’t match what I’m striving for.
Completing work on Armstrong’s sword wouldn’t have been possible without my favourite prop maker The Cosplay Bunny, who was kind enough to offer some technical advice on how to achieve a great metallic finish. Some of the finishes on her work are without equal (Aqua Keyblade anyone?!), and I strongly recommend you check out some of her props and other content, especially if cosplay is something that interests you! Although I am detailing each and every step in this guide, the process here (and one step at the end) is not mine to share.
I superglued the cross guard onto the handle carefully using the blade and the metal support rod as guides and used UV resin to fill the gaps. Did another few rounds of the sand and primer filler dance, and it is really coming together! As you can tell, Prototype I is a little further along than Prototype II.
Handle looking smooth, time to paint, love this part! For the handle of the Fullmetal Alchemist sword, I’ll be using Vallejo Black Metallic [71.073].
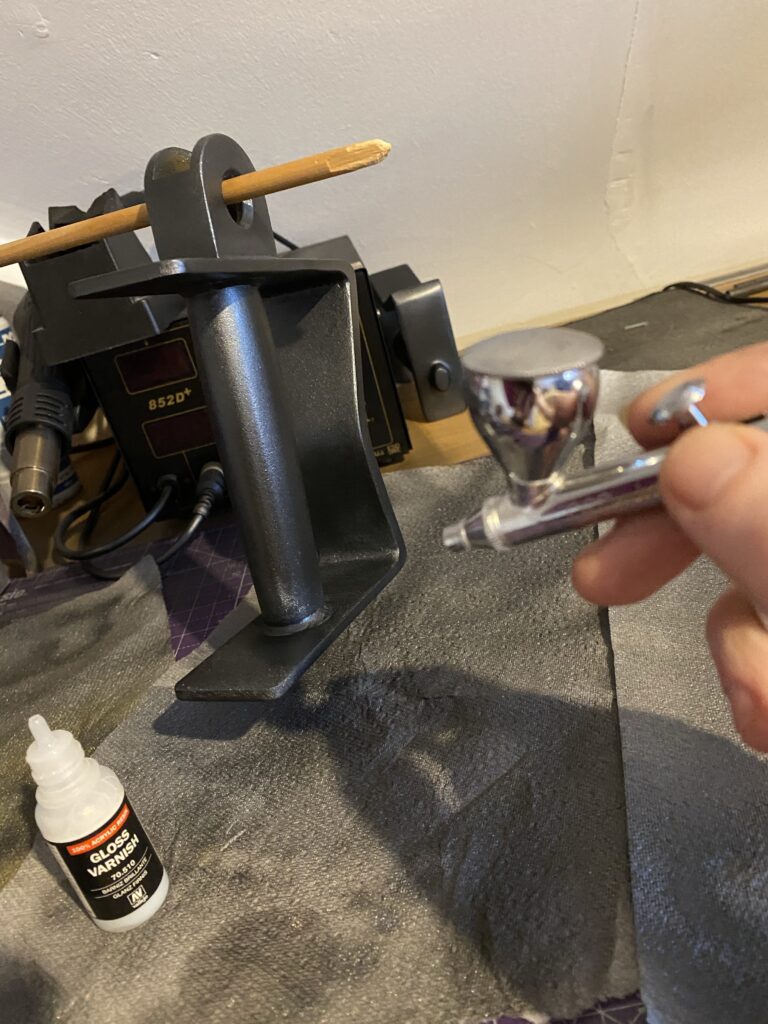
Now a few light layers of Vallejo Gloss Varnish [70.510] for the handle:
Once the varnish had dried, it was time to check out the studs. It… does not look great if I’m being honest. Very bright and gaudy, I’m going to respray with something a little duller.
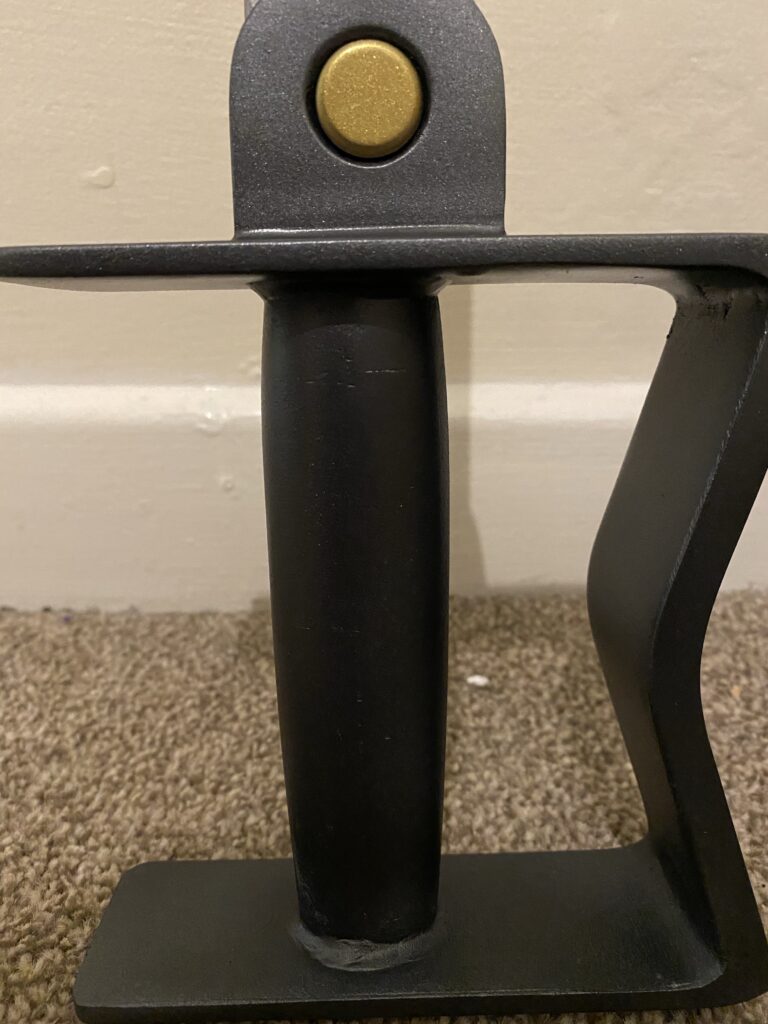
I tried a couple of other gold paints for the studs, and one copper. None of them really matched in the way I was hoping, but then I found one that I thought was perfect for this Fullmetal Alchemist sword! I used Vallejo Bright Brass [71.067].
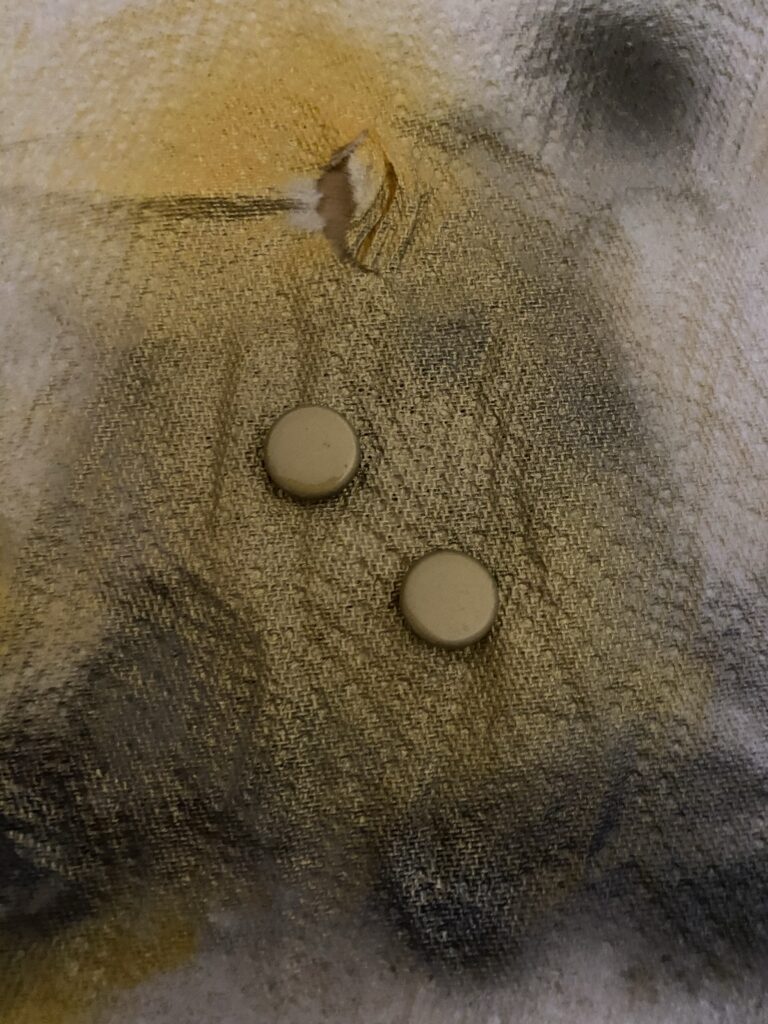
I assembled the completed parts and carefully glued the rod in place… careful now, don’t want to mess up at this point! Finally, I finished the blade with the aforementioned step I said I wouldn’t mention and…. And done? I think so. Yes! Actually finished!!
But before I show the fully completed items, this is what I’m not happy with and will ideally not be present on the next model.
Result
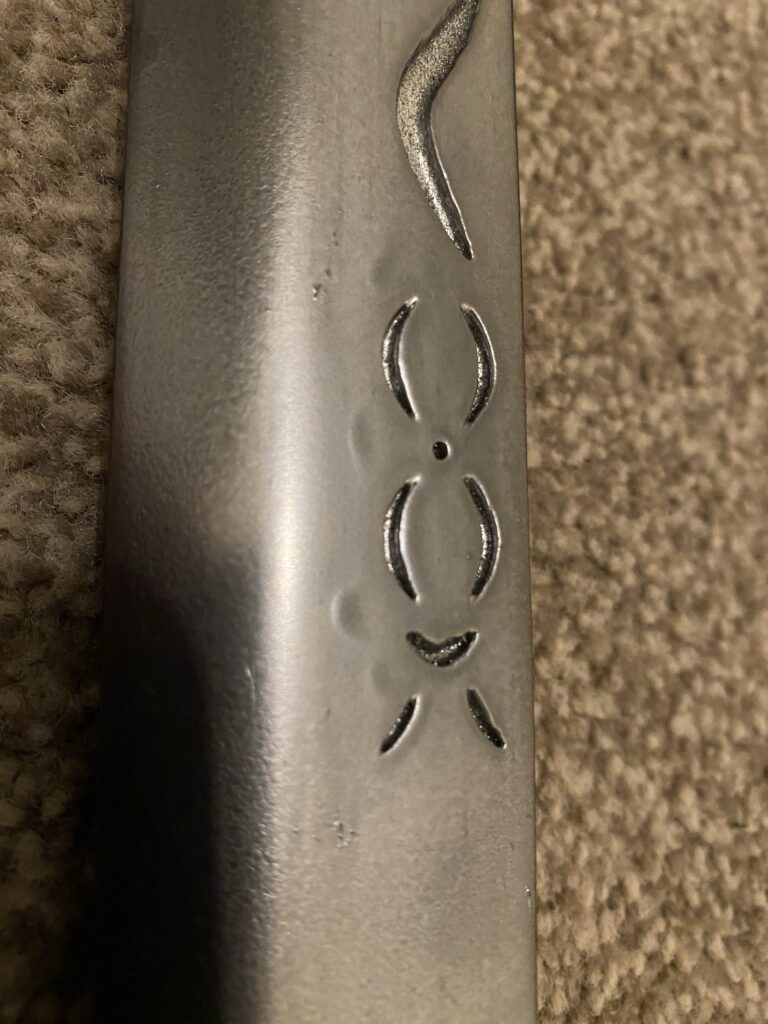
I want to be upfront about what I consider defects. There is one small join line that I didn’t quite manage to hide. Hard to see in the picture, much more noticeable under better lighting.
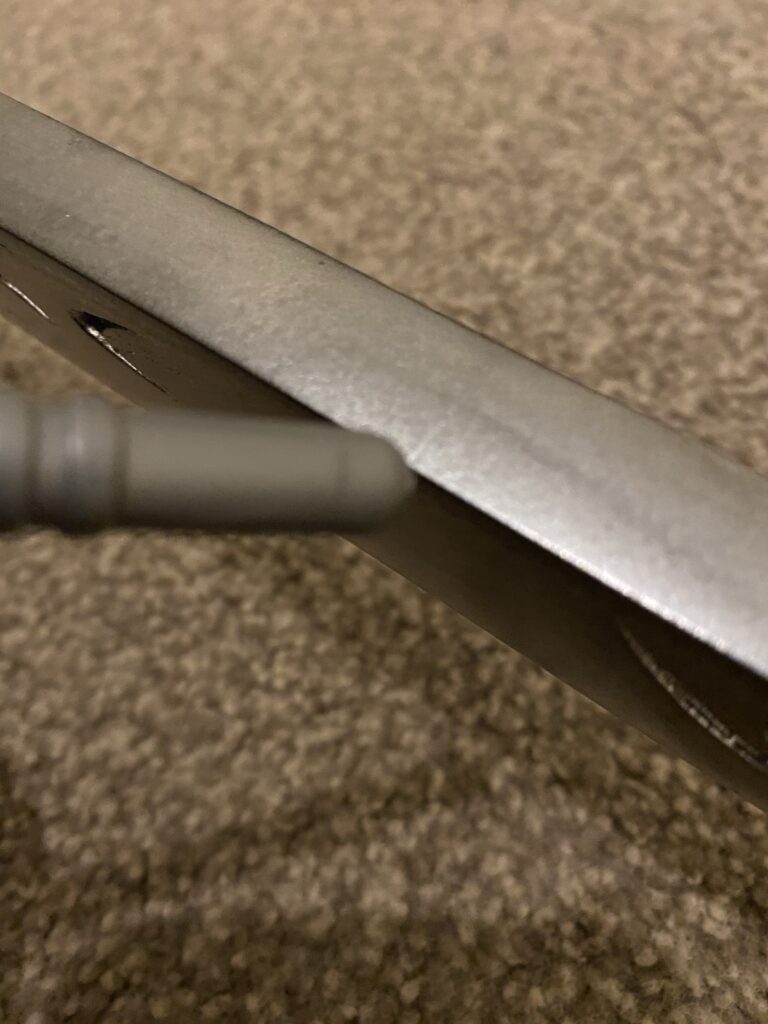
And on both sides, there are two small imperfections with the paint visible here:
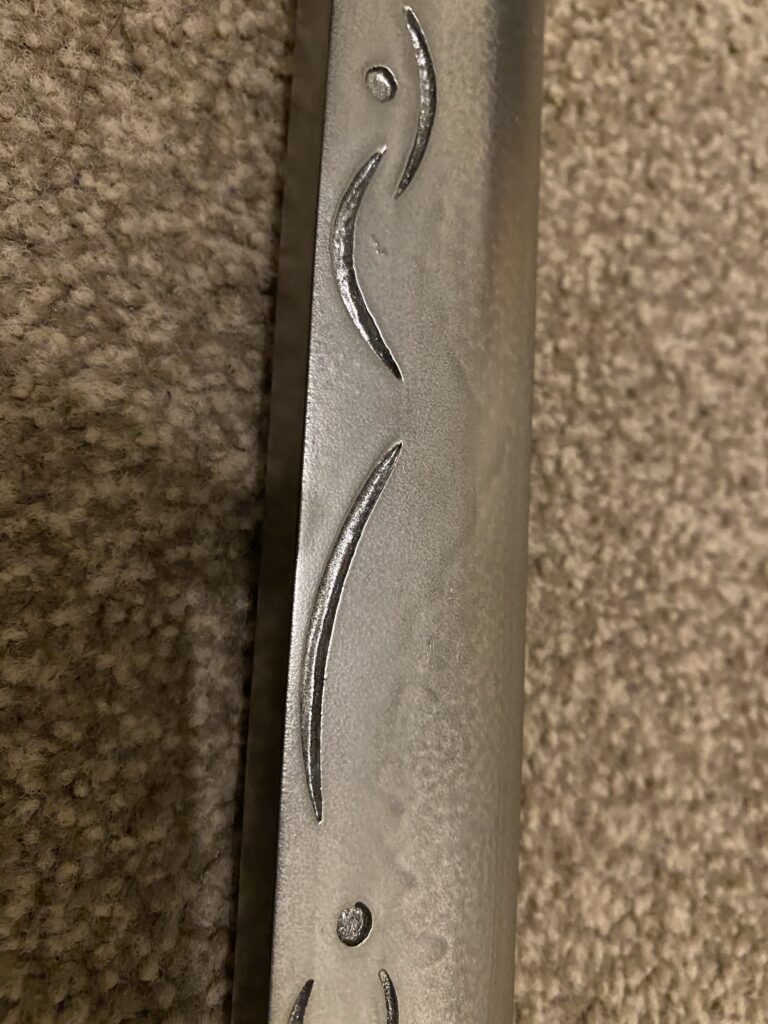
And here:
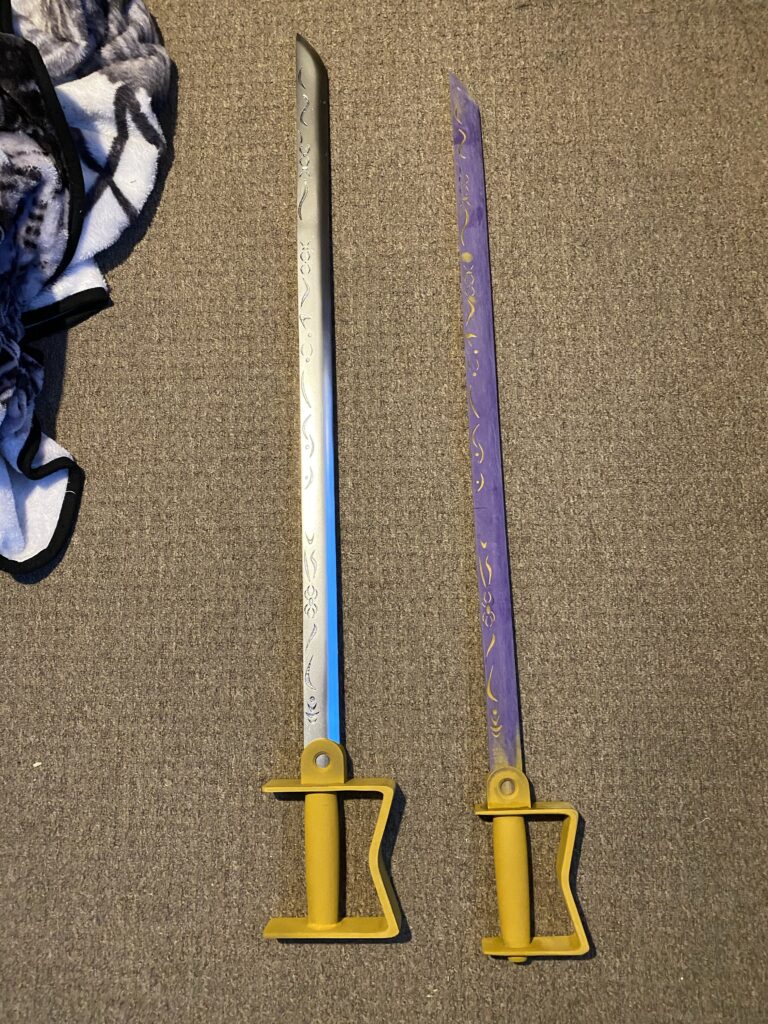
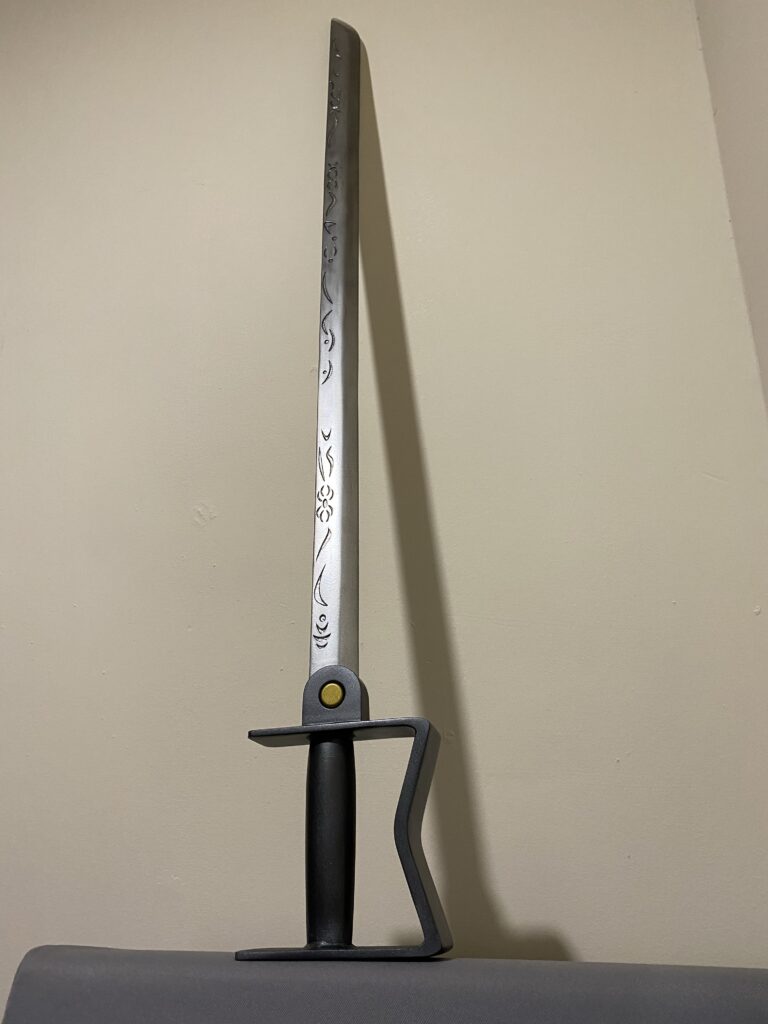
AND HERE IT IS, THE FINISHED PROTOTYPE OF THE FULL METAL ALCHEMIST SWORD!
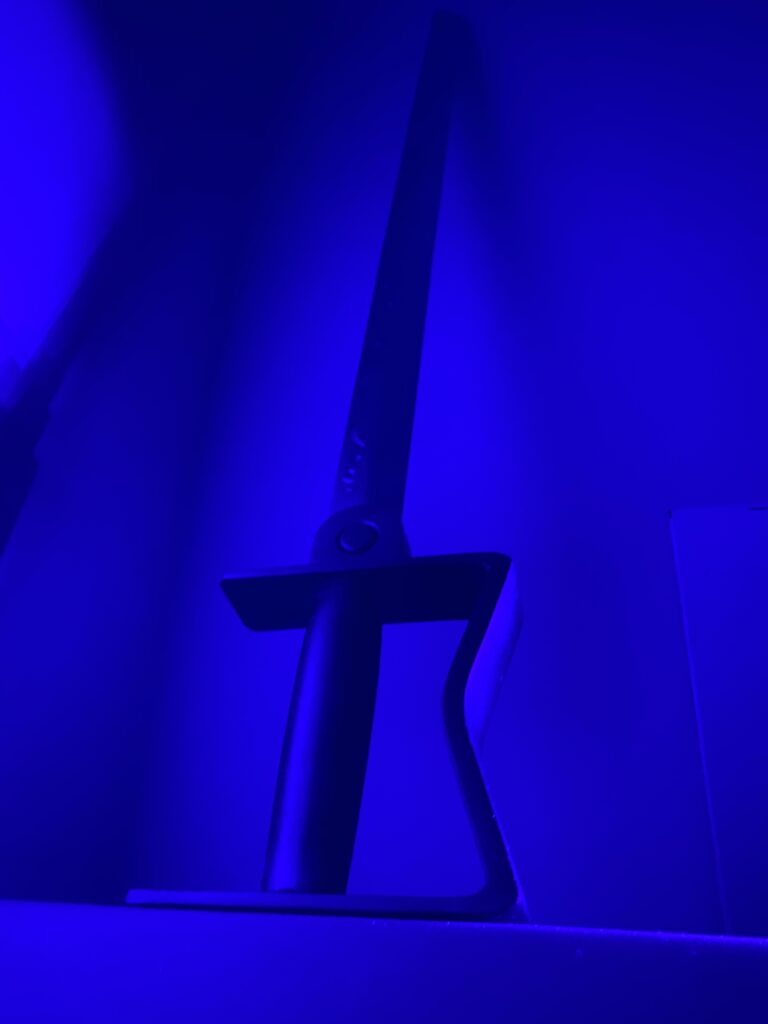
Thanks for reading!
If you enjoyed this, you might like some of the related articles from the Overview, or perhaps a different Project altogether?
Love what you saw? Got a project in mind? Feel free to reach out and let me know!


