Introduction
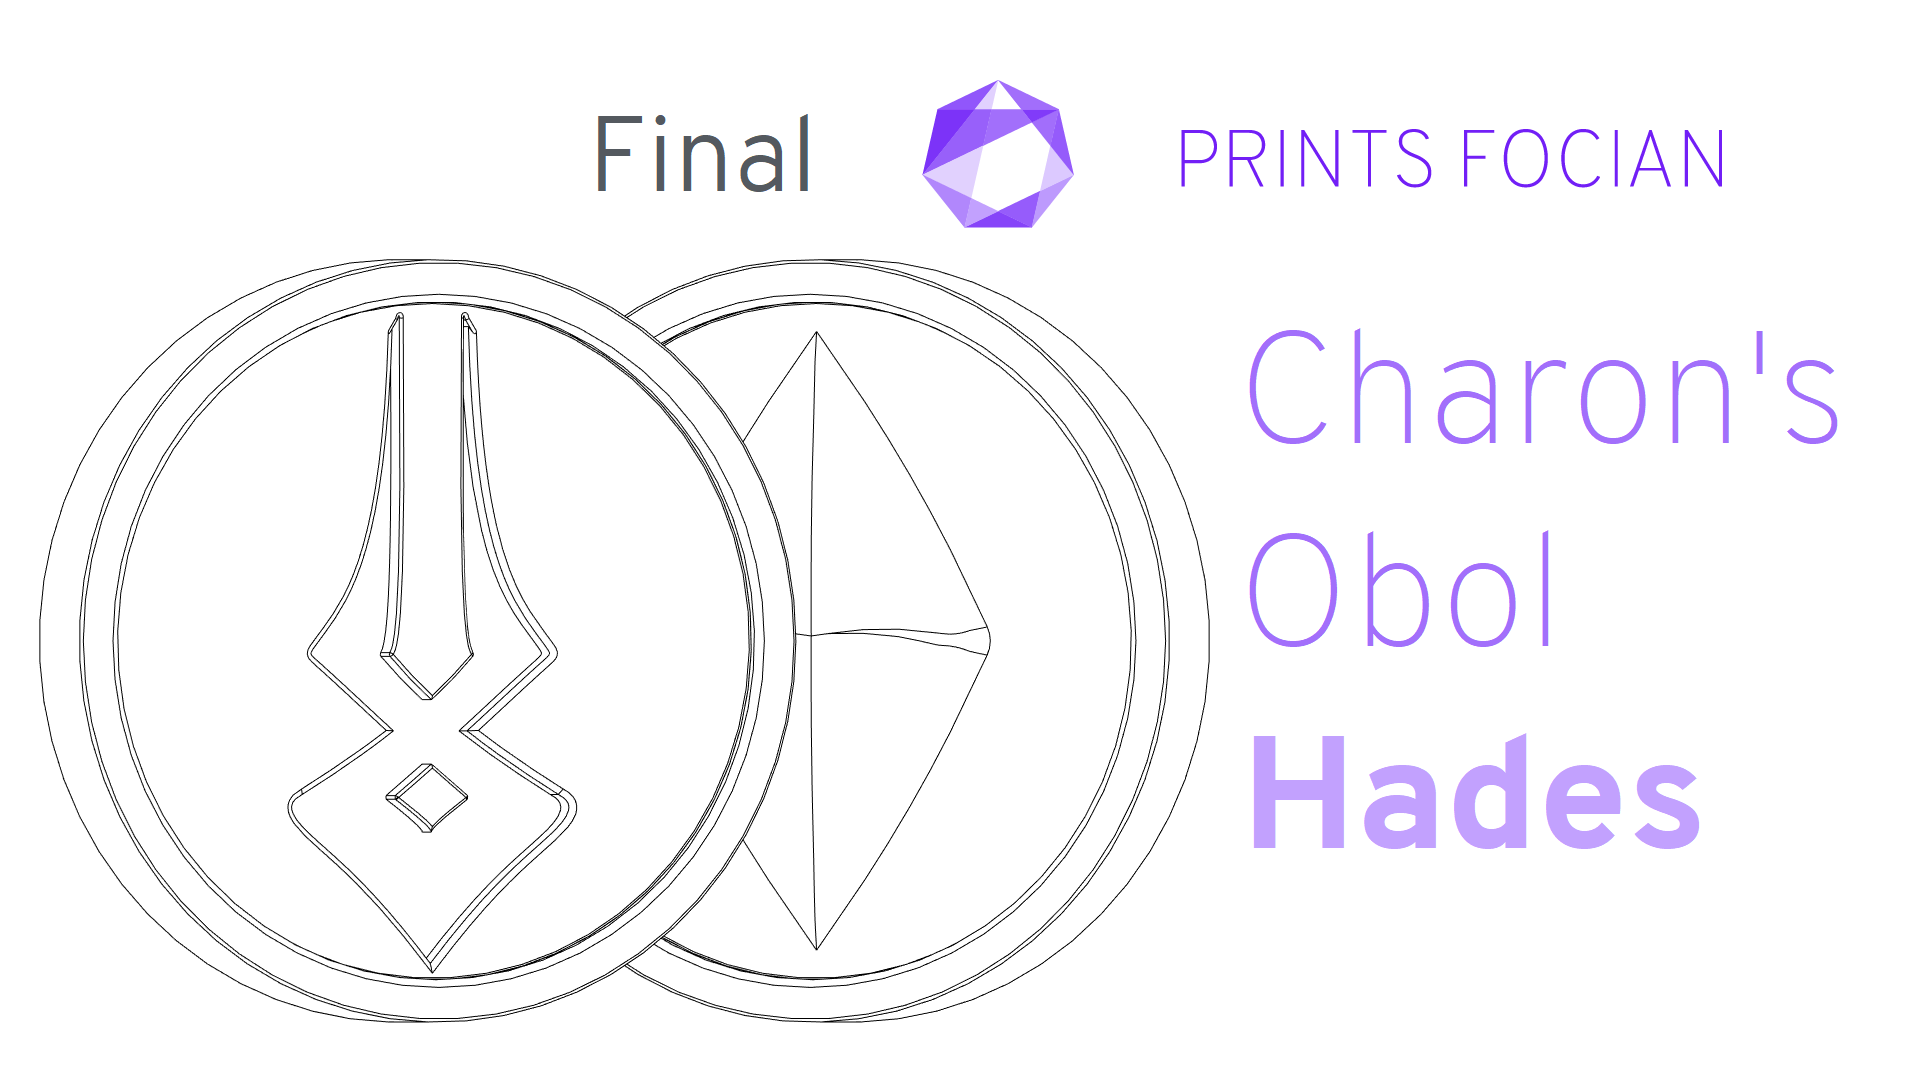
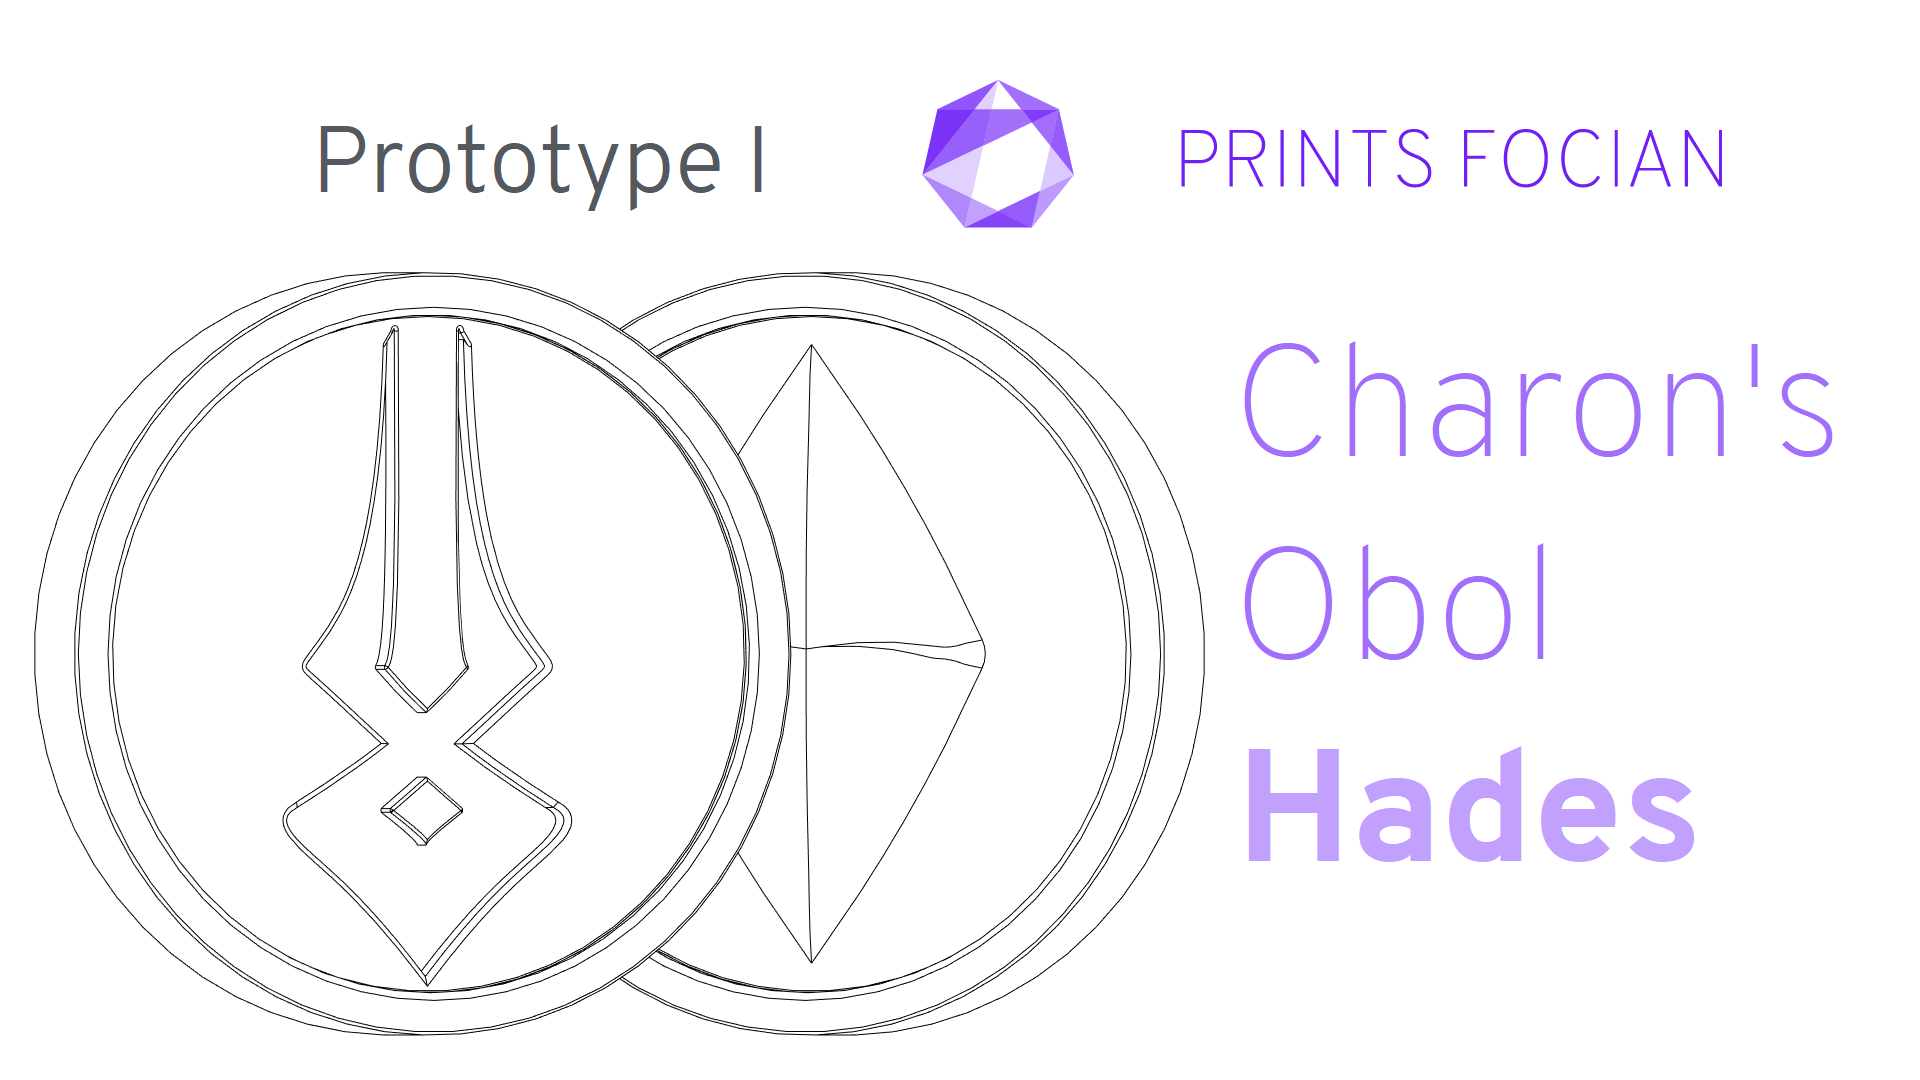
Welcome! In this build guide I’ll be walking you through the process I took in making a finished coin inspired by Charon’s Obol from Supergiant Games Hades.
This will be an intensive look at the Prototype I version of this project from start to finish. It doesn’t matter if you’re looking for guidance with a Build Kit, thinking to Print It Yourself or just curious to see the project: You’re in the right place!
While this unlicenced replica is intended for decorative purposes or for use as a cosplay prop, the main reason for building it is because it’s quite unlike my past work and I can’t stop playing Hades at the moment!
Check out the link at the bottom of the page for the Overview if you want to see more!
Design
The entirety of the first Prototype was recorded on January 30th 2021.
I had a number of options, but for the first one, I really wanted to get the printer running with something tangible. What I went with was a coin with the symbol ever-so-slightly recessed on both sides and a lip that runs around the edge of each face.
Build
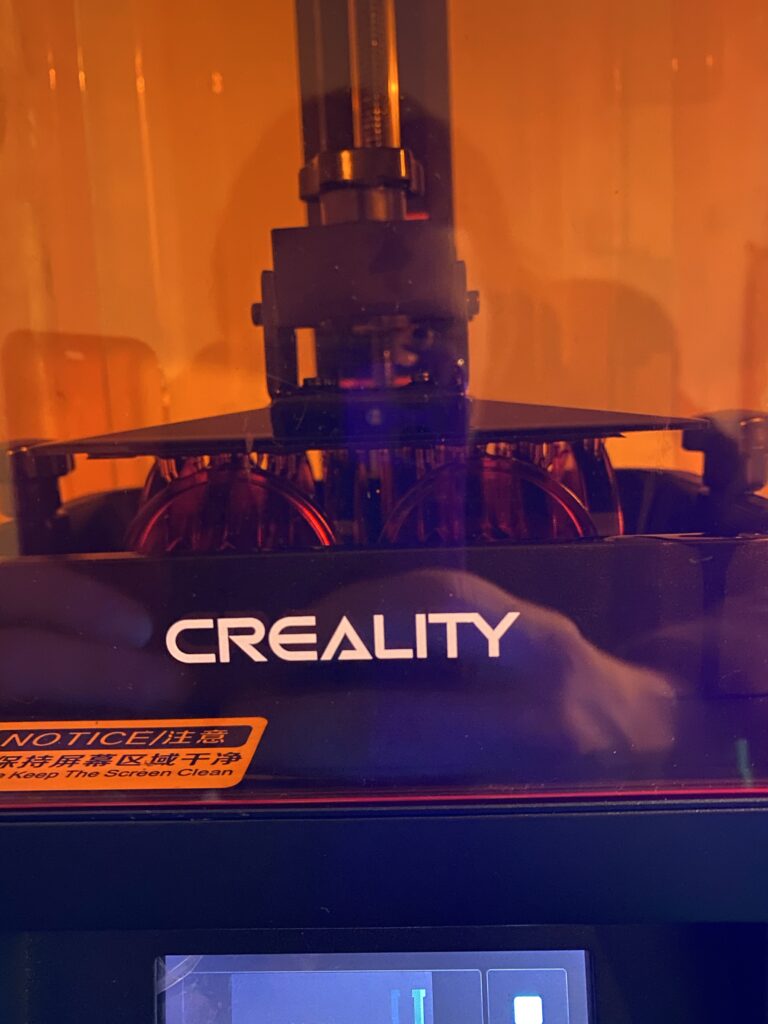
SLA printing is proving much more reliable and user-friendly than FDM, and the early design printed off beautifully.
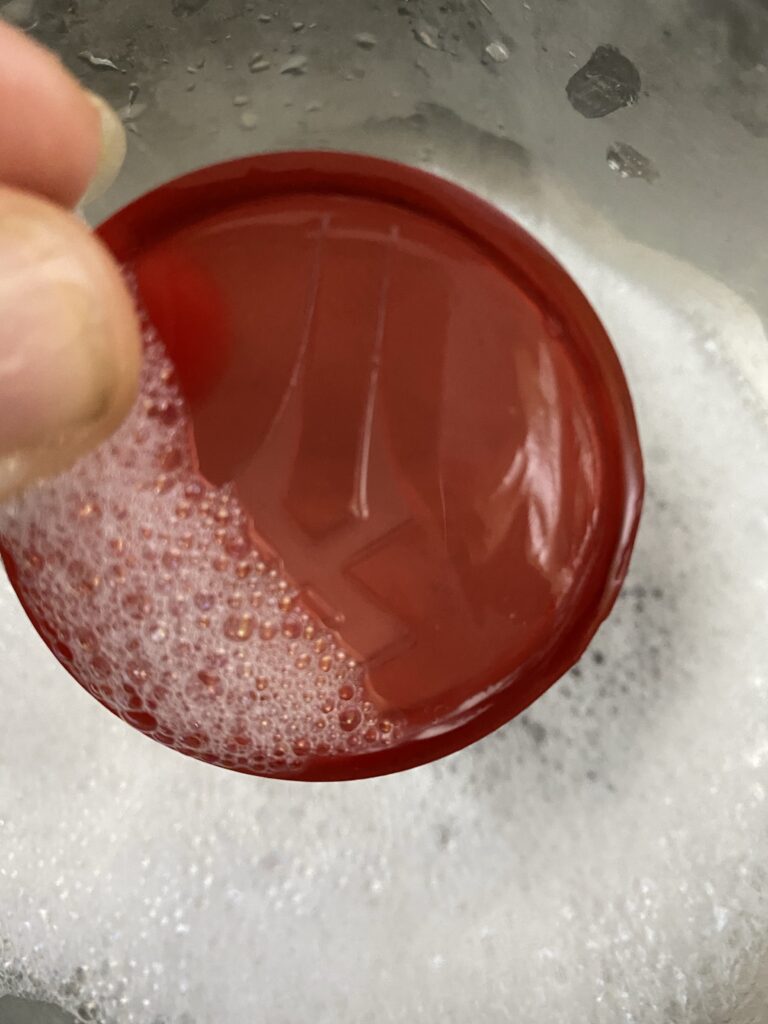
Since I’m using water washable resin, a quick ten-minute bath in warm soapy water clears the majority of the excess resin.
Printed, cleaned and cured!
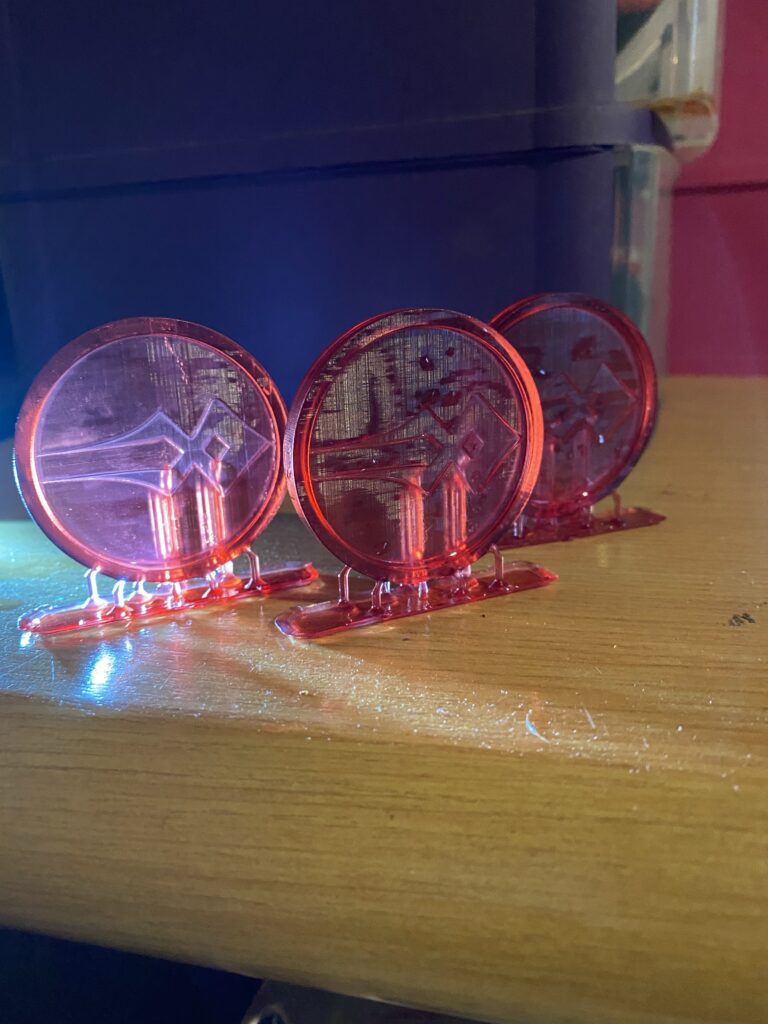
Although there is less sanding to do, I still need to work on the material to get the perfect finish… There’s no escaping it, but I plan to minimize sanding as much as possible on this project. The idea here was to use a file to rough the edges inside the symbol, then they’d be finished when I sand the face of the coin.
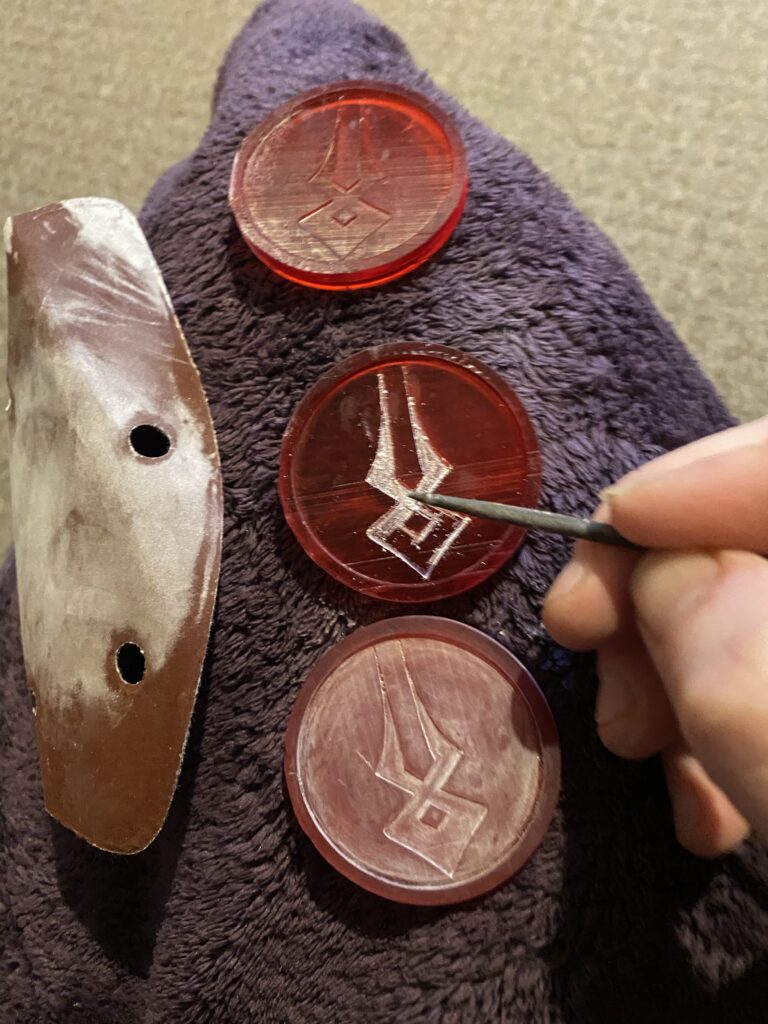
It didn’t work and I learned my lesson… I sanded too vigorously and removed the symbol from the face.
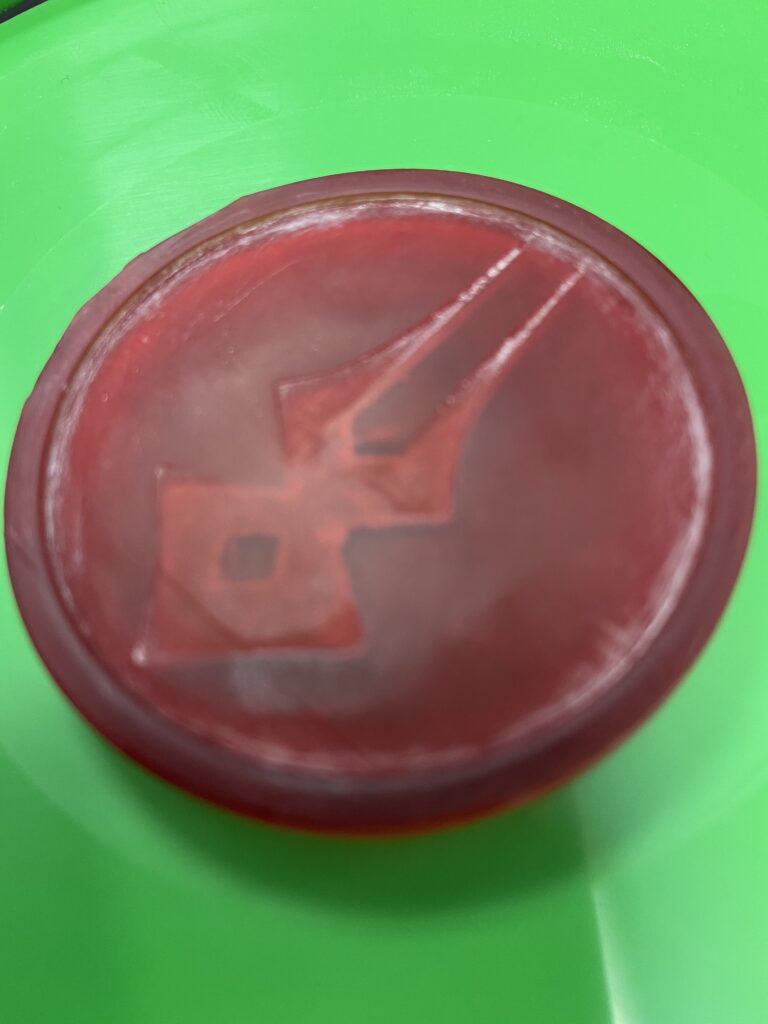
While it’s easy to think “well sand more gently” I’m taking this as a design flaw that’s heavy enough to push on with Prototype II. I still plan on completing three of these early designs, but purely in an experimental manner. Next time I’ll make the recess much deeper.
Finish
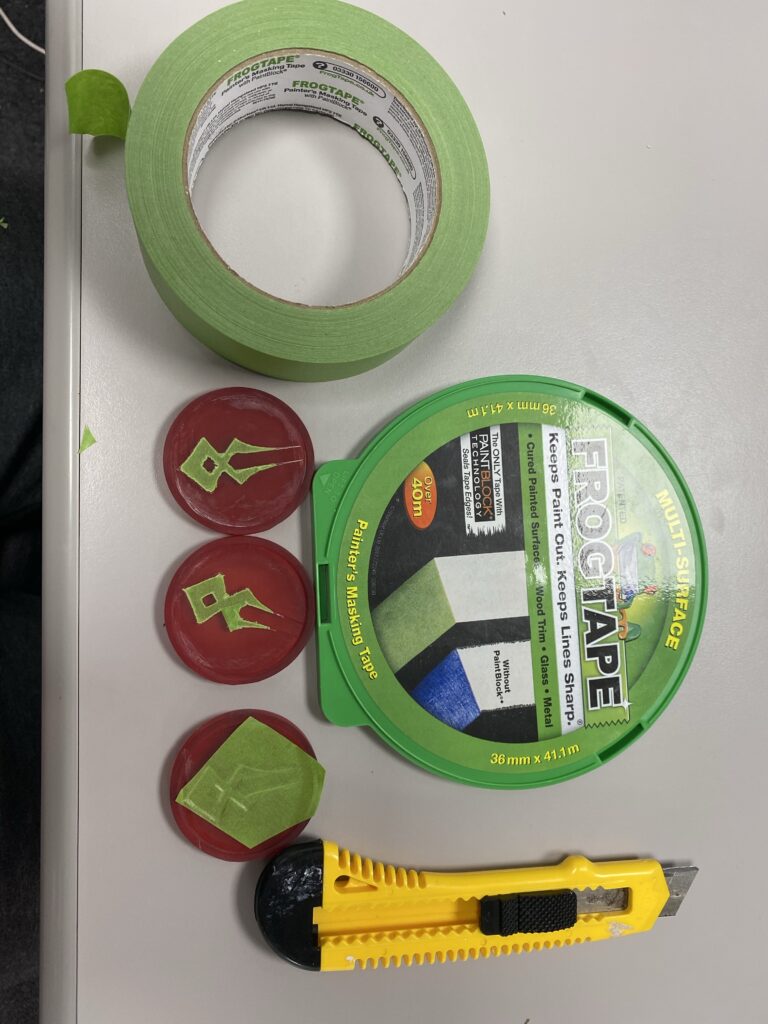
Since I am printing in transparent red resin, I’m going to use that printed surface for the symbol’s colouring. Once the sanding is done, it’s time for me to tape up the sections I want to keep red and get spraying! That was the plan, but I did not get the result I wanted from the Frog Tape. This is 100% why prototyping things is important. The way the tape went on was not great, and while it would get better with time, I’m not a fan of doing it this way. There is a tool for every task. and this is not it!
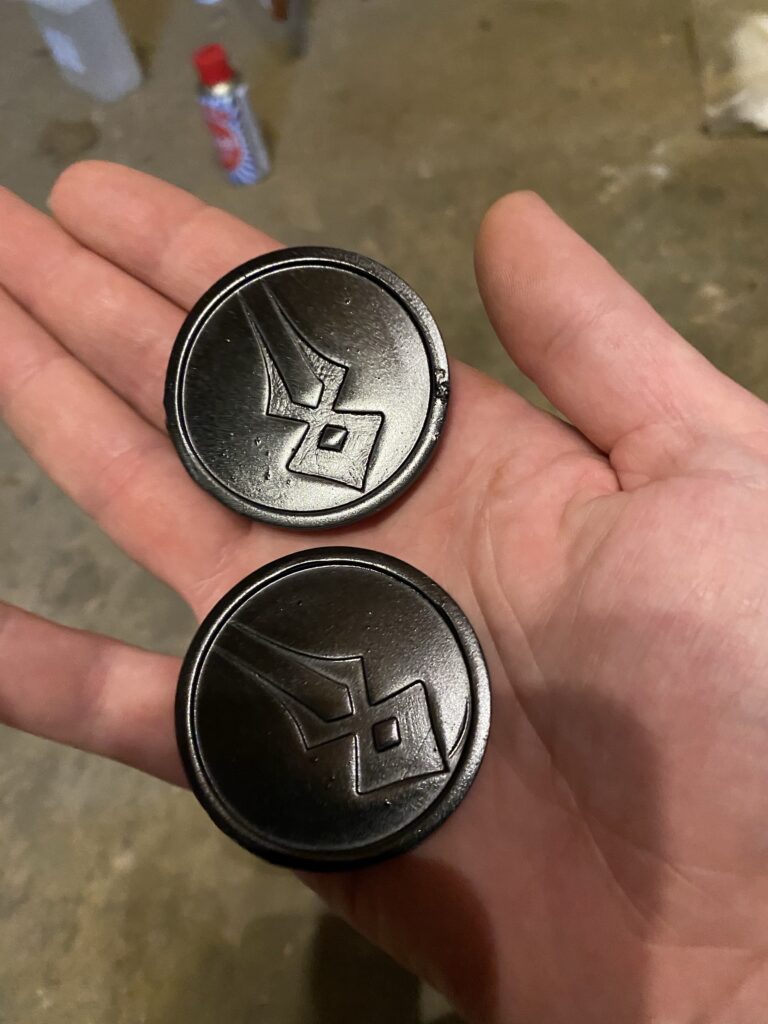
First, I prime with a few coats of grey.
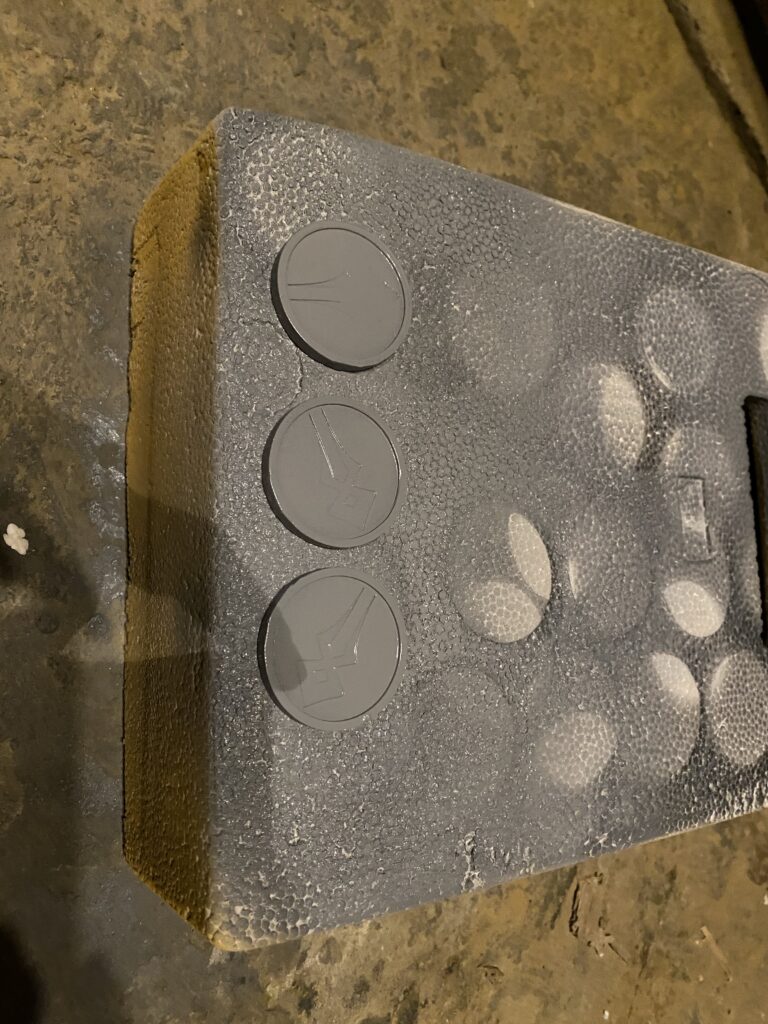
Then I use Gloss Black spray paint, this is to try and bring the shine out later.
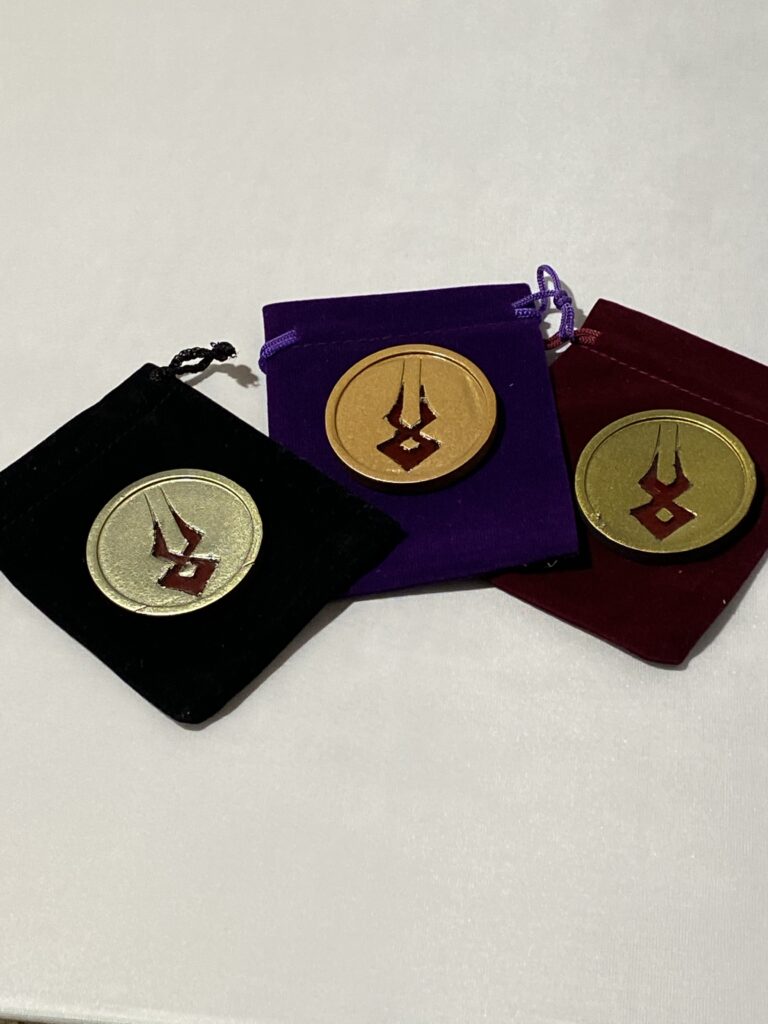
And now I have three colouring options selected for the three coins:
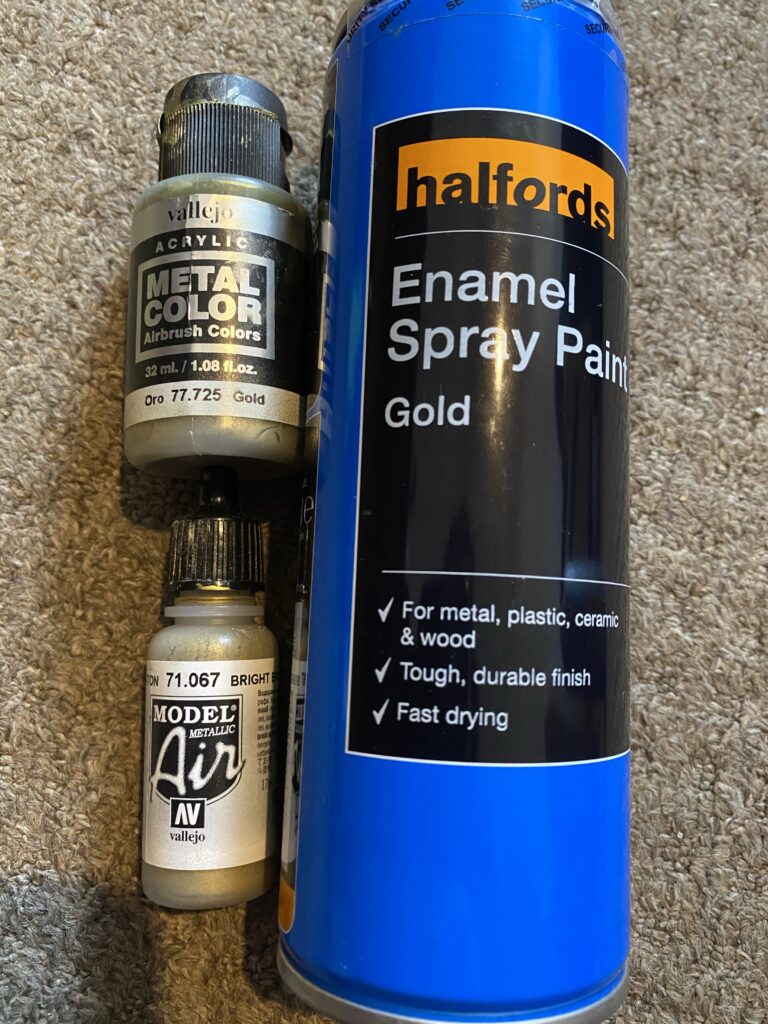
They are definitely low quality, but they serve their purpose to get answers to design options with physical models. I’m pretty much at the endgame here!
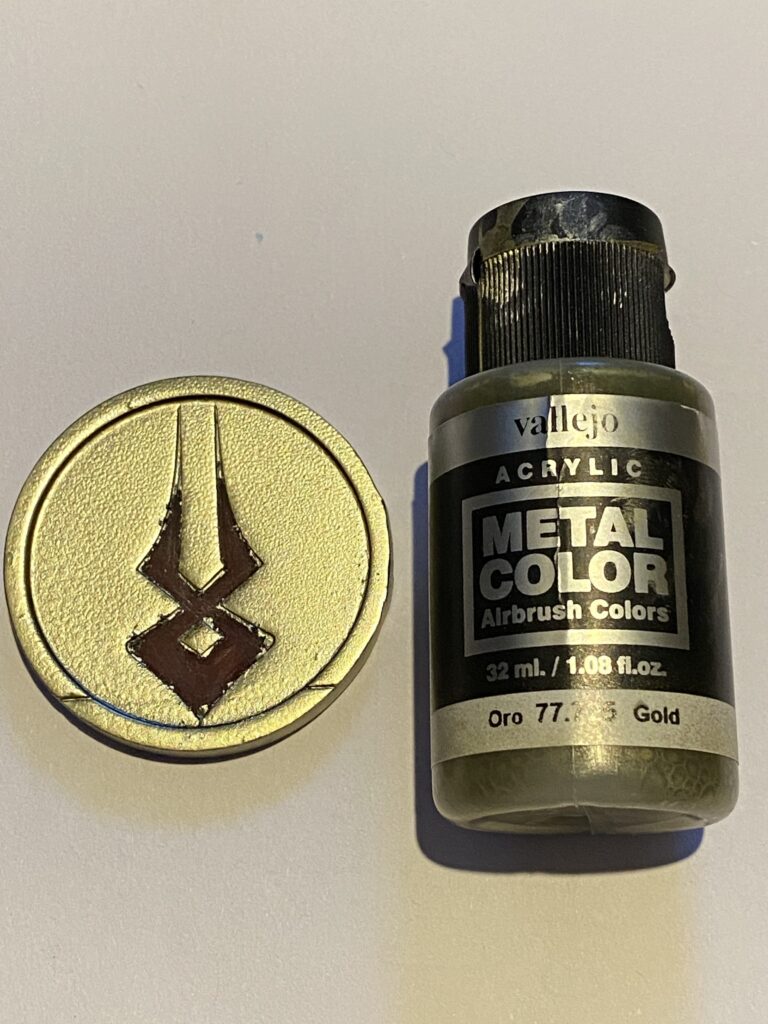
This is the Vallejo Gold [77.725]:
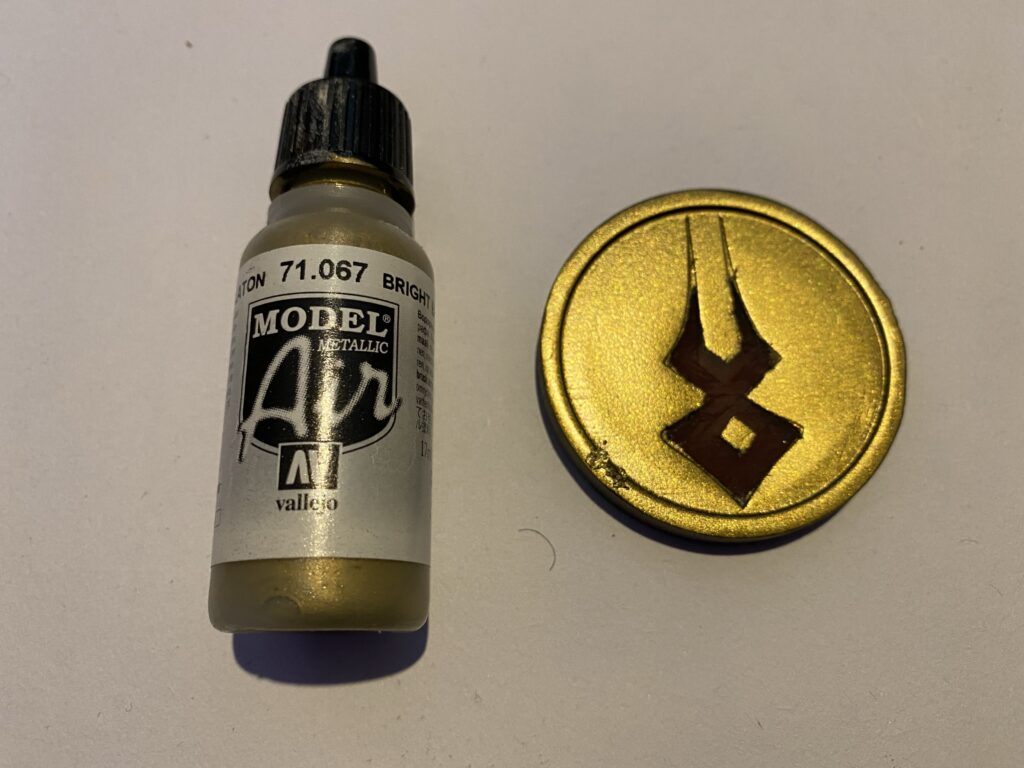
And the Vallejo Bright Brass [71.067]:
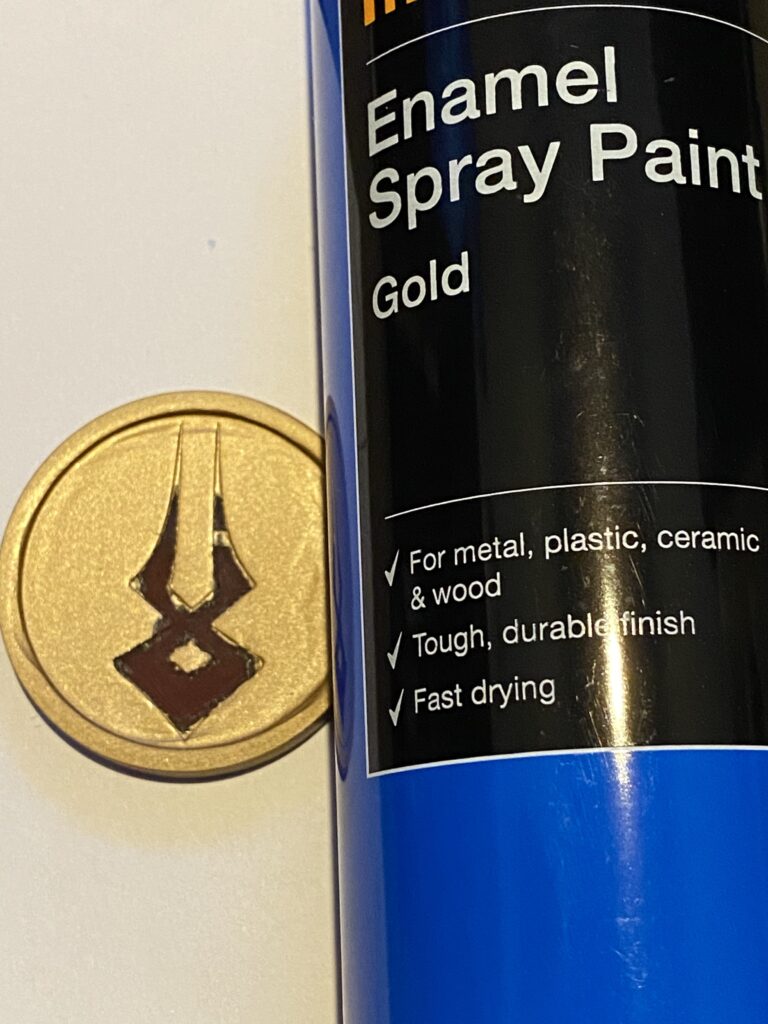
And lastly, I wanted to see how Halfords Enamel Gold Spray Paint looked:
Result
I applied a couple of thin layers of Clear Laquer and done!!
Perfect prototype! It highlighted design flaws and continued to provide service via surface for experimentation, I couldn’t ask for a better failure! I don’t consider these to be of a high enough quality to sell.
Thanks for reading!
If you enjoyed this, you might like some of the related articles from the Overview, or perhaps a different Project altogether?
Love what you saw? Got a project in mind? Feel free to reach out and let me know!