Introduction
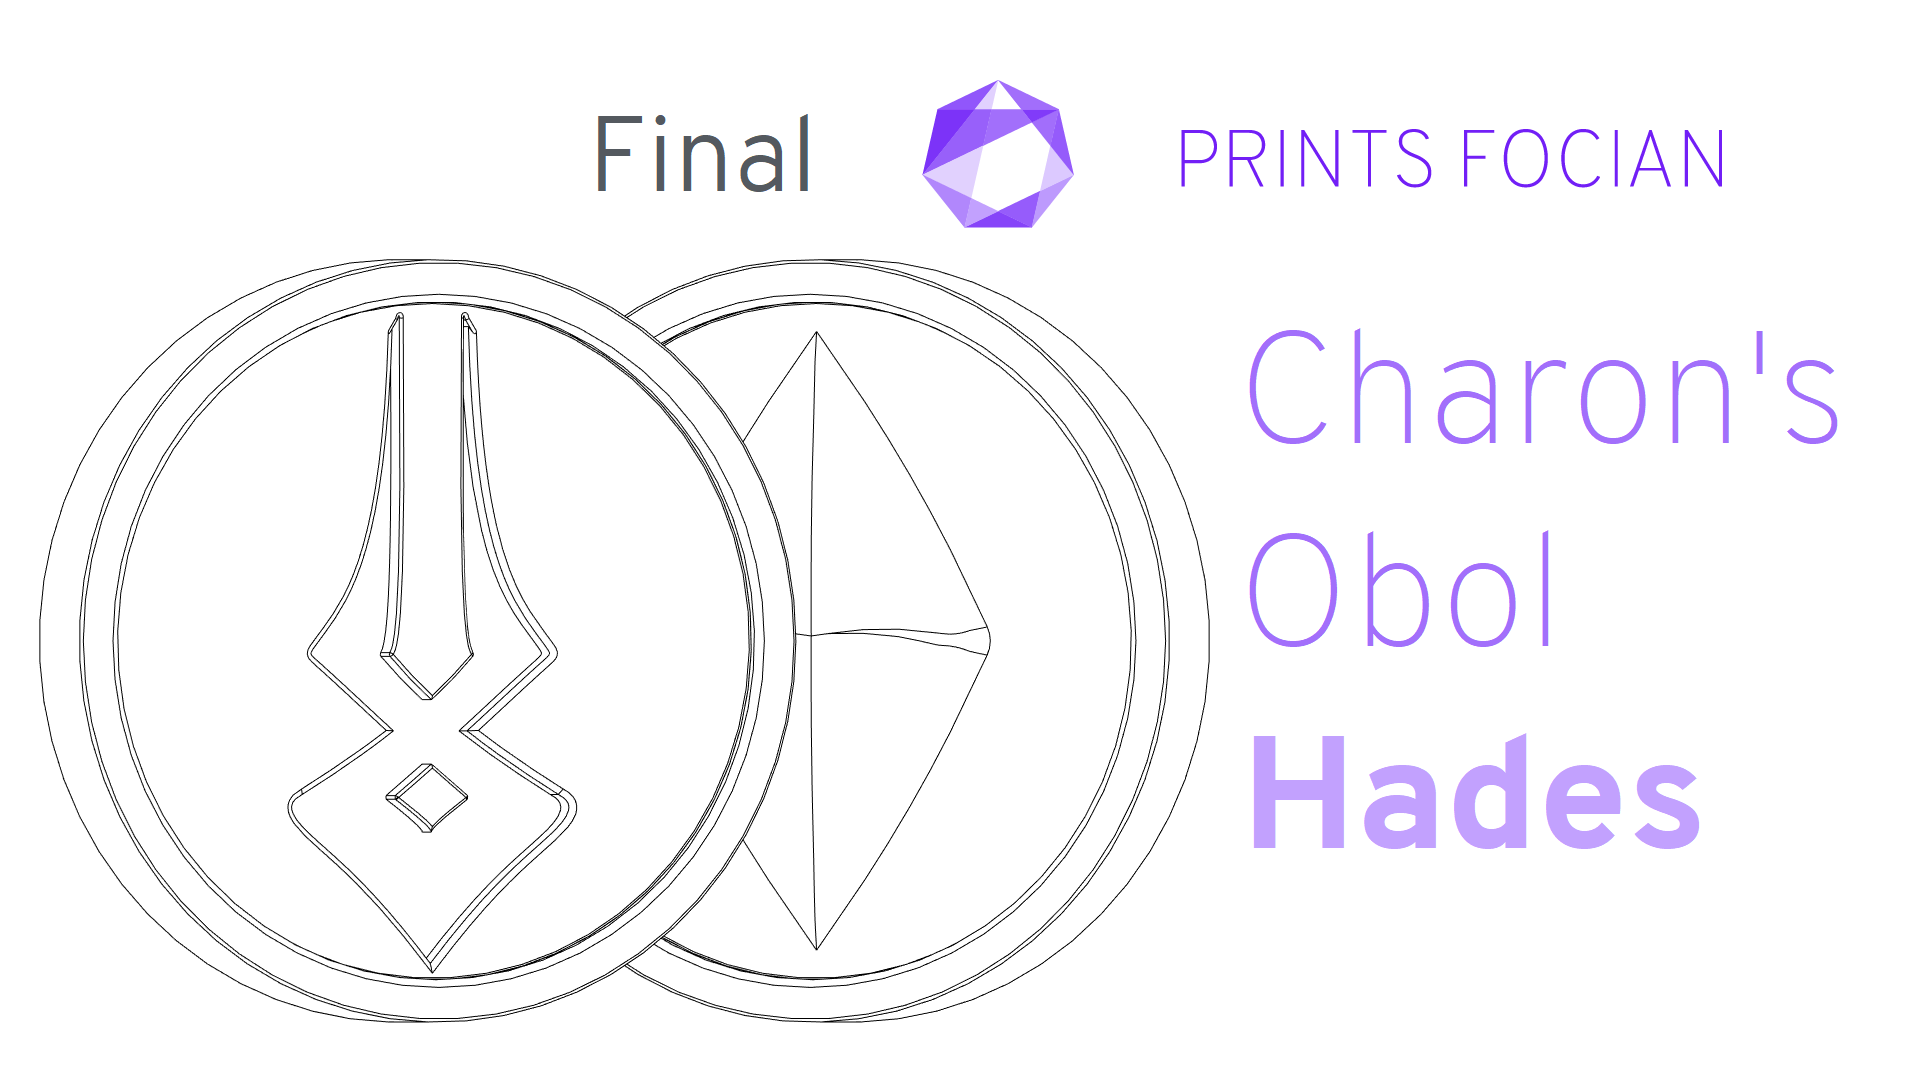
Welcome! In this build guide I’ll be walking you through the process I took in making a finished coin inspired by Charon’s Obol from Supergiant Games Hades.
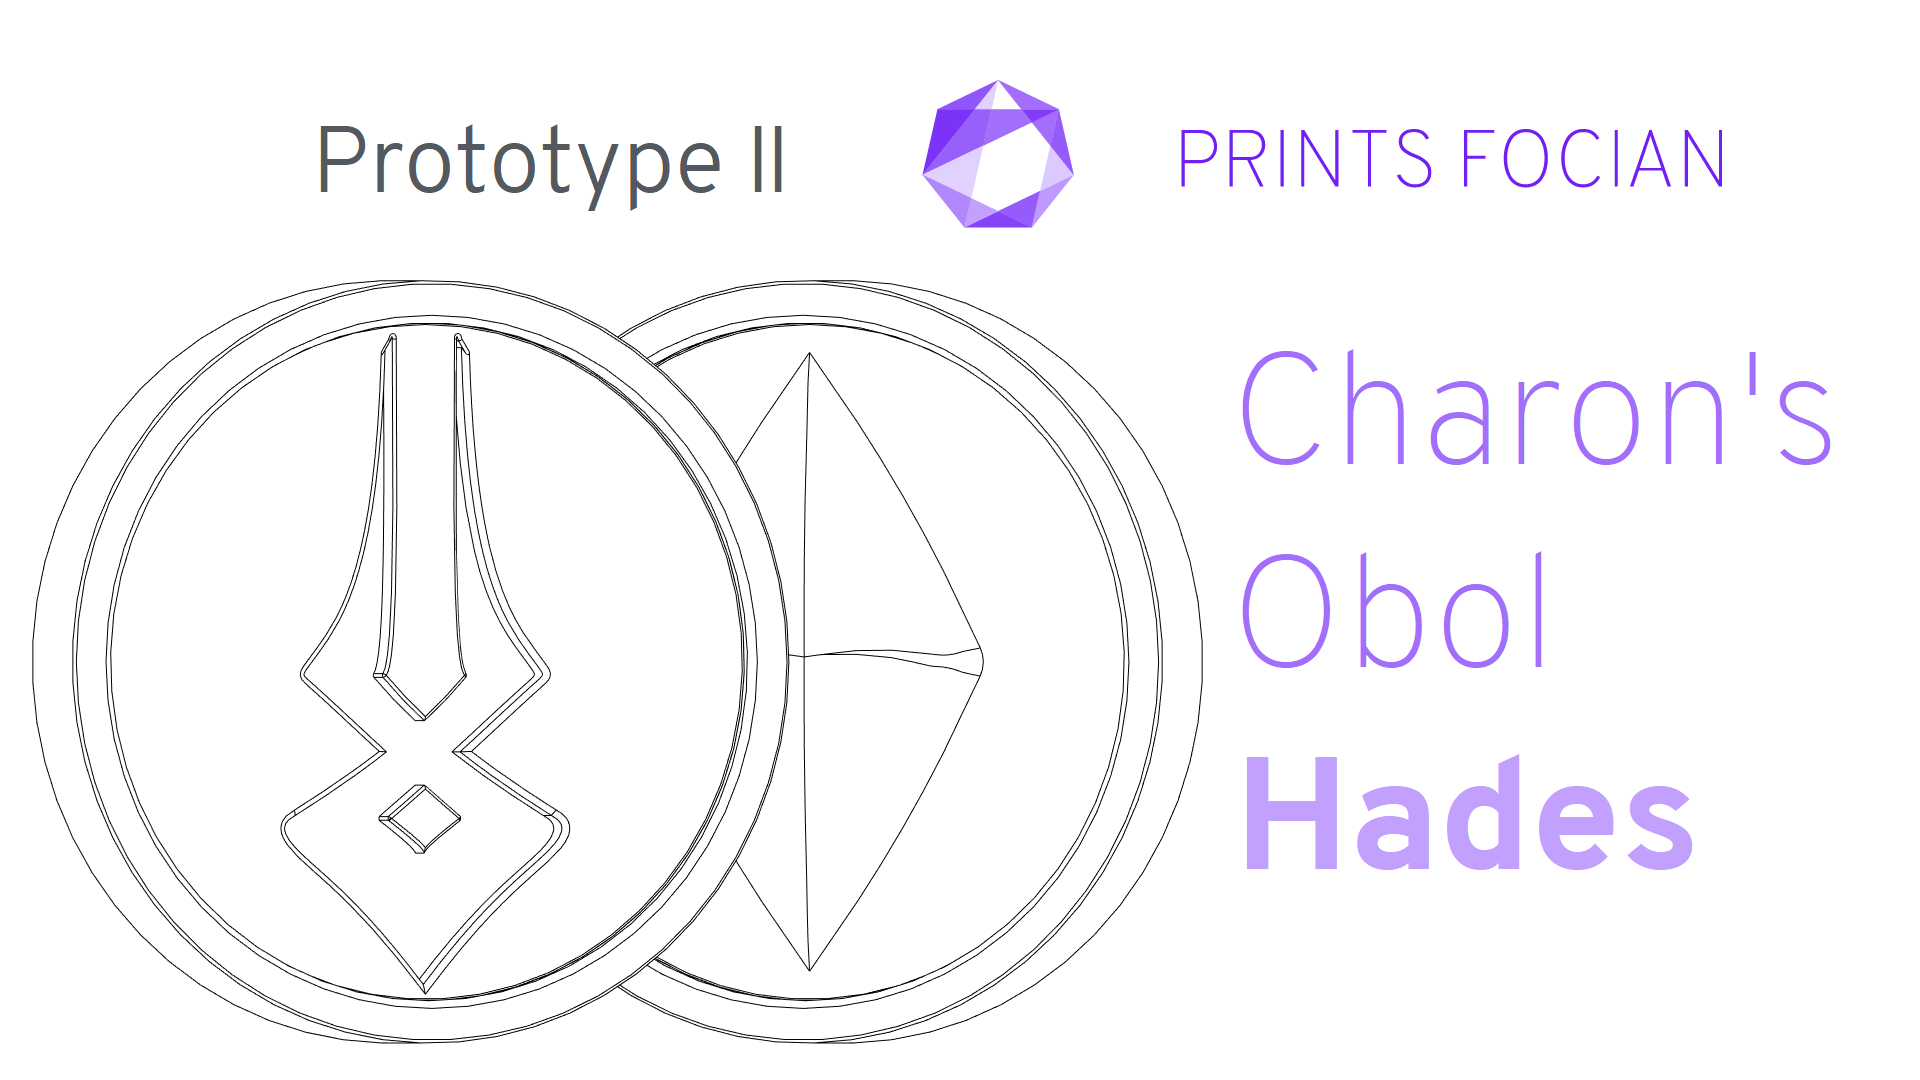
This will be an intensive look at the Prototype II version of this project from start to finish. It doesn’t matter if you’re looking for guidance with a Build Kit, thinking to Print It Yourself or just curious to see the project: You’re in the right place!
While this unlicenced replica is intended for decorative purposes or for use as a cosplay prop, the main reason for building it is because it’s quite unlike my past work and I can’t stop playing Hades at the moment!
Check out the link at the bottom of the page for the Overview if you want to see more!
Design
My revision started during the same video in the first. As soon as I’d clicked “Print” on three of the original design, I began making changes. The last third or so of the video below was the work for Prototype II.
I made the symbol much deeper, and I had planned to pour some of the red resin into the recess. I also made the design a little thicker as well, to accommodate this.
Build
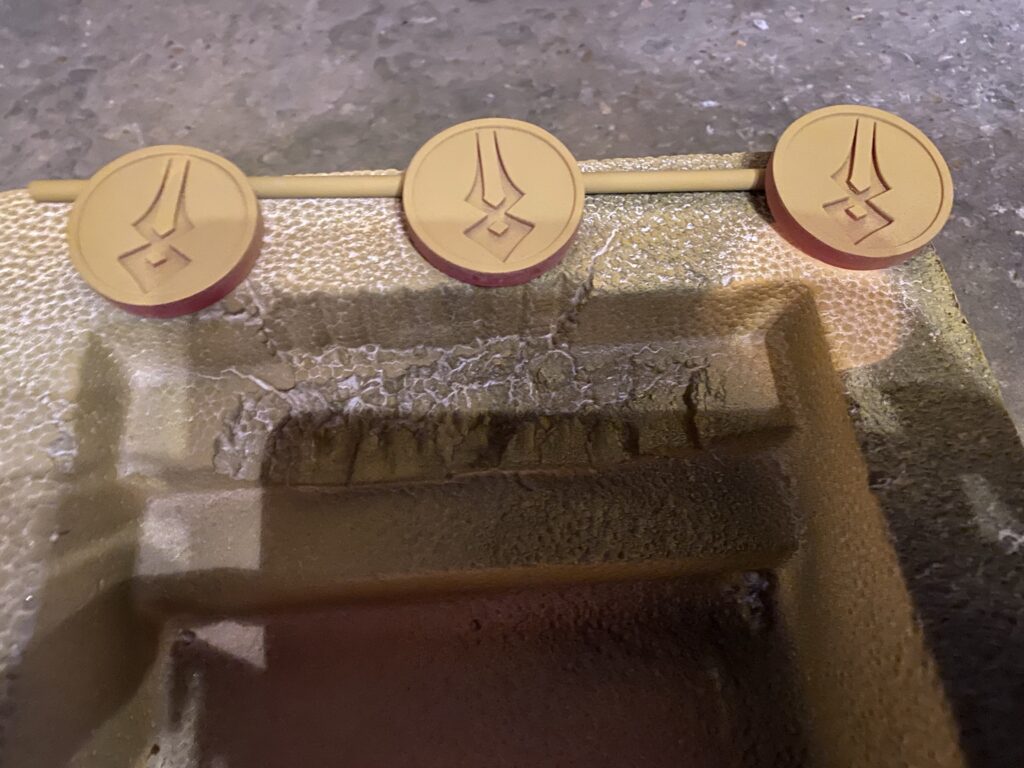
No messing around, I’m happy with the double-sided Hades symbol coins, so I decided to crank out as many as my printer could handle!
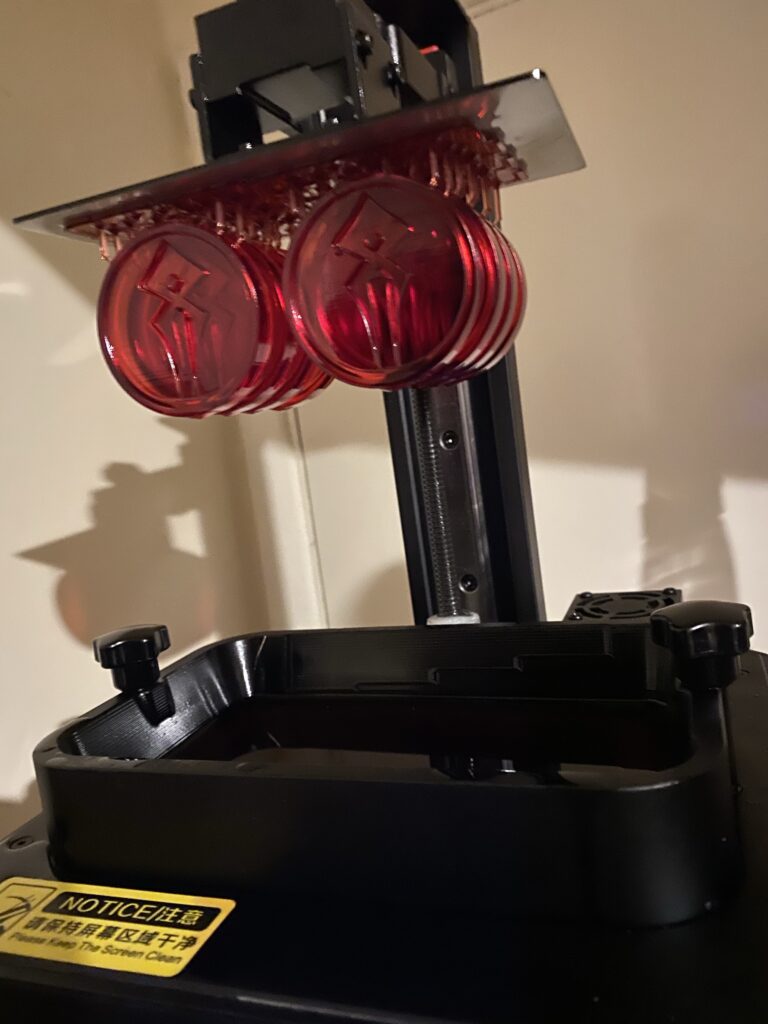
Things are going well! llow me to kick my feet up and play a quick run on the game that has me so enamoured! Eight coins are printing, time to relax!
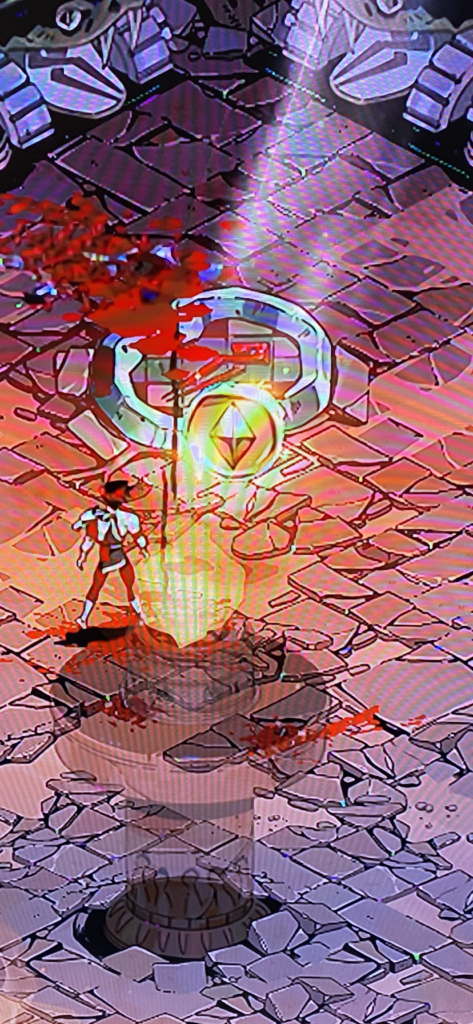
Wait, that coin is spinning, what is on the back!??!
WAIT, WHAT IS THAT!??
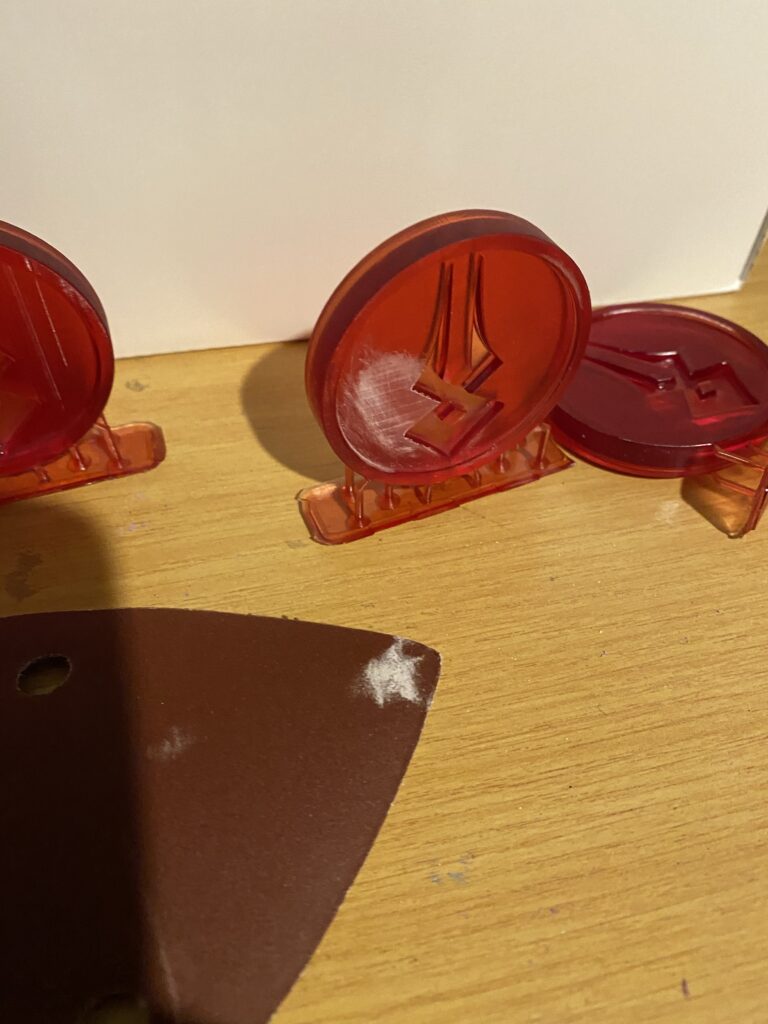
Ugh… Yeah, my design is wrong.
Okay, I still have the coins printing, but this prototype is a quick dead end. Just like the previous one, I’ll see some of them through to the end because there is still a lot to learn here, for example how well the poured resin in the symbol works. I really shouldn’t have gone so gung-ho about it, that cost me materials and time. Ah well!
Still! Let’s get them ready for the finish stage! A little sanding and support removal should be all that is needed here.
And now a light few layers of Filler Primer to get them all ready for the Finish Stage!
Finish
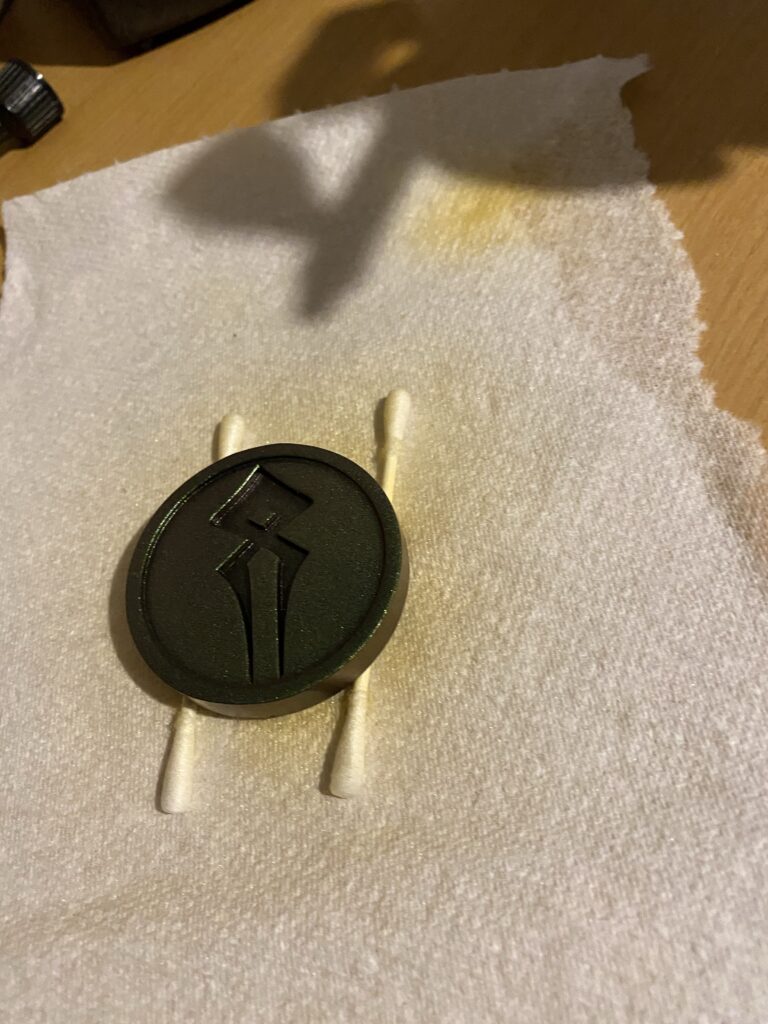
A lot of the process here will understandably be identical to the previous run, so I will try and condense it when appropriate. All the coins I am making are getting a treatment of yellow Filler Primer for the remaining layer lines on the surface. Then I use a coat of grey Primer, then Gloss Black. I’ll only be trying two gold colours for this one as it is a dead end prototype at this point.
I absolutely *loved* the Bright Brass from the previous version, wasn’t as keen on the standard Gold and thought the Gold Enamel paint had potential but wasn’t quite there. This time I have an airbrush colour from Vallejo’s Colour Shift range to try. I’m also going to give the gold I didn’t like another whirl, in case it looks great with the red symbol (I’ll show the end result of this one, as the process was covered previously).
And the first layer of the Vallejo Colour Shift Gold Yellow/ Burnt Orange[77.015]. It doesn’t matter if this looks amazing or dire, I am unable to easily source this paint, so it will not be usable for a final production item. I still want to see it through!!
And the second layer, looking good.
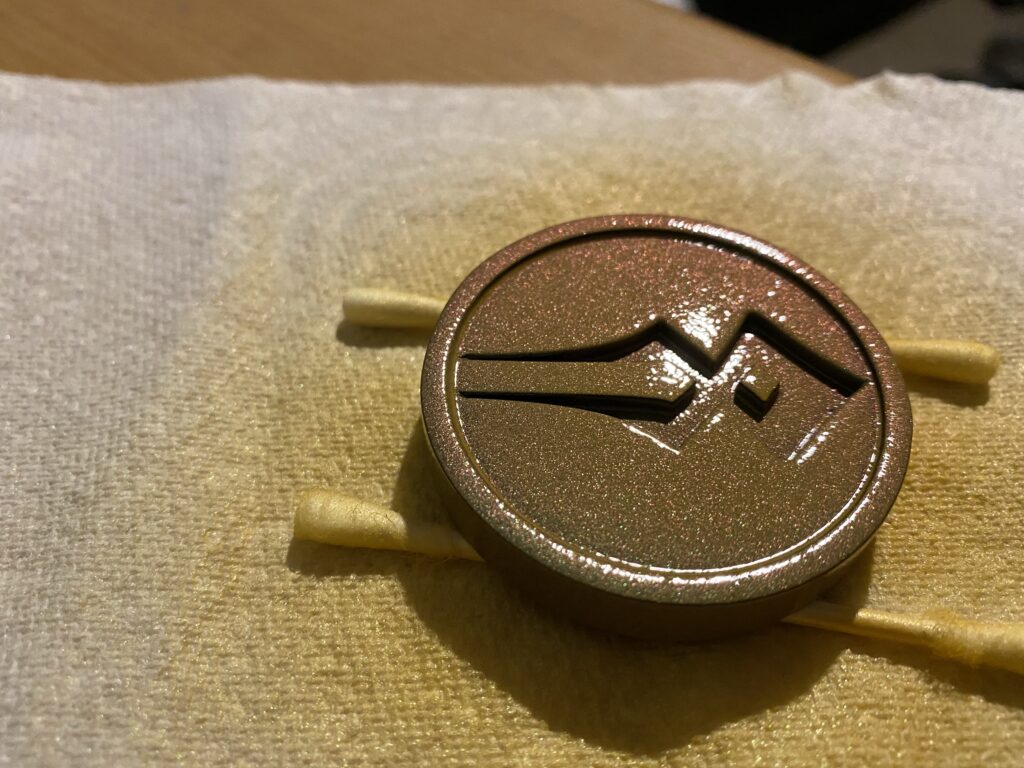
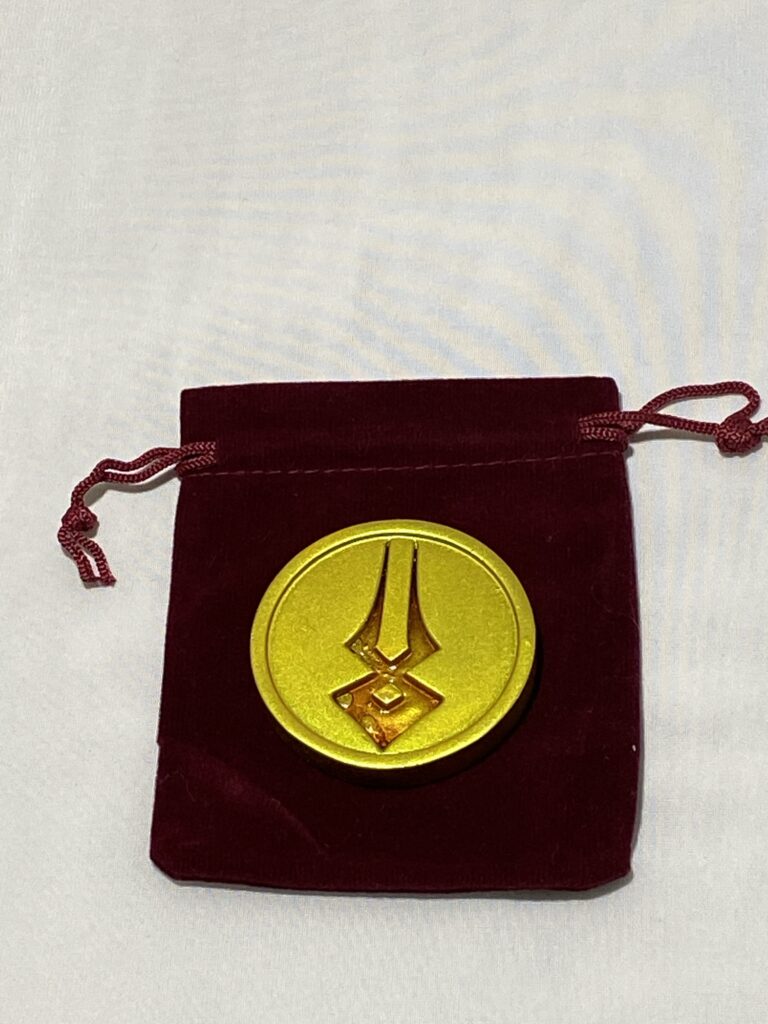
Okay, of course! This colouring looks bloody supreme! The image doesn’t do justice to how good the below colour looks! But that’s all academic anyway, I can’t restock that specific colour with ease.
![Vallejo Colour Shift Gold Yellow/Burnt Orange[77.015] painted coin.](https://printsfocian.com/wp-content/uploads/2021/02/img_2489-768x1024.jpg)
And now I pour a little UV Resin into the recess, and pop it under a blacklight, varnish and DONE!! You can scroll to the bottom of the page for the finished piece.
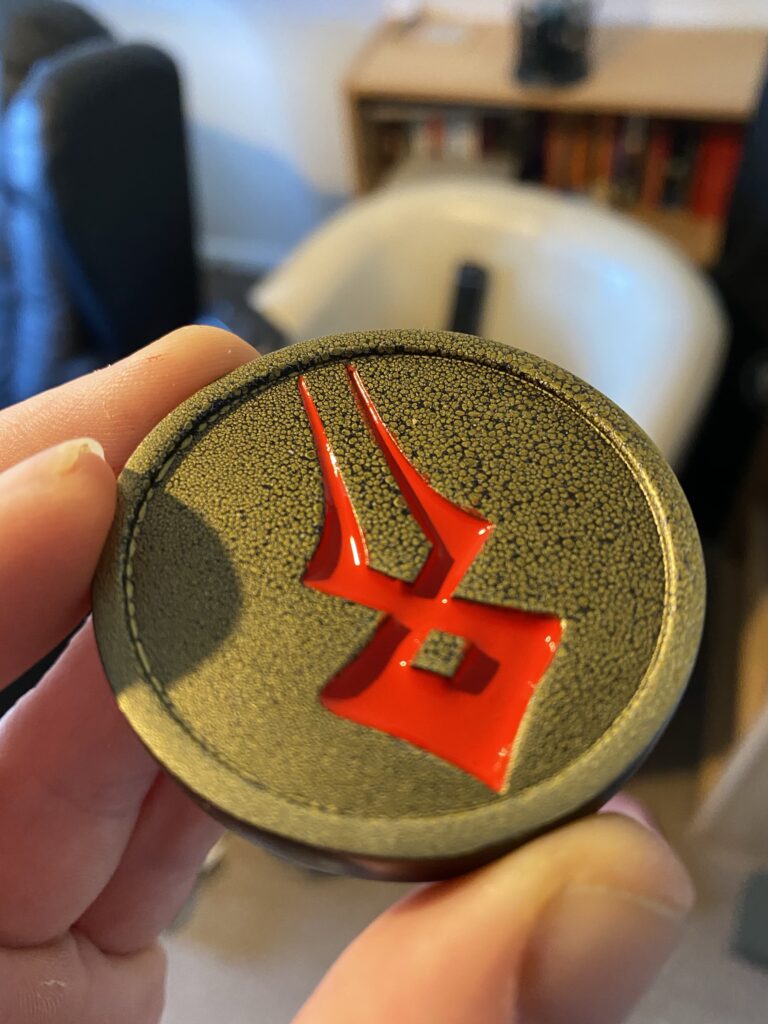
As well as trying to pour resin in, I am also trying to pour some acrylic paint in the recess and see how it looks. This coin is in the normal Gold. I had some issue with the gold paint applying nicely, but I wasn’t here to judge the gold part. The red part, however, looks freaking amazing!!
Result
Looking very nice! The resin is cool in principle, and I love the translucent nature of it, but the bubbles that develop are a bit of an issue. These bubbles were not an issue with the paint being poured in.
Regardless, I am so freaking happy with how this has turned out! With how happy I am with this one, I’m hoping the next article should be one documenting final pieces that will be available to purchase!
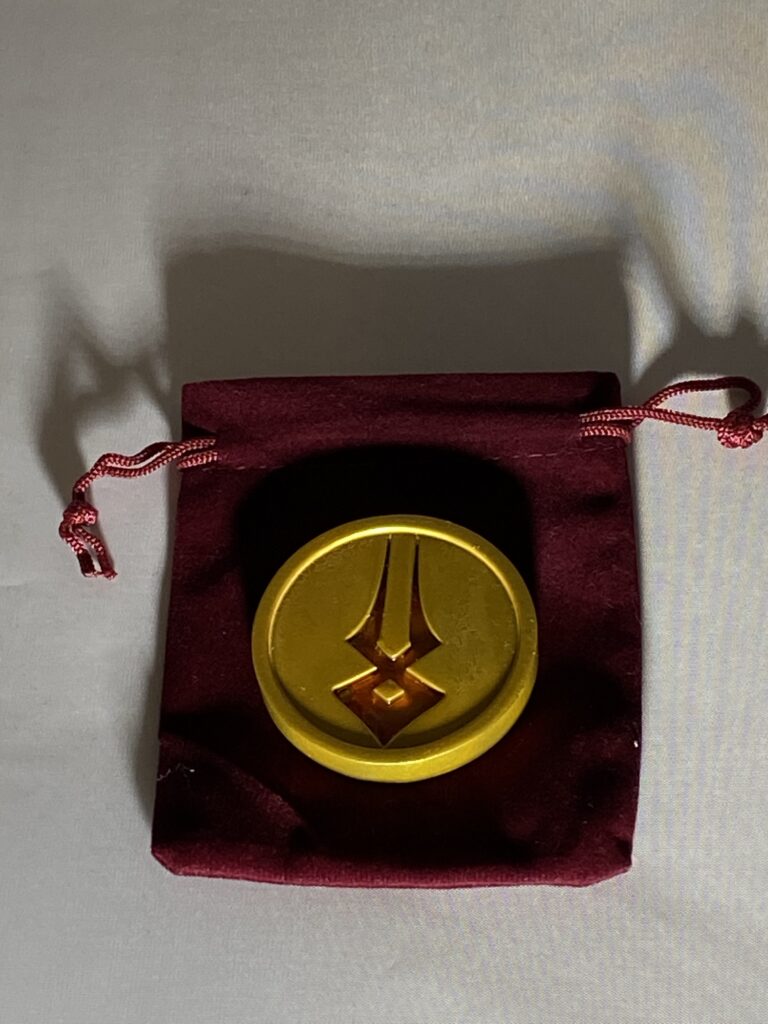
Prototype II!
Oh, go on! Have one with gratuitously unnecessary shadows from below! You’ve earned it!
Thanks for reading!
If you enjoyed this, you might like some of the related articles from the Overview, or perhaps a different Project altogether?
Love what you saw? Got a project in mind? Feel free to reach out and let me know!