Introduction
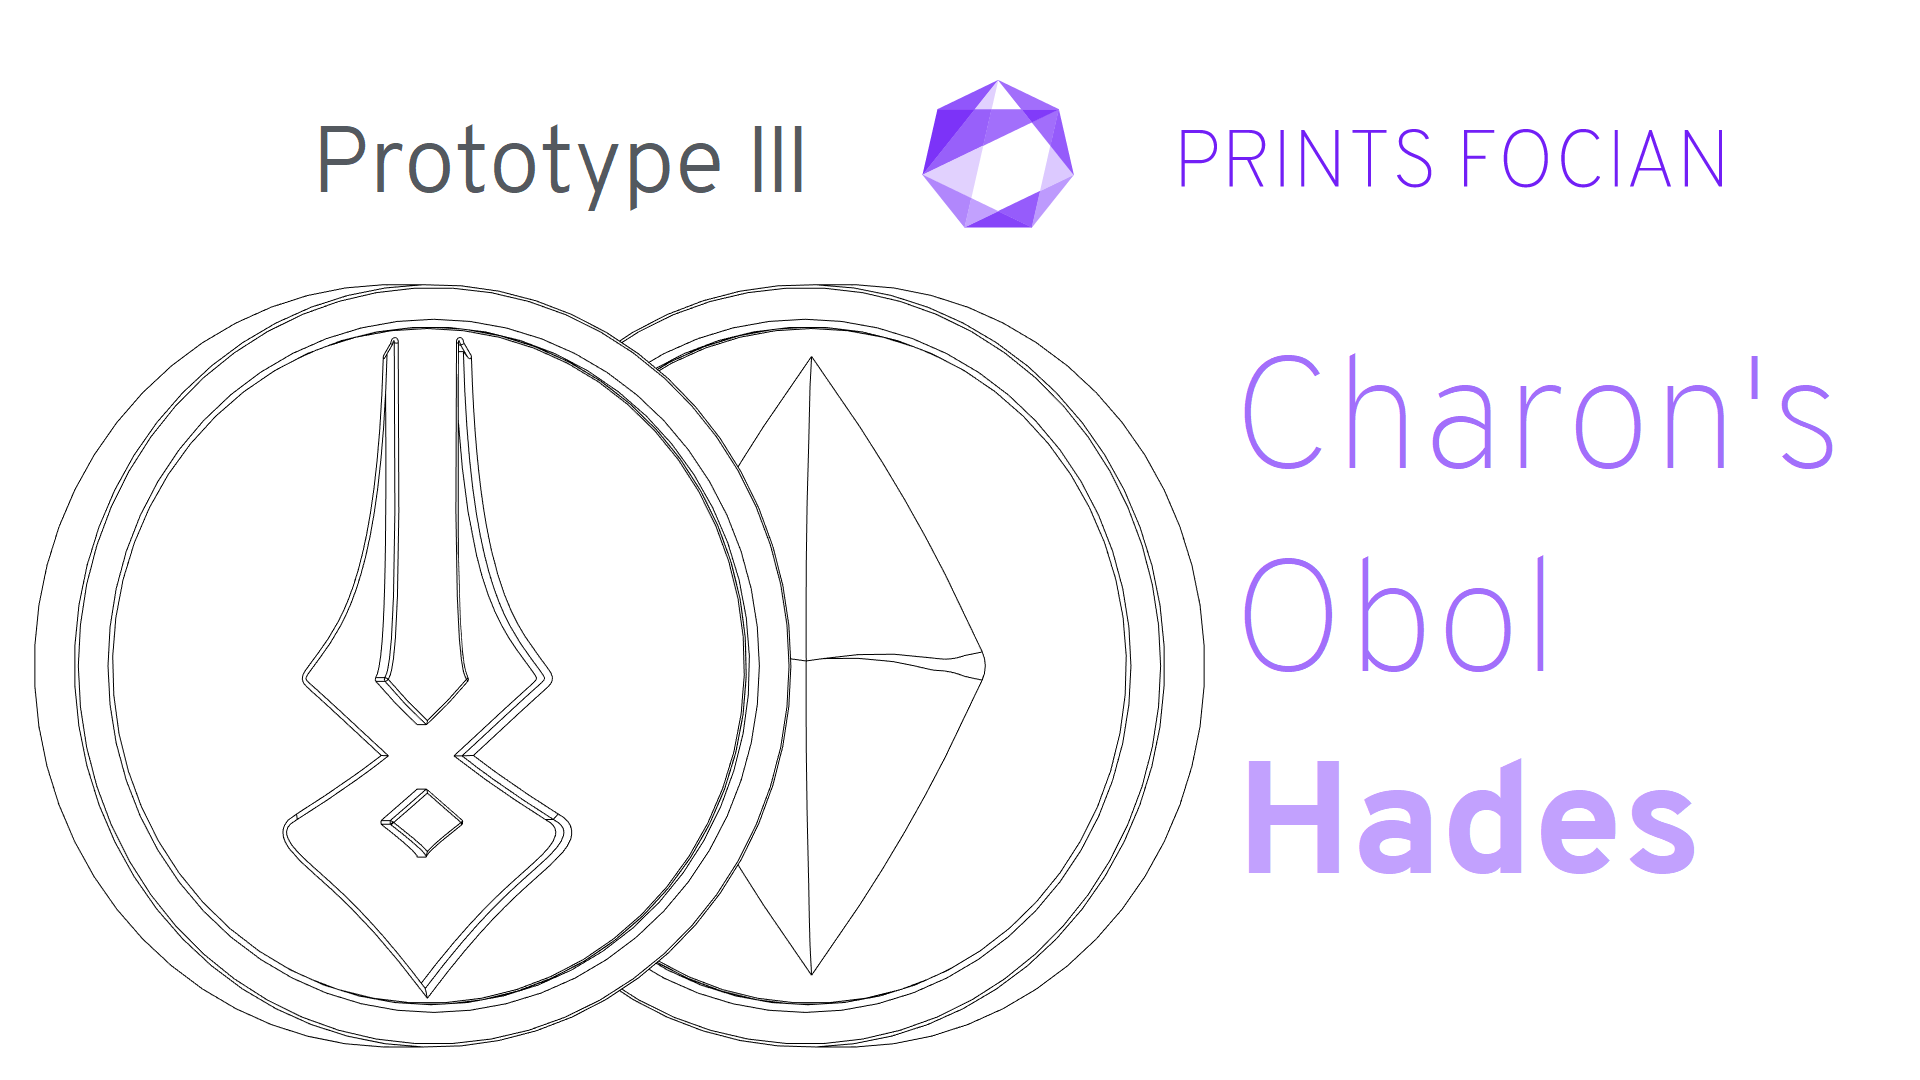
Welcome! In this build guide I’ll be walking you through the process I took in making a finished coin inspired by Charon’s Obol from Supergiant Games Hades.
This will be an intensive look at the Prototype III version of this project from start to finish. It doesn’t matter if you’re looking for guidance with a Build Kit, thinking to Print It Yourself or just curious to see the project: You’re in the right place!
While this unlicenced replica is intended for decorative purposes or for use as a cosplay prop, the main reason for building it is because it’s quite unlike my past work and I can’t stop playing Hades at the moment!
Check out the link at the bottom of the page for the Overview if you want to see more!
Design
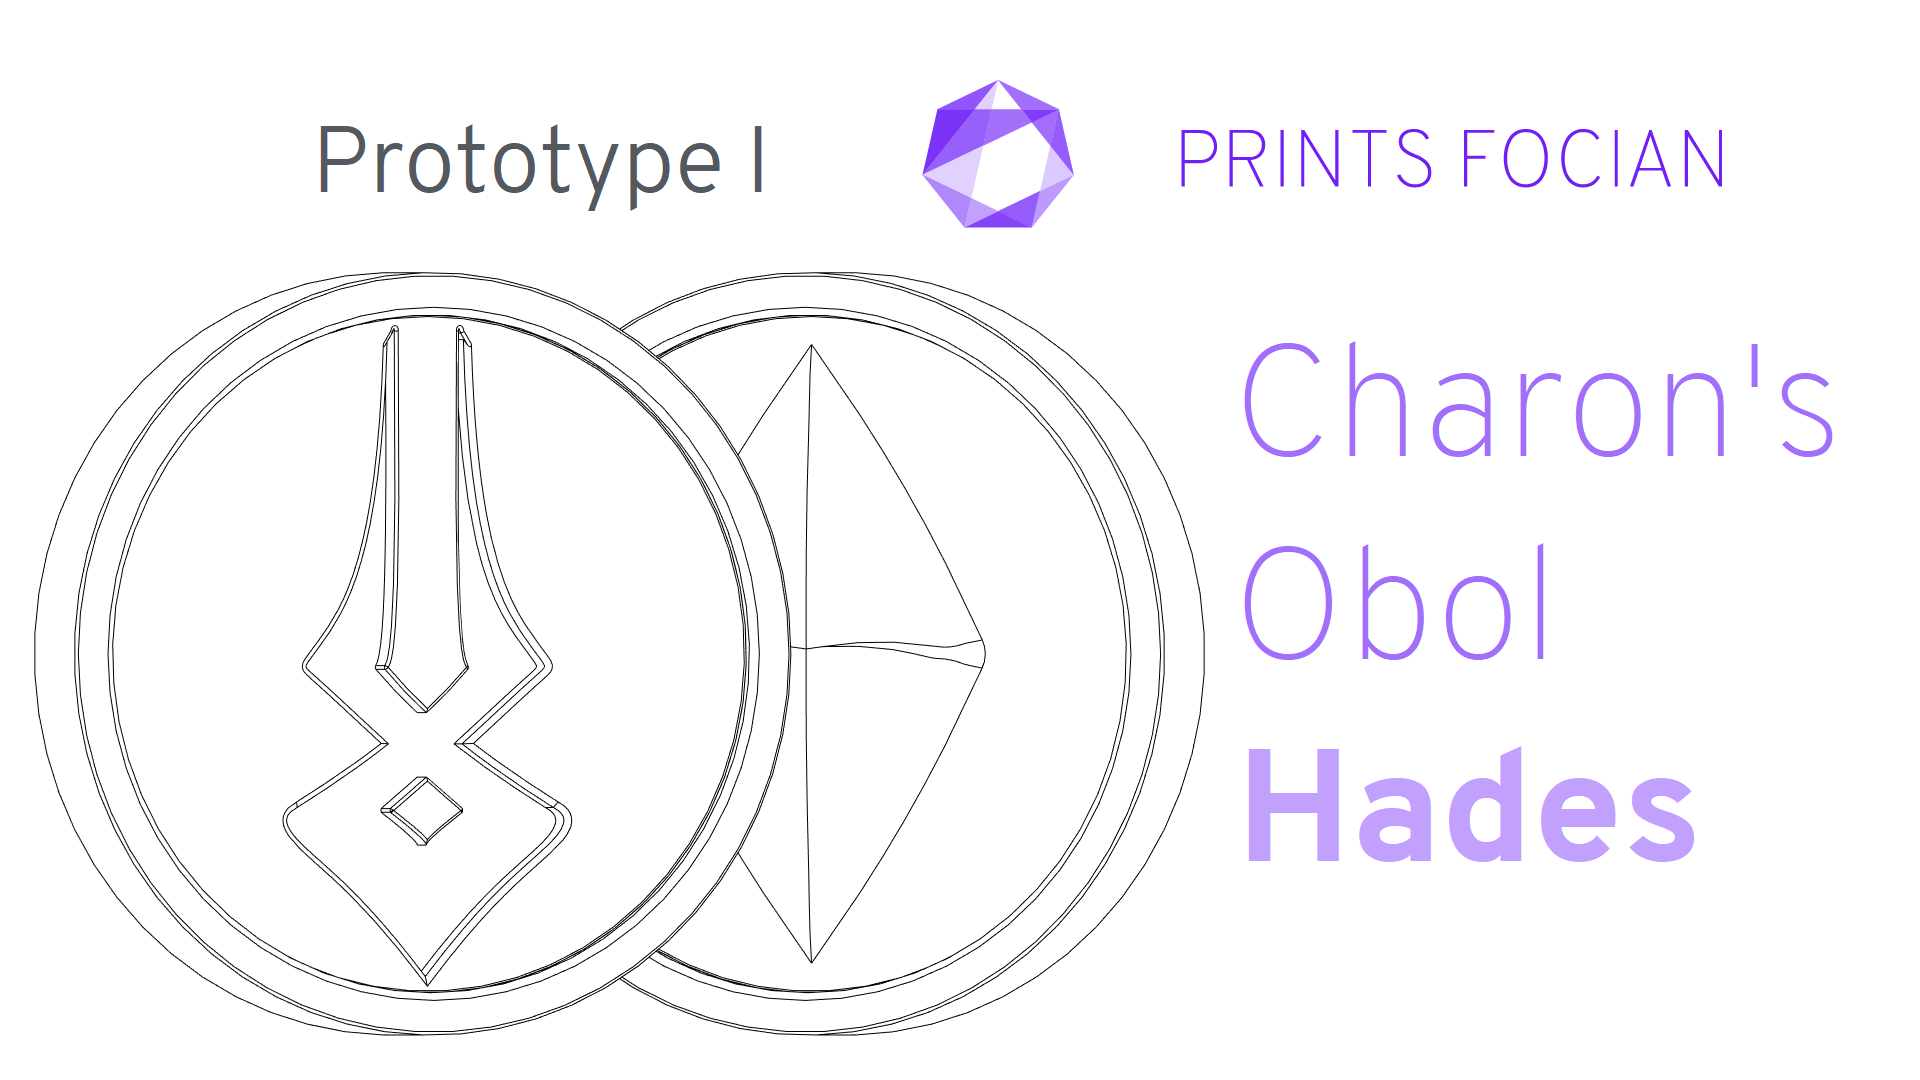
The changes in Prototype III all revolved around how I processed the same product as Prototype II, but slightly larger. Bar scaling the item to 60mm and 70mm (previously 50mm), no alterations on the design were made. The video below is when I was working on Prototype I and II.
Build
As normal, I started printing a few coins off. I really need to learn to start only doing one at a time, but each version I convince myself it’s final, and therefore more is better! If this is the final version, that’s completely true! But reading this article’s title might tell you how well that went…
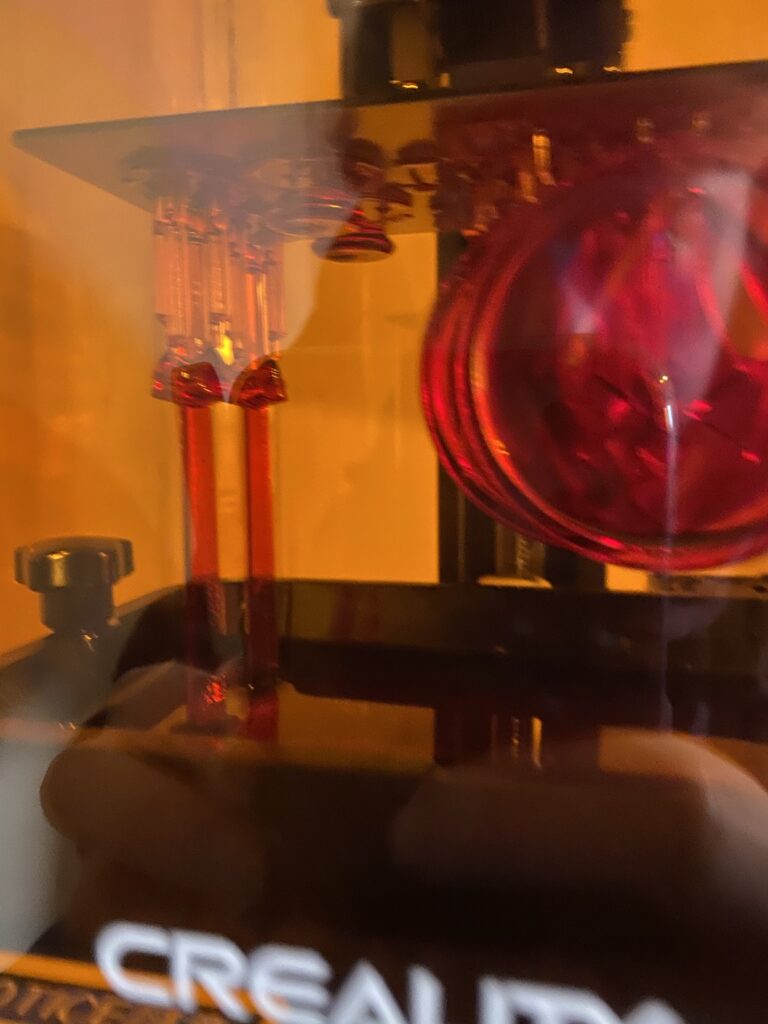
Coins on the right, mini swords on the left, printing time!
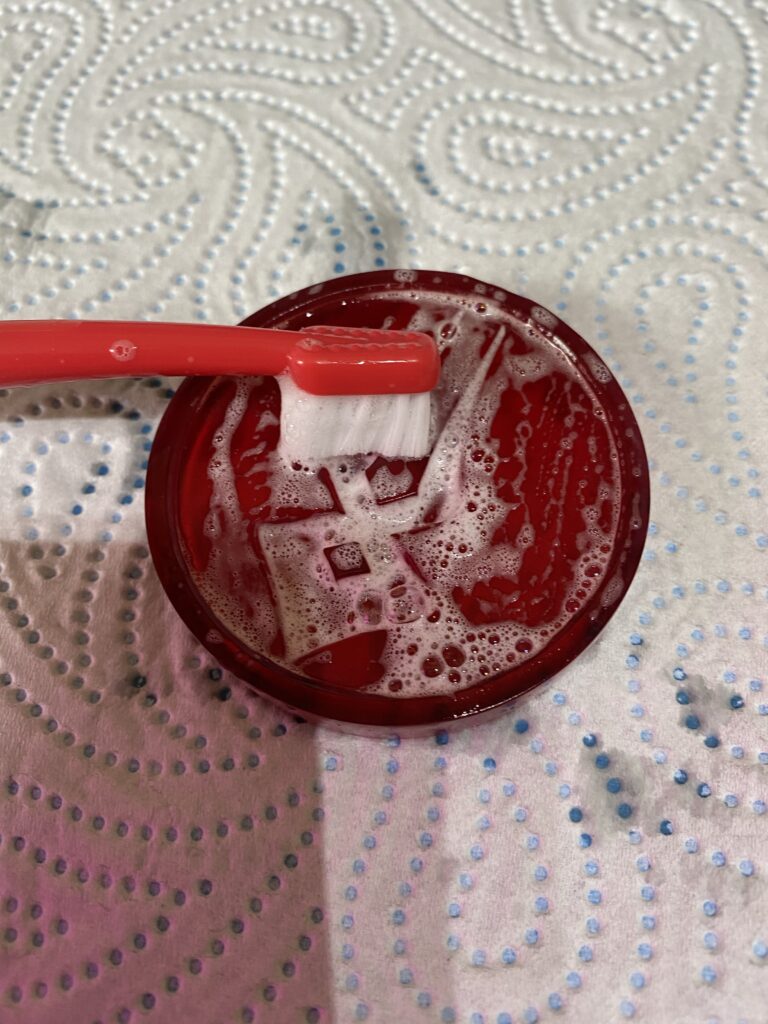
I work from home, so despite the resin I’m using being Water Washable, it’s important to keep any waste liquid away from the drain. I use a gentle dental brush to clean the print.
Okay, we’re moving forward with the 60mm size! It feels perfect immediately! Even without comparing it to the 50mm and 70mm coins, 60mm just feels right.
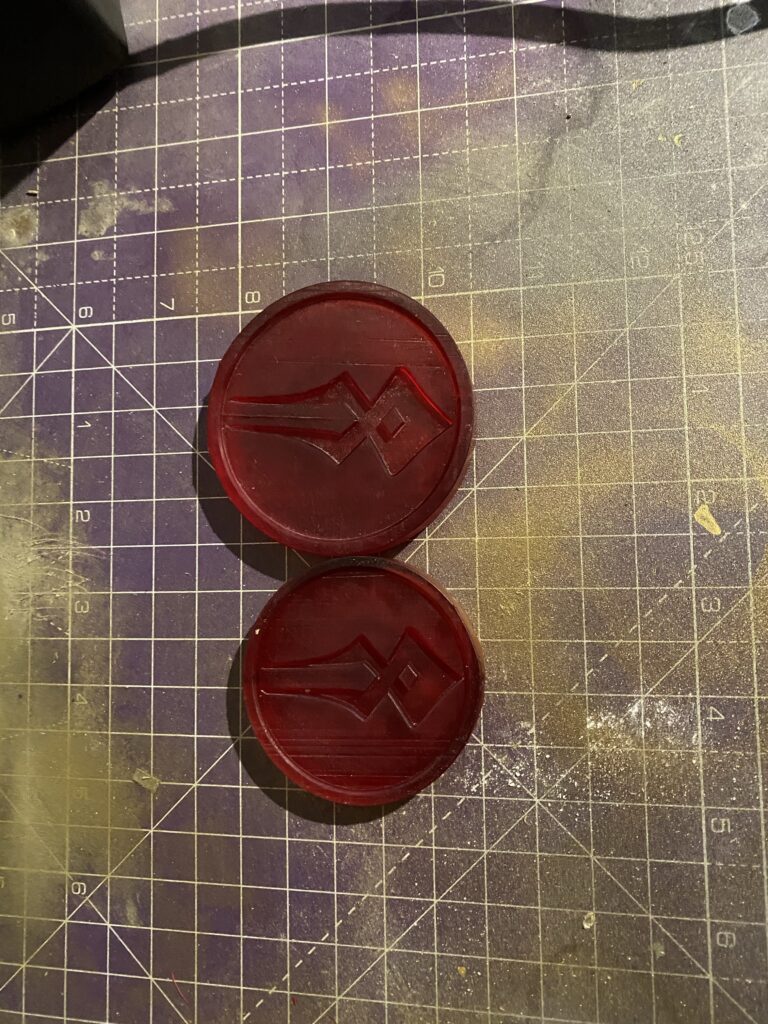
Time to get them ready for the finish! I gave it a light sanding to remove support marks around the rim.
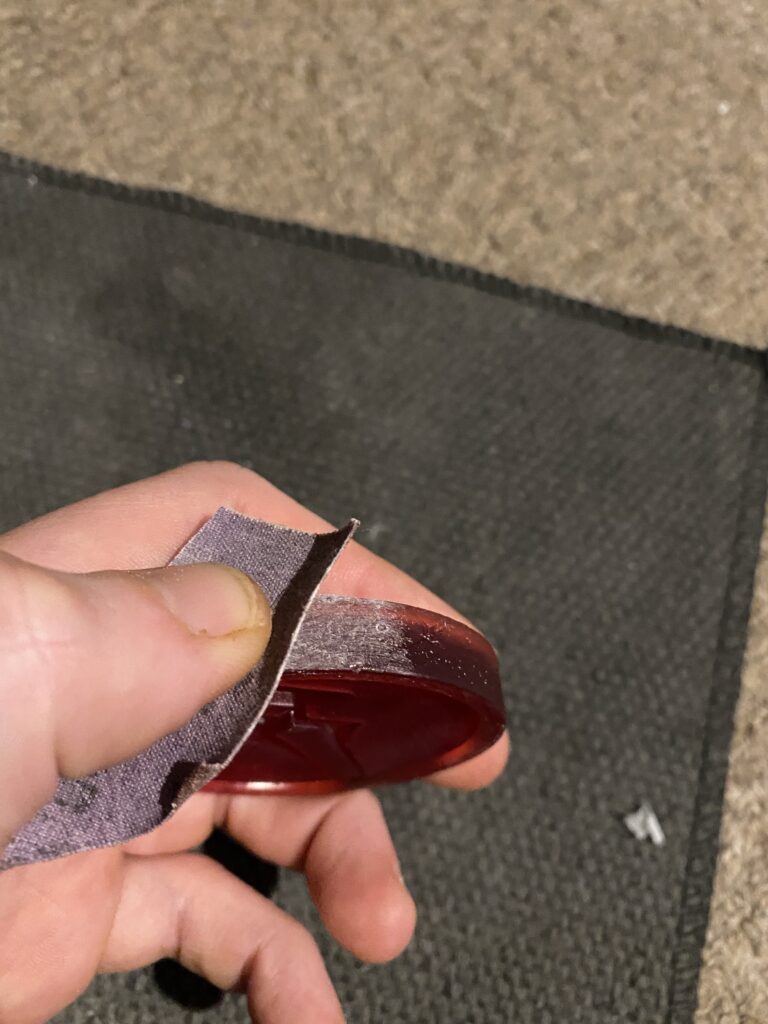
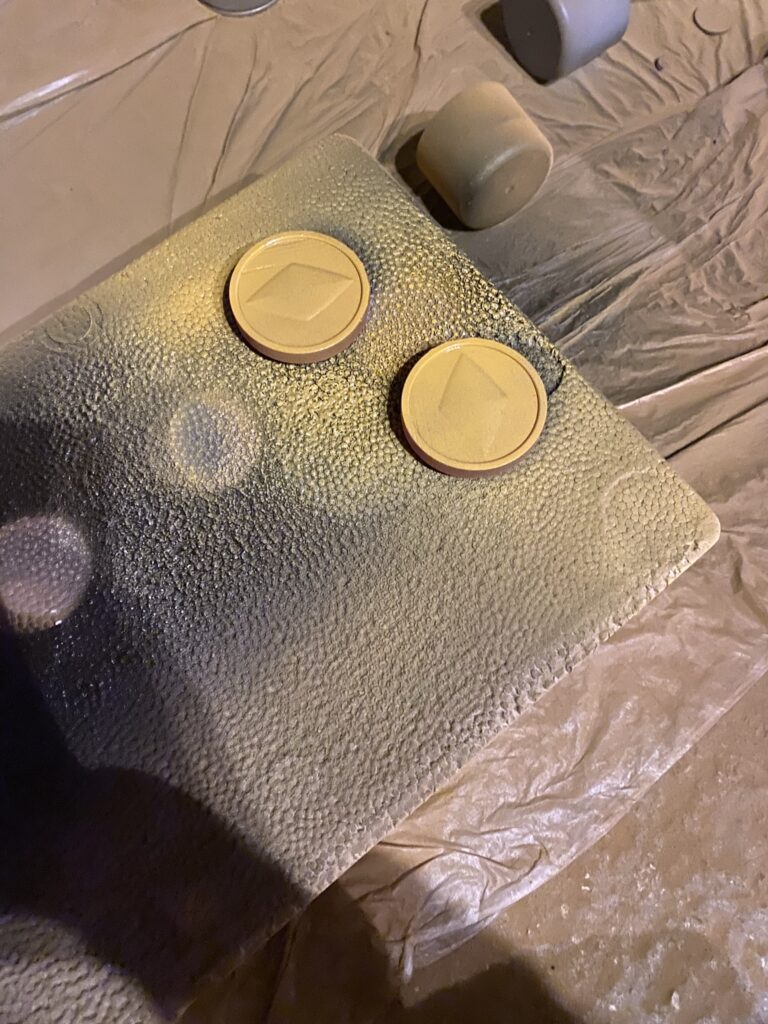
Filler Primer marks the end of the build stage, and on to the finish! I used the smaller 50mm coins to keep the ongoing models slightly raised from the surface.
Finish
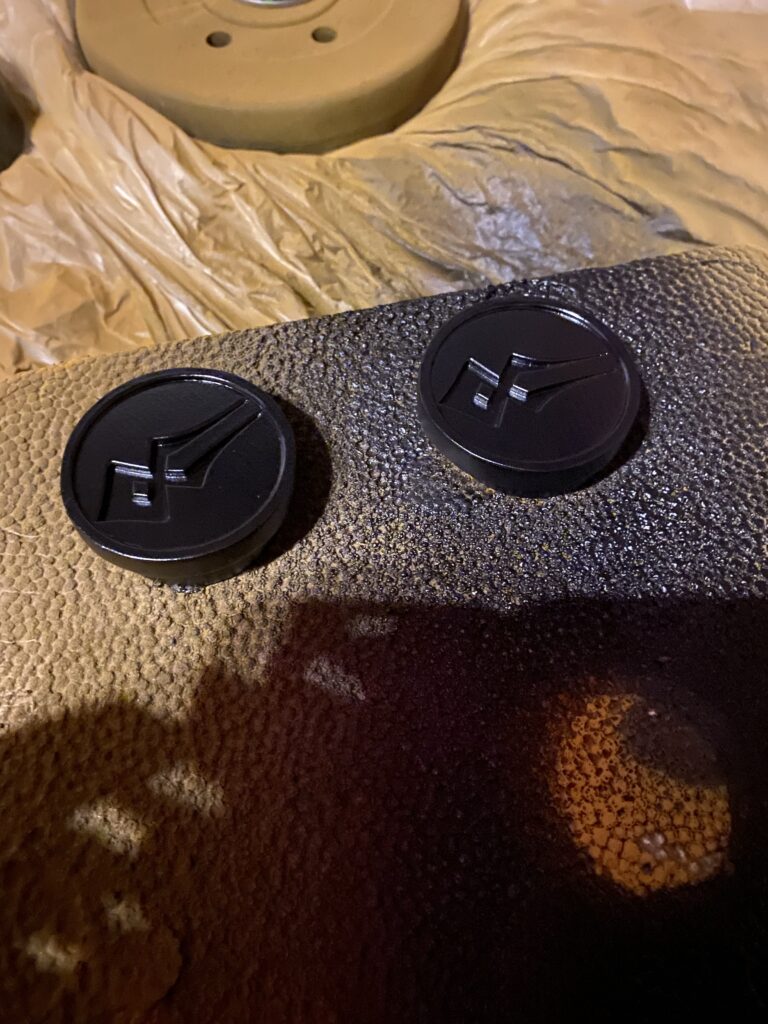
What I have found the most aesthetically pleasing is Filler Primer than Gloss Black. Apparently, the Gloss Black captures the light better for metallic finishes, I don’t understand how or why, but it definitely seems to make a difference when aiming for a metal look. Painted black, and ready for the Bright Brass.
I’m still acting somewhat like a sullen child over not being able to find the specific gold I want. It doesn’t appear to be a limited edition run, so I’m hoping it’s a shipping issue. With COVID and Brexit likely to cause such delays, I’ll move on using the same airbrush colours as before: Vallejo Gold [77.725] and Bright Brass [71.067]
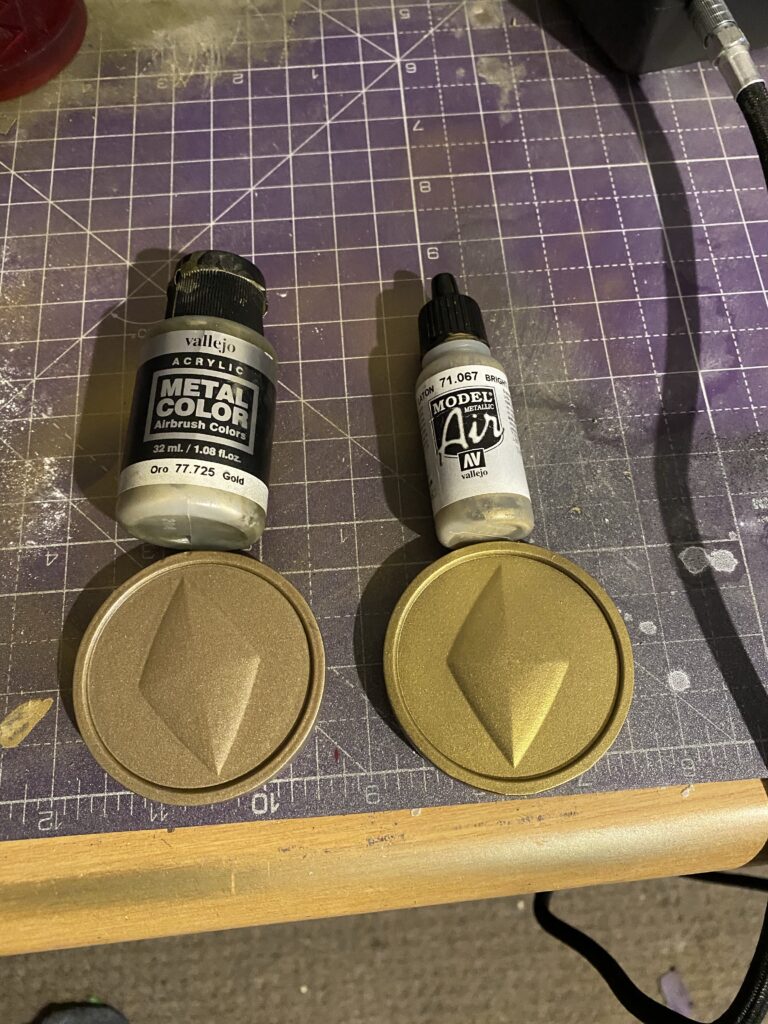
I definitely think I’m on to the best option for the symbol is dipping a liquid substance. UV Resin wasn’t great, but maybe acrylic paint? The first application of Vallejo Red [71.102] looks pretty great! And it’s easy to do, and not too expensive! This is good news, everyone!
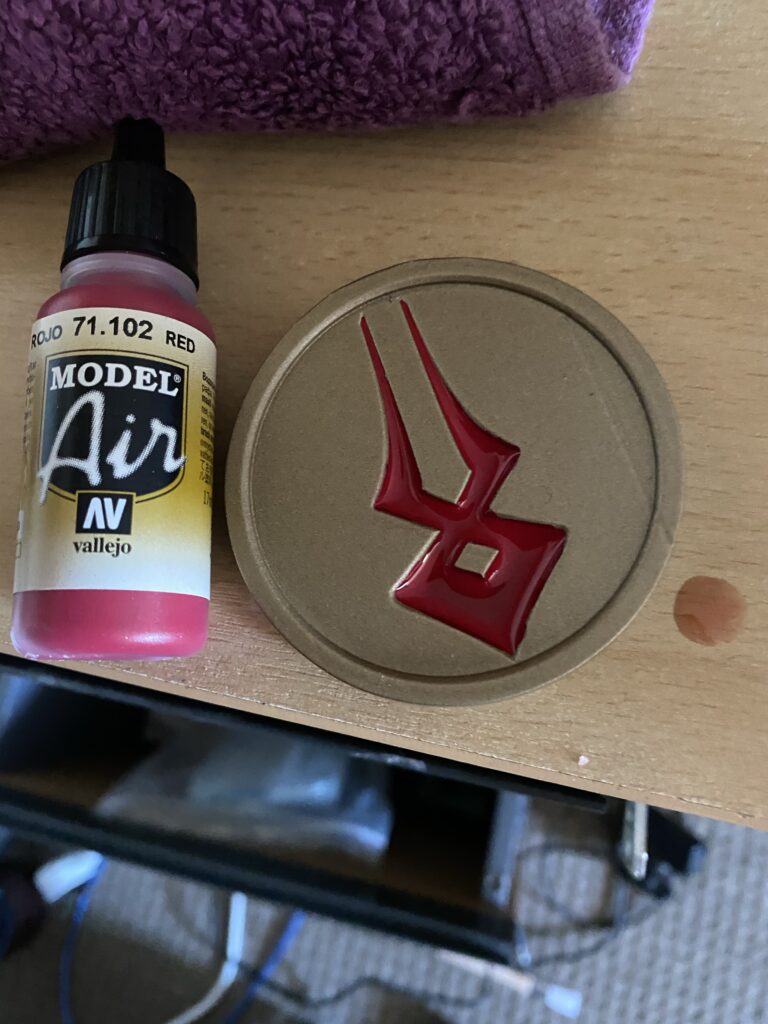
It was not good news, everyone. After the next few layers, it didn’t dry as I was expecting. Airbrush paint (or the previous UV resin) was not a great option. I still have a couple of things to try, but I don’t think it’ll be dripping airbrush paint into the recess on the final piece.
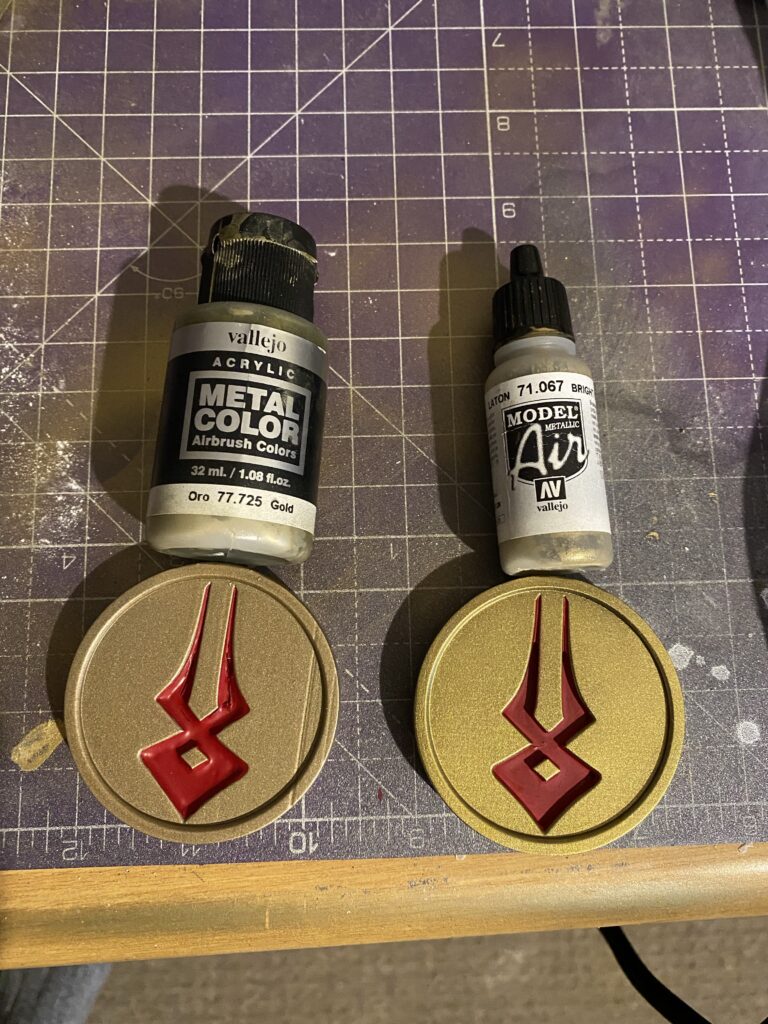
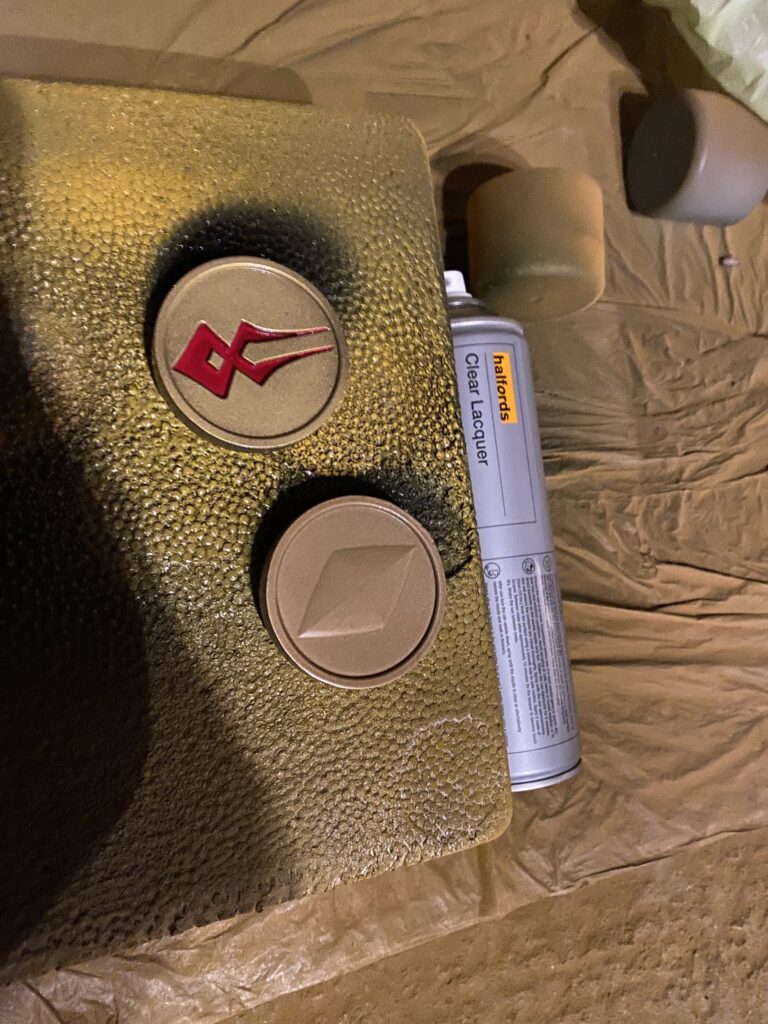
Now just a little varnish and these two models are complete! Ready for judgement!
Result
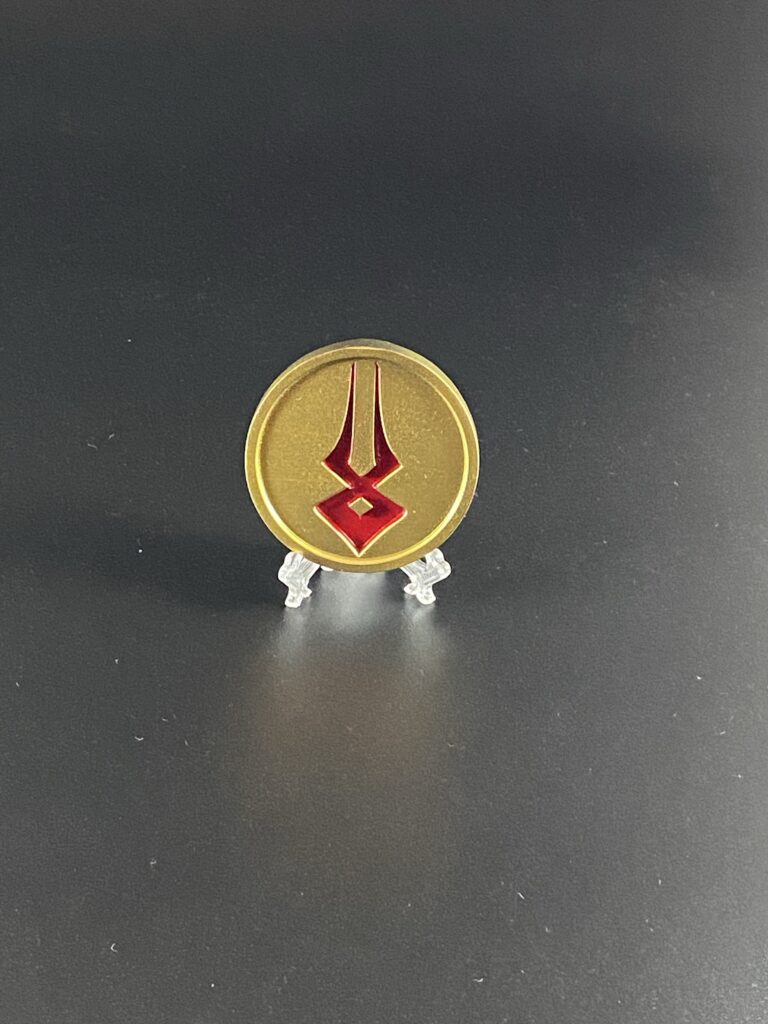
I love the look of this, the size is now absolutely perfect! That being said, I’m still having problems getting that symbol looking as good as I want it to look. On top of that, no gold has truly been perfect for the task except the two-tone from Prototype II…
Both the UV resin and the paint didn’t settle perfectly either. I wanted to keep things as simple as possible, but I’ll need to expand what I’m doing to get that symbol perfect!
I believe at this stage, though, I have mostly learned everything I need to make a final model. The only thing left now, is to find the perfect material for the symbol, meaning the next version will be the final version, available as a finished piece.
I’ll happily admit defeat with the gold colouring, the Bright Brass looks amazing I can’t deny it… But that two-tone is something else! The luster of polished metal with vibrancy and depth!
Here it is, Prototype III!
Thanks for reading!
If you enjoyed this, you might like some of the related articles from the Overview, or perhaps a different Project altogether?
Love what you saw? Got a project in mind? Feel free to reach out and let me know!

