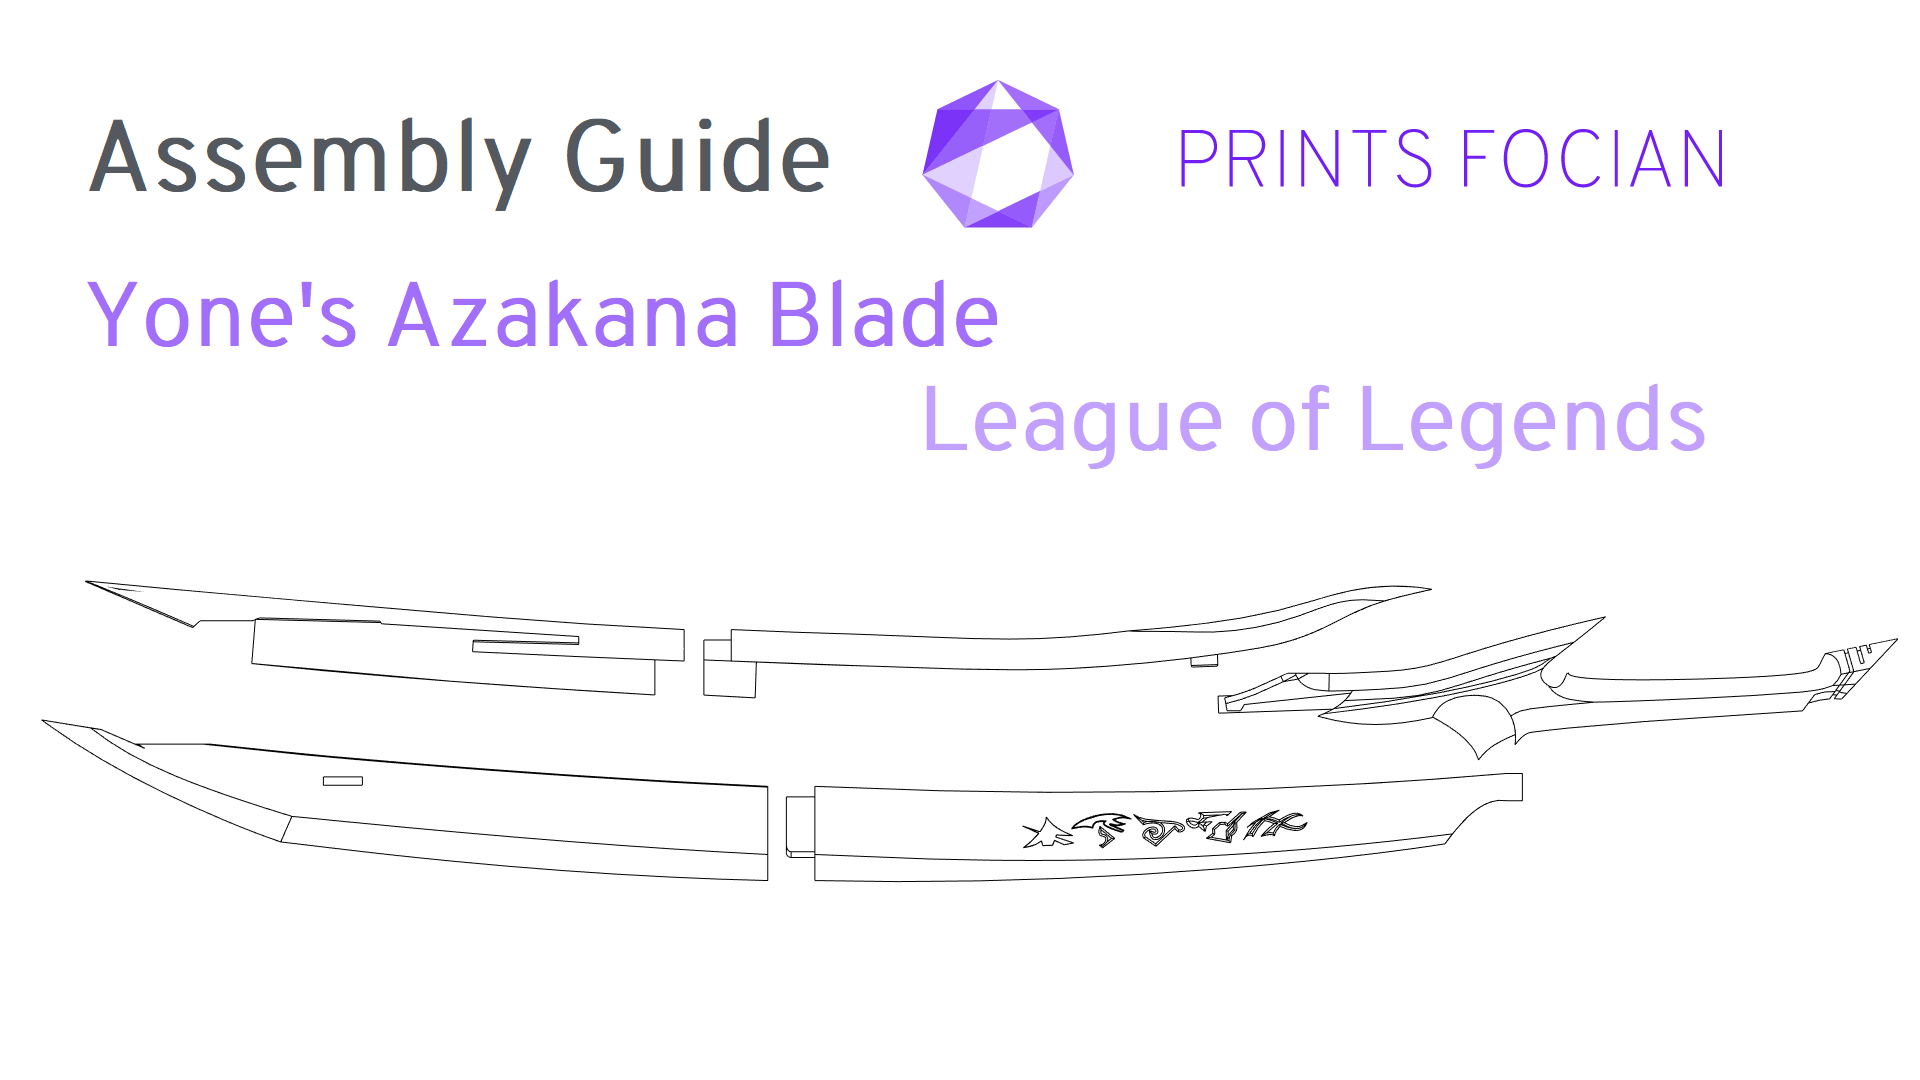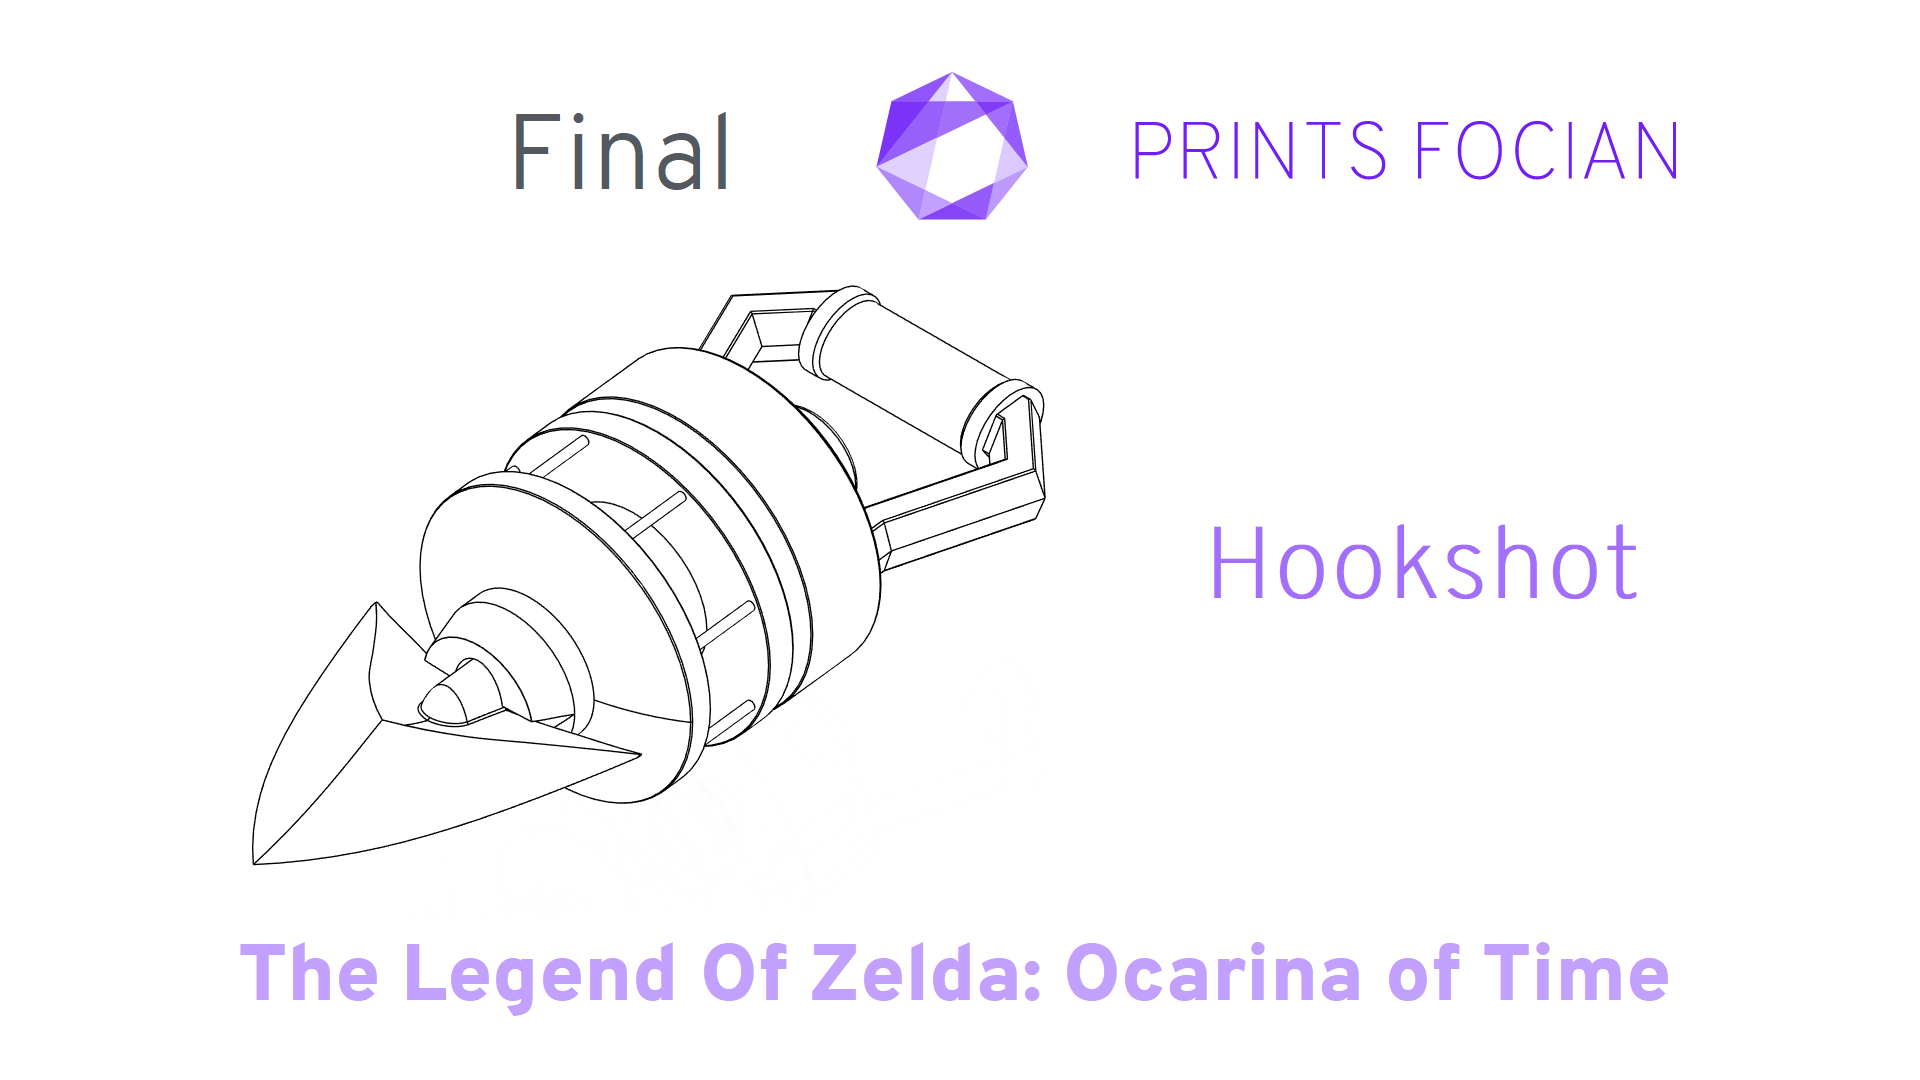
Introduction
Welcome! In this build guide, I’ll be walking you through the process I took in making a Hookshot from The Legend of Zelda: Ocarina of Time.
This will be an intensive look at the FInal version of this project from start to finish. It doesn’t matter if you’re looking for guidance with a Build Kit, thinking to Print It Yourself or just curious to see the project: You’re in the right place!
While this unlicensed replica is intended for decorative purposes or for use as a cosplay prop, the main reason for building it is because it’s such an iconic bit of kit and I want one!
During this build, I tried something a little new. As well as documenting here with text and images, I’ve captured the process in small videos, available here on TikTok and YouTube.
Check out the link at the bottom of the page for the Overview if you want to see more of this Project! This is the Build Guide for the Hookshot only. Ignore what the URL says: if you’re interested in seeing the Longshot Full Build, click here!
Design
I captured most of the design progress, so you can see the steps taken in Fusion 360. Some of the later alterations were not shown in here, as a general rule of thumb, 80% of the work is done in 20% of the time, with the last additions and changes usually taking as much time as the bulk of the designing.
Build
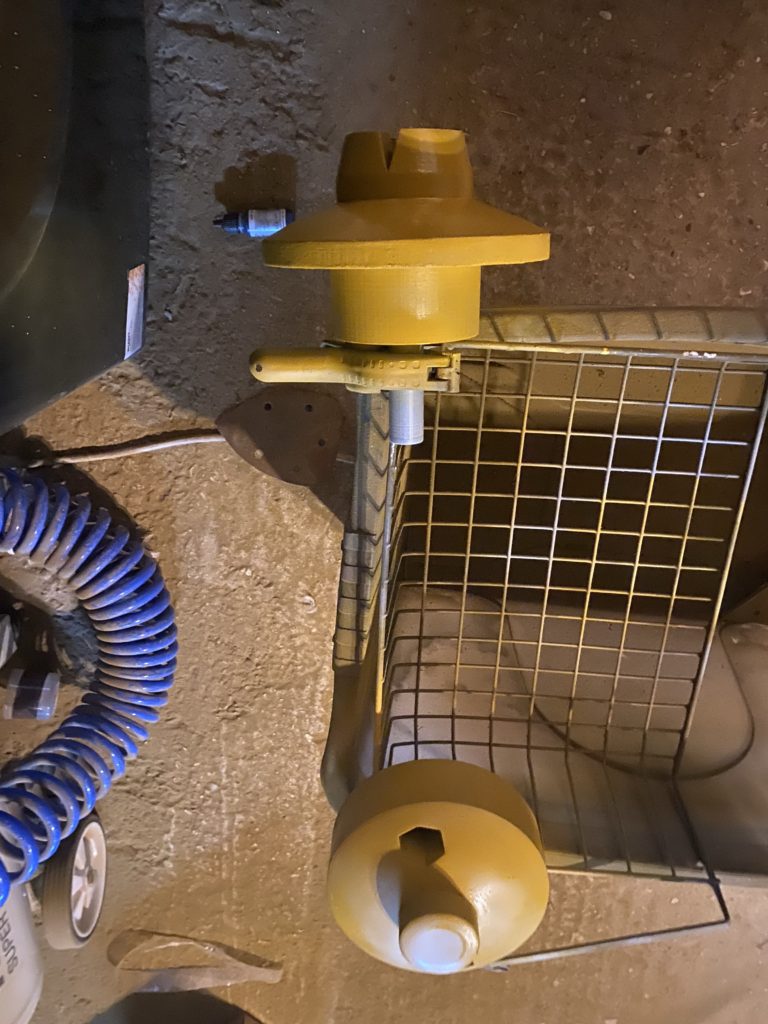
Let’s go! Let’s go! Print print print!! Starting with the arrowhead.

No immediate problems, but the settings (which have since been changed) created an issue with stringing on most of the components. I’d given the arrowhead a very gentle sand to remove the worst of it while I was printing other parts.

The parts are coming together nicely! Three of the five pieces are done, just the main body and the handle remaining.

The base unit needs to be large with a high infill to take the weird weight distribution once the handle is fixed in place. The build continues to plod along without any major problems, but due to the size, it is taking a while to fully print.

The handle looked pretty cool in motion printing in the dark.
I can’t stand the handle up to print, as the need for the continual printing line to provide strength is paramount. Looks mostly great from one side!

From the other side? Eh, not so much… But it is strong and stable, that’s the most important thing.

I was thorough when sanding the bases of the handle and the two recesses for the handle to sit in. Neither of which should be visible on the final piece.

All the printable parts are completed! They look great, and this thing is an absolute unit! Maybe it’s a little too large? Pah!

Some XTC-3D was used for the first time, gifted to me from a coworker, but perhaps I left it a little too long before trying it. It did the job, but was discoloured and smelt… peculiar. I used this on both the upper body, and the handle, as both suffered from imperfections caused by the support material removal.

The shape of the individual components allowed me to gently use a mouse sander. Feather touches, keep it moving, and for the gods don’t get distracted for half a second! This is PLA and it loves to melt!

Sand and prime dance. Dance to the tune of the sanding and priming. Up the grit, layer the primer, dance dance dance…

And we danced the dance of the damned, forever it felt like. A short period of effort in reality. FOREVER IT FELT LIKE!
And the last off the printer, last to be sanded and primed: The XTC-3D coated handle.

Finish
Moving forward nicely! Time for the first coat of Gloss Black on some of the primed body sections!

This will always be one of the most satisfying parts of any build. No more sanding, and adding colour really starts to bring the finish line in sight! For the darker part of the body, I’m using Vallejo Arctic Blue [71.071].

For the lighter blue parts of the Hookshot, I’m using Ford Vision Blue spray paint. I wanted to check how the colours looked against each other. Pretty great! Nice sword!

Vallejo’s Mecha series offers some of my favourite varnish for cosplay props. An incredible finish with the perfect durability. Here I’m going with the Satin [27.703] variant.

With the upper and middle body painted and varnished, next up is the lower section. There is still work to do on these parts for assembly, but the colour finish and protection is now complete!

Frog Tape is one of the best tapes I’ve ever used for the purpose of masking areas for painting. Coupled with some polythene, I masked out the soon-to-be metal parts so I could work on the gold.

I struggle to use ‘normal’ gold paint on projects since I finished the Charon’s Obol from Hades. In that project, I fell in love with the look of the Colour Shift Gold Yellow/Burnt Orange [77.015]. Now anytime I need a gold colour, I’ll see if I can justify using this shade.

Much like the blue parts of the body, the gold on the handle will have a few coats of Vallejo’s Mecha Series Satin Varnish [27.703].

Gold done, onto the rest! There is something primally pleasing about tape peeling when it all goes right. The sharp lines, the previous colour beneath coming back out, the way the tape smoothly pulls back? Yeah, all of that feels far nicer than it should!

Now onto the steel parts of the handle. To ensure the finish of the gold parts (even though they’re varnished), a little more tape was added for protection.

I absolutely love Vallejo’s airbrush paints, but when it comes to replicating the look of metal, Alclad is hard to beat! Here I’m using ALC-107 Chrome.

There is no need to varnishing for the Alclad paint I used, however a little graphite powder gives the metal a far smokier lustre and I love the look!

The half on the left has not been treated with the brushed graphite, while the metal on the right of the handle has. The difference is astounding!

I had a long roll of leather tape, and the plan was to attach it using a hot glue gun. I had to file away a little of the varnish to get the tape to stick at first.
In hindsight (and on future models), I’ll likely put a strip of frog tape on the underside of the handle after the gold but before the varnish – this will give the tape/glue something to latch onto. However, there is no major issue with it the way it is, as the unsightly part will remain under the leather and out of sight.

Handle completed! The XTC-3D used on the handle has given the metal a really cool texture to it, and the imperfections at the bottom of the handle will be inside the body of the prop; hidden nicely.

And with that, the painting and varnishing is done! A few more steps now, just the last glueing together, and installing the chain and rods!
The first task is to get the metal rods in place. I plan to loosely secure them with blue tack for alignment, check they’re in place properly, then glue the rods in the adjacent recesses. Then as the very last stage of the build I’ll remove the blue tack, and glue them securely once the chain is affixed.

I needed to play around with the rods. A weird situation of needing to move quickly, jiggle up, jiggle down, secure into position, while also ensuring all rods are aligned, pushed into place *and* glued simultaneously.

Metal spokes in place on one side, and a few different chains to try! UK Retailer The Range had a great selection of chains available.

I picked up a selection, the first two being 2 metres long (with 15mm and 35mm links respectively), while the third was 3 metres in length and had links of 50mm each. In the first check, the third chain appeared to be the most appropriate.

The plan was to use a couple more split pins, one in the arrowhead and one in the barrel. The chain wrapped around the body does not come through the barrel, but by doing this I can have a chain linked between the body of the prop and the attached arrowhead, which would look great for photos!

After a lot of messing around, I found out that the chain I’d selected was a little too large by a few links, so I popped off the loosely attached top and dropped a chain size.

The next size down was a little smaller than I’d hoped, but it was the best fit that actually fitted. Split pins secured the chain to the body, a little glue for the last of the metal poles and done!! Last step? Yup! That was the last step, the Hookshot is assembled and fully constructed!

Result
This model was unlike any I had made previously, and this first Prototype version highlighted a few of the issues to tweak and resolve for the next one. Before showing off the final finished piece, I’ll show some of the problems I encountered.
I had to use the smaller chain in the end, leaving the internals looking a little bare. This doesn’t look so bad from a distance, but not as great up close.

The split pin I used to secure the upper part of the chain breached into the barrel.

The pin caused a little more damage every time the arrowhead was removed. The anchor point was also far too deep, and the clip I’d used originally was too big and blocked the barrel. Not a problem when the item is held for images, but the earlier plans of having an easily removable chain were blown into the wind!
It also meant that the arrowhead wouldn’t sit as nicely in the grooves of the barrel as I’d hoped.

Those are the problems, but they’re mostly minor issues that don’t stop the Final Version of the Hookshot from looking fantastic!
It’s a big, bulky unit that is instantly recognizable and effortlessly catches the eye of any Zelda fan! This has definitely been one of my favourite projects I’ve worked on thus far.
That’s my admittedly biased opinion, but what do you think of this finished piece?


Thanks for reading!
If you enjoyed this, you might like some of the related articles from the Overview, or perhaps a different Project altogether?
Love what you saw? Got a project in mind? Feel free to reach out and let me know!