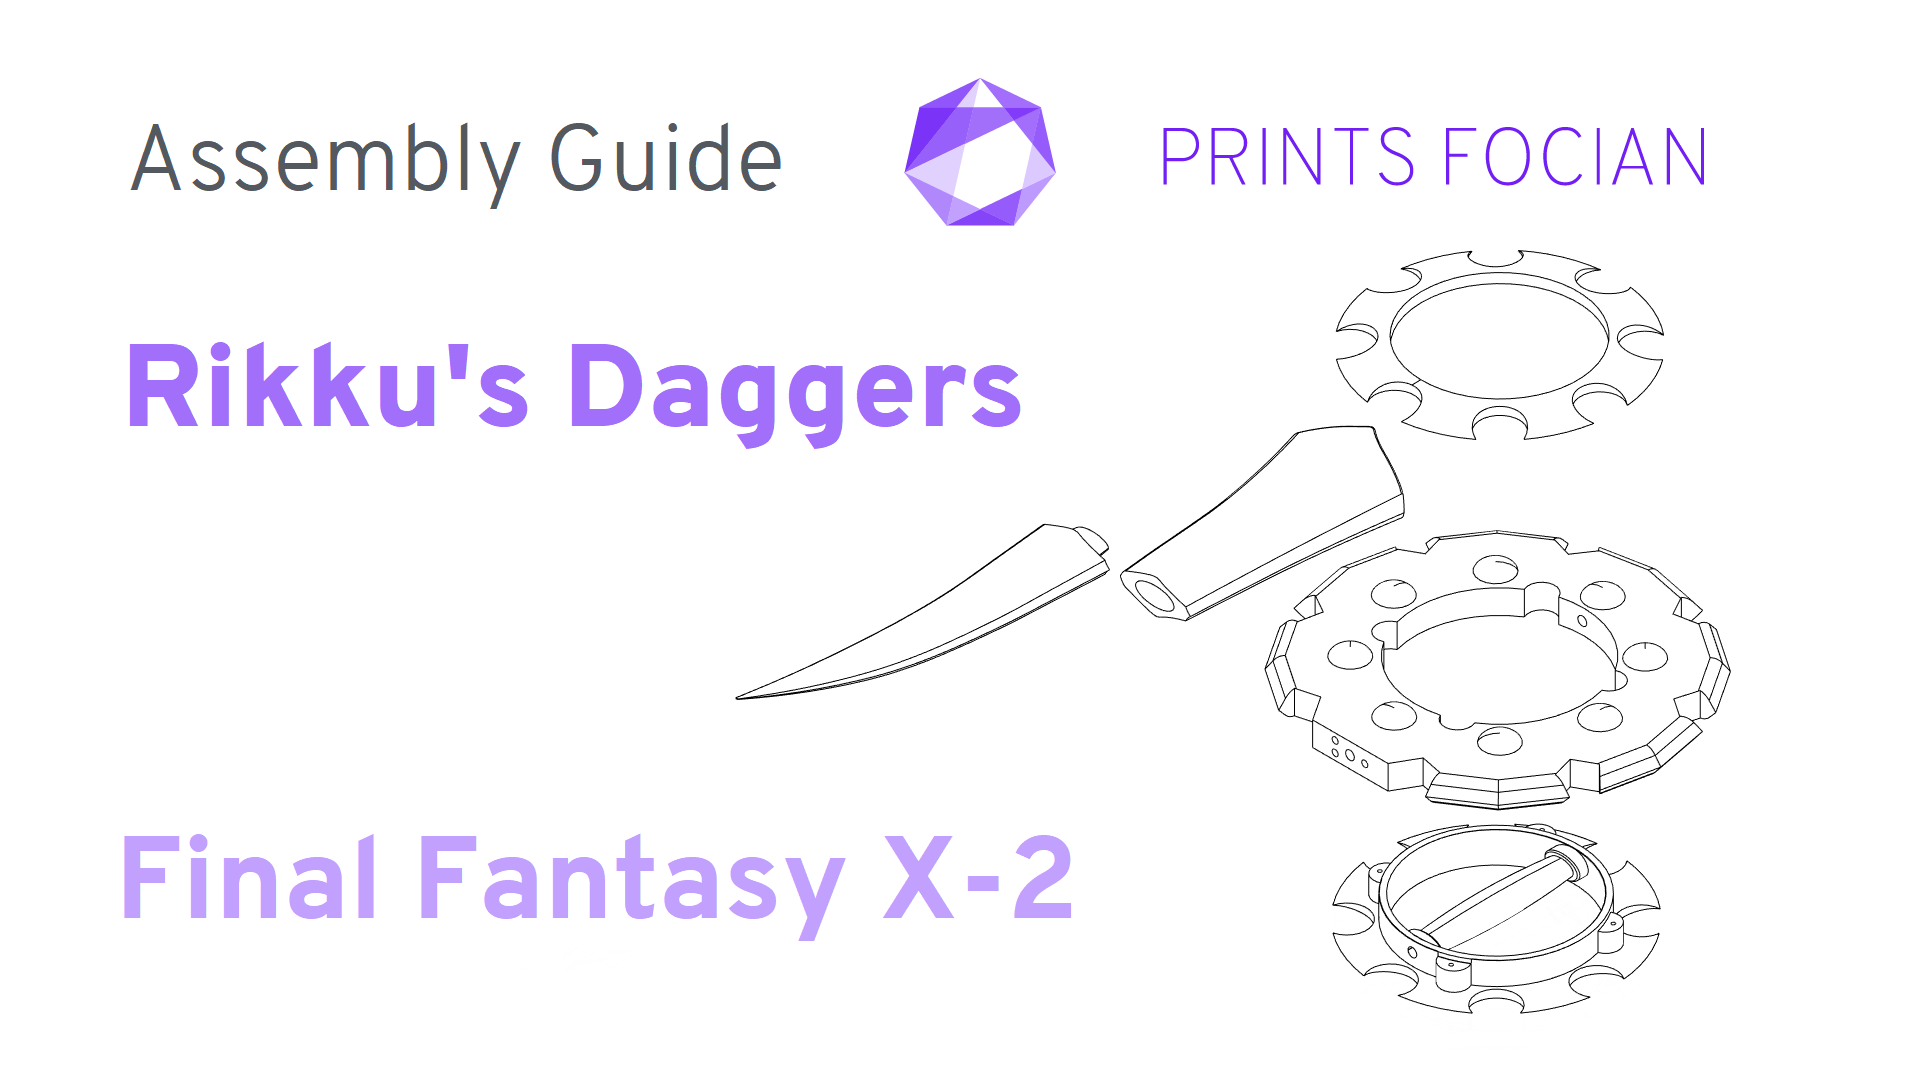
Rikku’s Daggers, Final Fantasy X-2 – Assembly Guide
Introduction
In this Assembly Guide I’ll be offering help and advice to get the most out of your purchased Print It Yourself or Raw Build for the Final version of Rikku’s Daggers from Final Fantasy X-2.
Currently, the Raw Build version is in production, this Assembly Guide is primarily for the Print It Yourself version, and will have future updates as the Raw Build versions are finished.
Check out the links below for the available versions:
- Print It Yourself
- Raw Build (Coming soonish)
This guide is here to offer technical help to you in a build, if you would like to see more of this project in general, check out the Overview.
Whether you’re building this unofficial replica for decoration, or if you’re looking to use this as a cosplay prop, the information in this guide should assist you in making the best-finished product you can!
")
Difficulty
- Easy – An exceptionally easy project, most or all of the parts assemble in a very obvious manner. You’ll have difficulty going wrong on this project. Accessible to all build enthusiasts!
- Normal – This will mostly be a straightforward project. Some of the finer details may need to be checked against this Assembly Guide, but most build enthusiasts should have no issue creating a great-looking finished model.
- Heroic – This will have a fair few tricky moments. It will need more care and attention to get the best out of it when compared to easier models. I would not recommend this for a first project as the difficulty could be frustrating.
- Legendary – I do not recommend purchasing a piece of work that I have deemed as Legendary Difficulty unless you are an experienced builder or maker. Projects of this nature will need a lot of work, time and patience to complete. Technical knowledge about the material used will help, as will a versatile toolkit.


Package Contents
Raw Build is currently in production, this section will be updated with further information.
Raw Build Support Rods
The support rods recommended for the Raw Build versions are:
- One Blue: 500mm * 6mm
- Three Purple: 100mm * 4mm
- Four Green: 20mm * 2mm

Print It Yourself:

Purchase of the Print It Yourself version will allow you to print the design, and you’ll also receive a BY-NC-ND 4.0 license for the files.
The following components with their respective [FILE_NAME] will be instantly available for download upon purchase:
- Master Version [RDG_MASTER]
- Main Body [RDG_PIY_BODY]
- Inner Ring with Handle [RDG_PIY_HANDLE]
- Inner Ring without Handle [RDG_PIY_INNER]
- Base of the Blade [RDG_PIY_BLADE_1]
- Tip of the Blade [RDG_PIY_BLADE_2]
- Non-Commercial Licence [RDG BY-NC-ND 4.0]
Print It Yourself Support Rods
The support rods recommended for the Print It Yourself versions are:
- One Blue: 500mm * 6mm
- Four Purple: 100mm * 4mm
- Four Green: 20mm * 2mm

License Type:
With my 3D files, you will also receive a non-transferable Creative Commons Licence. As standard, this will be the CC BY-NC-ND 4.0 license, although other types are available upon request.
The “human-readable” version of the license type can be found here.
I would like to highlight the Non-commercial part. “Non-commercial means not primarily intended for or directed towards commercial advantage or monetary compensation.” If you are using any designs of mine as part of your work (such as a cosplayer), then this is absolutely fine, and actively encouraged! Or perhaps you made an item a while back and now want to sell it on? You didn’t buy the item for the primary purpose of selling it, again, this is absolutely fine!
However, if you are purchasing the STL files with a view in mind to sell the output, raw or finished? This will require a commercial license.
Assembly
Unique Build Information:
Build Order
The order of the build is important with this item, on both the Raw Build and Print It Yourself versions if you want to hide the seam on the golden handle section.
- Process and finish all red parts (only fully assemble the two blade parts in the Print It Yourself)
- Process and finish both gold parts but do not varnish yet
- Main Support Rod into the blade
- Both gold parts sandwich the red main body, aligning the hemispheres and support rod holes
- Feed the Main Support Rod and blade into the body, through the gold handle, and into the red body again, assembly complete
- You can now process the seam and hide it, then varnish the gold sections
Print Alignment
If you lie the main body flat on the build plate to print, you can activate the “Ironing” controls to save a lot of post processing work on one flat side.
This comes at the cost of the underside where the part rests on the support being tougher to work on.
There are two daggers, and if you’re planning on using them purely for images, it might be a smart choice to have one great (and easier to finish) side that you can keep camera-facing.
Alternatively, you can have a uniform finish by aligning the only flat of the body so it is stood up. This is how the Raw Builds are aligned when printing.
Print It Yourself Sizes
As with all PIY purchases, I try and make sure the design can be built on a small printer. With these Daggers, the limits are rather close, with the diameter of the Body coming in a little under the 250mm threshold.

General Information:
- Small hand tools are used in the support removal and some small marks may be present
- Ensure you wear eye protection when removing support material as it takes just the smallest amount of force to ding a shred of plastic into an eye
- Material colour is subject to change
- Take more care when sanding any resin products, both in terms of waste material and the ease of accidentally ruining the finish
- I make all the holes for the support rod with an additional 0.5mm tolerance on the diameter, and 2mm on the length
- If the metal rods you have are quite shiny, I’d recommend a gentle sanding with low grit sandpaper to help glue adhesion
- All support rod holes on Raw Build Kits are drilled and checked with the correctly sized rod to ensure a good fit
- All support rods displayed are not always essential and are only included if explicitly stated.
- Consider lighter support materials, such as tubing or wooden dowel, if weight is a consideration. On a shelf? No issue. After eight hours of carrying it around? Every gram makes a difference
- For the Print It Yourself versions, I try and ensure that no single part is longer than 250mm
Thanks for reading!
If you enjoyed this, perhaps you would like to see another Project?
Love what you saw? Got a project in mind? Feel free to reach out and let me know!