Introduction
Welcome! In this build guide, I’ll walk you through the process I took to make a 3D Printed Symmetra’s Turret from Overwatch.
This will be an in-depth examination of the Final version of this project, from start to finish. It doesn’t matter if you’re looking for guidance with a Build Kit, thinking to Print It Yourself or just curious to see the project: You’re in the right place!
This unlicensed replica is intended for decorative purposes or for use as a cosplay prop, also for the first time ever, it even offers a functional purpose as a lamp.
This is one of my oldest project lines, with a couple of Prototypes and a few years passed since its inception. While I may not play Overwatch as much anymore, I used to have so much love for the game that I would love to see this project finished properly.
This article grew far larger than anticipated as certain snags were hit and a lot more needed information to be covered. Eventually, I needed to start relying on collage images to cut down on the bloat, size and load speed of this post.
Check out the link at the bottom of the page for the Overview if you want to see more!
Design
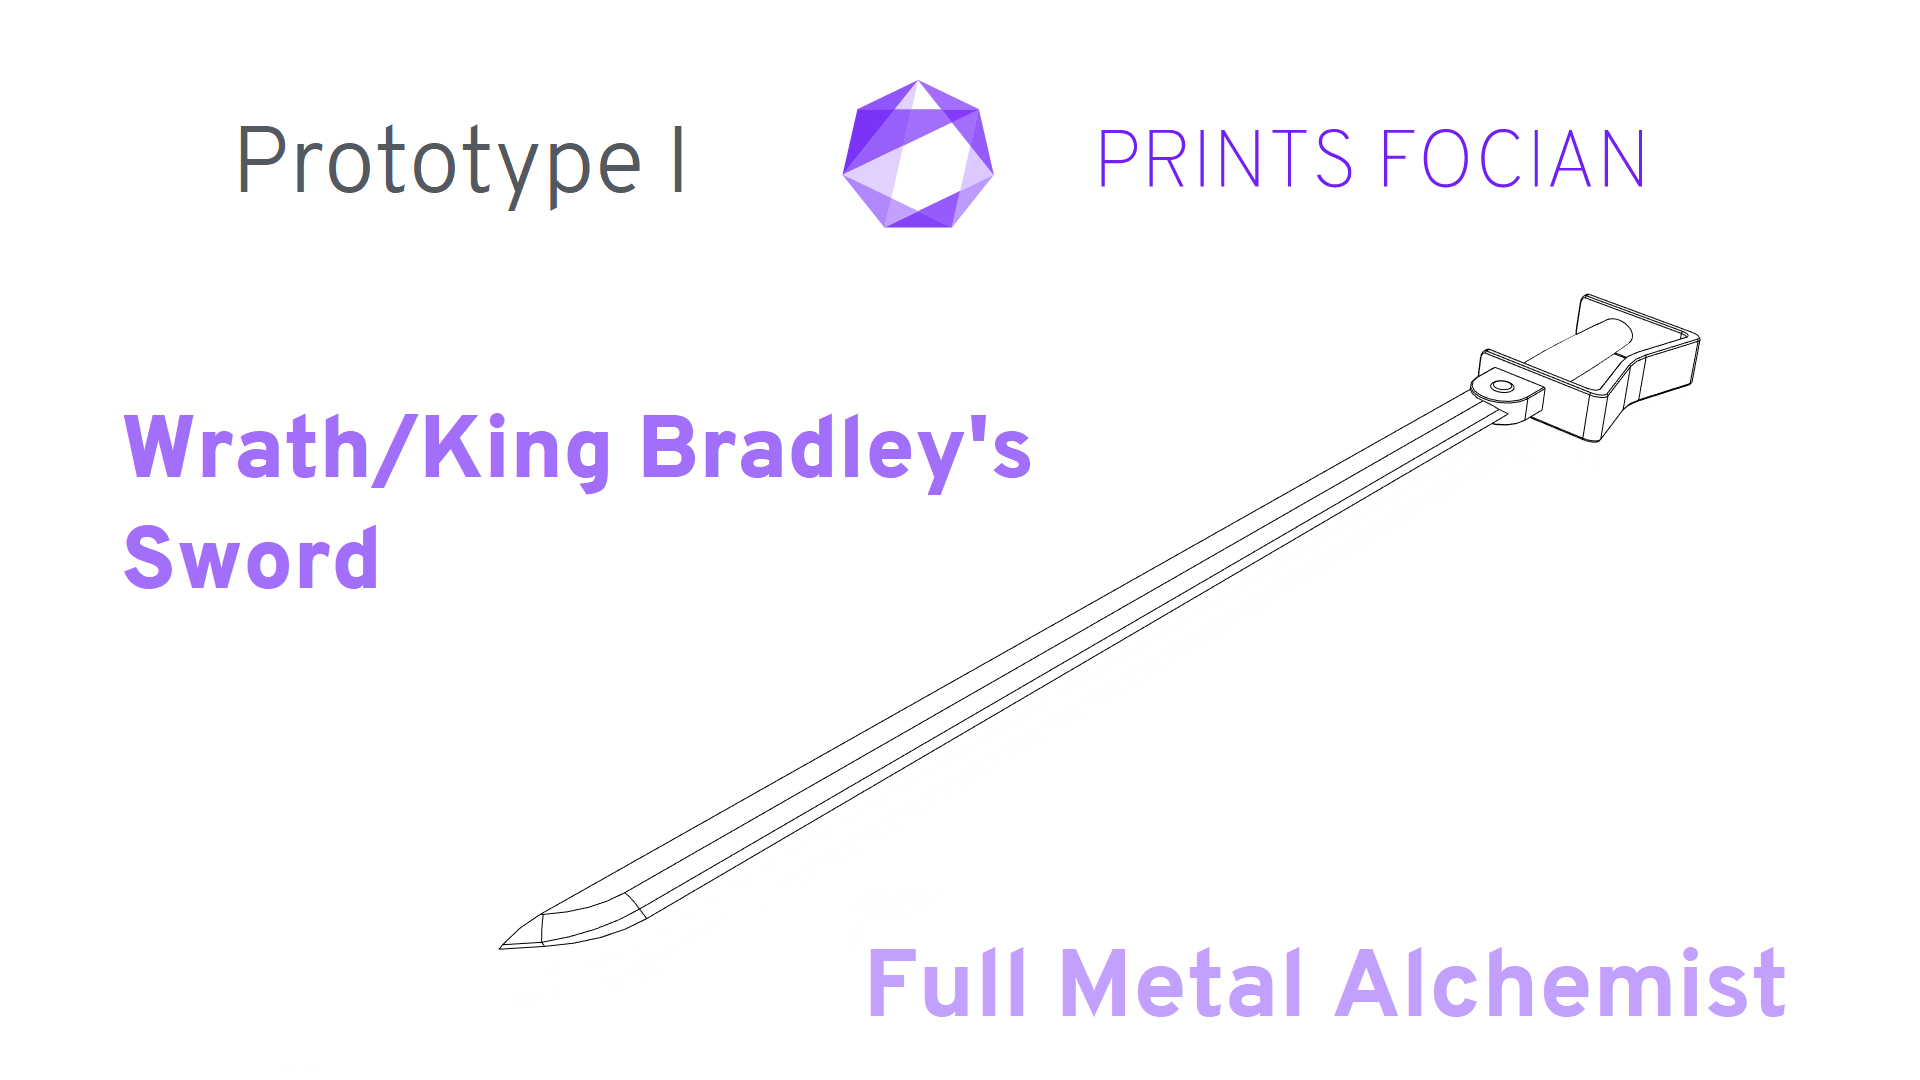
Prototype I and Prototype II looked great in motion; they took a lot of effort to build and always made me proud of the time I put into them. It would have been mostly fine to call it a day there, and I largely did for a few years.
But ultimately, there were a few more things I wanted to do, enough to warrant one Final revision. I recorded most of the modelling, and had a few ideas of the main changes I wanted to make:
- Secure the legs in a sturdier fashion by using an extra support strut per leg
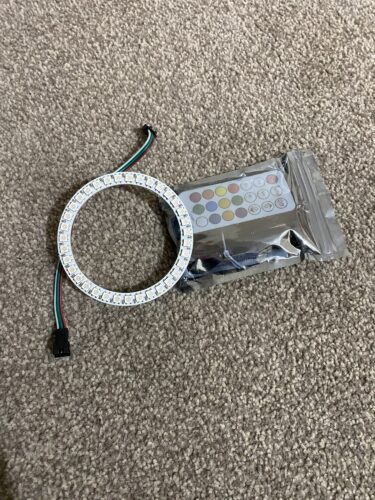
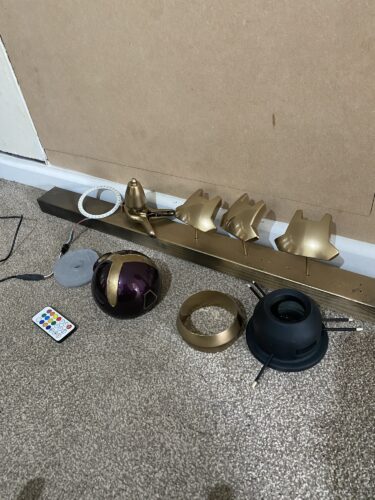
- Use a pre-built remote-controlled RGB LED ring
- Make a resin cast for the light diffuser
- Increase the overall size
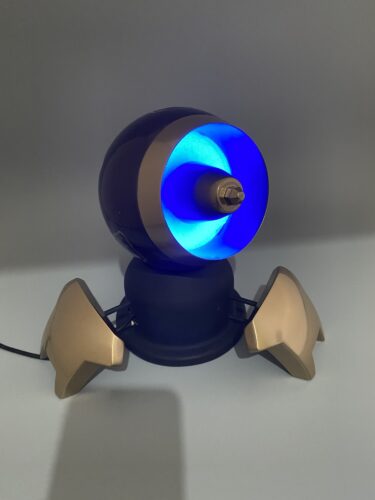
I loved making the previous light rings by soldering together the individual diodes, then writing the light order patterns on an Arduino. Honestly though, the sheer quality of the finish with a prebuilt LED ring is incomparable. Couple that with the easy option of a remote control, and that’s an obvious upgrade to incorporate.
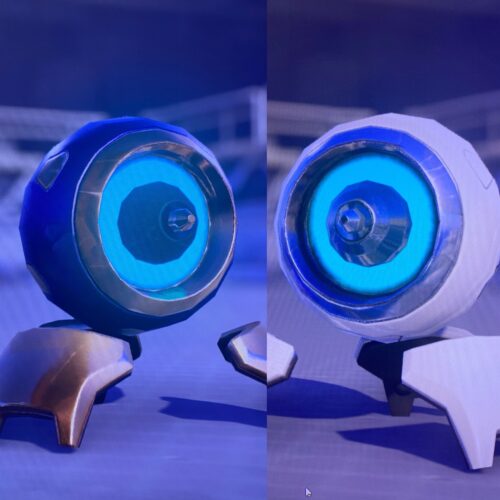
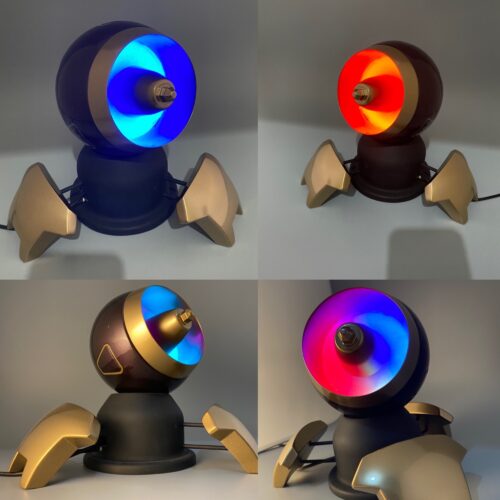
I intended to use the colour scheme from the default skin, as I had done with the previous versions of these. But, I love the purple and gold ones from the Dragon skin so much, and they’re functionally identical… so I’ll be favouring that colour scheme with this build.
I appreciate that the white and steel is far more recognisable and may be a smarter choice, but as I mentioned, “I love the purple and gold ones” and there was no-one arguing in favour of the default skin, so that was decided rather quickly! This is not for a commission; this is just for me and for the website (which means you! Hi!).
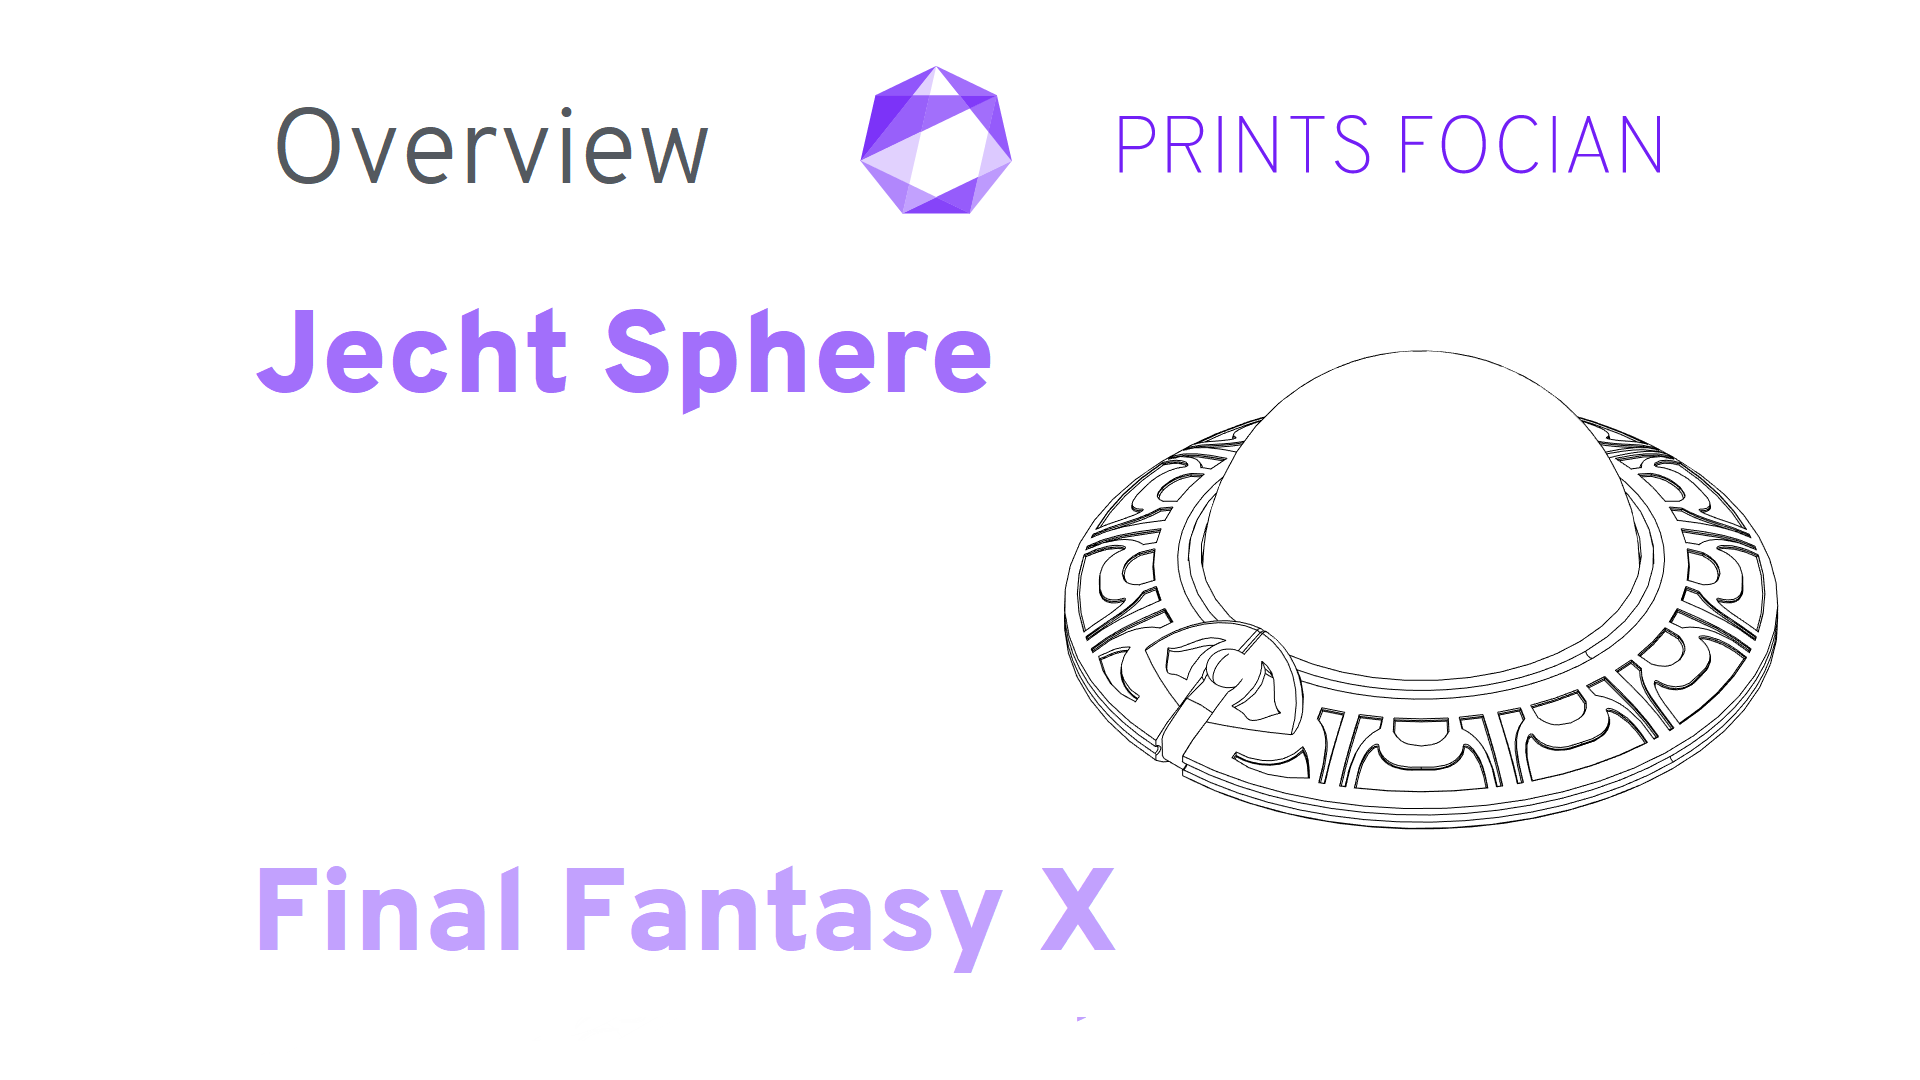
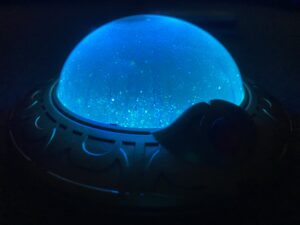
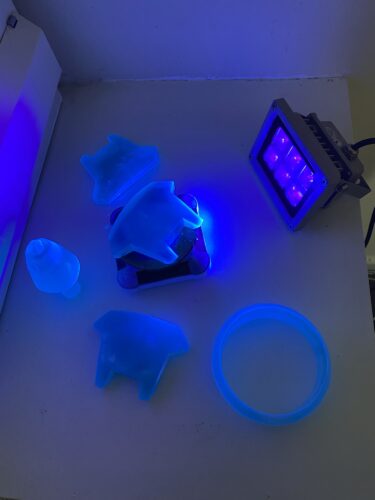
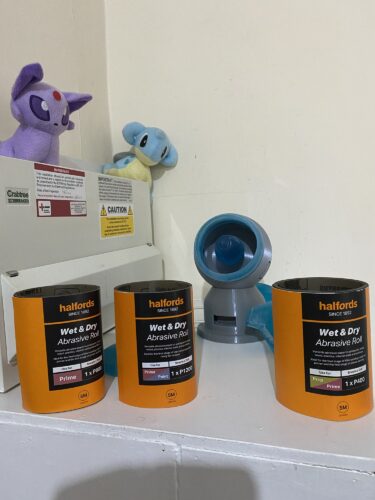
I’m planning on returning to using resin in a silicone cast for the light diffuser. The Jecht Sphere does the best job of showing why! So pretty and ethereal; I think it truly is one of my favourite items I’ve ever made. If I can achieve a similar finish with the diffuser, I think the quality will be worth the extra effort.
Additionally, if you notice the obtuse use of the term’ Symmetra Turret 3D print,’ please understand that I do not comprehend SEO propagation, nor do I have the desire to weave these terms into conversation naturally.
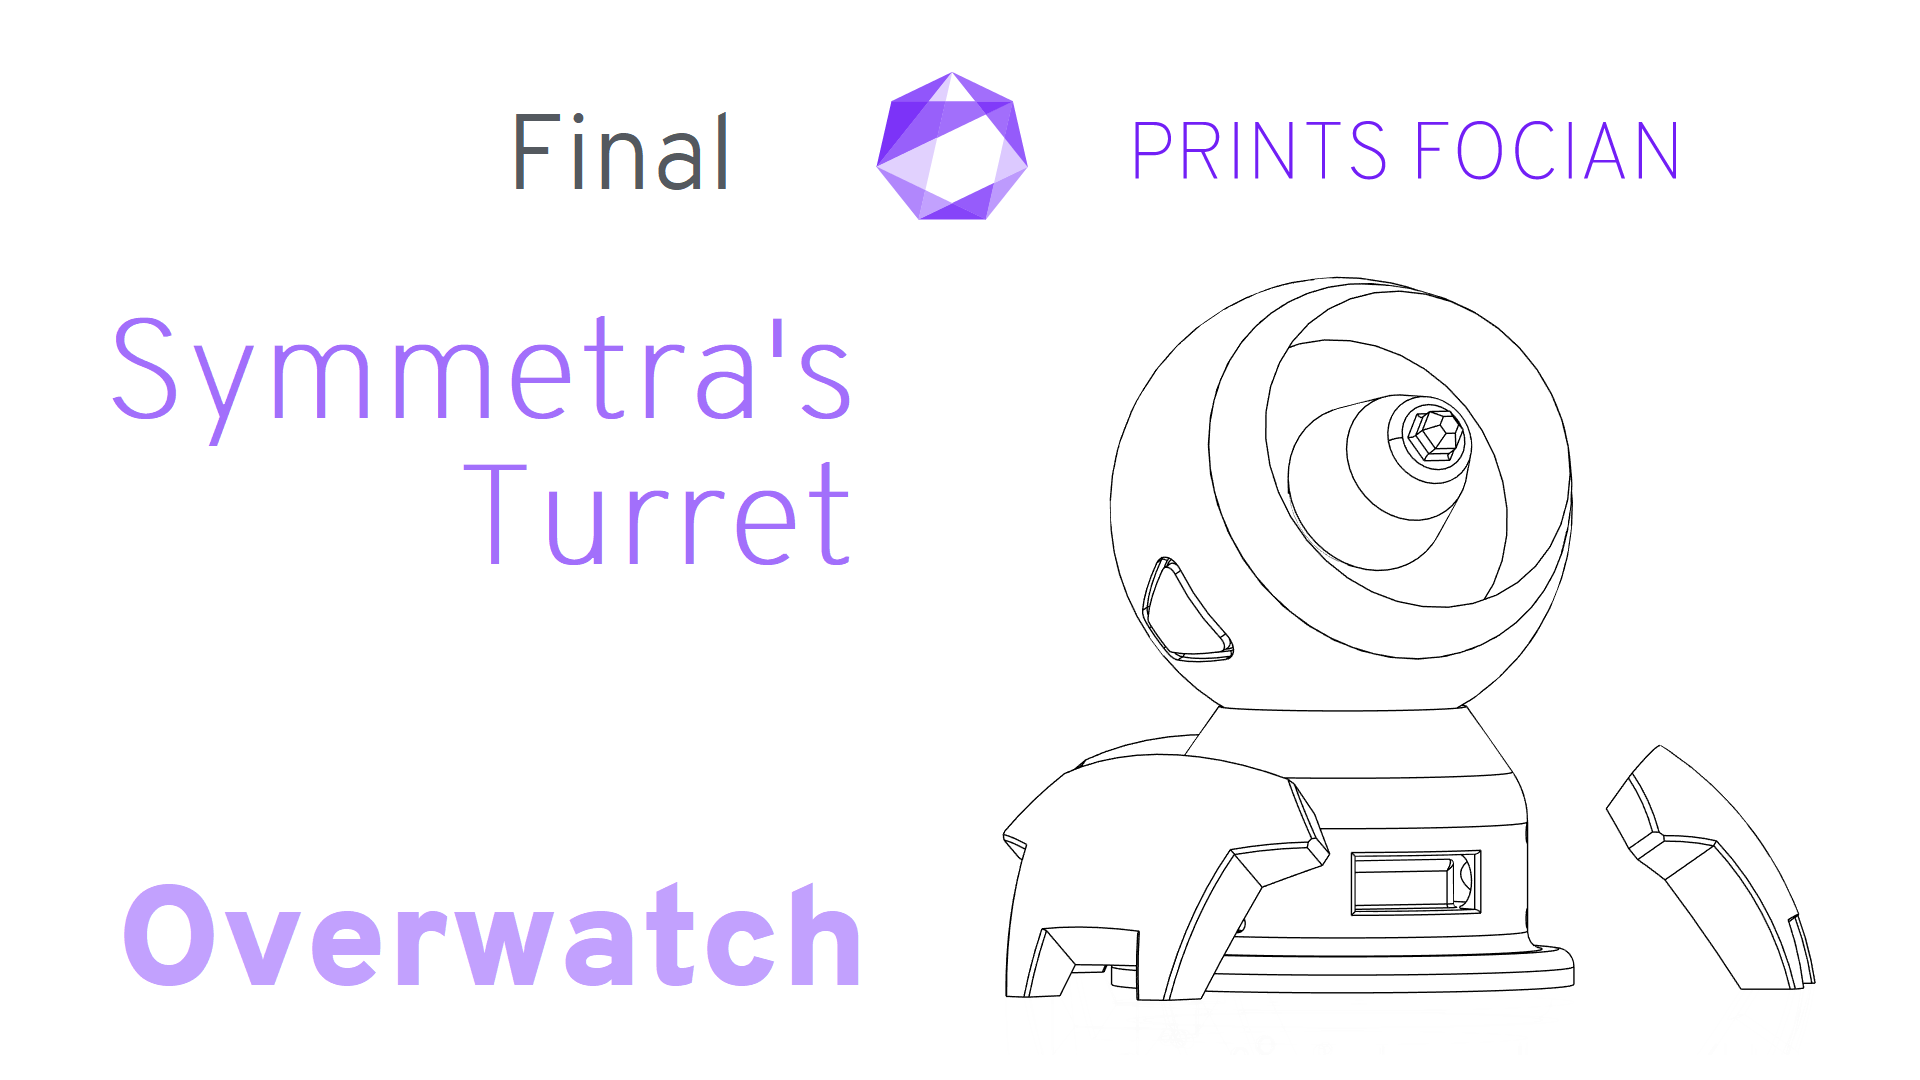
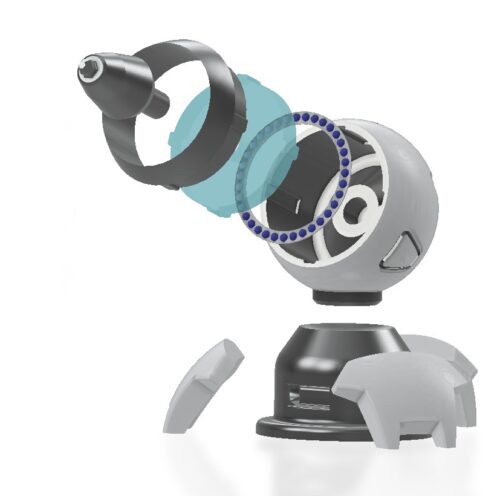
The redesign looks pretty great exploded out, but honestly it’s a little disconcerting seeing it staring straight at you in the render below. That’s one thing no-one ever wants to see tracking them!

Build
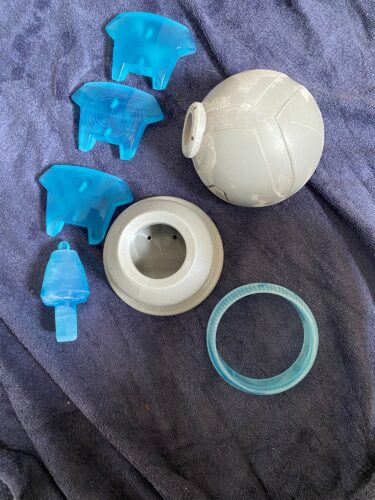
Less talk, more print! As usual, I like a nice, dull grey for my prints. I used my big Creality for the body and the base, printed in standard PLA.
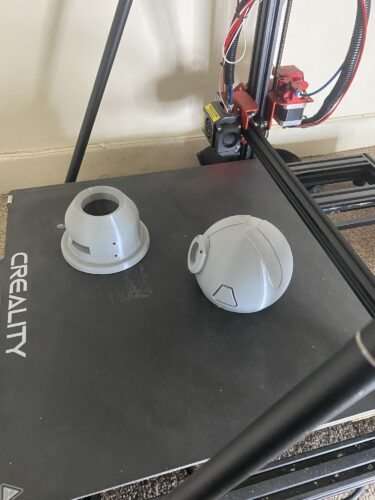
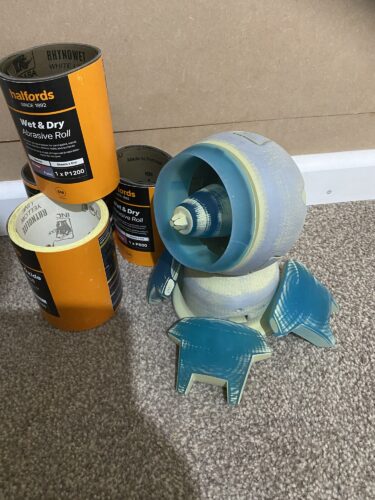
The rest of the parts, the legs, ring and barrel were all printed on the SLA printer, making it a little bit easier to sand, but at the cost of higher cost! The diffuser has also been printed, but this ultimately won’t be the end part, but rather a tool to make an end part.
Quick and loose assembly shows no major problems, everything seems to be fitting as it’s supposed to! Symmetra Turret 3D print is a great set of words!
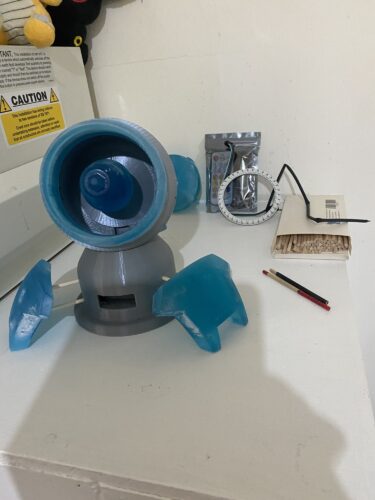
Well, with everything else getting loosely assembled to test the fit, it’d be rude not to try the wiring at the same time, right?
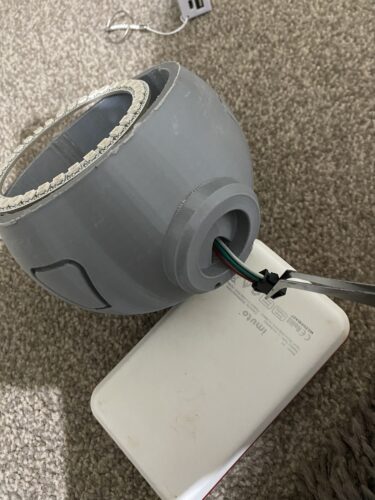
Sorry about the potato quality! The image looks terrible and terrific all at once!
Okay, let’s do the thing… We do the sand, we do the prime…
We do the prime, we do the sand…
We do the sand, we do the prime…
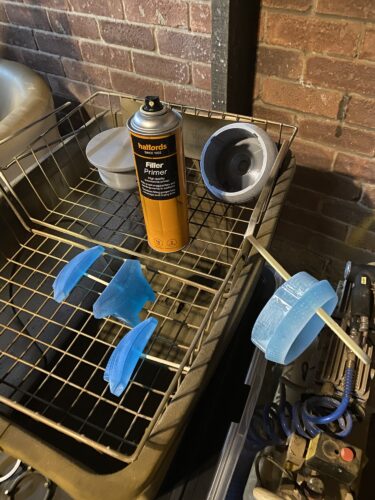
We do the prime, we do the sand…
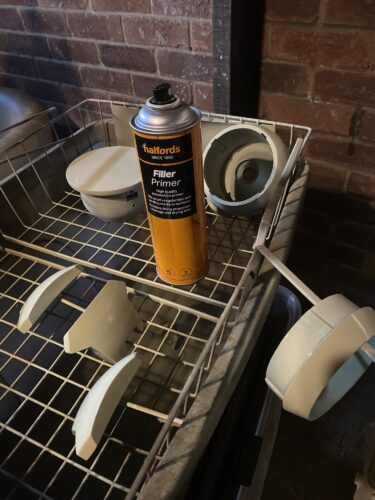
Usually, I only show one pass of prime and sanding dance, but there are many more repetitions of it in the background that I don’t cover. Mainly because it’s boring, I’ll be honest! It’s okay, though, I will break up the monotony by giving myself an SEO tick: Symmetra’s Turret 3D Printing. SEO is weird.
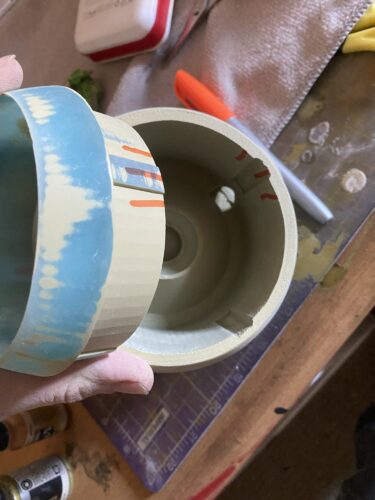
I use alignment marks to ensure I am always consistent with the orientation of the ring against the body. The body of course belonging to Symmetra Turret 3D print thingy.
Okay, done for real this time!! All of the usable parts have been properly primed and are ready for the Finish section!
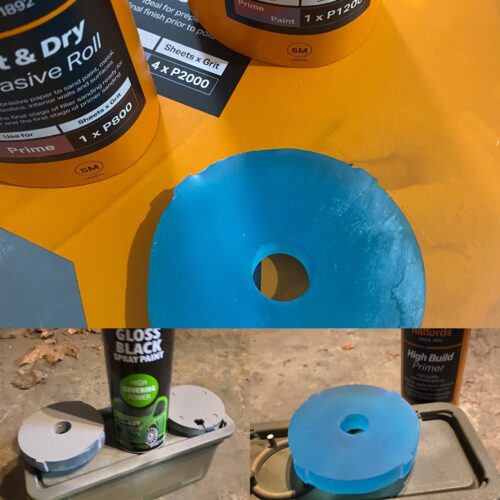
The diffuser is getting the same smoothing treatment, and ultimately needs a liquid-glass smooth face of varnish for the best look when cast.
Finish
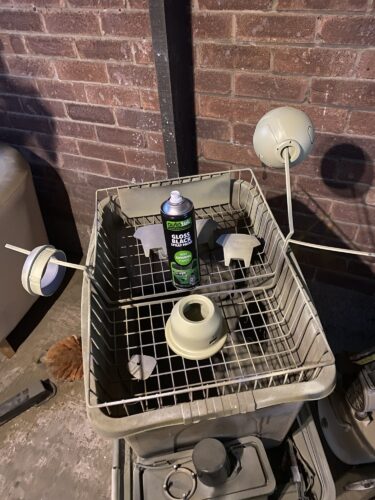
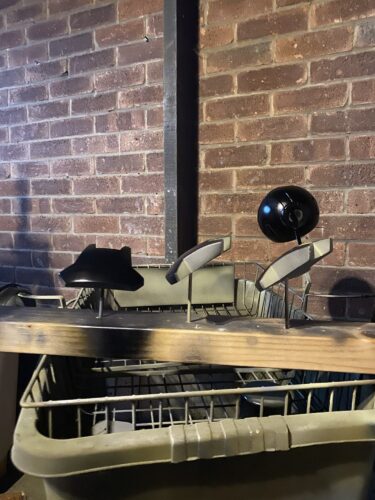
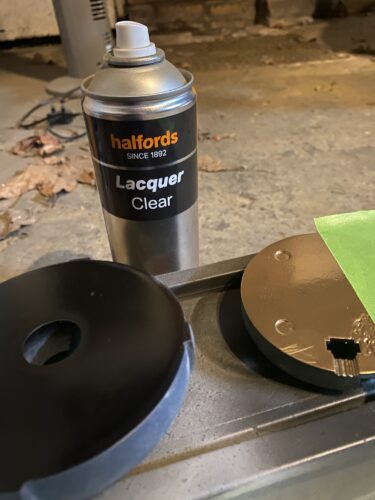
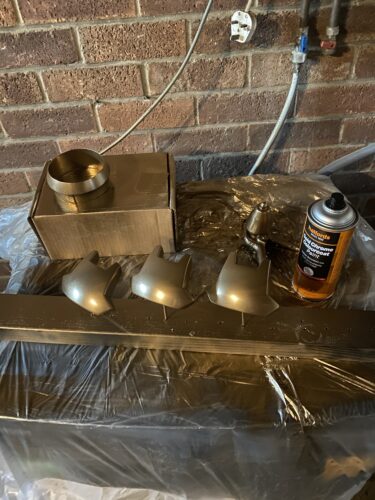
All parts of Symmetra’s Turret were laid out, getting the first coat of gloss black. The beauty of no more sanding is a wonderful stage of any project!
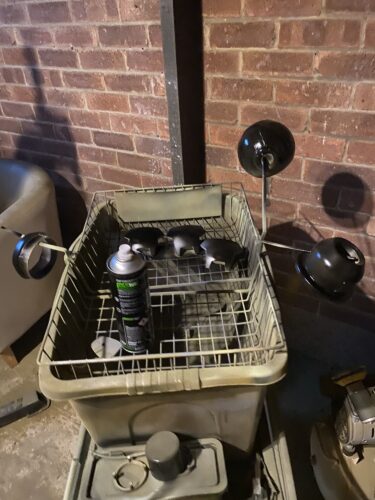
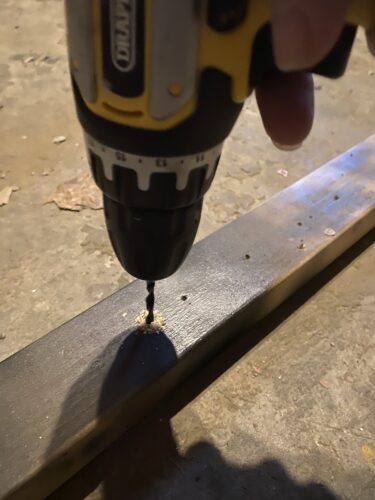
I didn’t like the way the legs needed to be placed on the surface for painting, so I decided to drill a few 4mm holes into some scrap wood to create a basic stand. This made life a lot easier when spray painting them.
A few coats of Gloss Black, both for the purple and the golden parts. The new stand has made painting so much easier for a few parts!
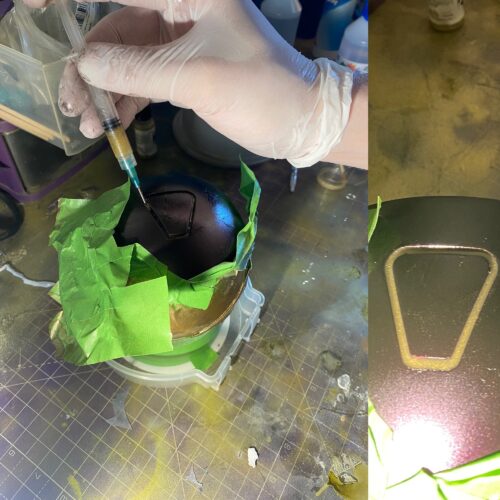
The diffuser is progressing nicely! The finish is so so smooth. I’m also using an older print (part of a base from a Jecht Sphere) to check how the gold will look, how it’ll react to masking tape and also how it will varnish. The answer to those three turned out to be: Amazing, bad and disastrous…
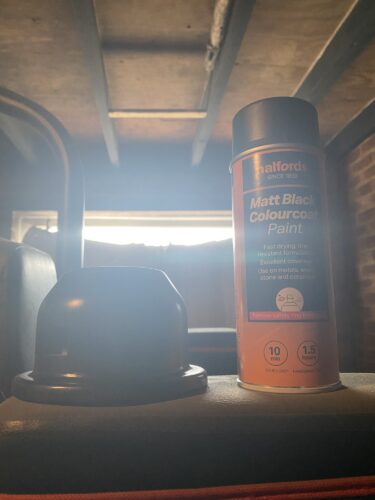
The finish for the base will be an understated Matt Black, to try and get it as hidden as I can. One day I might twig actual anti-gravity technology, then I won’t need a base (please send details if you’ve already learned how this is done, because that’d be kinda useful!)
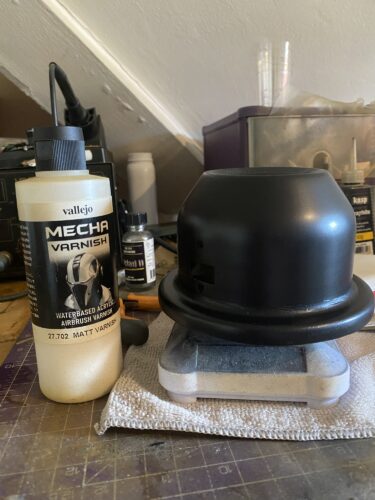
And a quick varnish and this part is done now, yay! For this, I went with Vallejo’s Mecha Series Matt Varnish [27:702] as it proved to be such a great Matt Finish when I used it on the Azakana Blade, Yone’s Weapon from League of Legends.
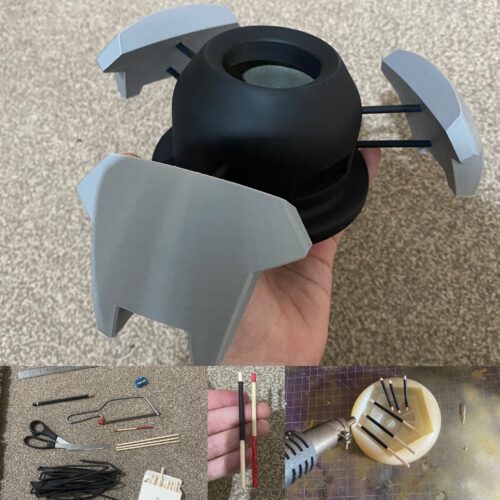
With the varnish cured and protecting the base, it was time to work on the legs. 4mm wooden dowel is used, wrapped in black thermal shrink wrap. I had a few legs printed, so I didn’t need to risk the actual ones. Symmetra Turret 3D print comes to save the day!
How the legs go together can be seen fully in the accompanying Youtube video here.
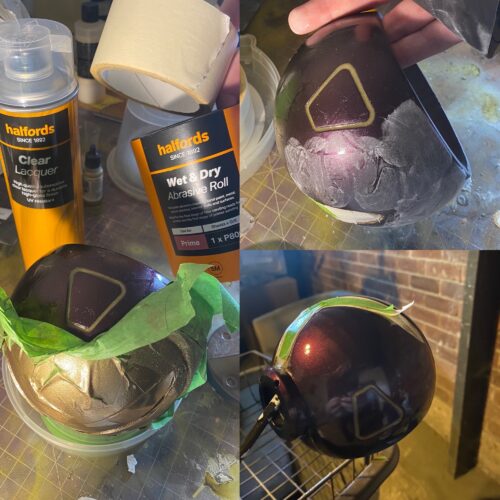
The intended gold parts need to be covered in preparation for the purple, and then varnish to be applied. Once that has all been added and varnished, it’ll be time to reverse the masking tape, so the exposed is covered and the covered is exposed.

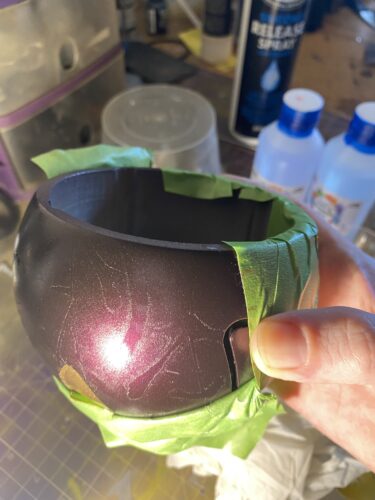
It takes a lot of work to get to this point, but this is where the bulk of the effort starts to pay off. Time for the first few layers of the final colour to be applied.
It’s soooooo smooth and pretty and purple and smooooooooooooth! I’ll need to get the varnish on this ASAP! I plan to fill in the recess you can see here with gold coloured epoxy resin (later on, when I make the diffuser).
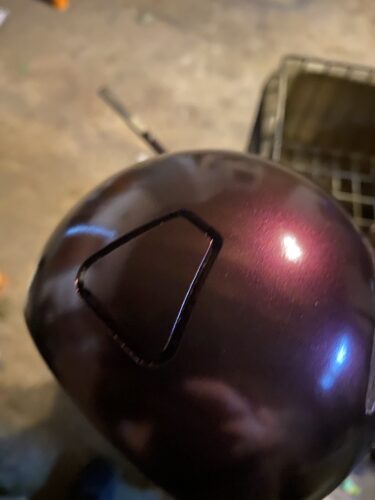
The Varnish used here does a great job of keeping the rich colour very visible and very protected! All coming together now!

I must admit, I can get excited when the ‘fun’ parts of a project are close, and you’re absolutely done done done with sanding. In situations like that, I might overlook waiting for certain things to completely cure and think to myself that “Yup, the varnish is touch-dry and thus definitely cured!”
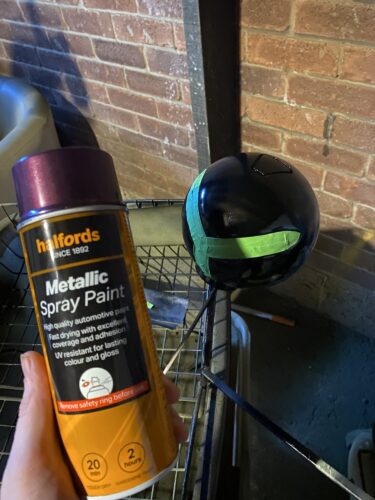
I sure hope that doesn’t come back later and bite me in the butt! Anywho, with the beautiful purple finish safely behind a few walls of presumably cured varnish, I started adding FrogTape to keep it protected. The black trifecta on the back is unvarnished and ready for the gold paint.
This kind of Gold Chrome paint does not need any varnish (in fact, varnish destroys the finish, as I found out much earlier) and is rather hardwearing, (but loses its lustre if handled too much).
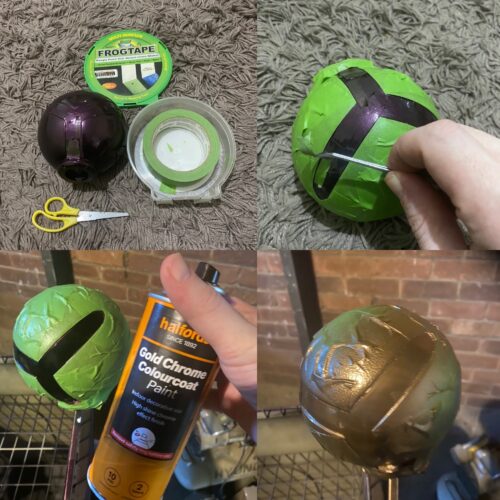
It’s been a while since we saw the other parts, but now we’re at the gold for everything! Symmetra’s Turret from Overwatch is really progressing!
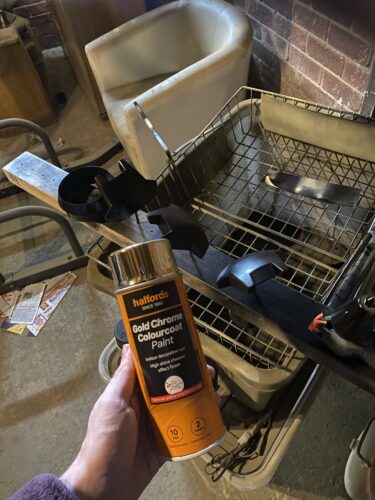
This Gold Chrome spray paint has exceptional coverage, and only needed a couple of coats to provide a smooth and shiny finish when properly prepared!
Standard silicone mould, resin and diffuser for the Symmetra Turret 3D print (Boost that SEO! Yeah!)
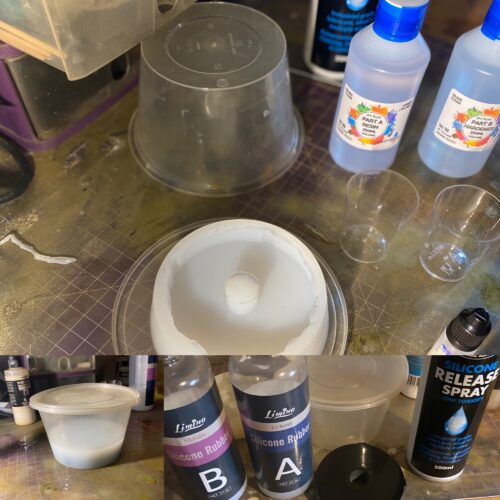
I’m using a generic two part epoxy resin, a couple of mica powders and some white ink to dye some of the resin.
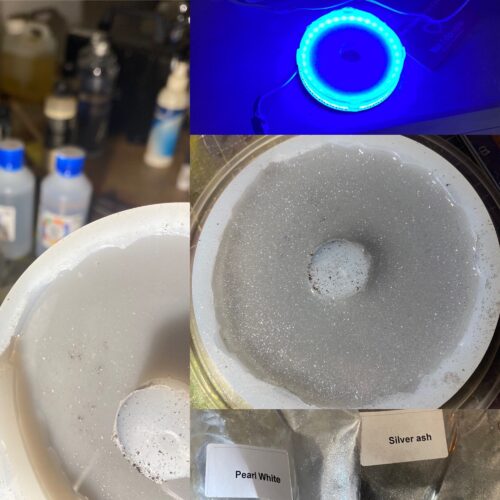
I am planning on filling the mould in two goes, the first will be just a few millimetres. It’ll be dyed white (not too opaque) and have a little of the silver ash mica powder mixed into it.
Once this has been left for a couple of days to mostly cure, the rest of the mould will be filled with clear resin with quite a bit of the pearl white mica mixed into it. This should both diffuse the light softly, but hopefully also look spectacular with a depth to it.
¡DOOM!
When removing the frog tape from the purple surface to apply resin to the side recesses, the exposed finish was ruined. This was gutting, and presumably because I did not leave the finish long enough to properly cure. I resolved to crack on with the resin side parts, then reassess what to do after.
Volume warning for the drums in the video, but I dealt with the problem in a very calm and mature manner, of course!
Anyway, we’ll get that resolve later, let’s carry on working on this part for now. A tiny amount more resin was mixed, dyed gold and syringed into the recess. Each time it was left for a couple of days, then rotated a third for the next of the three.
If I revarnish, the gold paint on the back of the body is definitely going to be ruined, and if I apply masking tape, the gold finish will “probably” be ruined…
Probably > Definitely.
Okay, the new plan is to use masking tape the gold on the rear, do a light buff to the ruined purple surface, then revarnish.
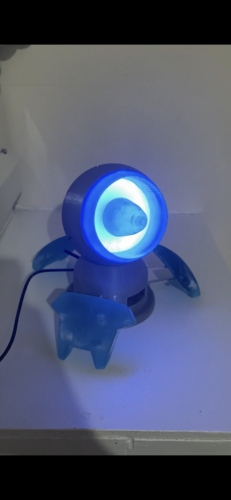
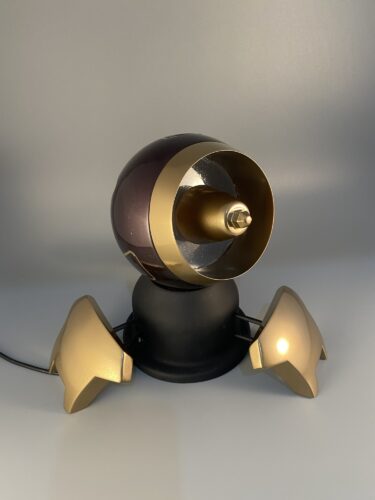
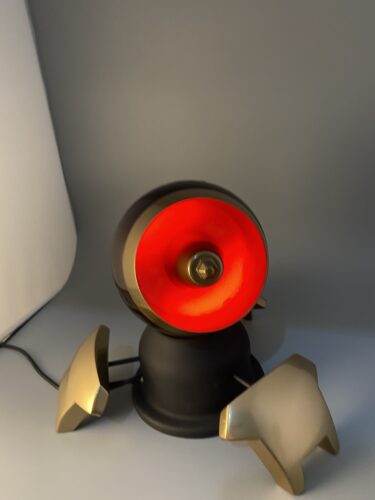
And that is every component completed! Time to assemble, wire up and get some images of the final finished item!
Result
What a project! Symmetra Turret 3D print (last one, I promise) is one of the best finished projects I’ve finished!
It has consisted of years of unfocused effort, numerous huge jumps in quality and a game series that has gone from “Overwhelmingly Beloved by Myself and All” to “Yeah… I guess, ‘Now with a two…'” and honestly this is usually the death knell for a project. If I don’t have love for it powering progress, there is no progress typically. What nailed it here is the amount of time invested, the ease and efficacy of the upgrades and the option to ‘purple it up’ a little bit.
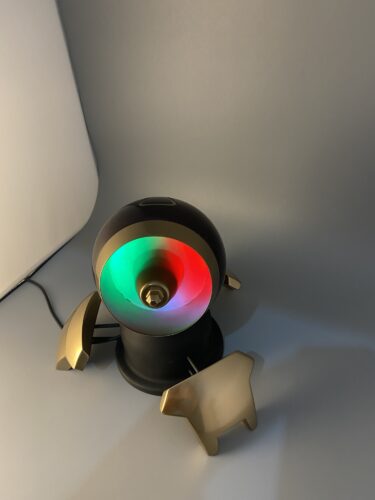
The gold on the back did indeed get a little screwed by the masking tape a little bit. And despite the buff and varnish bringing the surface mostly back, mostly is not completely and some of the imperfections remain. But the imperfections matter little, this project was awesome and the Final finished piece is an absolute gem!
BEHOLD! BEHOLD AND ENJOY!
Thanks for reading!
If you enjoyed this, you might like some of the related articles from the Overview, or perhaps a different Project altogether?
Love what you saw? Got a project in mind? Feel free to reach out and let me know!