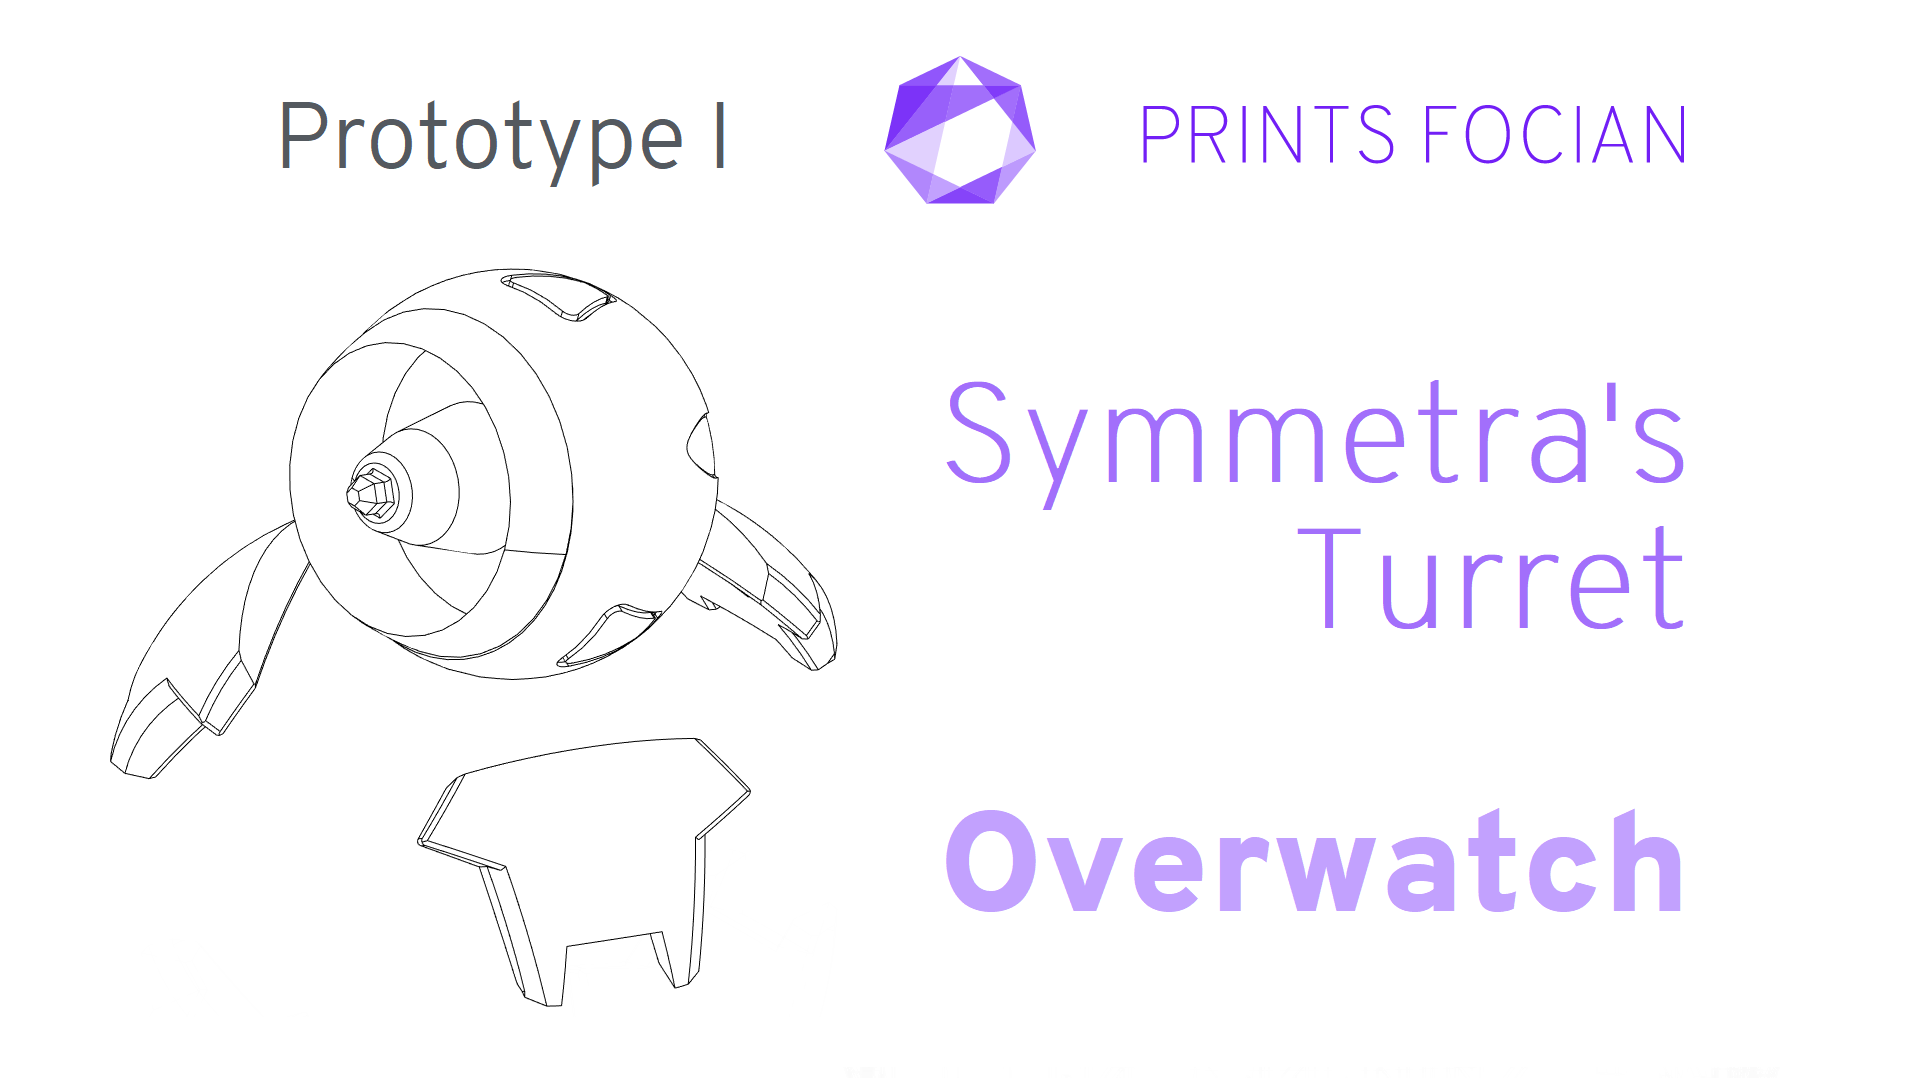
Introduction
Welcome! In this build guide I’ll be walking you through the process I took in making a Turret that Symmetra deploys in Overwatch.
This will be an intensive look at the Prototype I version of this project from start to finish. It doesn’t matter if you’re looking for guidance with a Build Kit, thinking to Print It Yourself or just curious to see the project: You’re in the right place!
While this unlicensed replica is intended for decorative purposes or for use as a cosplay prop, the main reason for building it is that I was in a complete fever pitch for Overwatch at the time, and this seemed like an incredible project to learn some new skills on!
Check out the link at the bottom of the page for the Overview if you want to see more!
Design
Long before Fusion 360, I was using 123Design. My skills were amateur at best, but I kept playing around with the tools and had a lot of time to hand. I have no idea how long I would have spent creating just the design, but with hindsight this was time spent learning (and well spent!)

I struggled along, and eventually had something I could use to create the full-sized turret. Also, I tried a few smaller versions which had a solid body.

Build
The first few prints came out nicely and caused no issues, although I did need to quickly learn to swap my filament mid-print.

The tiny turrets were cute!

And then we begin the Prime & Sand dance! Wooo! Ugh… The song never changes.

Slow progress as my enthusiasm for the project committed me to a workload higher than was sensible. Lots on the go, with the larger ones taking priority!

I didn’t know much about electronics, but I knew enough to google more about Arduino Microcontrollers. Phenomenal lil devices!
With next to no working coding knowledge, I was able to cobble together how to tell the LEDs when to switch on and off in sequence!

A holder designed for the inside of the body was a simple unit with the needed recesses in.

Not pretty, and most certainly not fit for sale while I’m learning, but learning I was! I began soldering the ground wires together, with each LED connected to a specific pin on the microcontroller.

A quick quality check to make sure it’s working at the earliest stage, and it is! Yay!

Great success!! These are flashing off in order rather nicely!
The first rig I made wasn’t exactly clean and tidy. The second was much better, but still had a way to go. It looked like it’d do the job though, and on the Prototype versions, that’s sometimes all I can ask for.

Despite the second being better, I gave it another go, this time using a solid metal ring both for rigidity and the earth. I did a trial run of more LEDs as well.

Thermal heat shrink wrap was used on the wires and resistors.

Yes! That looks infinitely better! Such an immediate improvement!

Quick snapshot of the evolution:

Things were coming along nicely with the LED holder, but I honestly hated the stand. Big, bulky, and a difficult shape to make the ABS I was using stick.

I redesigned the stand and planned to incorporate threaded rods to minimize visibility. A brass insert in each leg, and a few in the base is the plan.

Finish
We are all good for painting! Ford’s Ivory White was used as thee main colour.

Result
First of all, the bad news! Somewhere between here and there, the mini turrets completely disappeared! No photo evidence, nothing in my memory; just gone! Pfft! It was all about those life-sized ones anyway!
A poor surface finish between the two faces (as well as a couple of other defects) allowed a lot of light to bleed through unintended areas.

Ooooh, I tried to carefully painting into the inserts, but admittedly did a poor job.

Both of the Prototype I models look pretty great when stepping back a bit!

I don’t have any images that are even slightly professional, nor will I now be able to get any, as both of them were given away. But watch this space for Prototype II coming soon!
The Overwatch fan that received it said it was great! That’s a win!

Thanks for reading!
If you enjoyed this, you might like some related articles from the Overview, or perhaps a different Project altogether?
Love what you saw? Got a project in mind? Feel free to reach out and let me know!