Introduction
Welcome! In this build guide, I’ll be walking you through the process I took in making a 3D printed sword, modelled by me, and inspired by one used by King Bradley / Wrath in Full Metal Alchemist.
This will be an intensive look at the Final version of this project from start to finish. It doesn’t matter if you’re looking for guidance with a Build Kit, thinking to Print It Yourself or just curious to see the project: You’re in the right place!
While this unlicensed replica is intended for decorative purposes or for use as a cosplay prop, the main reason for building it is that someone enquired about it! The earlier Prototypes got abandoned halfway through the build, and the project had gone nowhere for years. So when someone reached out about it, I bumped it to the front of the queue and rode the people-pleaser part of my brain to a long overdue finished project!
Check out the link at the bottom of the page for the Overview if you want to see more, or if you prefer video, this build has a TikTok and YouTube playlist:
Build
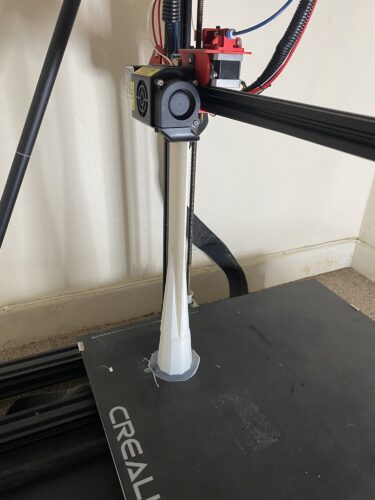
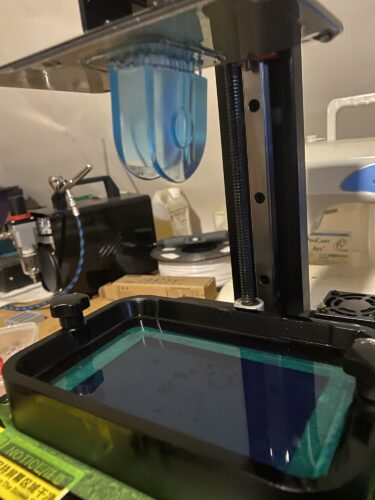
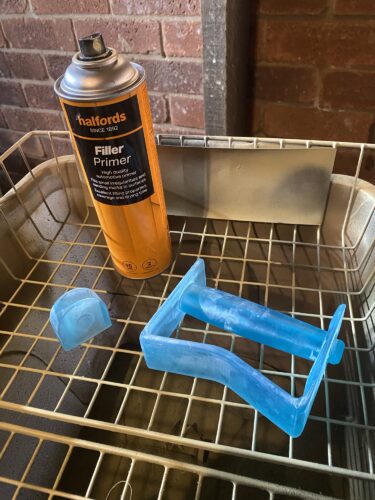
The blade will be printed using basic PLA, printed on the work-horse printer, my Creality CR-10 Max. Meanwhile, the handle will be printed on my SLA Printer.
I had several printing issues that caused more failed parts than usual. This was largely due to a lack of recent printing, and my printers just needed proper calibration. Once given a little maintenance, they all behaved properly, and all parts were printed cleanly.
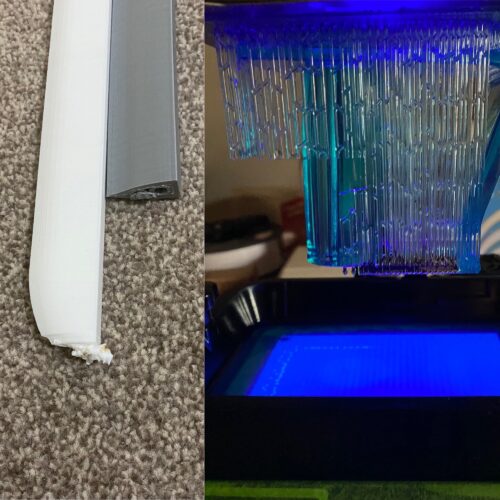
To reduce the sanding, I elected to use the SLA Printer (Creality LD-002H) for the handle. This did mean I needed to break the handle apart from the part that covers the bottom of the blade to get it to fit, though.
This is the other detached part. Easier to use the resin printer and reassemble physically later than spend even a single extra second sanding!
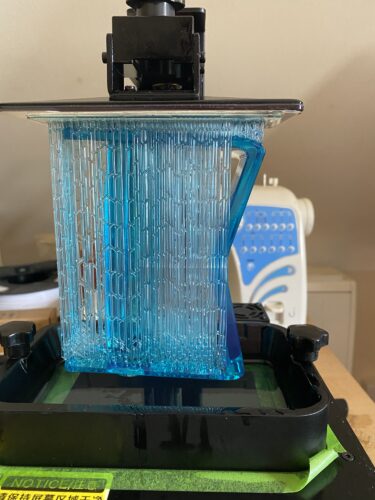
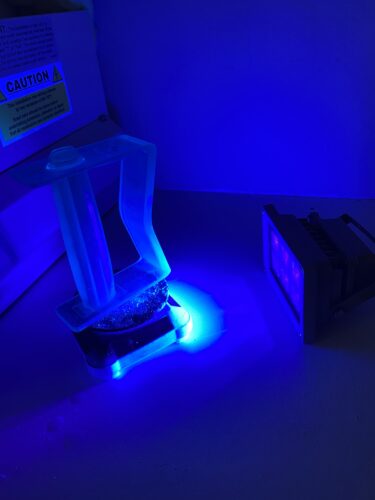
Once printed, the resin parts needed to be left under the UV Blacklight after washing to cure properly. A small turntable is also used to ensure consistent curing from most angles. I always love the images produced at this stage, they’re just plain cool and always will be.
This is not a terribly complex model ultimately, especially in comparison to something like Yone’s Azakana Blade, but I haven’t been making many finished models recently, so a simpler one is an ideal pursuit right now. Once printed, all parts and support rods were brought together before being worked on.

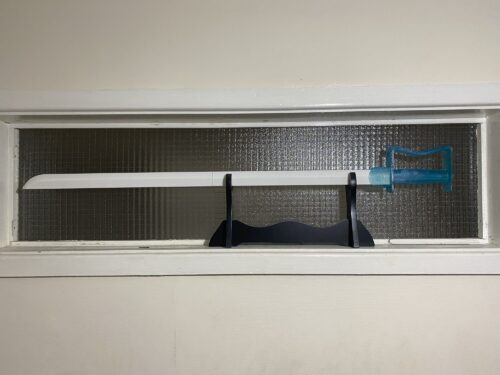
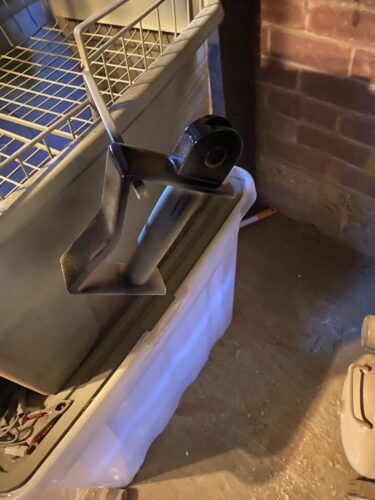
A loose fit-check is almost always a good idea when all the parts are printed, as it’s better to find problems sooner rather than later. They fit together nicely and landed well on the stand that the finished model will hopefully eventually sit on (ooooooh, foreshadowing!).
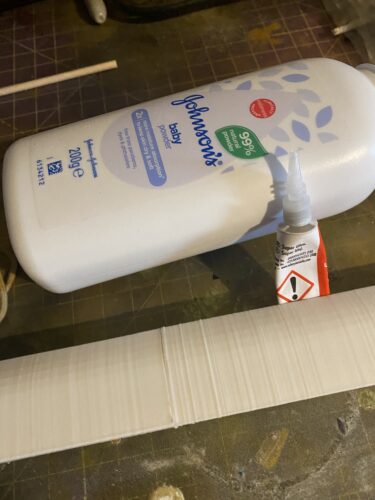
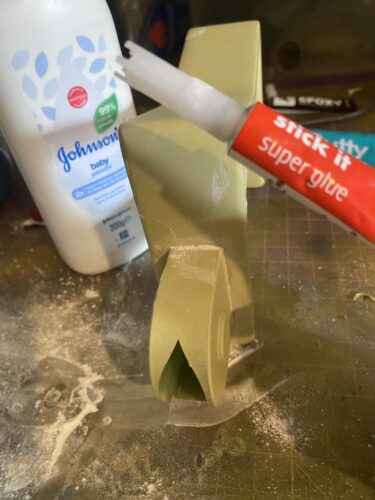
The two sections of the blade were glued in place on the support rods. There are always a lot of options when it comes to hiding the seams of the parts when you join them together: knifing putty, epoxy resin and 3D printing pens are all great options. Here, I elected to use talcum powder and super glue to quickly create a strong and workable seal between the two. Then the joyous sanding of the whole blade as one piece could begin.
SLA Printed items do not require much sanding as PLA/ABS or other FDM materials due to the microscopic layer lines. This makes it ideal for something with a lot of angles that could be difficult to sand evenly. The only downside, as I mentioned earlier, is that the size of my printer limited me. I was forced to change the model to have the handle and blade guard separate.
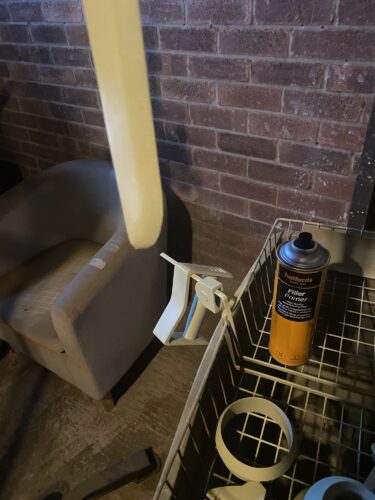
Getting some good progress as all the parts have been primed and are moving along nicely.
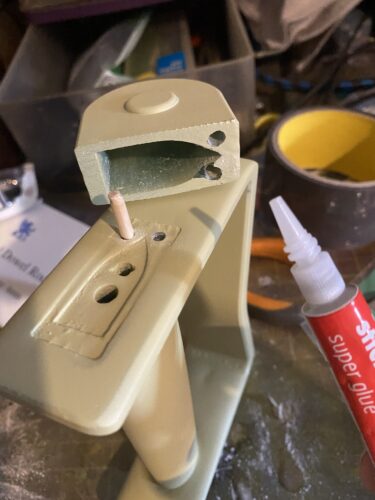
A couple of holes were used with 4 mm wooden dowel to align both parts, and for added strength. Super glue was then used to secure the handle to the blade guard part as it is slightly absorbed by the wood and holds brilliantly.
Much like with the two parts of the blade, I opted for super glue and talcum powder to hide the seam between the two parts. Once the seal was solid and complete, it just took a little bit of sanding and a quick re-prime to have this ready for the Gloss Black. With all “Build” parts of the cycle complete, it was time to move on to the “Finish”!
Finish
With the sanding, priming and assembly of the larger parts completed, it’s time to work on the Finish! Excluding a brown handle section, everything will have a metallic look to it. Anything with such a finish needs a specific next step: time for a few coats of basic gloss black.

With the blade part coated, it’s the handle’s turn to get the same treatment.
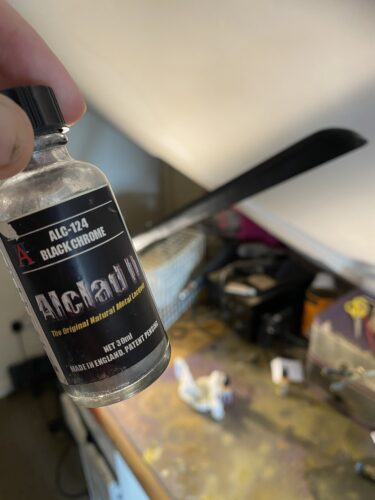
In the past, when I’ve tried to get a metallic finish, I’ve usually used Alclad II Chrome, and it generally looks great! This time round, I have some Black Chrome from the same manufacturer (ALC-124) that I plan to give a try to. No requirement for varnish as this Alclad range is self-sealing.
Once applied a few times (very lightly!), the blade itself was complete. Once the handle is finished, it’s just assembling the two parts; so time to get that handle progressed!
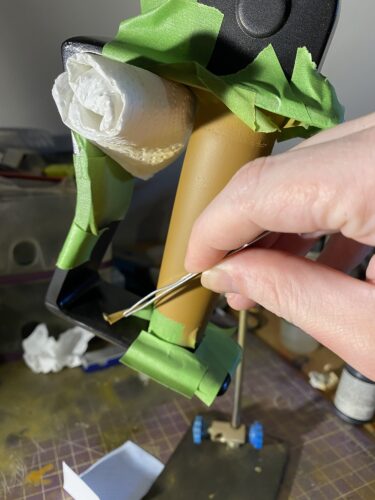
Sanding is the worst, you’ll hear no argument from me on that front, but I do also want to complain a little bit about masking, because that can have its own little slices of hell involved. Avoiding fingerprints while trying to carefully wrap certain parts in tape can be a bit of an art-form… one that I am not a master of!
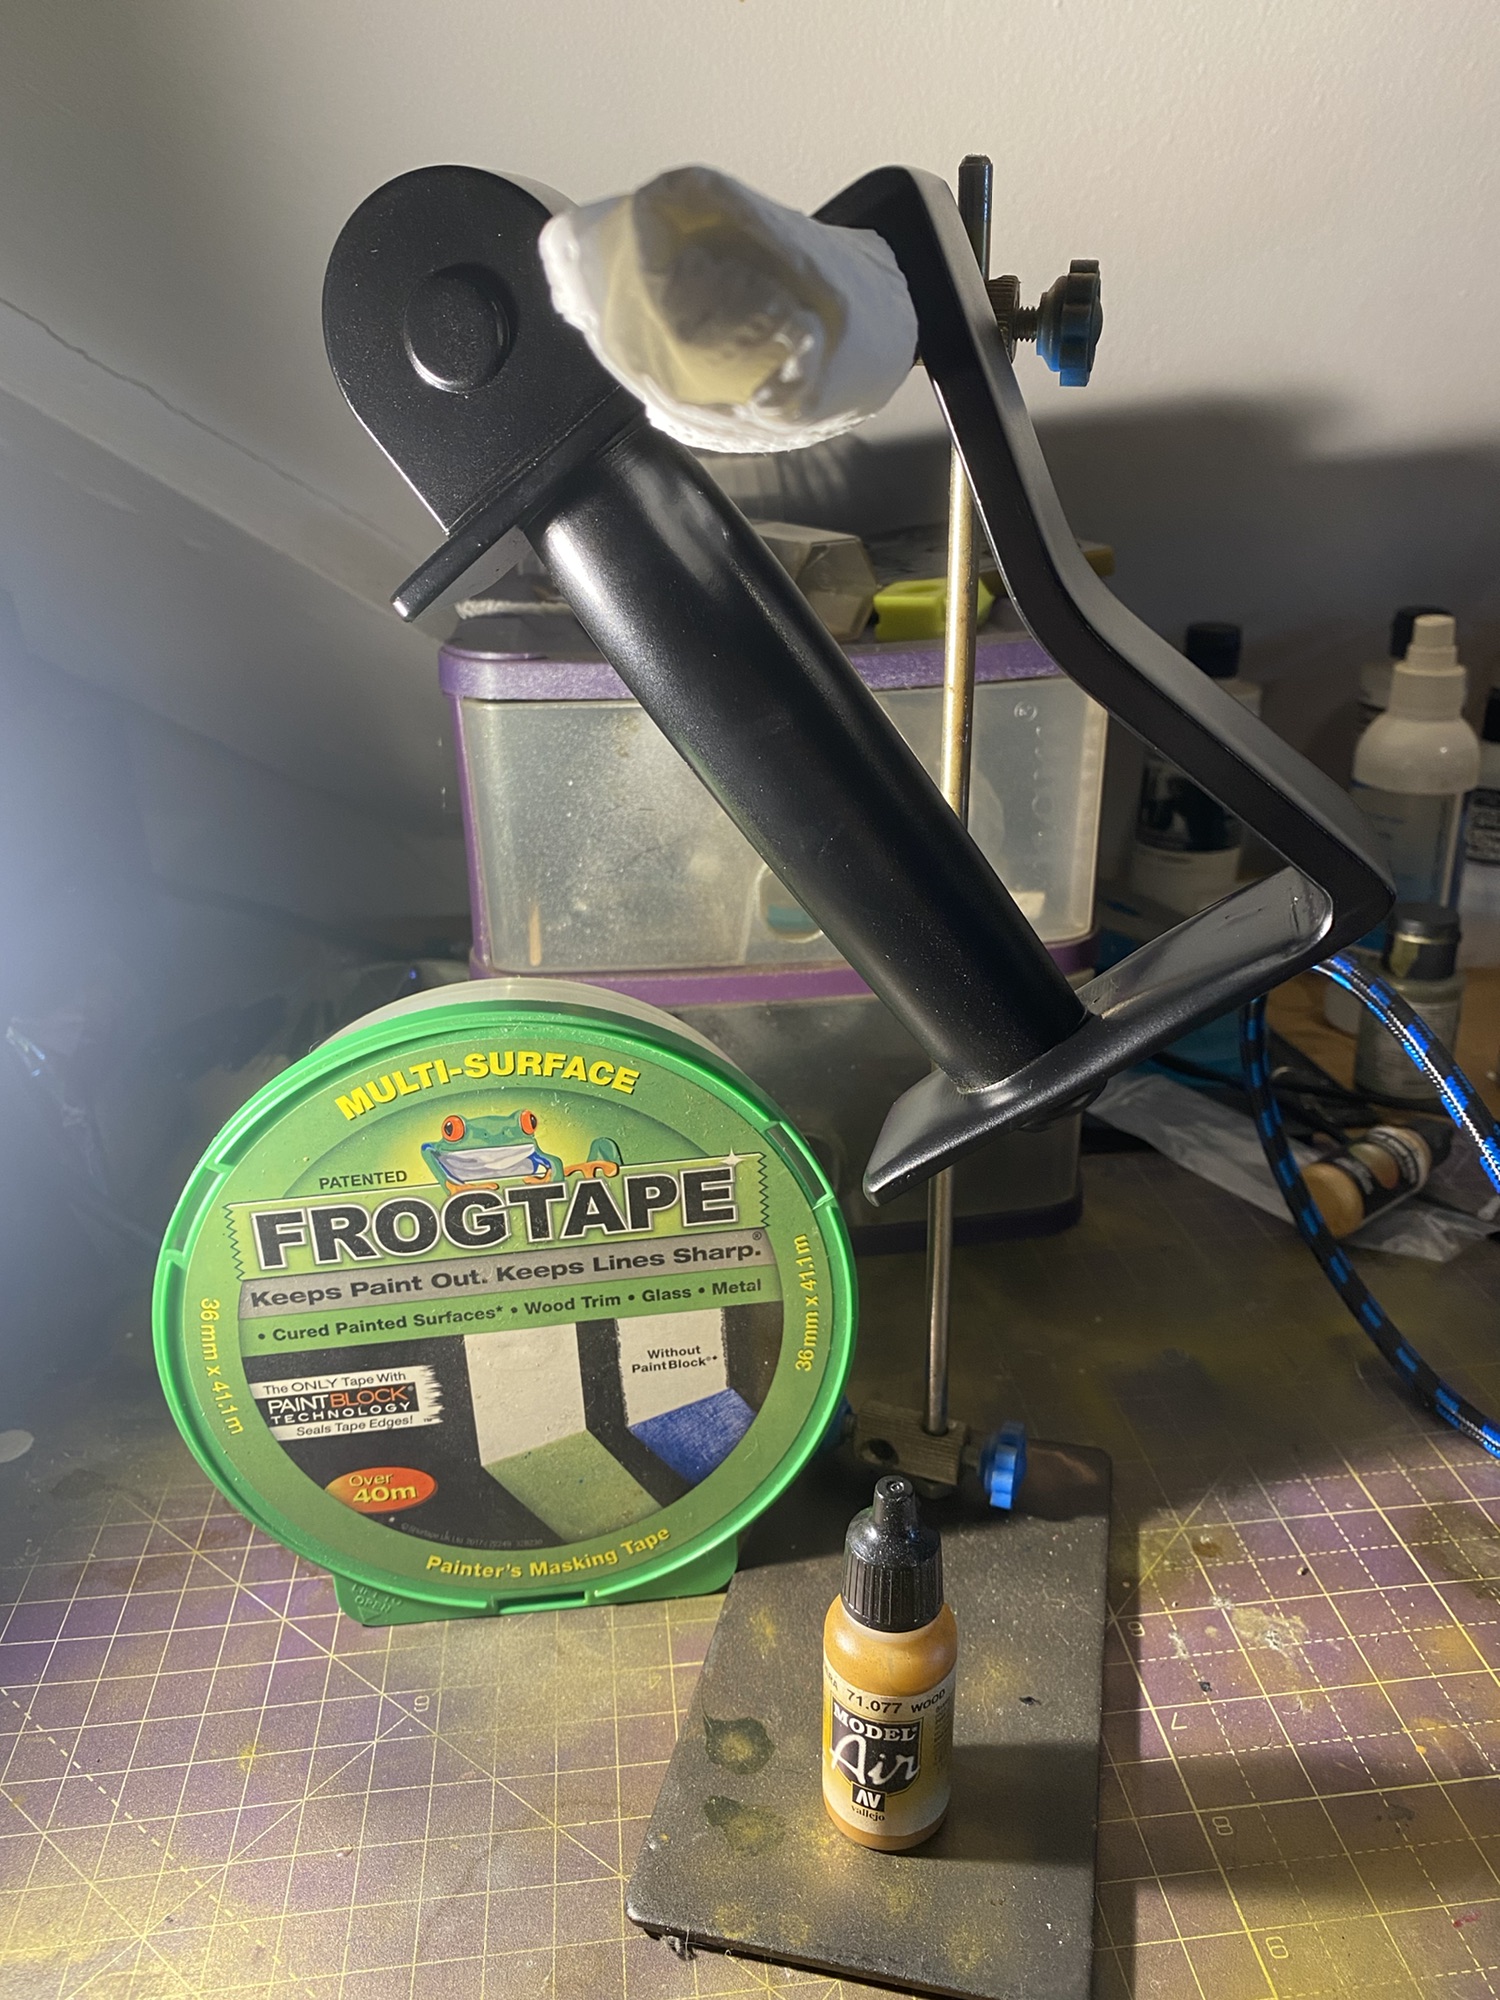
I crudely applied the tape where it would not be brown (or if I thought it was out of risk), loaded up the airbrush with Vallejo Model Air Wood [71:077] and went to work.
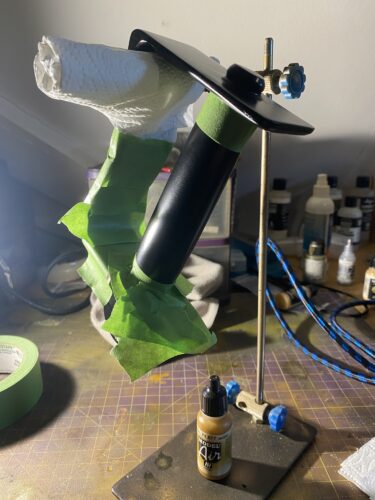
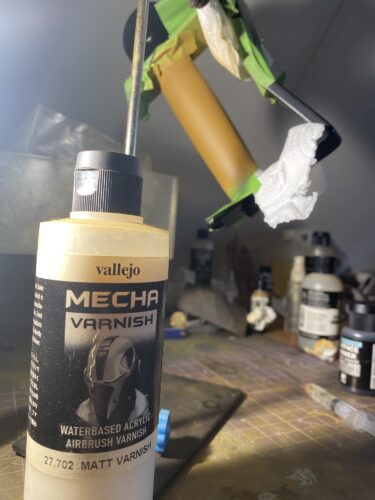
Once a few layers were applied, I gave it a Matt Varnish finish from Vallejo’s Mecha Series [27:702] for protection and a subtle finish.
I complained about masking earlier, but peeling the tape off post colour and varnish is usually oddly satisfying. Once removed, I can check the quality of the seam and get ready for the gold to be applied.
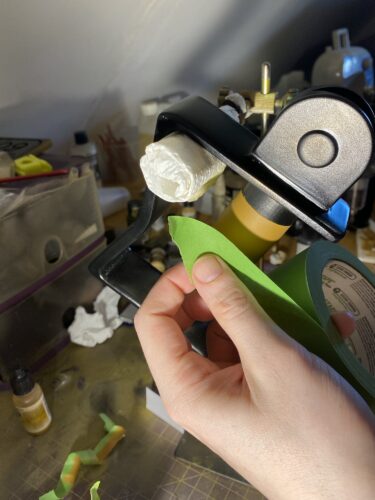
Now playing reversi with the Frog Tape, I do recommend leaning towards Frog Tape if you have the option. I’ve never had a single issue with paint bleed or adhesion problems that I’ve had with generic masking tape. The plan is to cover the coloured and varnished part with tape, leaving all the previously covered parts exposed. ¡Reversi!
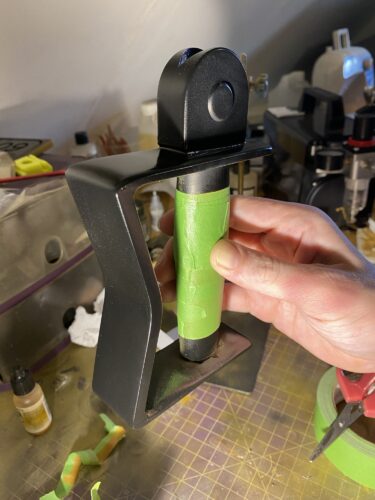
Very nice, very smooth. It’s not easy to see in the image, however, but (and you’ll be shocked to learn, I am sure) the masking on the rest of the handle from earlier wasn’t really fit for purpose in places. Multiple places got a slight gracing of the wood colour… no bonus points for the lack of fingerprints if you get the wrong bloody paint on the item!
Before bringing the gold colouring into it, I’ll need to reapply the Gloss Black.
The Frog Tape on the handle is barely visible, but the surface is ready for a few coats of gold! For once, I’m not using the colour shifting gold that I love to use, but rather a more grounded one. Vallejo again, from their Metal Colour series: Gold [77.725].

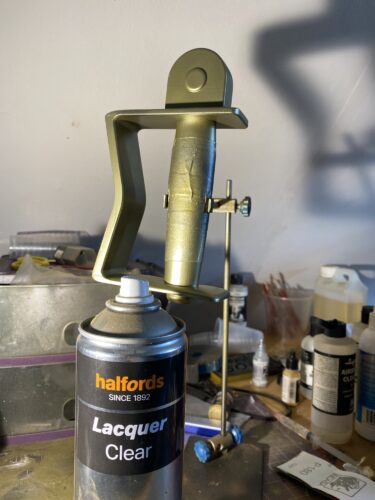
Getting close! Once the gold has taken after a few coats, it’s time to protect the finish. Simple Clear Laquer is a great option here, ready after a couple of light coats.
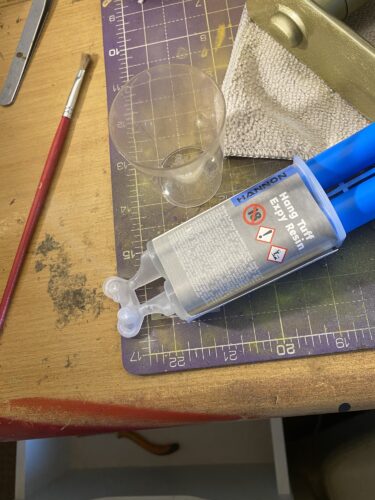
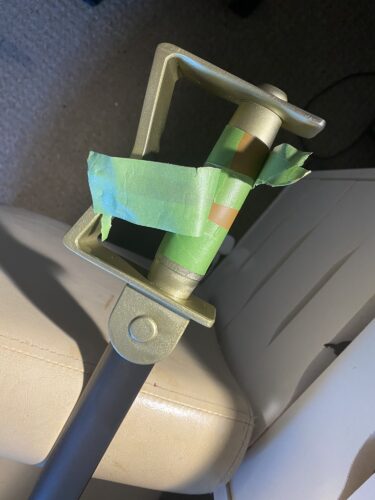
After a few coats and enough time to cure, it was time to assemble the blade and the handle! Epoxy Resin is my preferred adhesive for this task, as it has a great balance of strength and workable time. A little bit into the recesses for the support rods, a little push together aaaaaaaand done! Wait, no, nearly done, one more step!
Just gotta- just gotta, with the tape…. okay now I’m done!!
Result
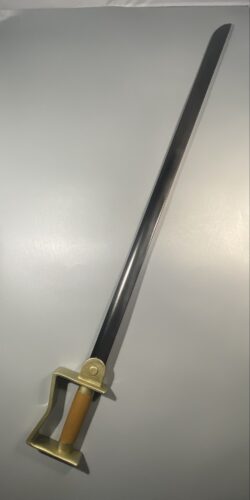
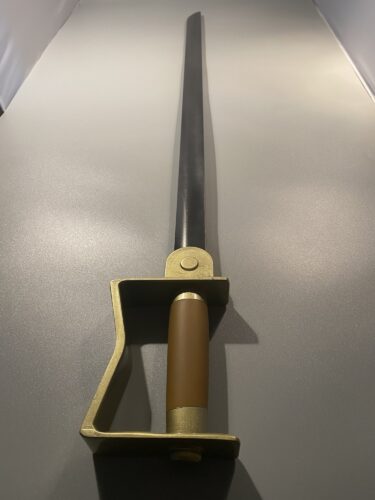
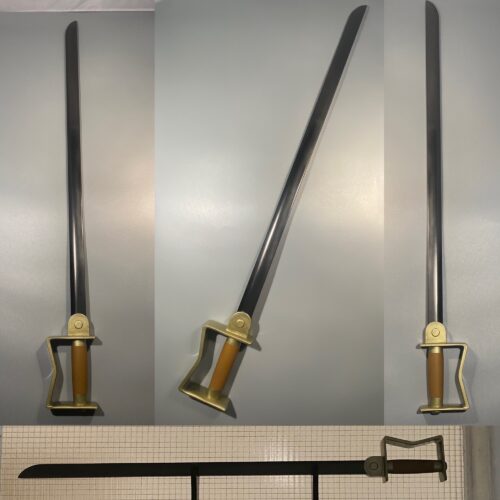
Although admittedly a rather basic sword in the grand scheme of things, I had a lot of fun making this. As I mentioned, I haven’t finished as many pieces recently, so it was great getting the focus to go back! I finished a loose end that really should have been tied off years back!
There weren’t any major surprises, maybe a line visible on the blade… And maybe the Black Chrome colour I used was more black than chrome than I was hoping. But whatever, this is a great finished piece!

Thanks for reading!
If you enjoyed this, you might like some of the related articles from the Overview. Or perhaps a different Project altogether?
Love what you saw? Got a project in mind? Feel free to reach out and let me know!