Introduction
Welcome! In this build guide I’ll be walking you through the process I took in making Loki’s Daggers inspired by those he wields in the Marvel Cinematic Universe.
This will be an intensive look at the Final version of this project from start to finish. It doesn’t matter if you’re looking for guidance with a Build Kit, thinking to Print It Yourself or just curious to see the project: You’re in the right place!
While this unlicensed replica is intended for decorative purposes or for use as a cosplay prop, the main reason for building it is because I loved the look of the daggers and found myself pausing the show to get a closer look. At that point, it was inevitable what would happen next! MUST MAKE!
Check out the link at the bottom of the page for the Overview if you want to see more!
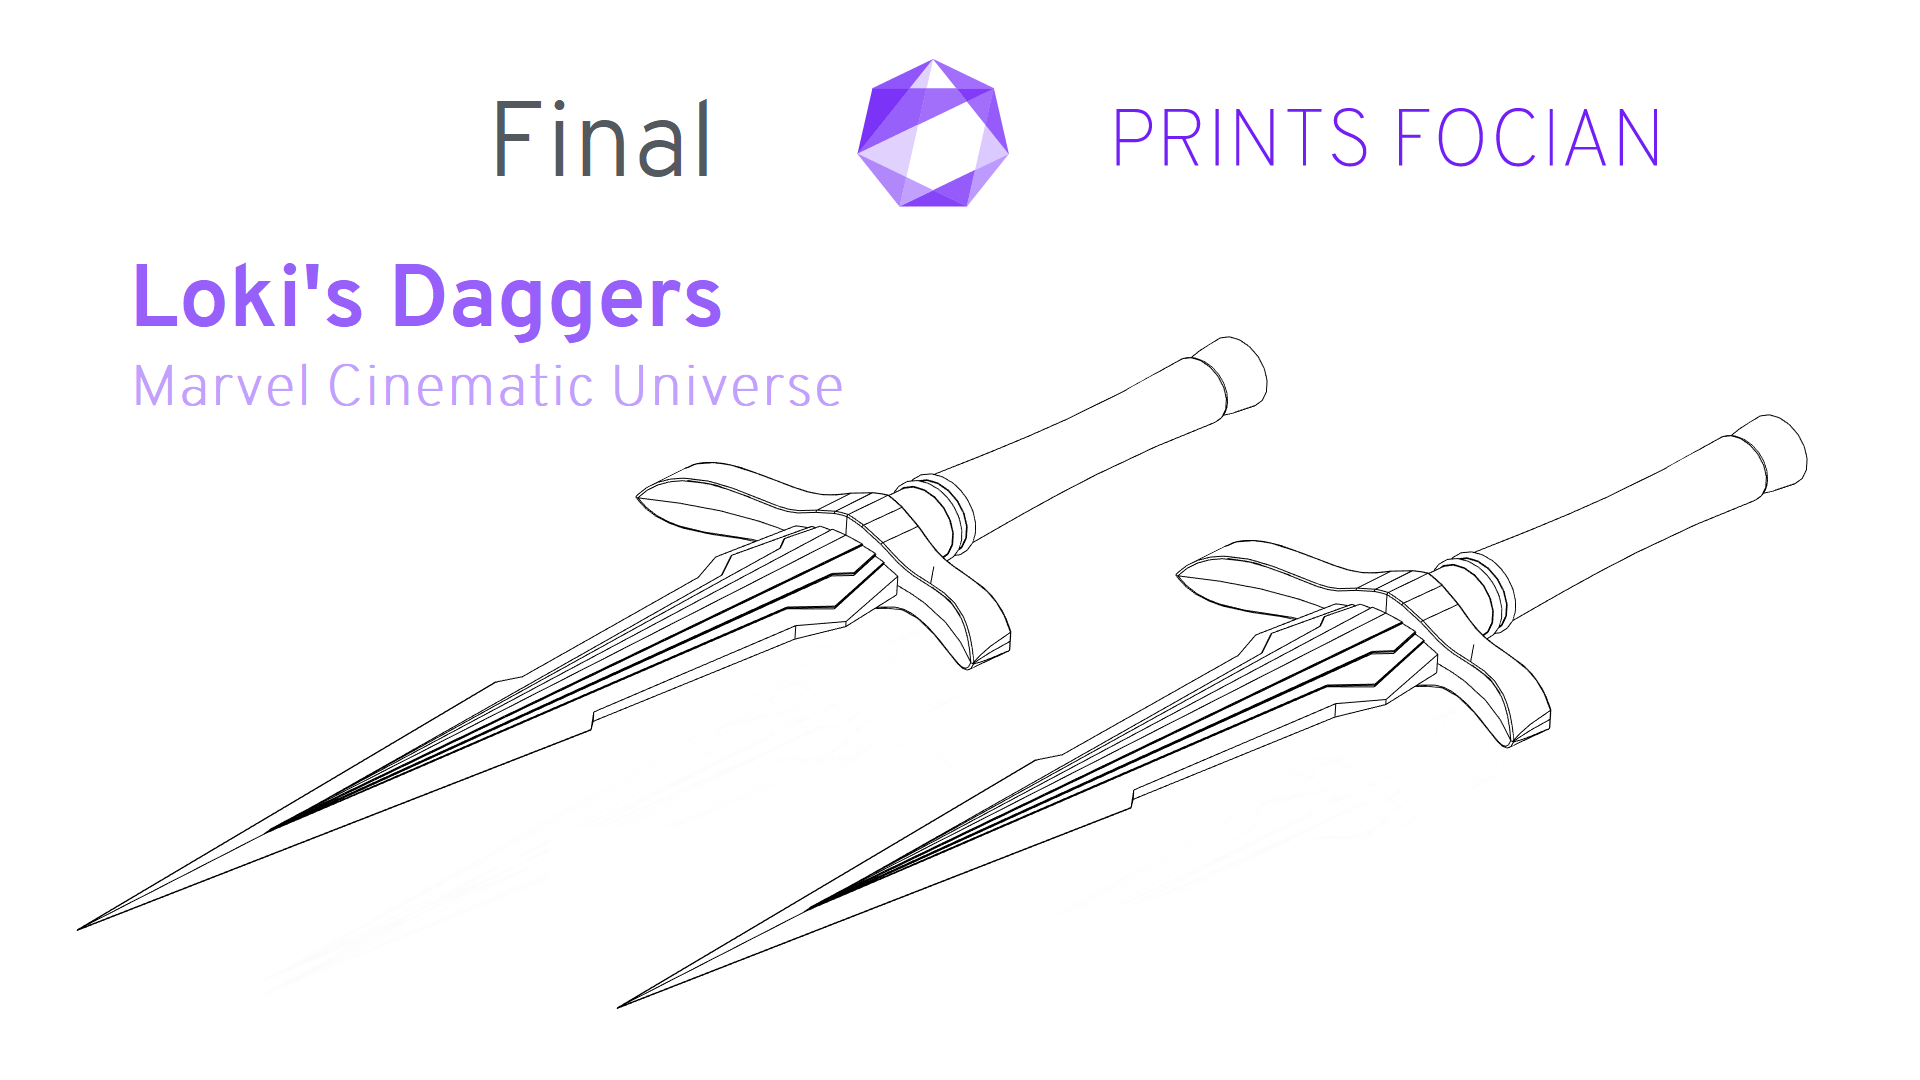
Design
The design came together quite nicely and very quickly looked sharp and recognizable.
Build
While the design was mostly set, there were a few ratios I wanted to play around with and check by printing. Some things are easy to tell from an image on the screen, but how the handle feels in the hand needs a physical model!
I made some a little chunkier and then scaled them down a bit when I wasn’t too keen on how they looked.
While in the Build phase of this project, I also had an annoying issue with my main 3D Printer. The issue was caused by a faulty stepper motor leaving a strange Z-banding pattern.
I found myself needing to print an item out every time I thought I had resolved the issue, which led to a lot of prints because this took me a while to correctly ascertain the root cause issue.
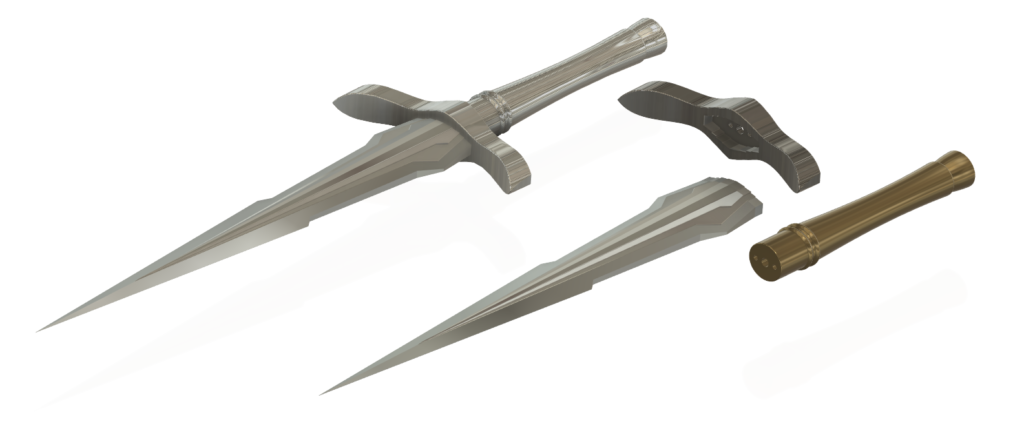
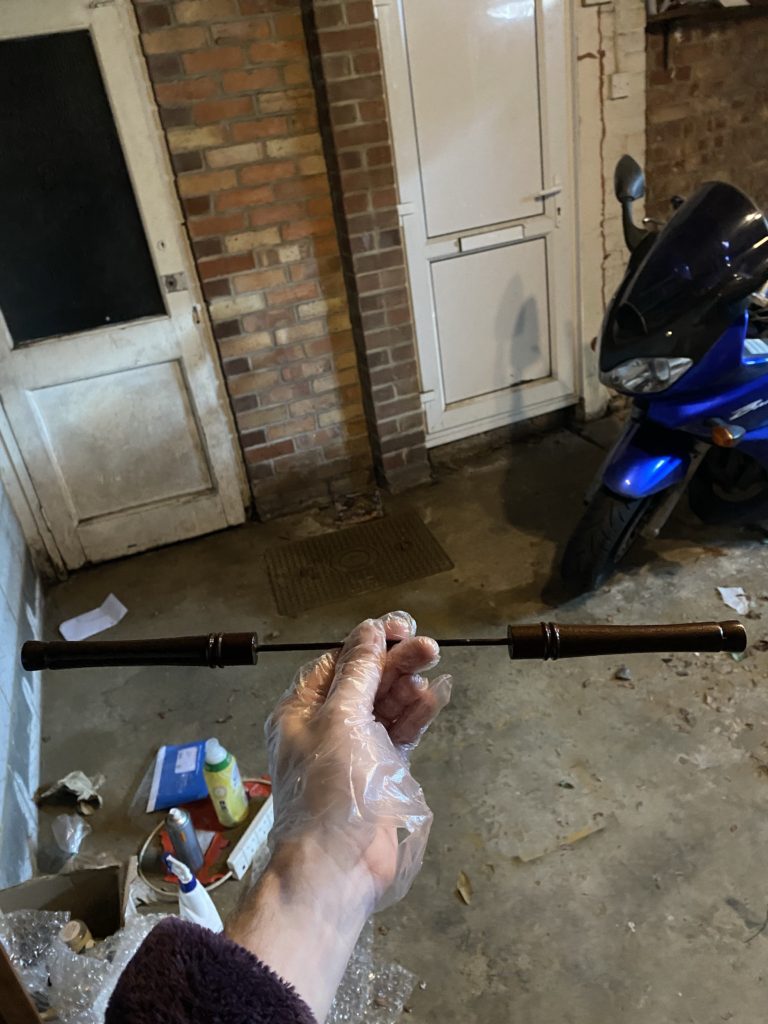
Luckily, by the time I had sorted out the problem with the printer, I had happily settled on the correct sizing for the item:
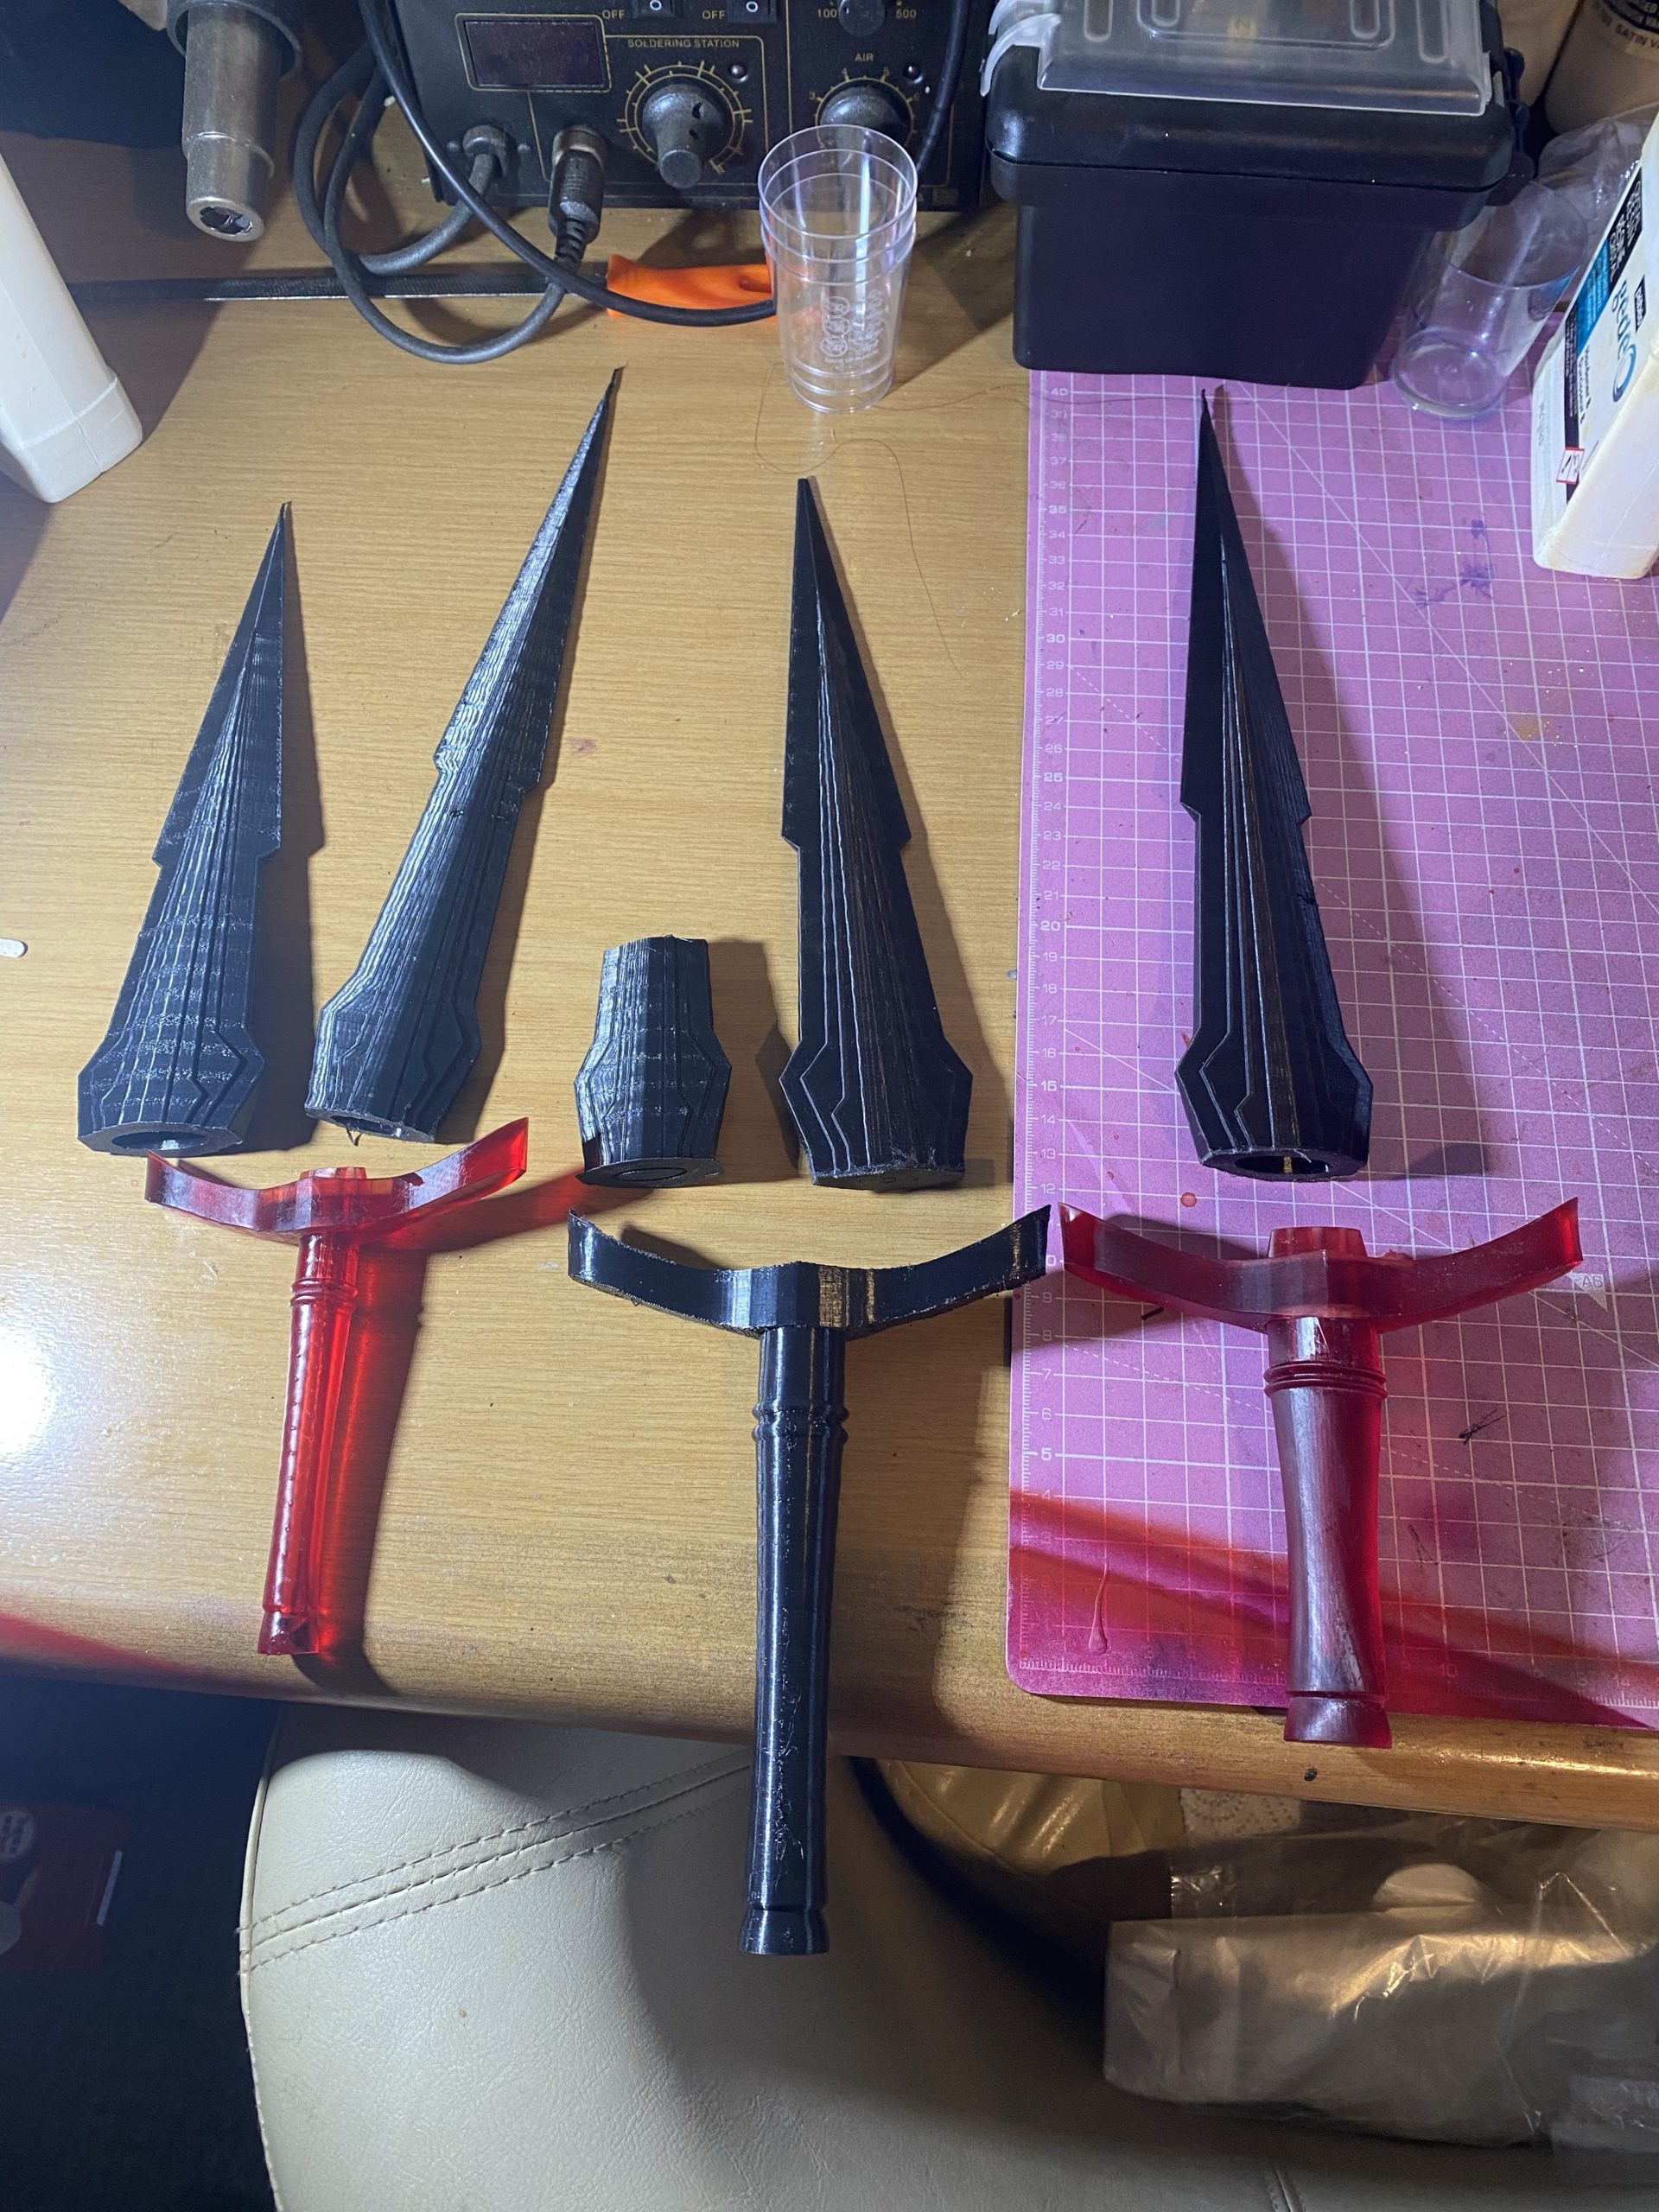
I have now removed the notch on the hilt that enters the bottom of the blade from future prints. It’s not needed for stability as the blade resides in a hole and they make the smaller rod hole a little trickier to drill on the underside of the blade. But it remains on this model below.
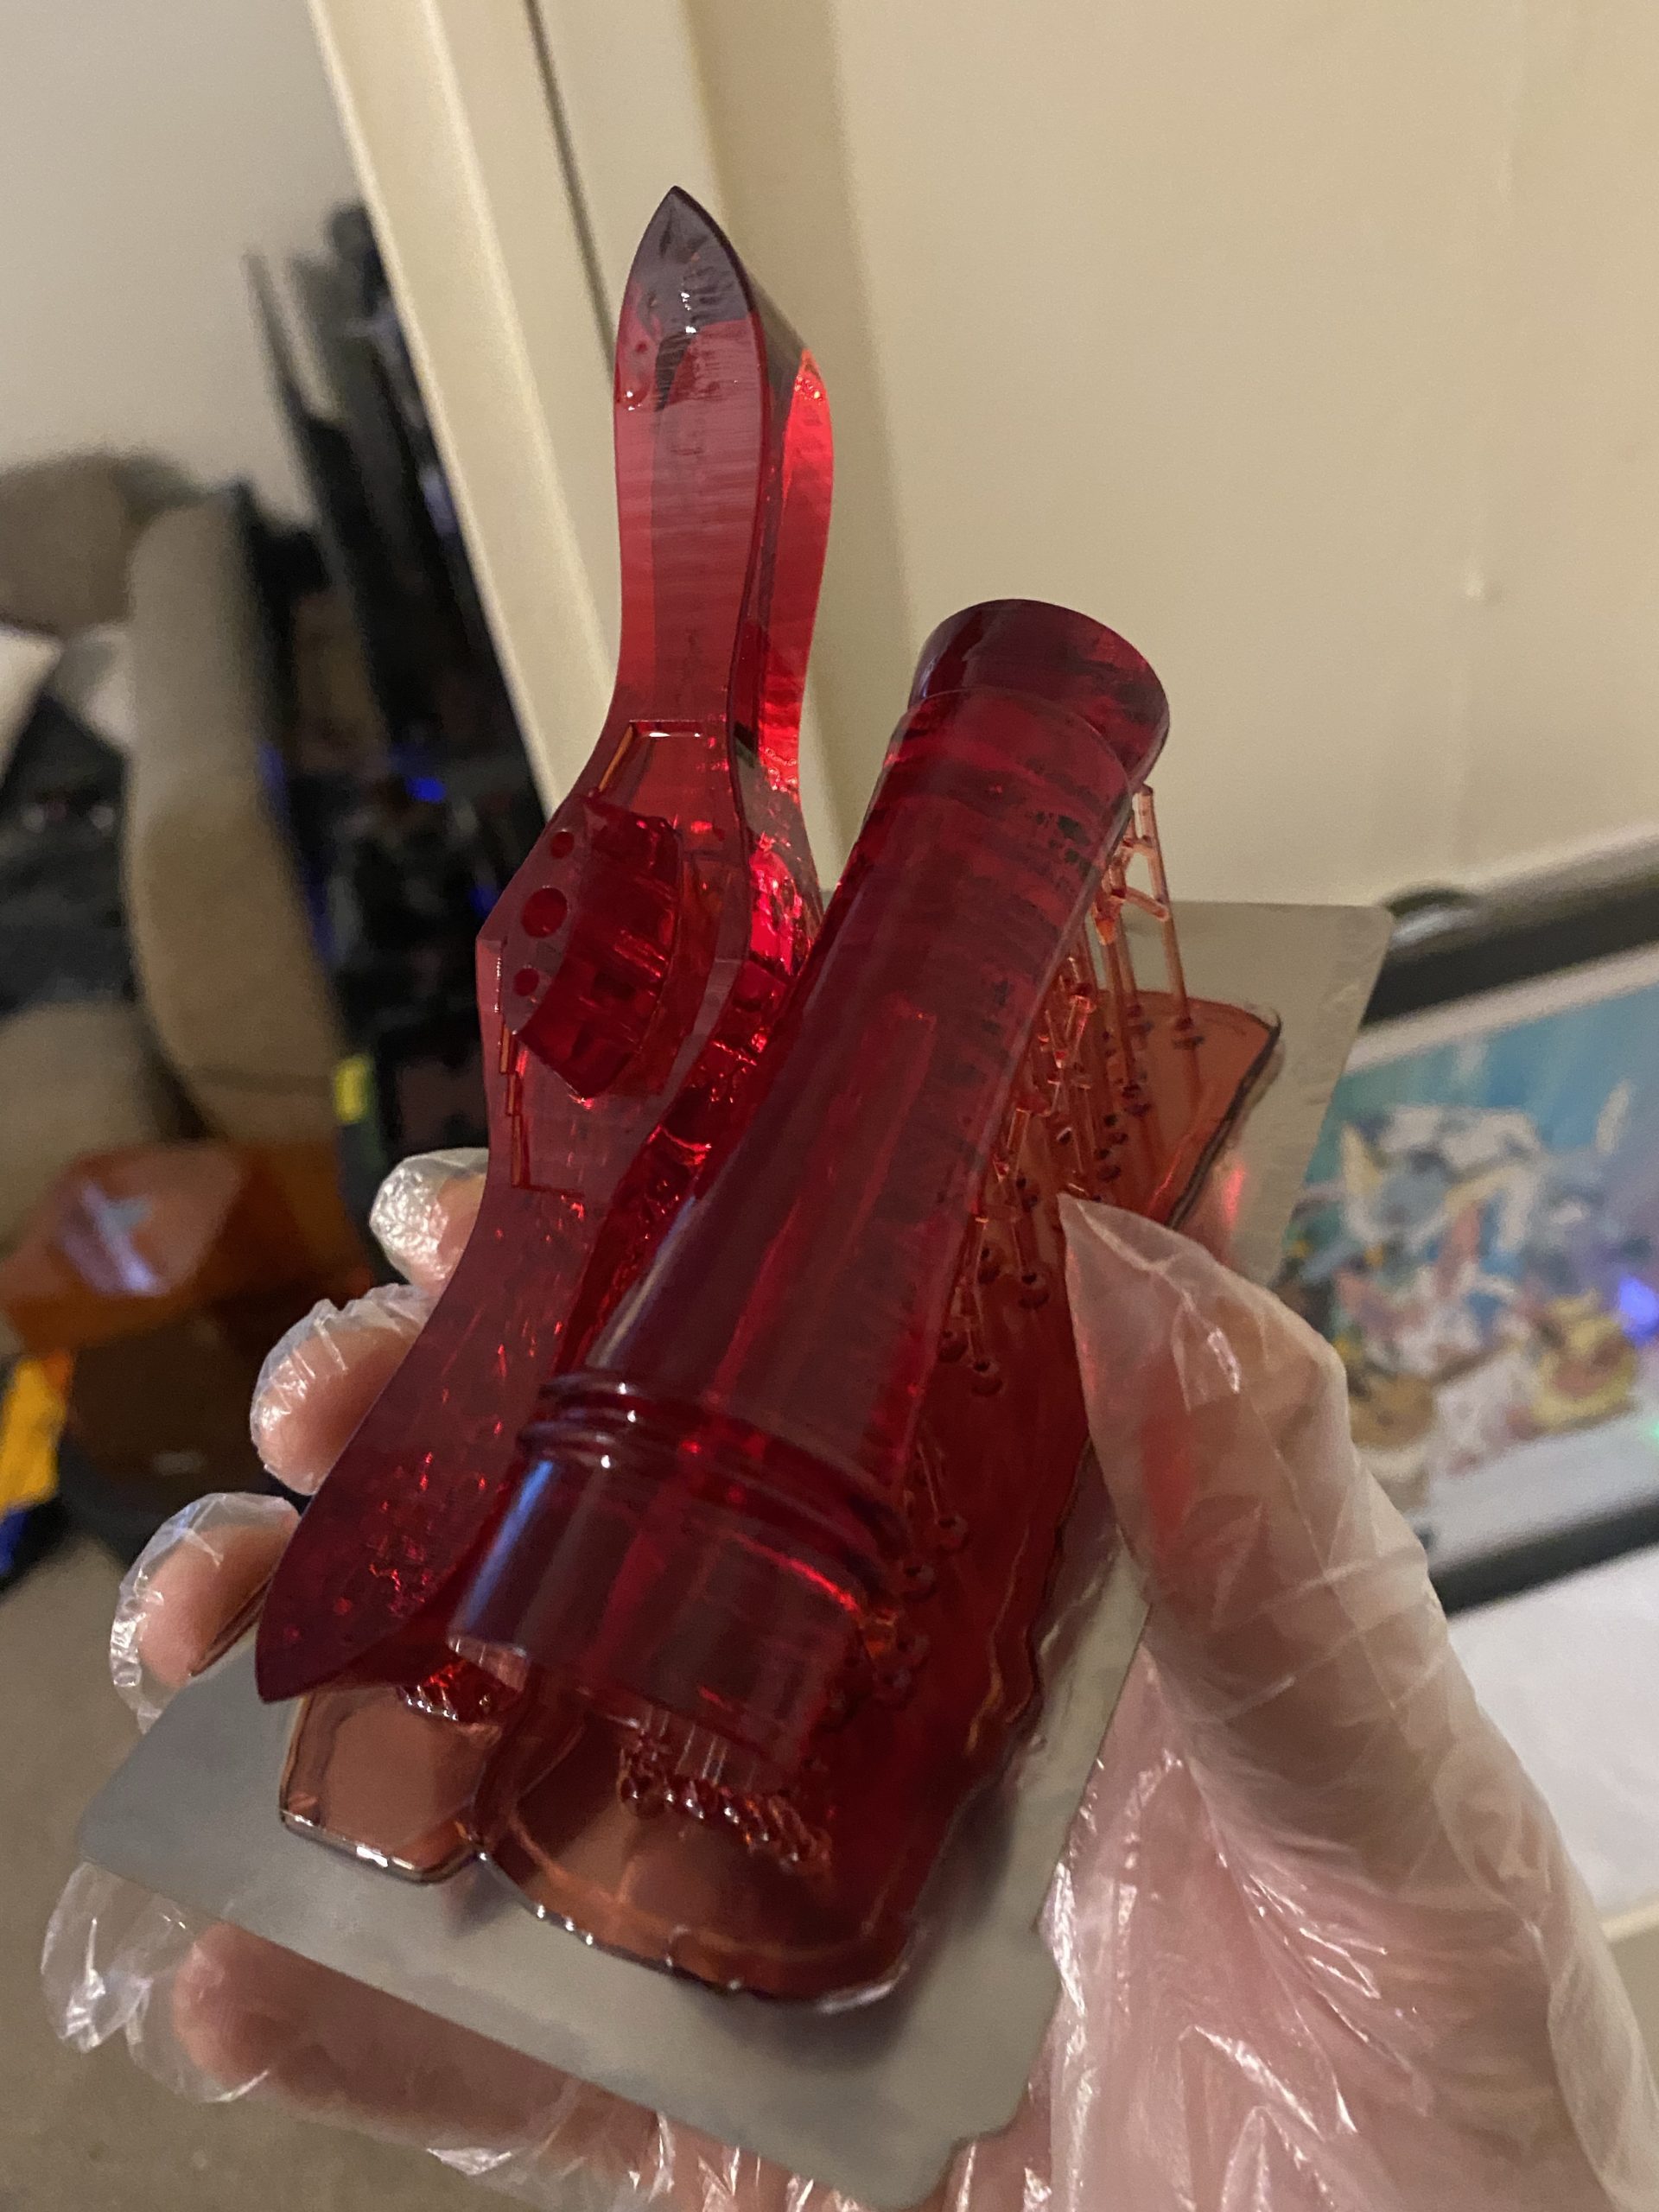
Ready to go! All parts of both daggers are printed and ready for… ugh, sanding.
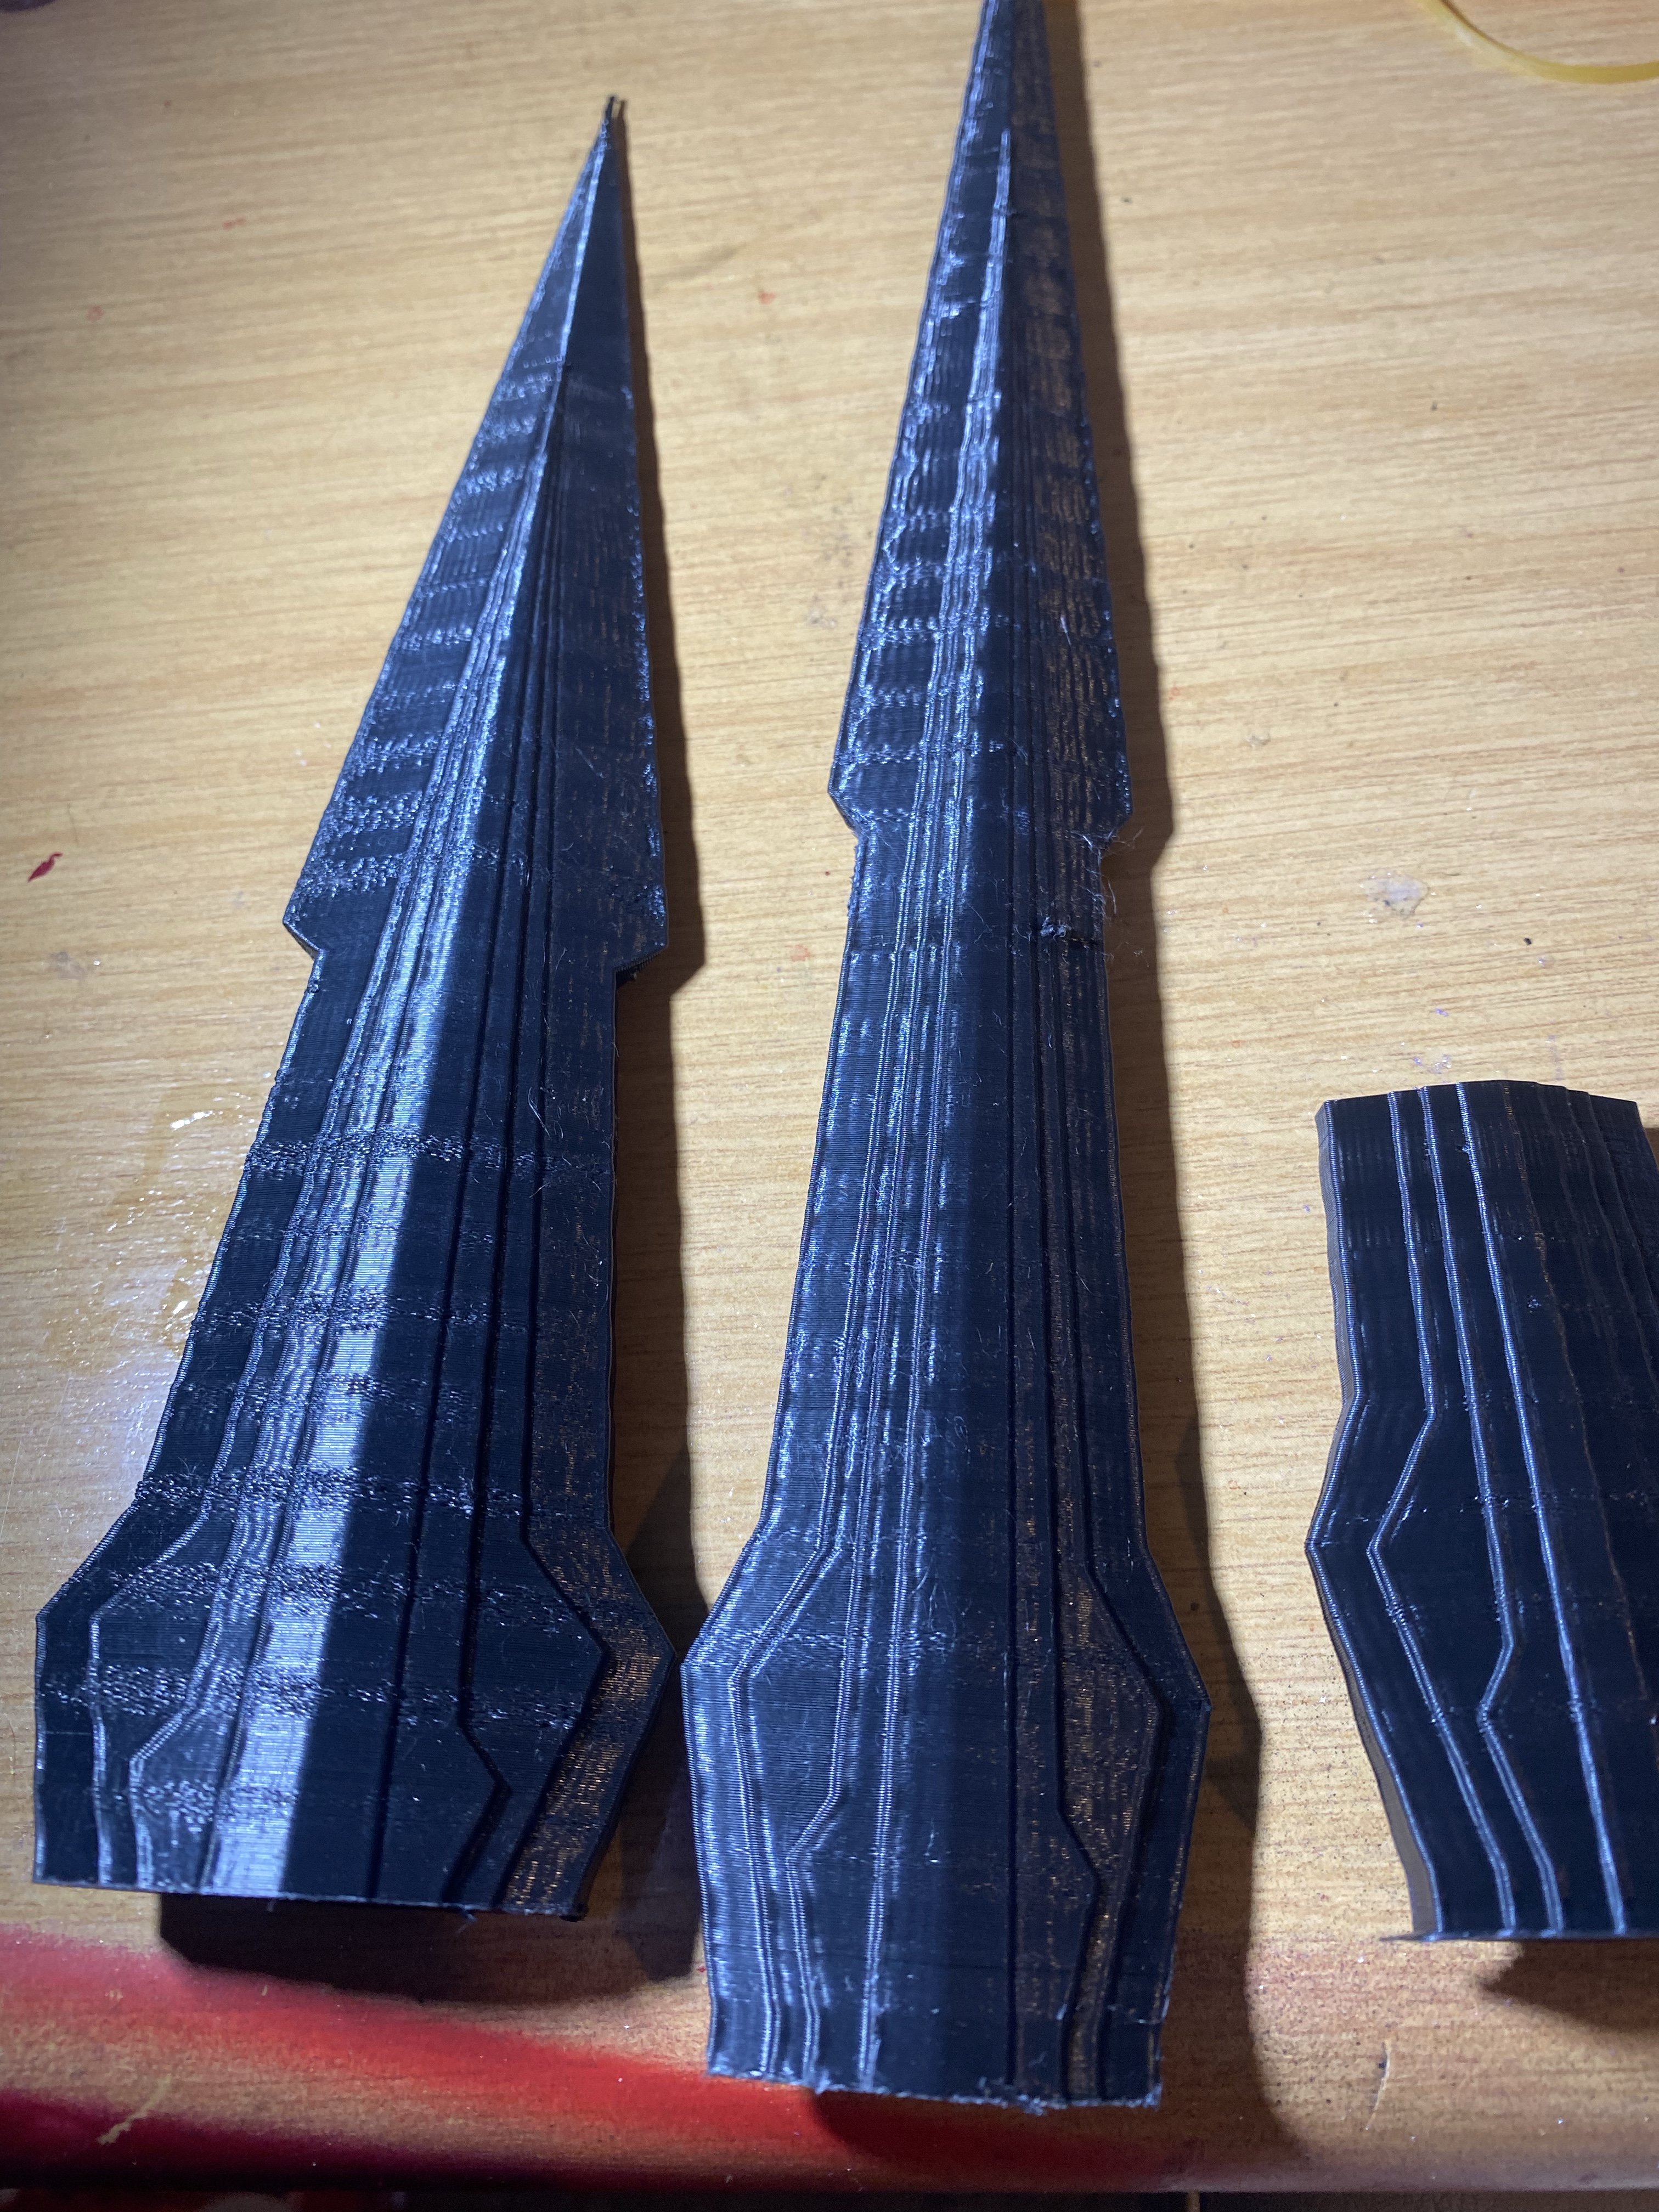
The resin-printed parts were quick and easy to sand, but the blades? Ugh… I always complain about the sanding (and rightfully so! Sanding sucks!) but I always make sure I do the job properly and get a great feeling of accomplishment from completing it.
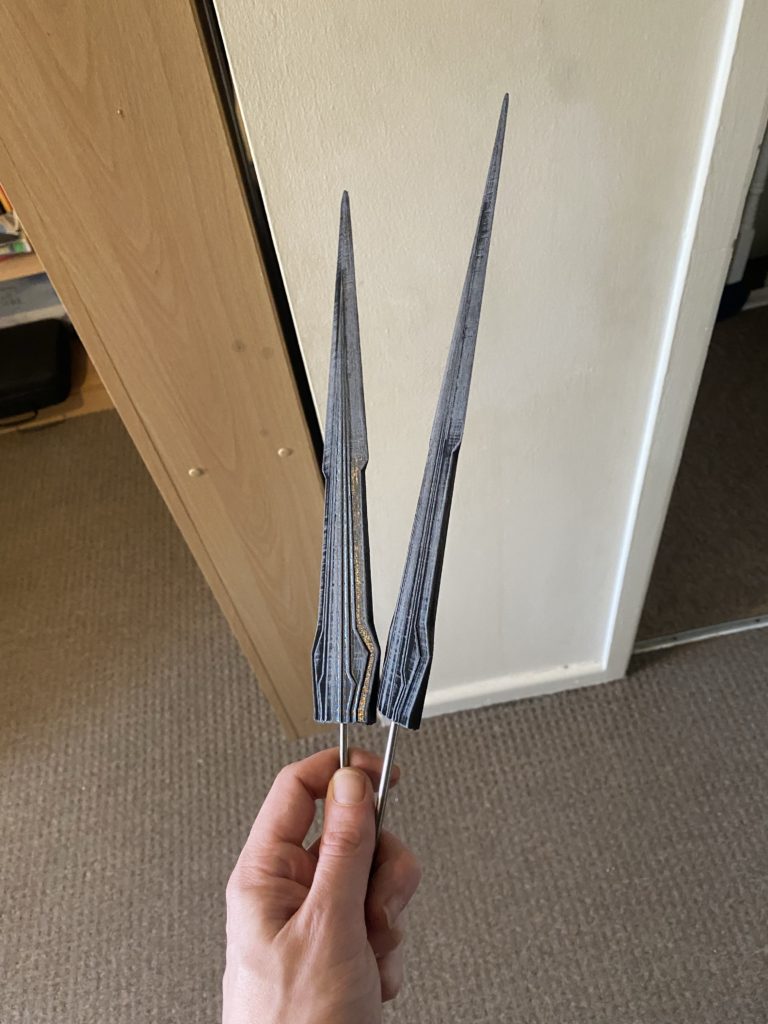
Always until now. Keep in mind the blades on the daggers are not an easy thing to sand properly, between the thin tip (this was before I altered the model to nip the tip) and the slight lined detail down the face of the blade these present unique sanding challenges.
I don’t usually… but I rushed sanding the blades. This was due to time constraints primarily and while I dislike the look of it slightly at the moment, I fear once I reach the completion of these daggers I will regret the decision immensely.
Okay! All parts are primed! We’re done with the Build phase and onto the Finish!
Finish
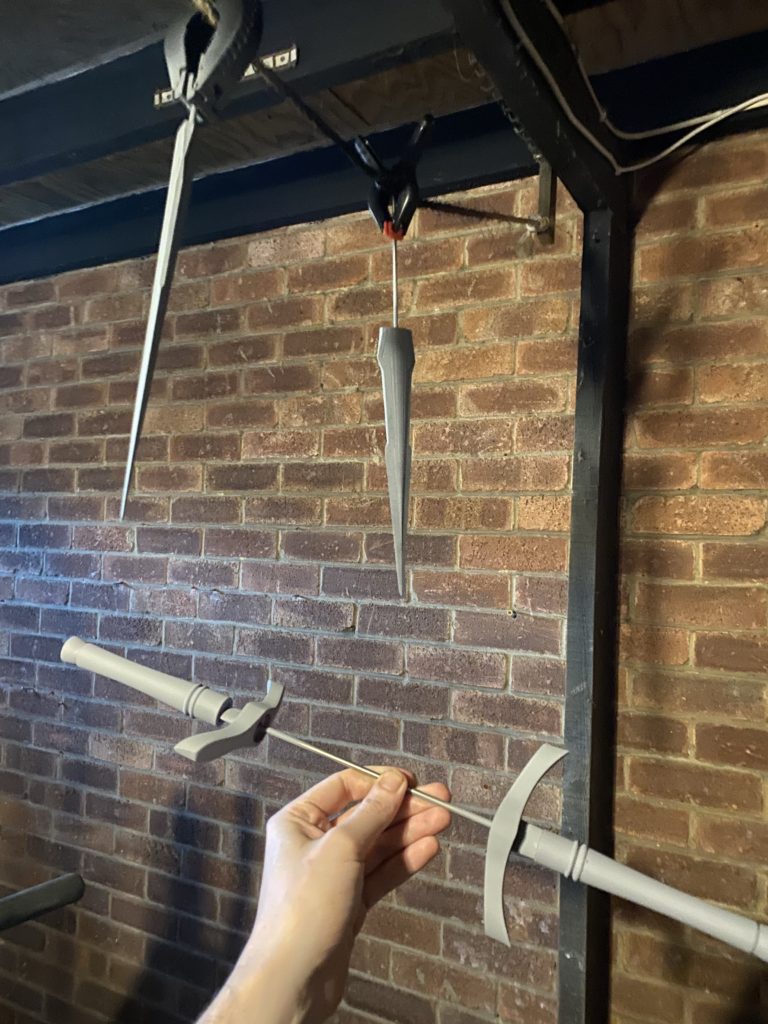
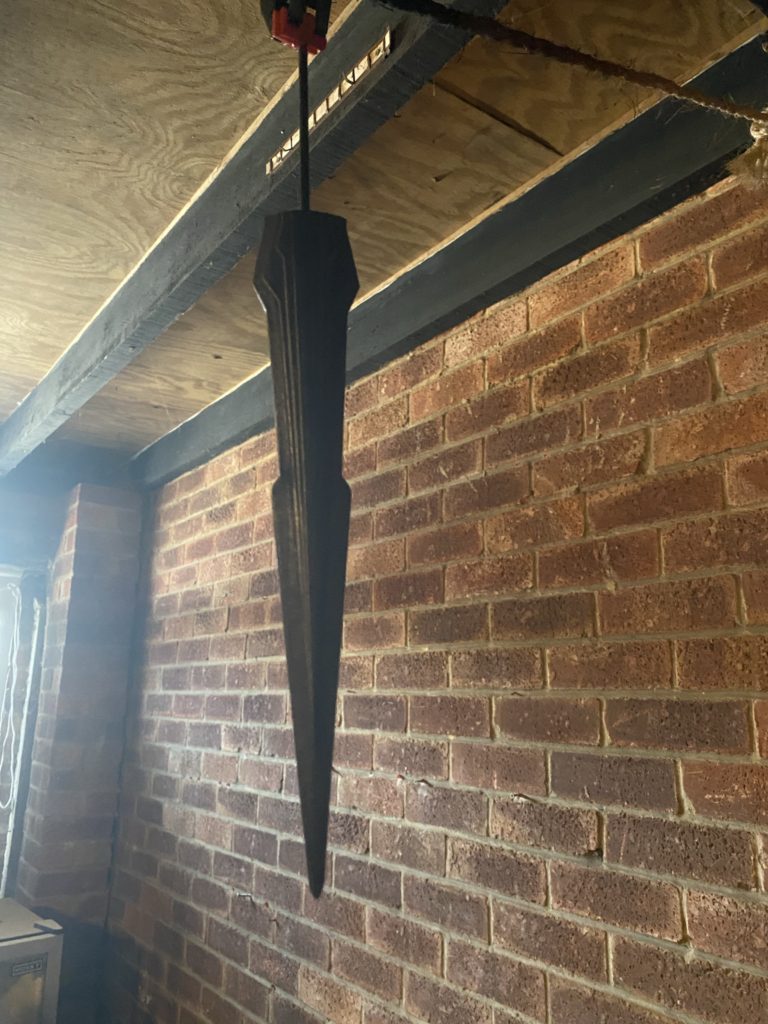
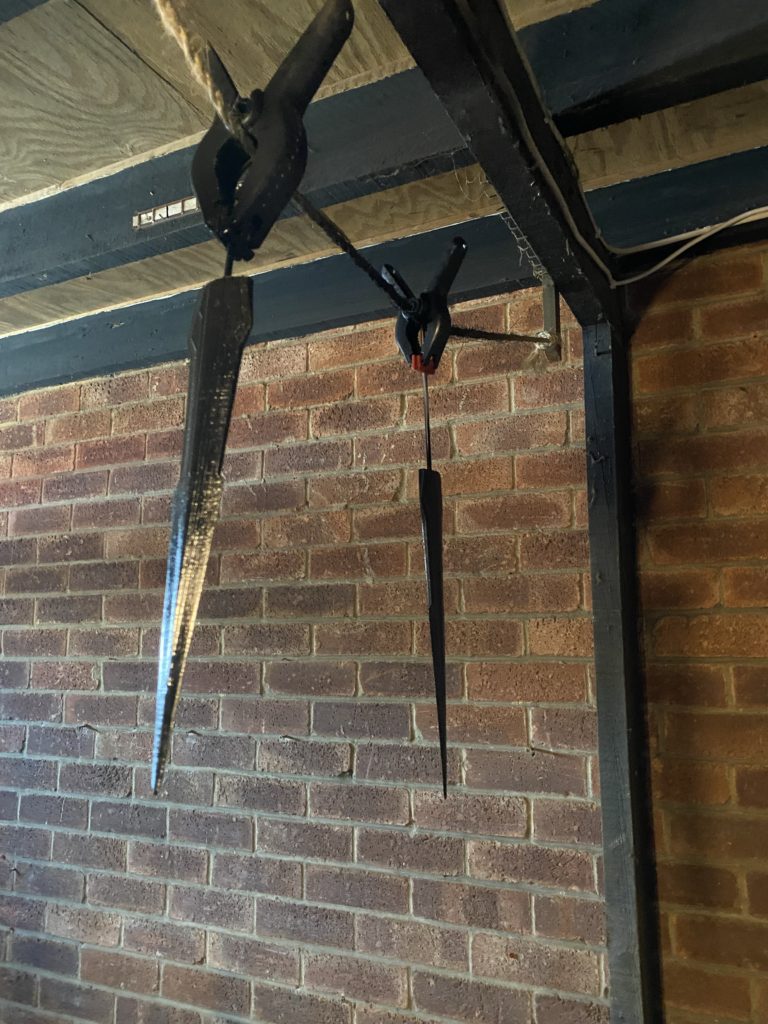
All parts will first get a coating of Gloss Black, starting with the blades. They’re dangling from the roof to avoid any imperfections caused by touching the blade.
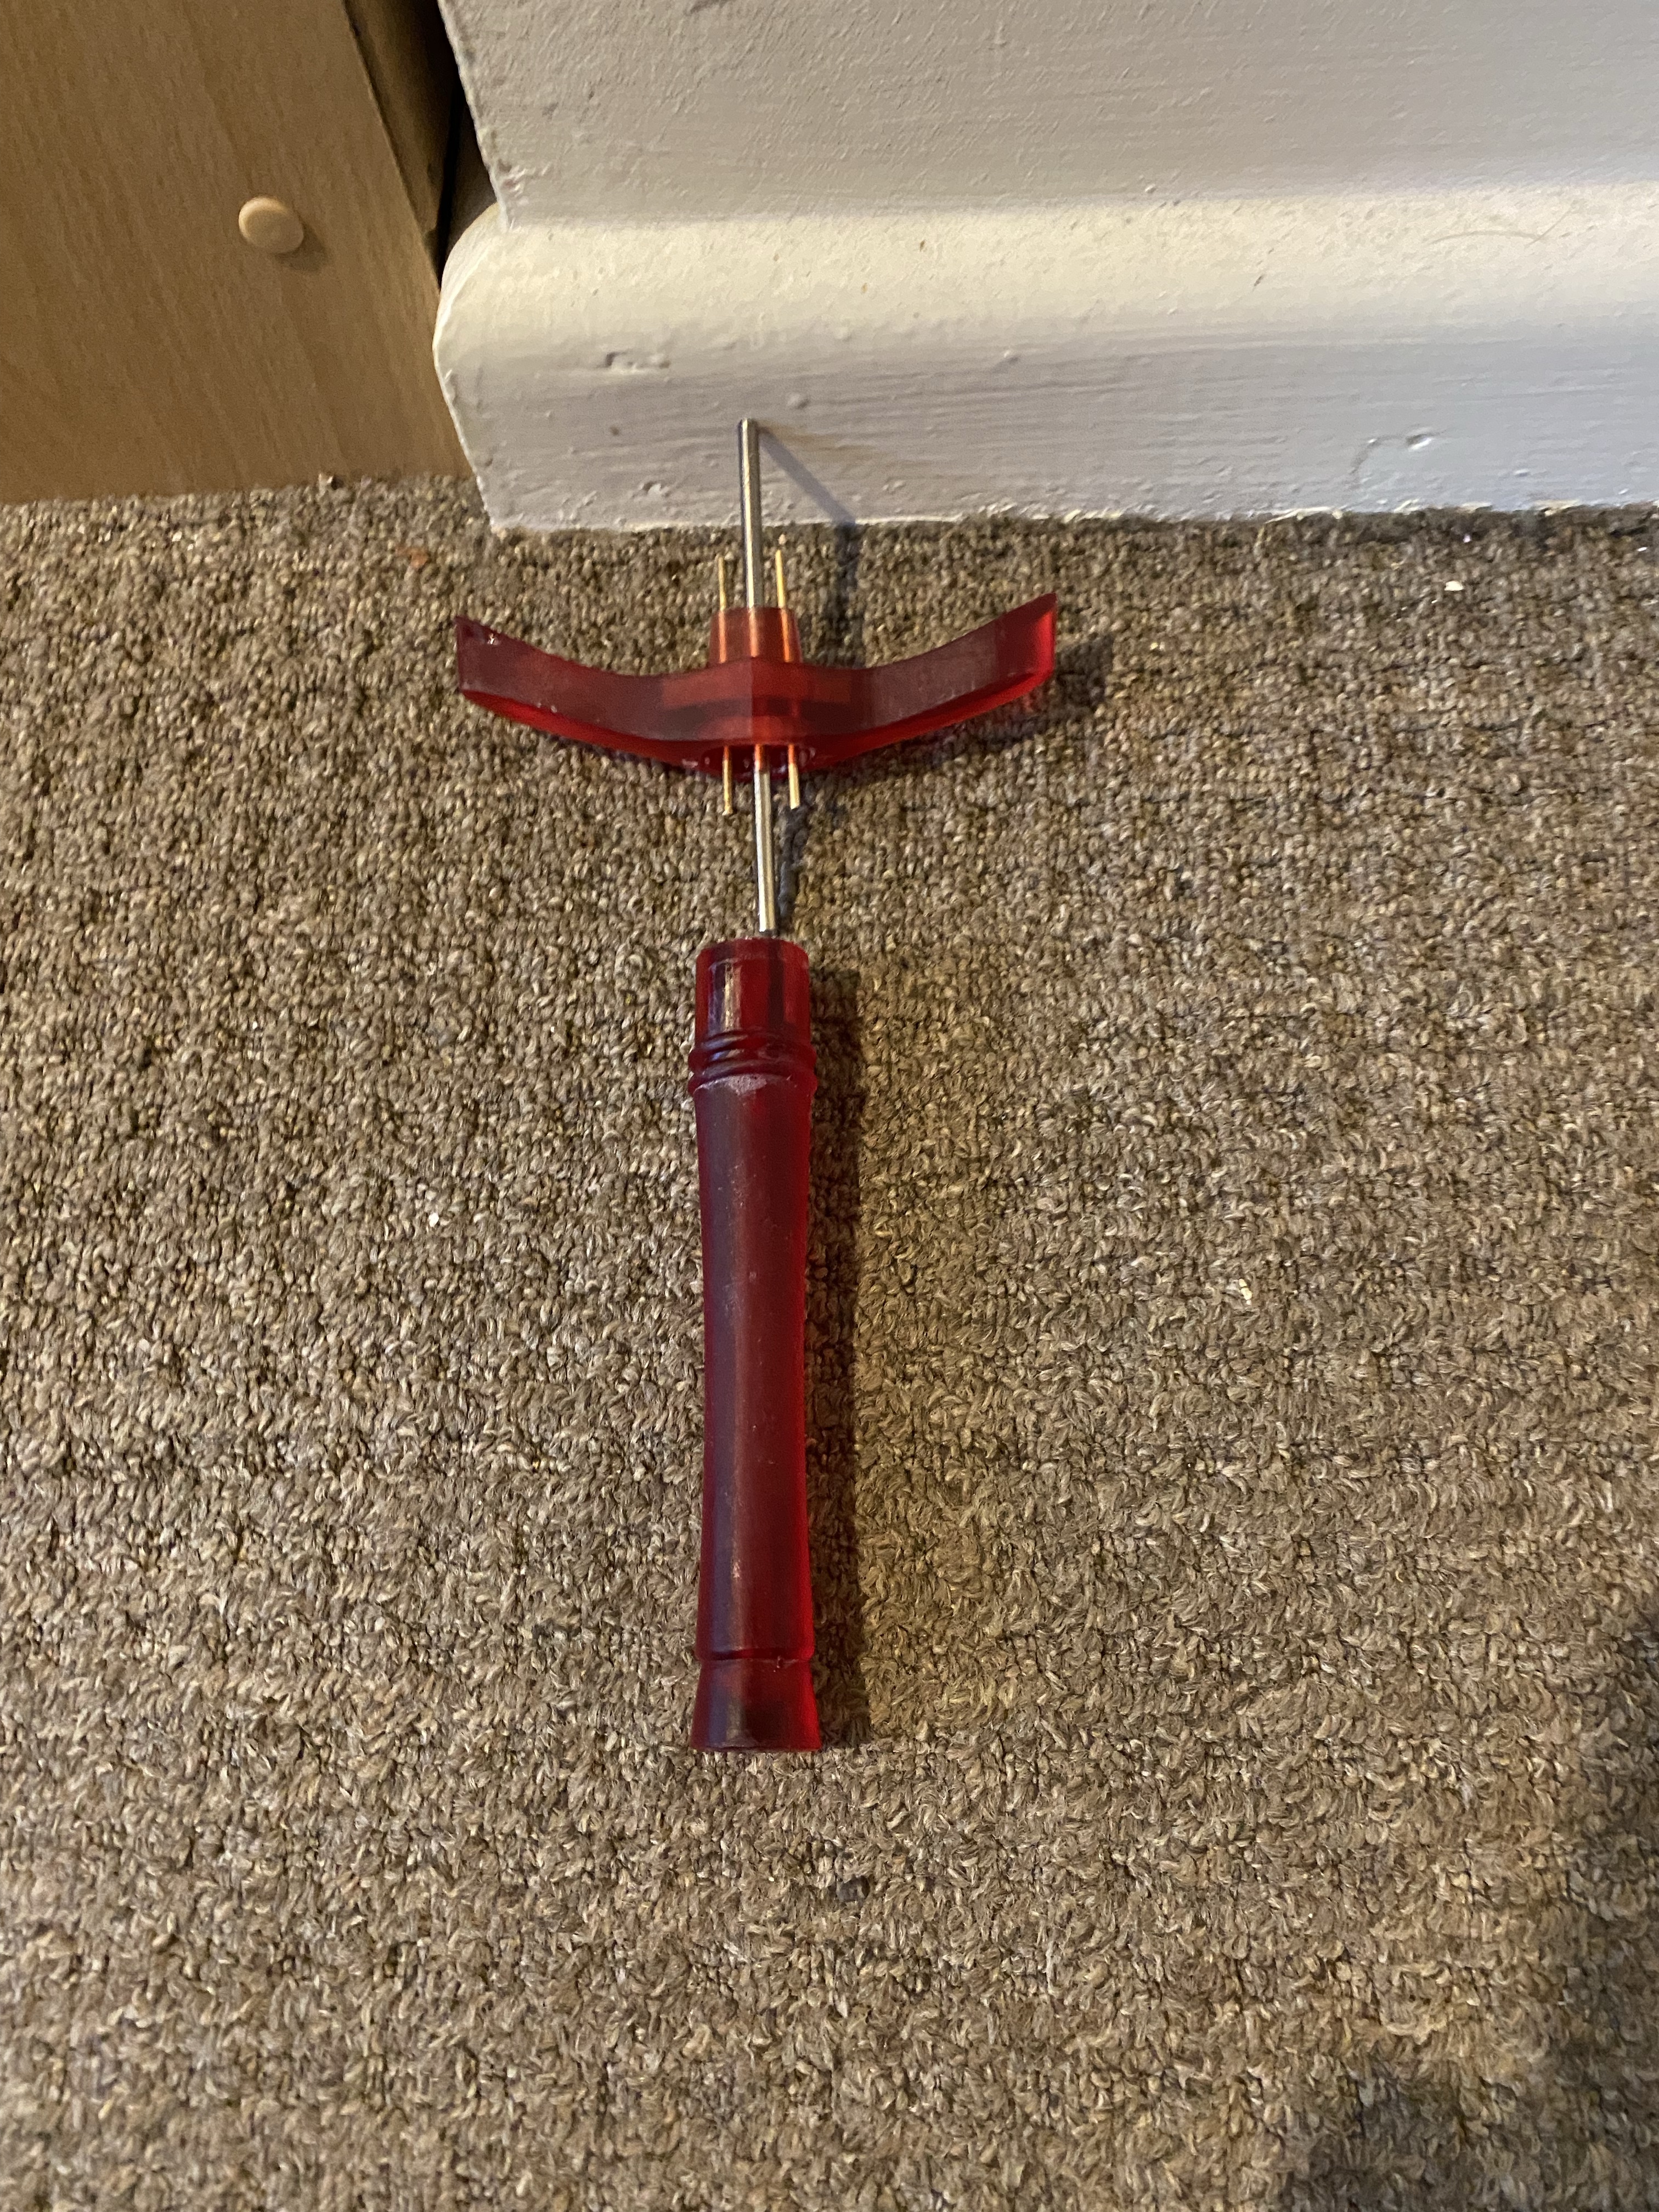
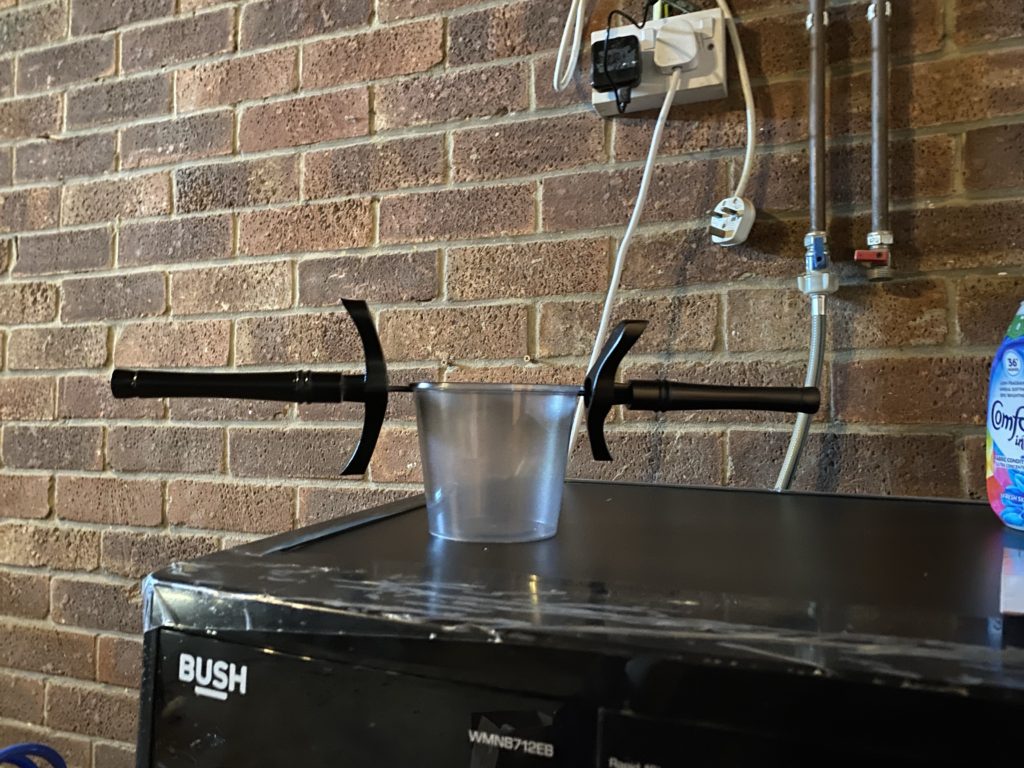
I snipped a couple of recesses into a plastic container to hold the handles and hilts supported by a 4mm rod. This worked way better than I thought it would as it allowed me to rotate them while painting.
Yay! All parts are now gloss black and awaiting their first coat of colour! One of my most used paints for the hilts: Vallejo Metallic Black [71.073]:
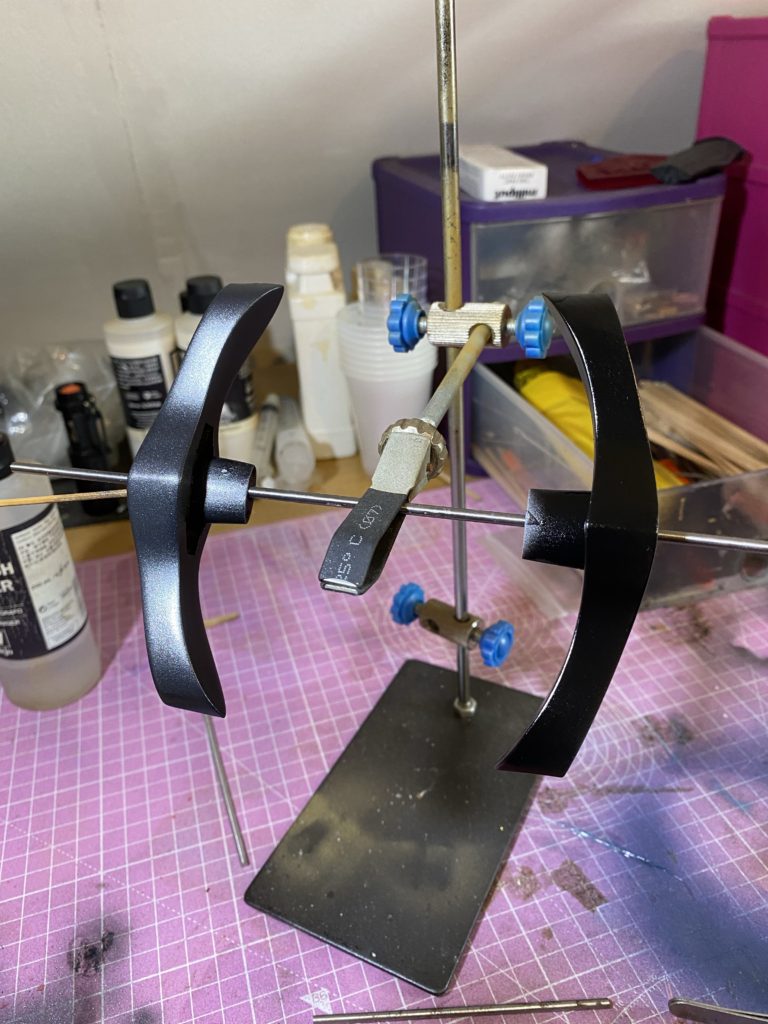
And for the bronze handles, I used the same rich Ford Roman Bronze, the same colour I used for the Final Version of my Crown of Winter. This colour is perfect for this purpose.
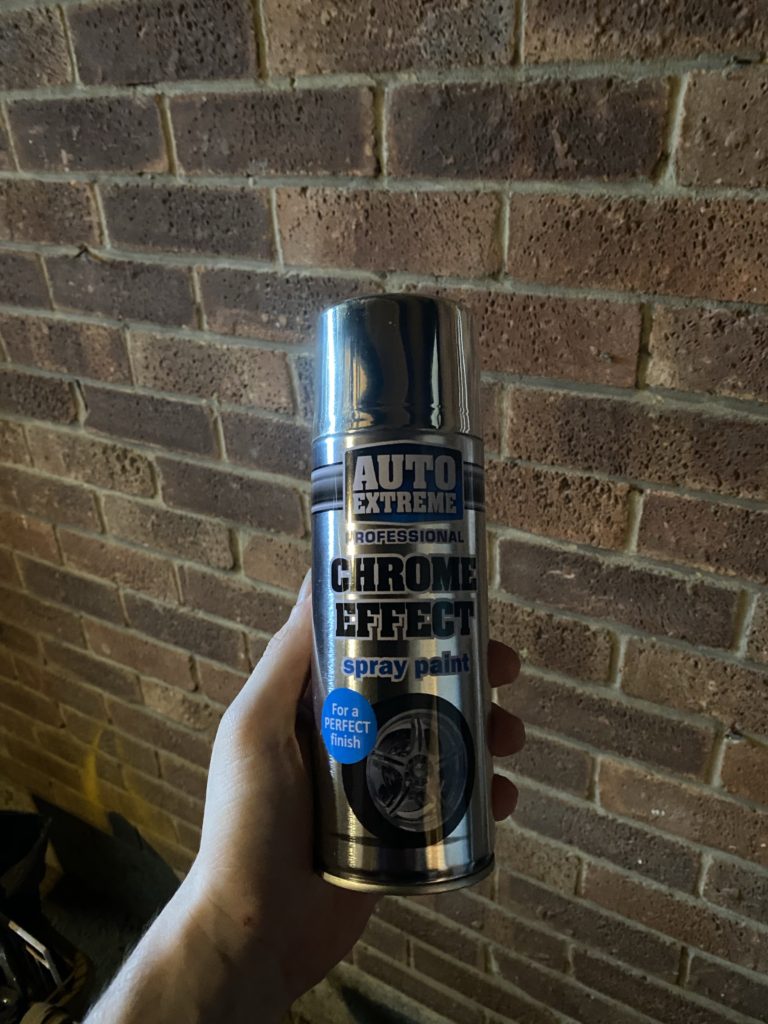
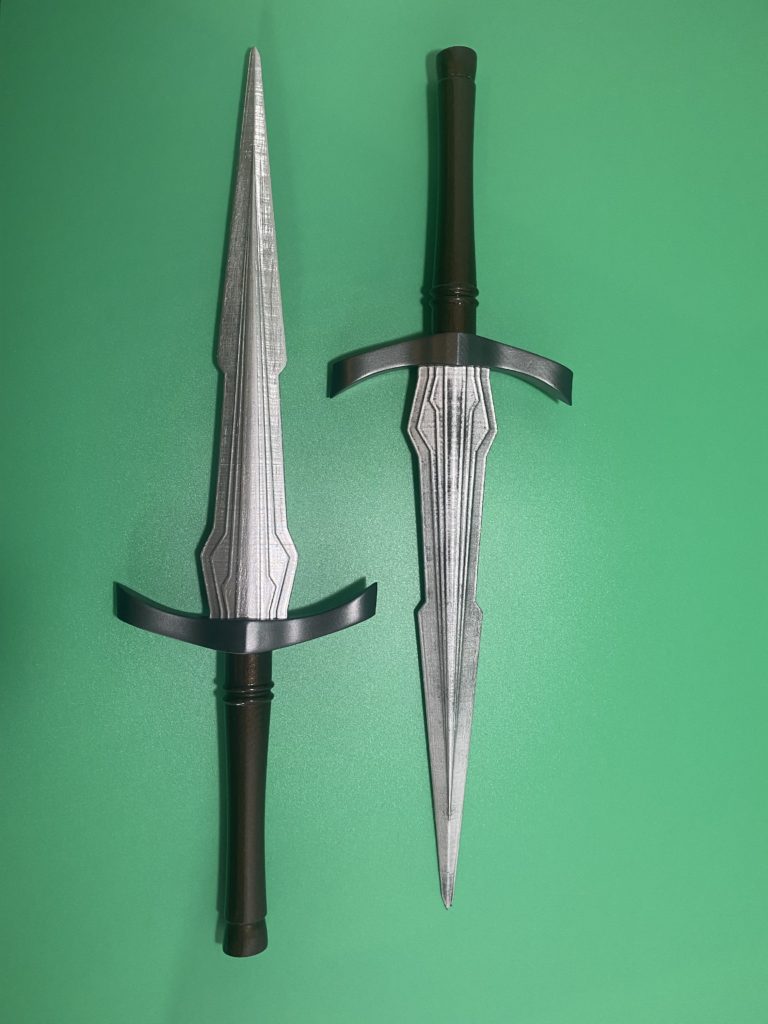
And the blades themselves, in all their poorly sanded glory, got a coating of a random can of chrome spray paint that I found in the back of my collection of spray paints.
And the final step? A little varnish to protect them! Then done!!
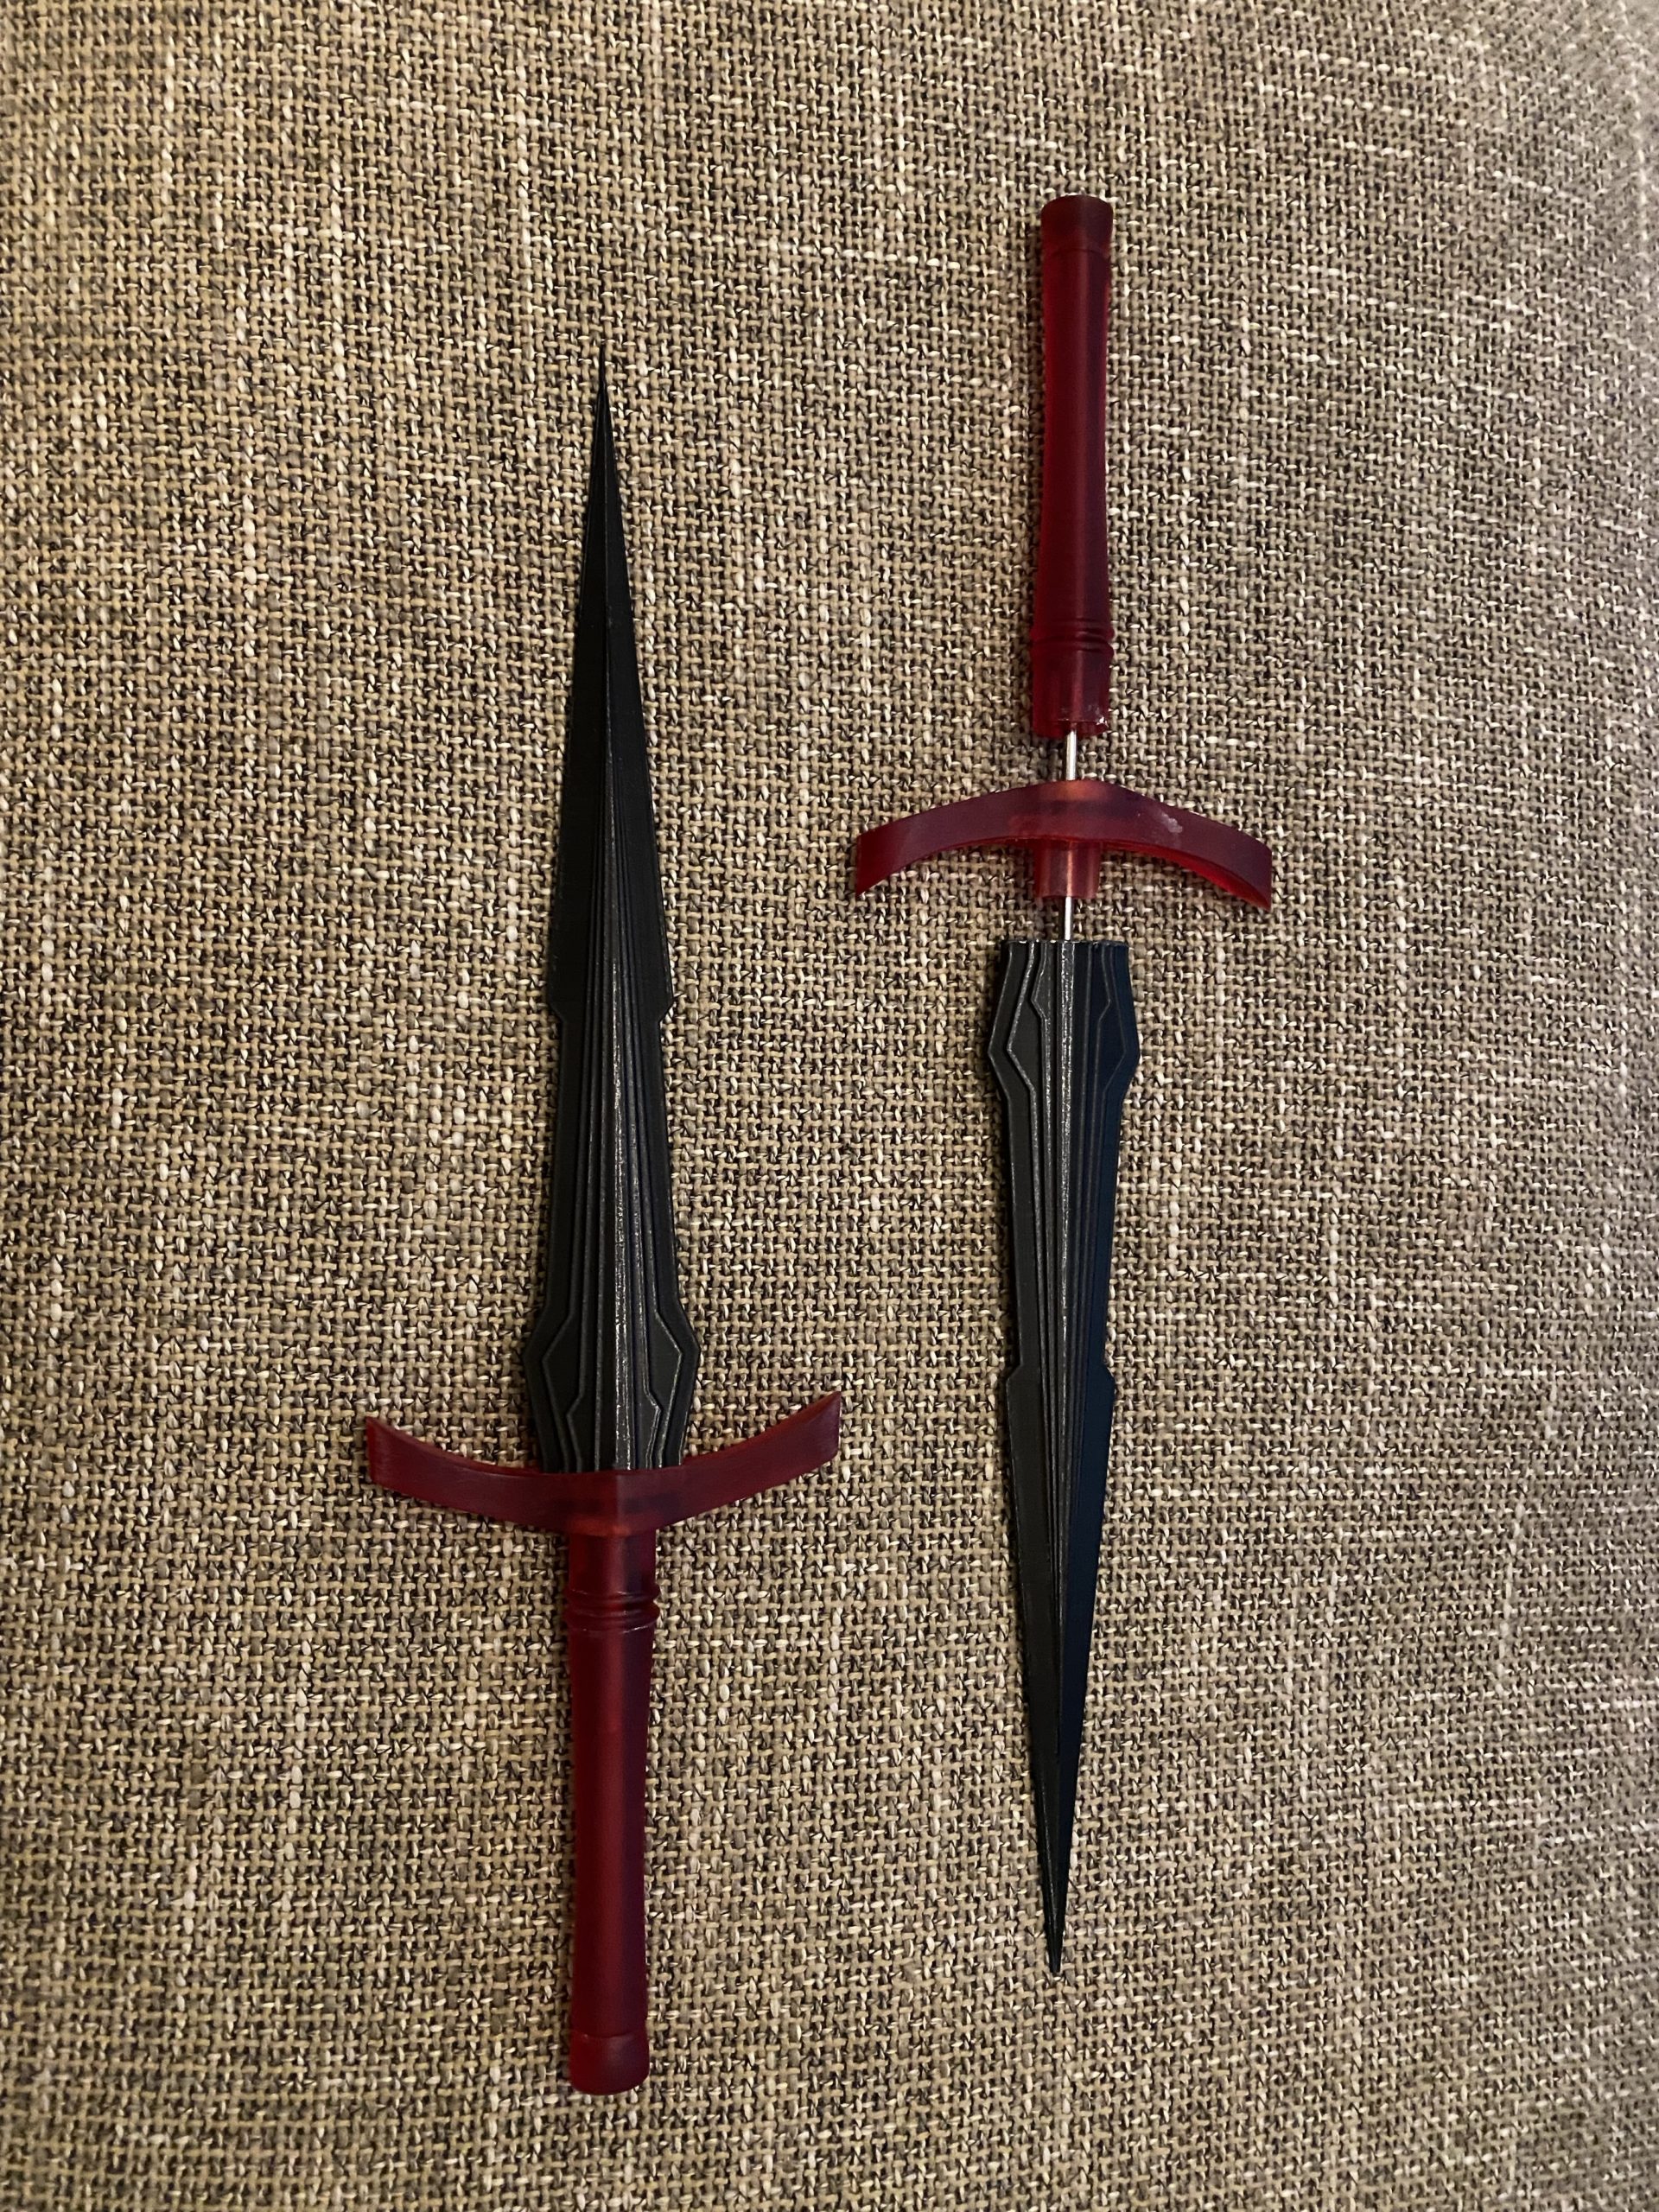
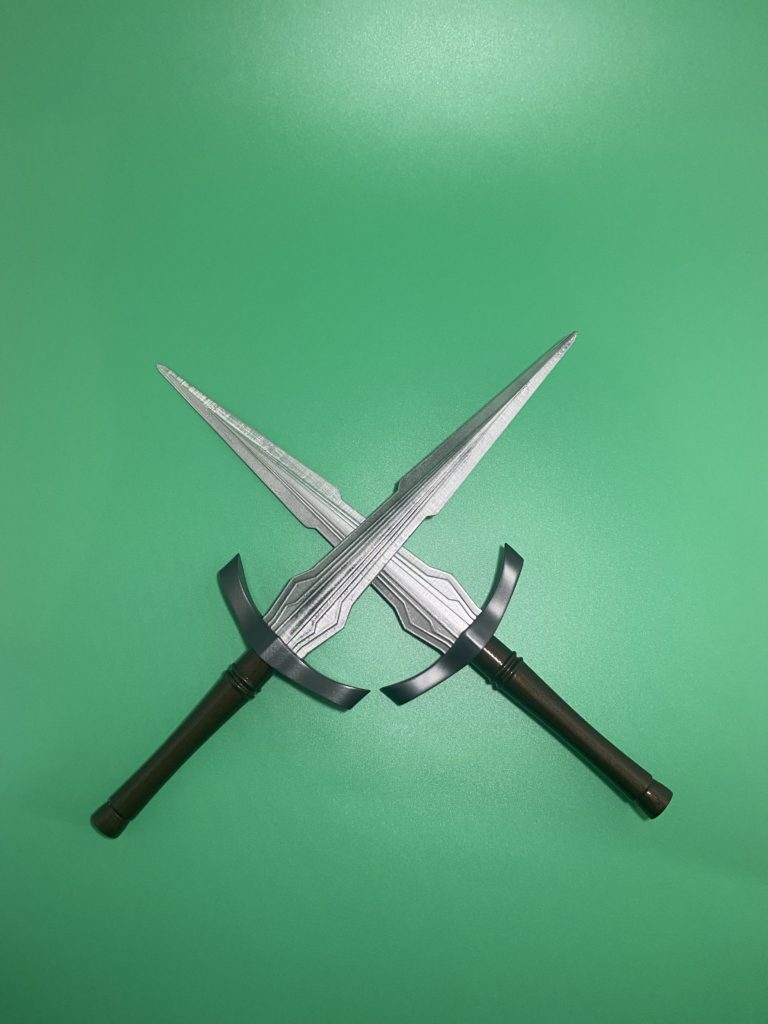
Result
I wish I could tell you I was happier with the finished piece. The design is great, they feel so good in the hands in terms of weight and ergonimics, but the poor job I did with the sanding is woefully apparent in the final piece.
This is not a fault with the design, this was entirely because I rushed a boring part that I didn’t want to do. There’s probably a lesson here somewhere buried deep for those with enough insight!
This was definitely an easier project, and even with the not-so-great finish, this is my first project in which the first Prototype needed no major revisions or rebuilds! The first version of the model is the Final one! Woo!
That being said… I’m finding myself reluctant to glue the blades on, and am very tempted with one final image in the future after redoing the blades.
Thanks for reading!
If you enjoyed this, you might like some of the related articles from the Overview, or perhaps a different Project altogether?
Love what you saw? Got a project in mind? Feel free to reach out and let me know!