Introduction
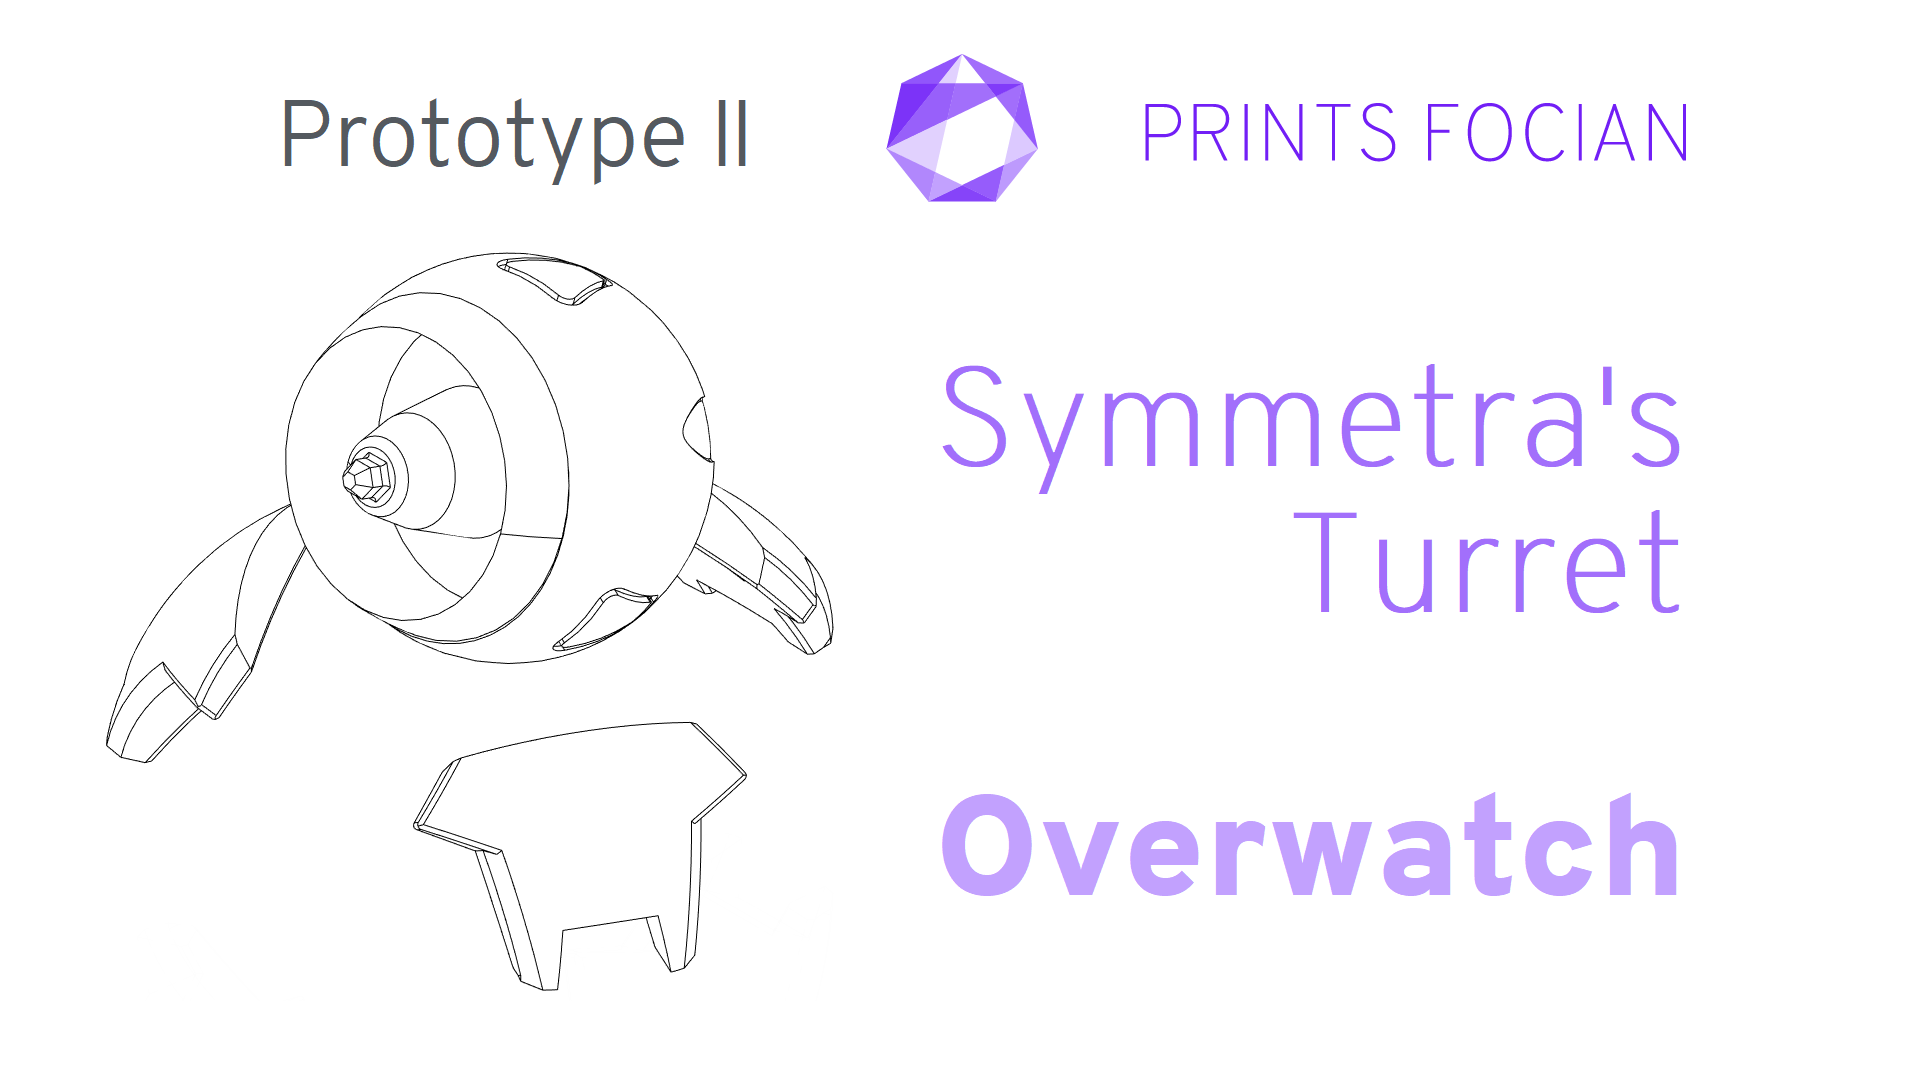
Welcome! In this build guide I’ll be walking you through the process I took in making a Turret that Symmetra deploys in Overwatch.
This will be an intensive look at the Prototype II version of this project from start to finish. It doesn’t matter if you’re looking for guidance with a Build Kit, thinking to Print It Yourself or just curious to see the project: You’re in the right place!
While this unlicensed replica is intended for decorative purposes or for use as a cosplay prop, the main reason for building it is because I was in a complete fever pitch for Overwatch at the time, and this seemed like an incredible project to learn some new skills on!
Check out the link at the bottom of the page for the Overview if you want to see more!
Design
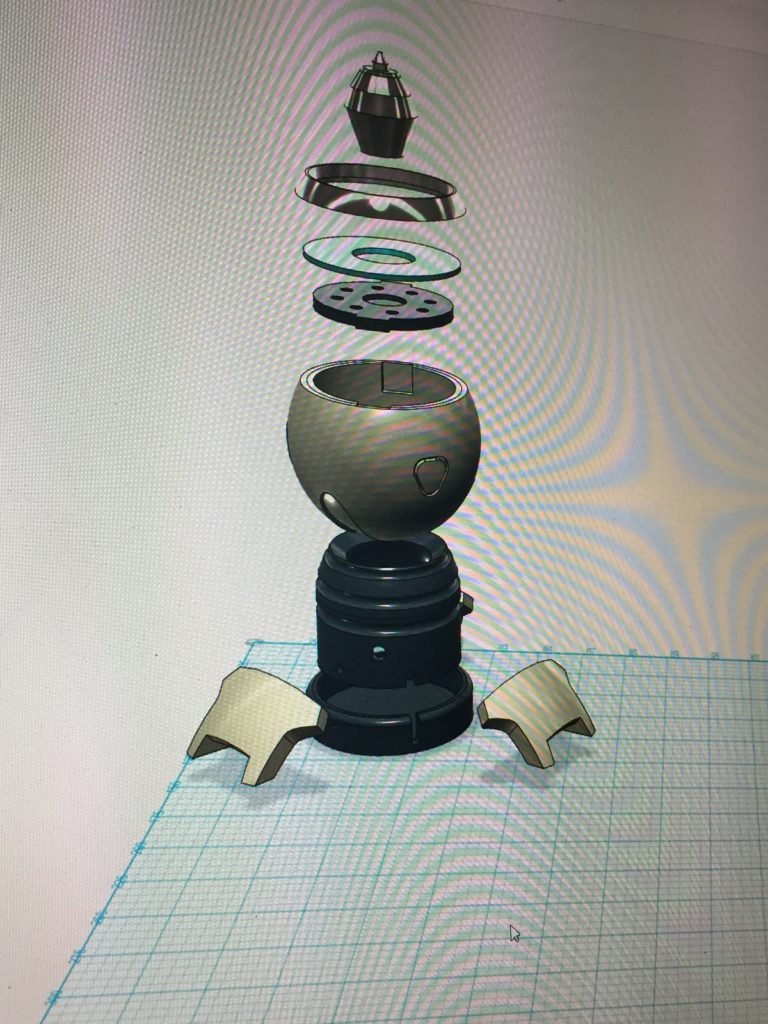
While the first Prototypes were ticking along, I’d starting planning a newer, bigger and better version!
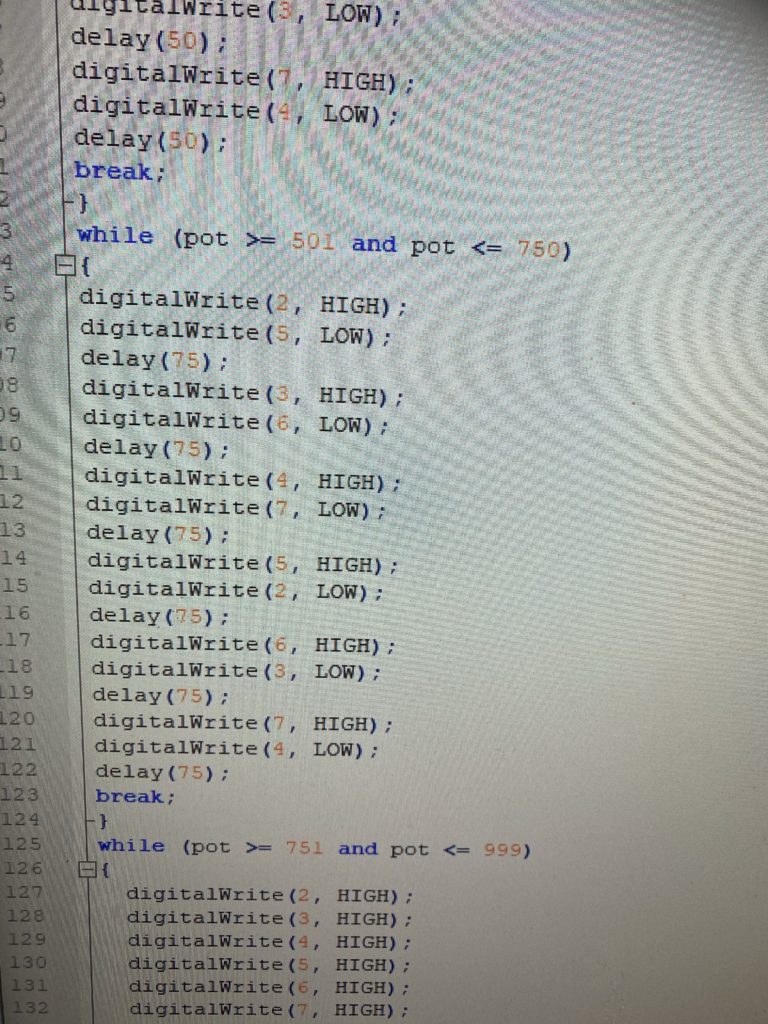
I loved the light patterns and hated being restricted to just one, but I found out quite how easy it was to add a control knob to offer multiple patterns!
This would only need a few tweaks to the code, but if I’m going to be doing this *and* increasing the size, why not add more LEDs!? Sixteen LEDs, larger size, selectable patterns! A few easy objectives!
This was all made on the back of an Arduino Nano, such a user-friendly item!
Build
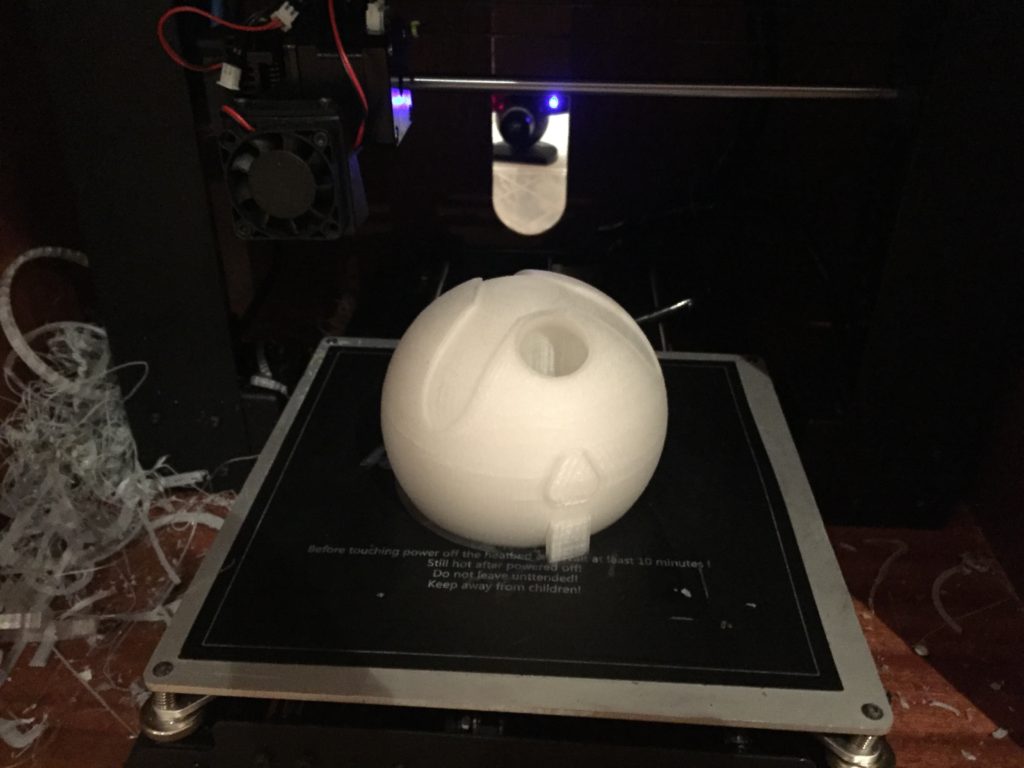
The chunky main body was printed on a Wanhao i3, my first 3D Printer
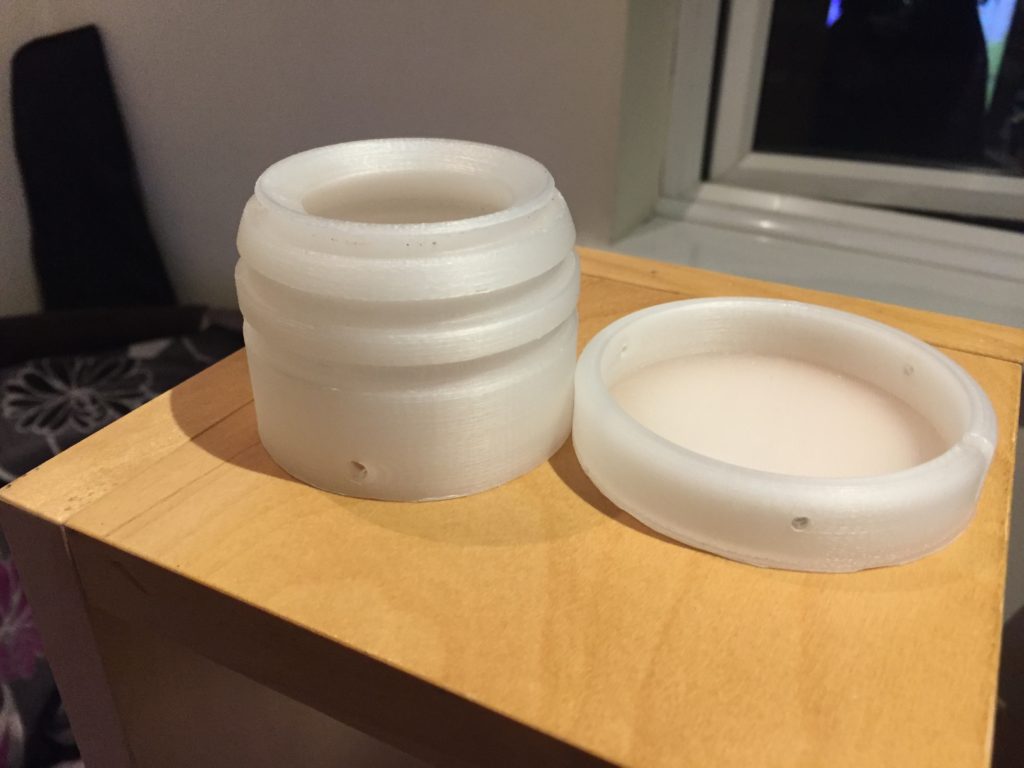
The changes in the stand made it stronger, easier to print and allowed the internal components to be easily hidden. I had also left indented rings with the intention of putting some glow-in-the-dark putty in there. That part of the plan never moved further than the changes in the design though.
I was new to the craft still, and far preferred the way ABS sanded, but there was no denying it was trickier to get perfect. I had a number of failures along the way.
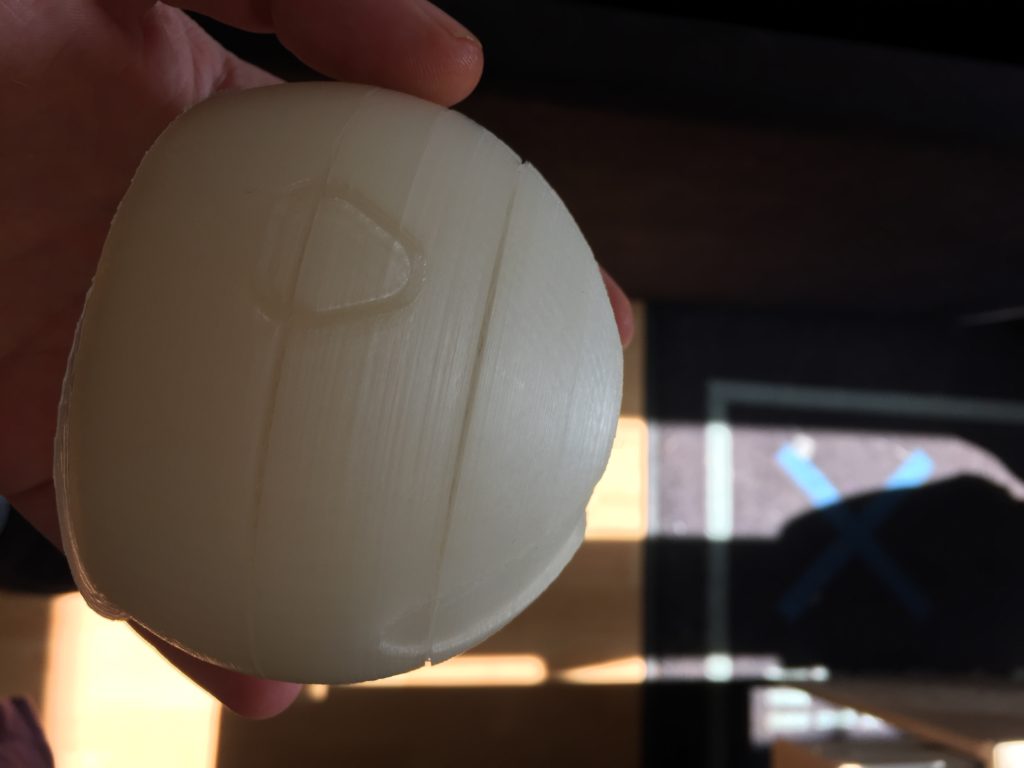
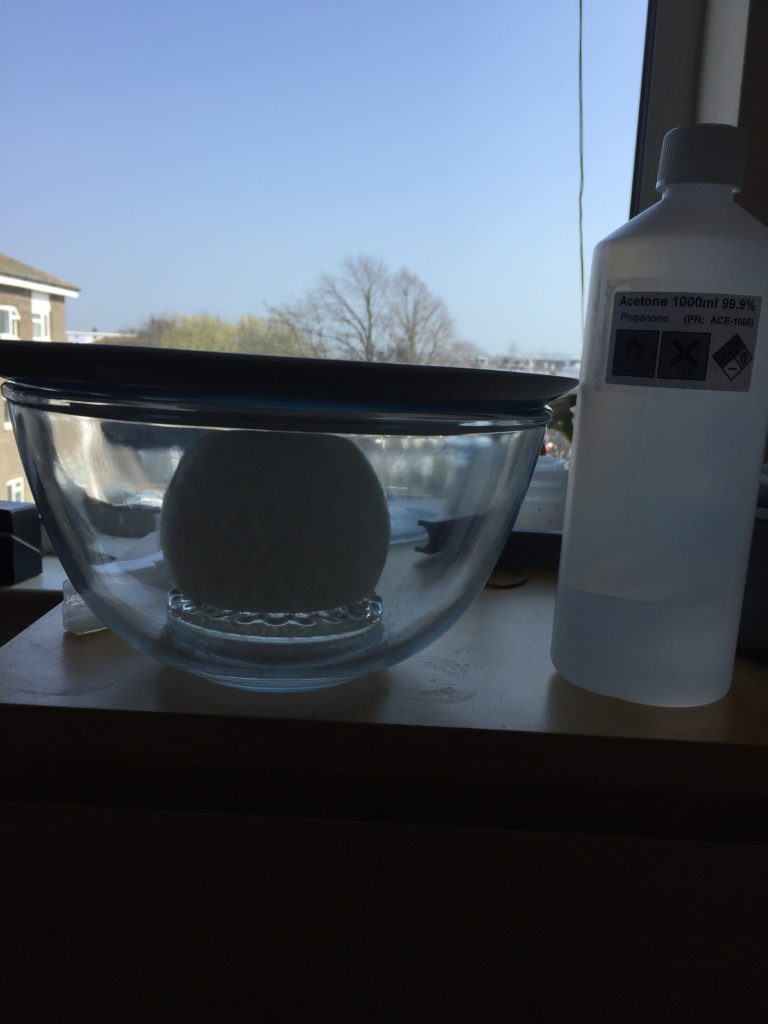
In an attempt to reduce the looming sanding, I used some acetone and gave the body a vapour bath for a smooth finish.
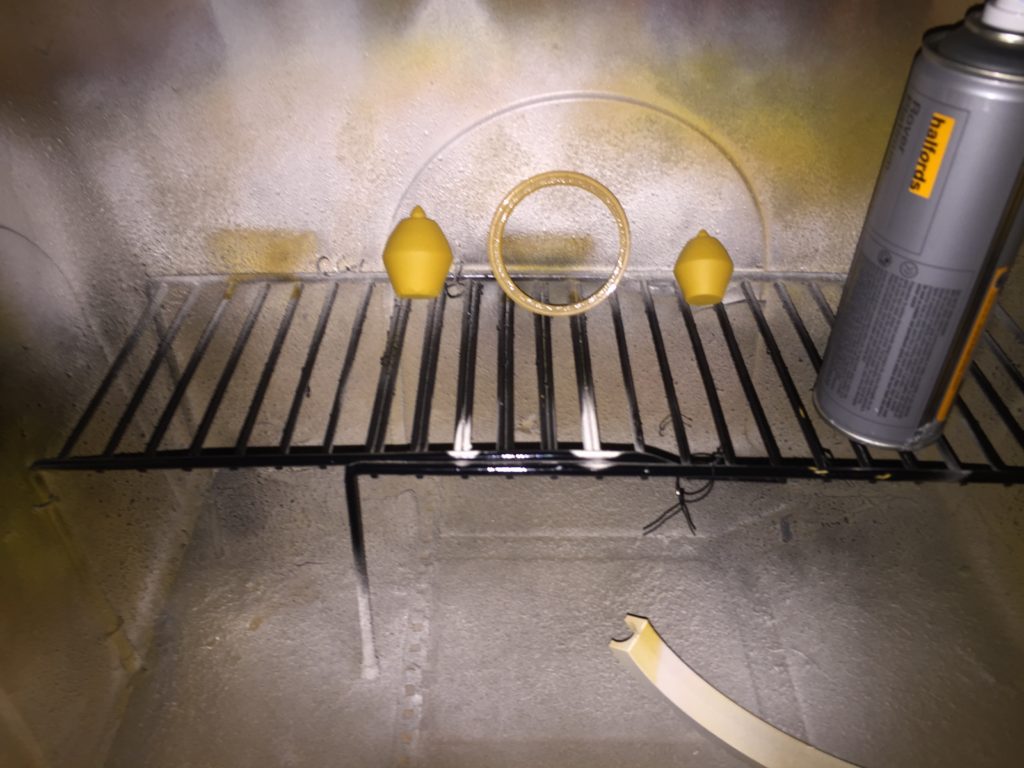
Using my standard Primer Filler from Halfords, I primed some of the components.
Alas, some of the splits were still visible even after the vapour bath, priming, and sanding. Joy! Not the end of the world though, and hopefully further work would reduce them.
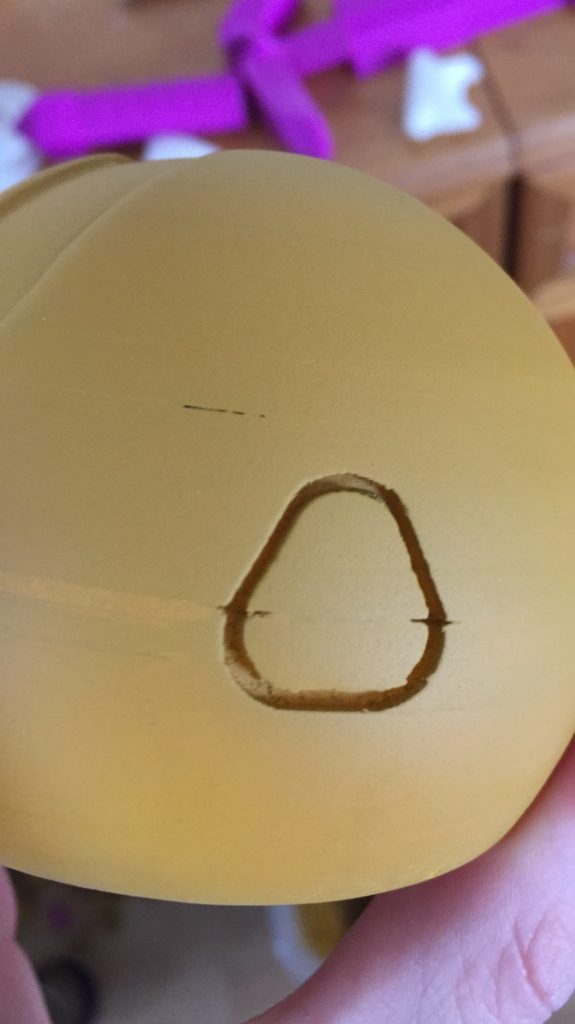
The previous Prototype refined my ability to make the LED holders by quite a fair margin!
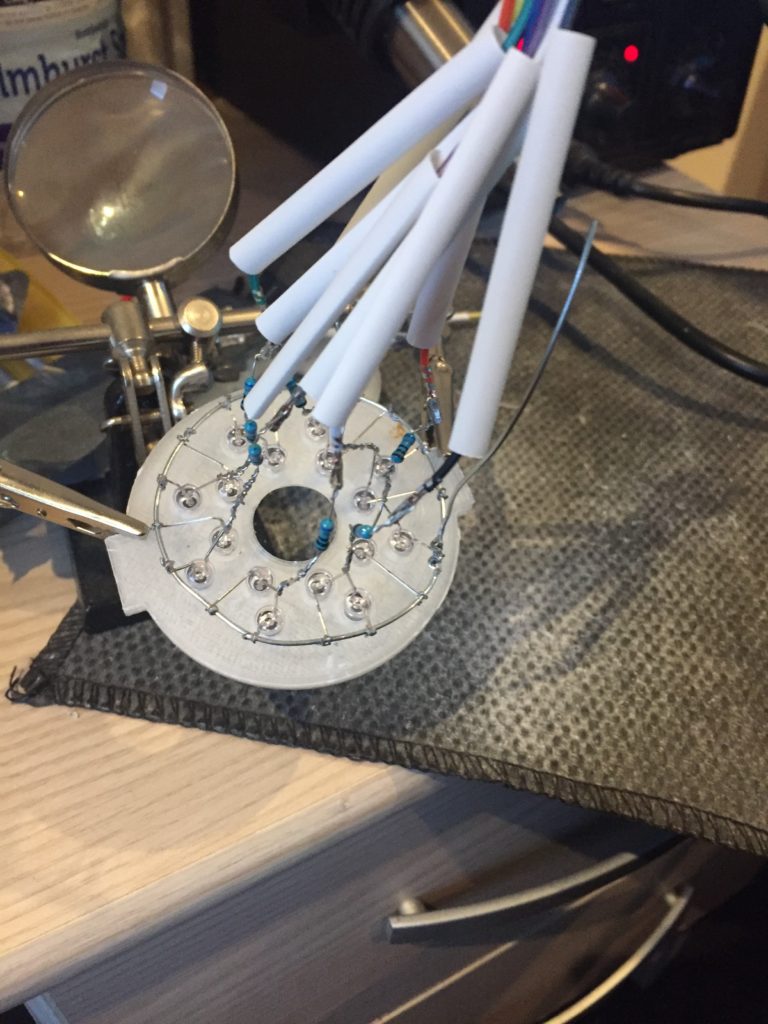
A few tests later, and it’s all coming to life now!!
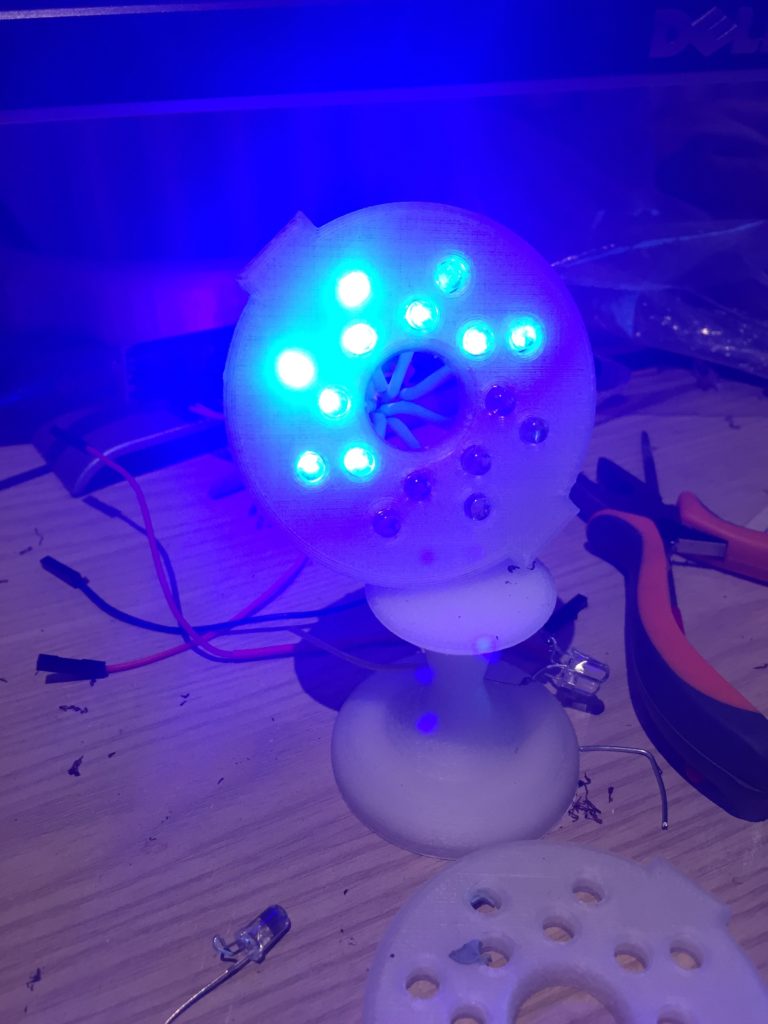
A few of the failed prints allowed me to work on the holder and get it perfect without compromising the actual body of the turret I was working on.
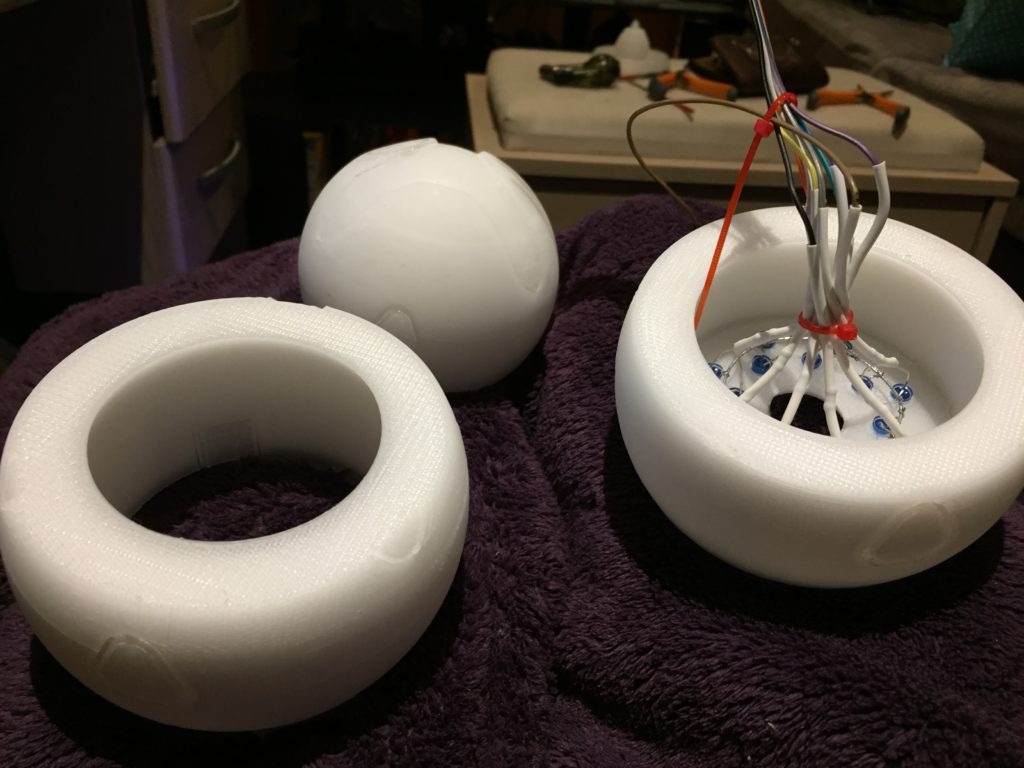
Finish
We are all good for painting! Ford’s Ivory White was used as the main colour.
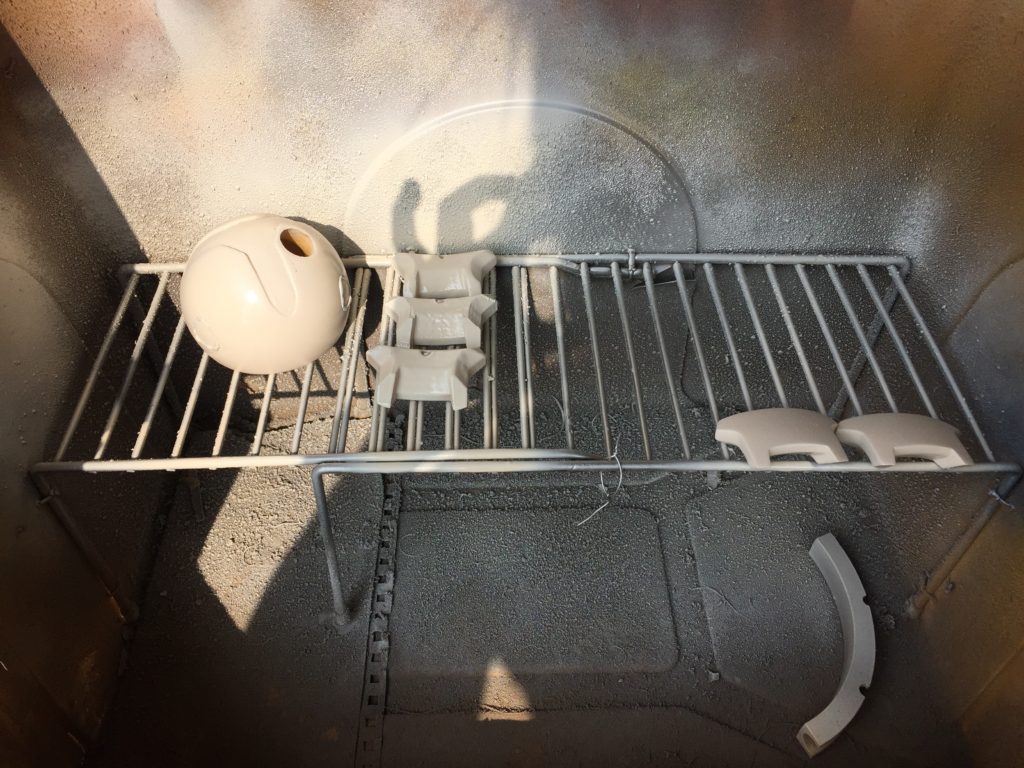
Close to completion, but let’s see how good it looks besides the earlier version. Pretty good! Just the metal work left!
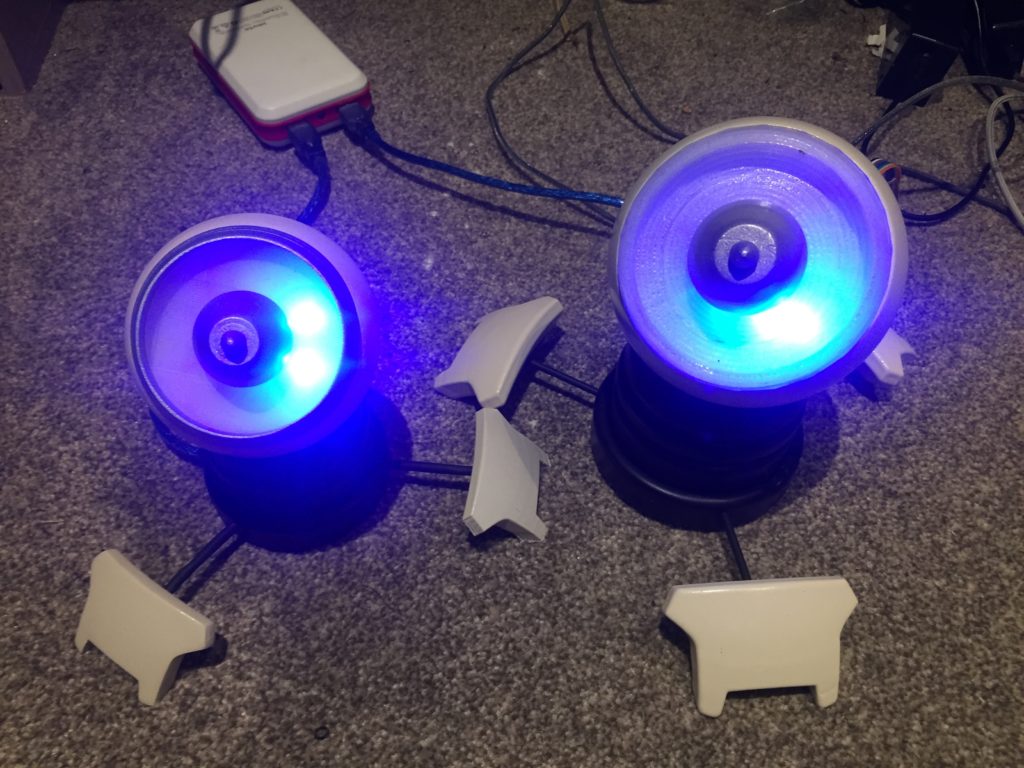
To get a darker, smokier metallic finish on the outer rim and internal section, I used some Alclad Chrome airbrush paint.
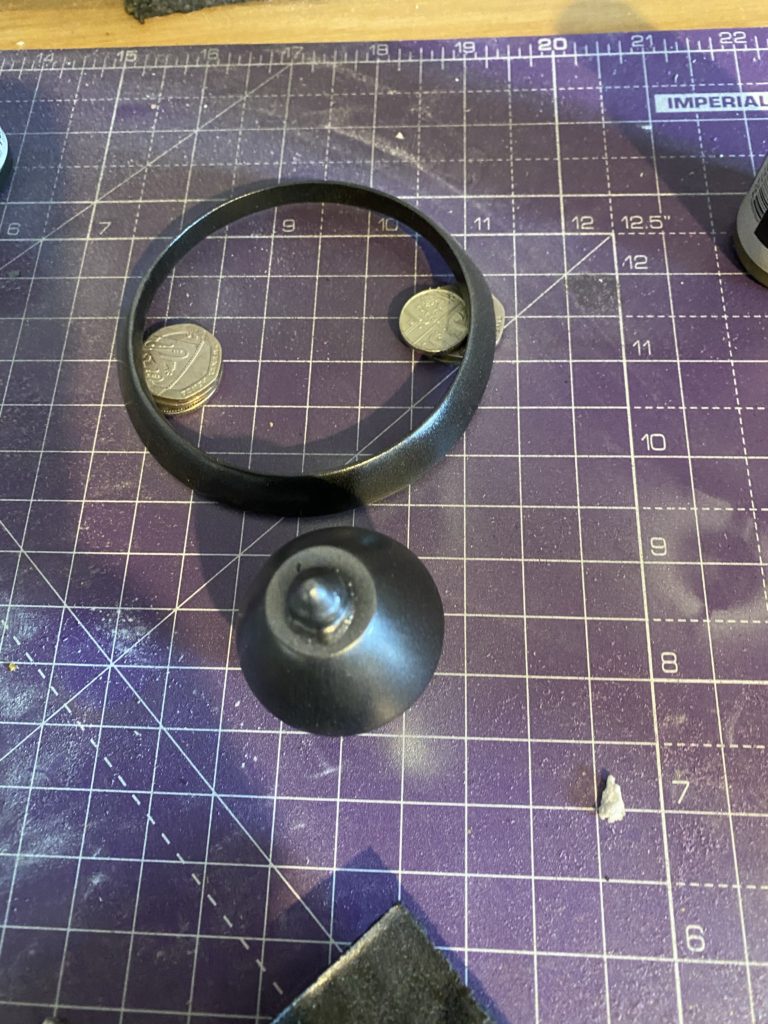
Basically everything ready to go, just one… last… tiny… step…
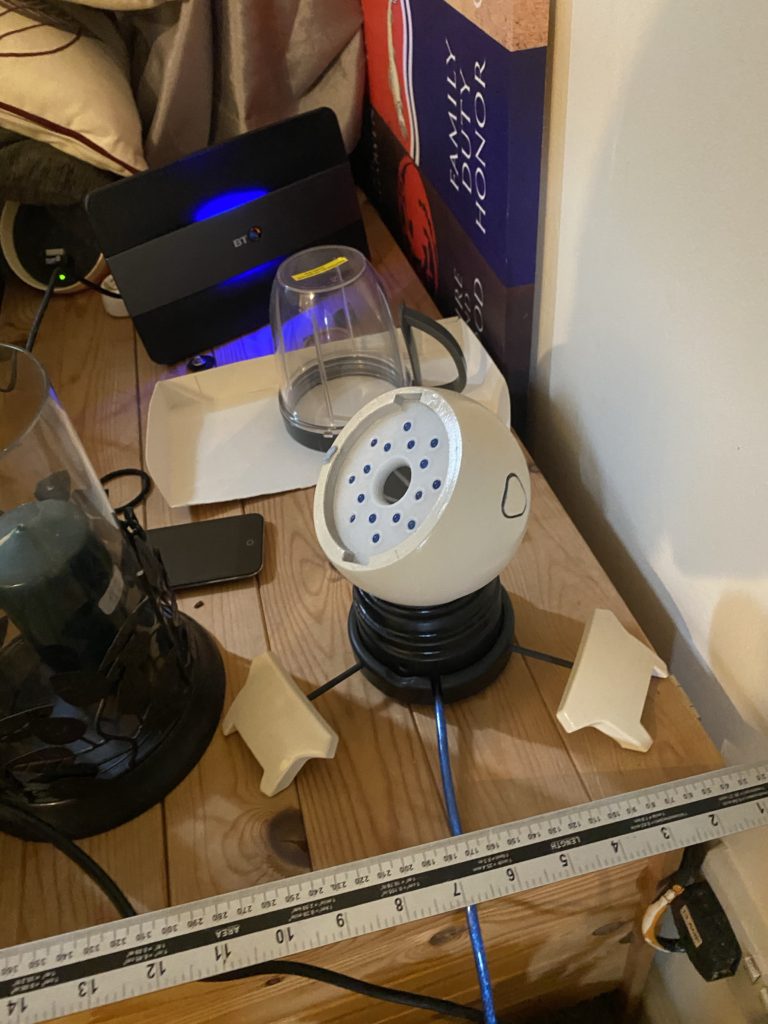
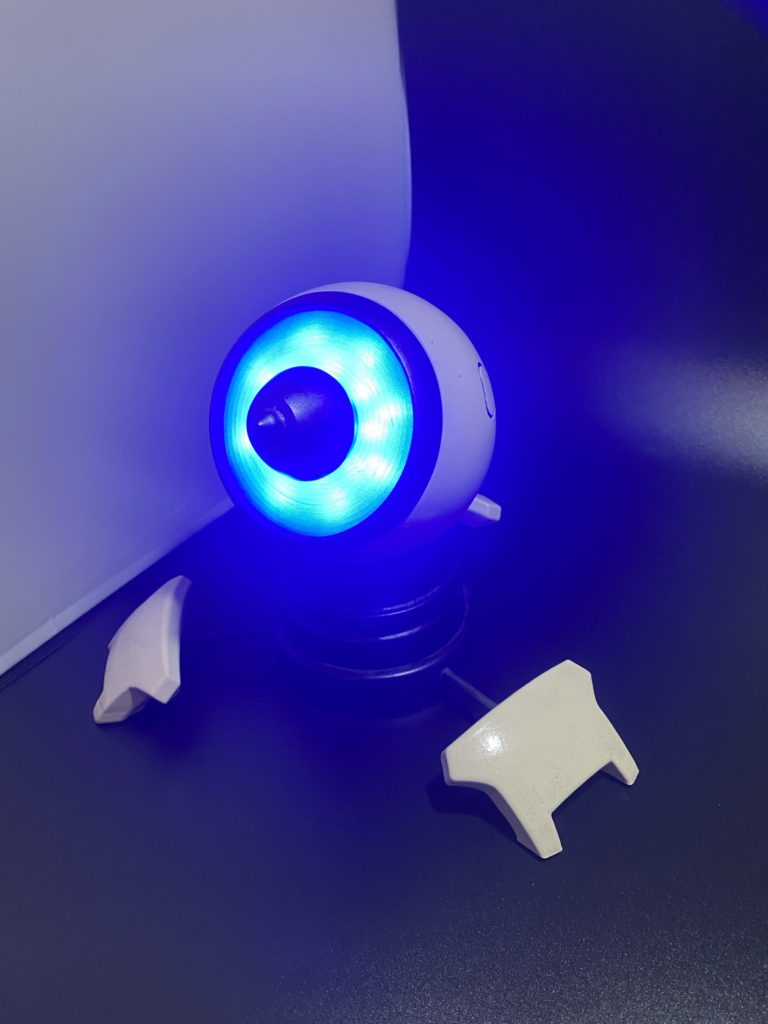
Aaaand this is the state this turret has now remained in since 2019 (currently writing this in 2022). Everything is pretty much done, and it’s all working great, all that is needed, literally *all* that is needed is to glue to the metal-looking parts which hold the light diffuser in place.
For three years now, I have left this unfinished turret out and on display so I can see it, thinking that’ll nudge me into the 30 seconds’ worth of work to finish the item… It has not worked. It still stands there begging to be completed… One day I’ll speak to a medical professional about my rather obvious attention issues, but not today! Today I finish this!
But ultimately this is no bad thing with the benefit of hindsight! All the previous models I’ve given away, and had I finished this one, the same may have occurred and I’d have even less material to write these articles up with!
Result
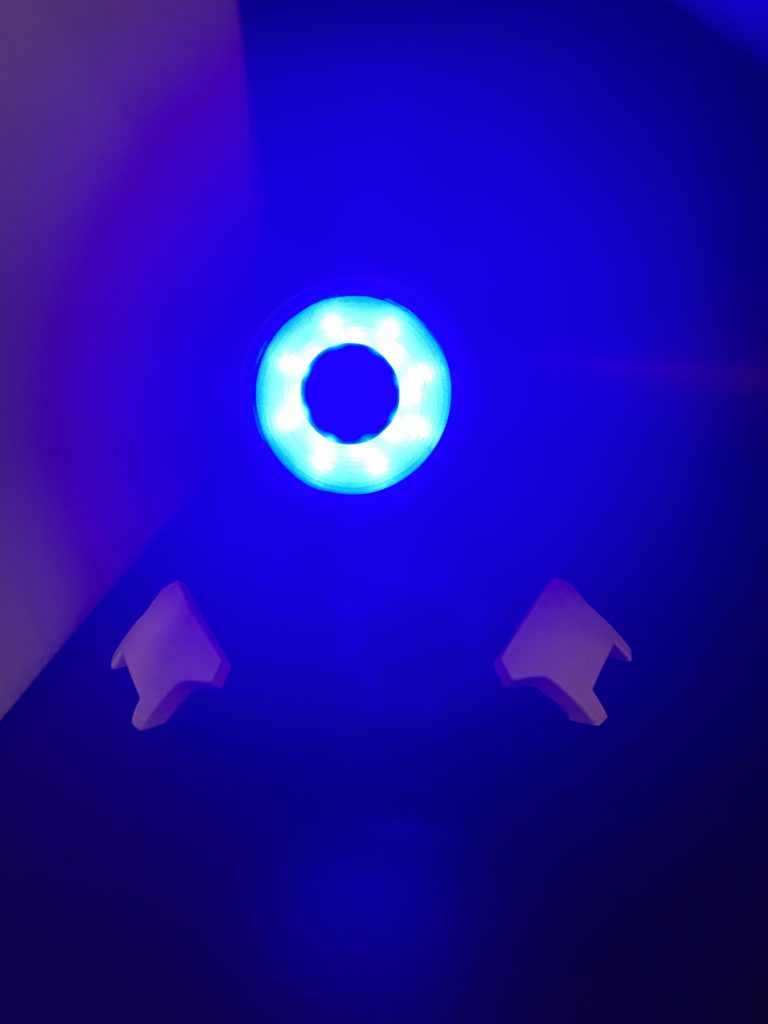
With the last tiny push needed, Prototype II of Symmetra’s Turret is completed! An amazing learning experience and a really cool looking finished product!
The long time between finishing the majority of the work and the finishing touches didn’t have much of an impact, and the item was exceptionally photogenic!
Thanks for reading!
If you enjoyed this, you might like some of the related articles from the Overview, or perhaps a different Project altogether?
Love what you saw? Got a project in mind? Feel free to reach out and let me know!

